


Besides updating system packages, why not update the Kernel in Ubuntu system? As your Ubuntu system’s core, updating the Kernel is crucial in maintaining security and stability.
In this tutorial, you will learn to safely update your Kernel and remove problematic ones in your Ubuntu system.
Read on to keep your system secure and stable!
Prerequisites
This tutorial houses hands-on demonstrations. If you wish to follow along, be sure you have a system running Ubuntu Linux 18 or later, but this tutorial uses Ubuntu 20.04 LTS.
Installing the Mainline Kernel Installer
The Mainline Kernel Installer is a graphical tool that lets you quickly and safely install your Ubuntu system’s latest mainline Linux kernel. But just like other tools, you must first install the Mainline Kernel Installer on your system.
To install the Mainline Kernel Installer, follow these steps:
1. Open a terminal and run the below apt update command to ensure your system has all the latest package indexes.
sudo apt update -y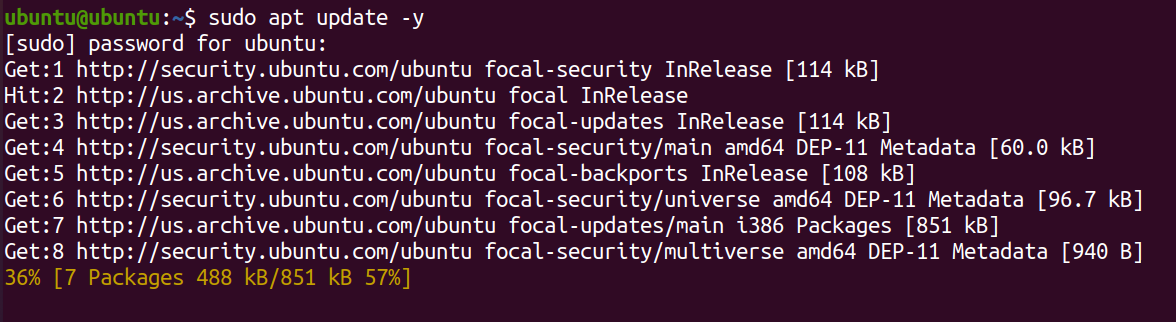
2. Next, execute the below add-apt-repository command to add the Cappelikan Personal Package Archive (PPA) (ppa:cappelikan/ppa) to your system’s repository list. A PPA allows you to access additional software packages not included in the official Ubuntu repositories.
The Cappelikan PPA contains packages related to the Linux kernel, including mainline kernel builds and backported kernels.
sudo add-apt-repository ppa:cappelikan/ppa -y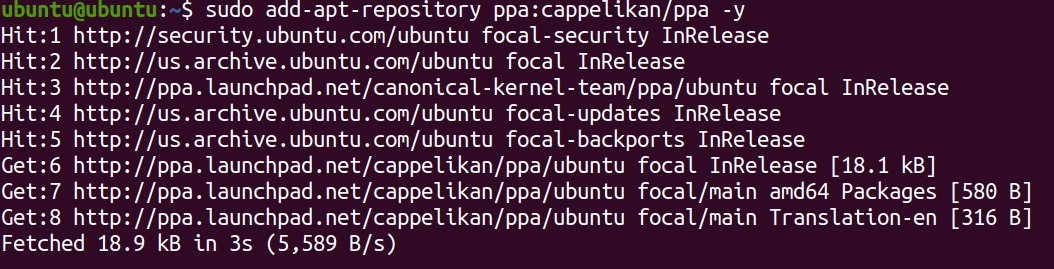
3. Run the following command to update the packages list again to ensure your system now includes the packages from the Cappelikan PPA.
sudo apt update -y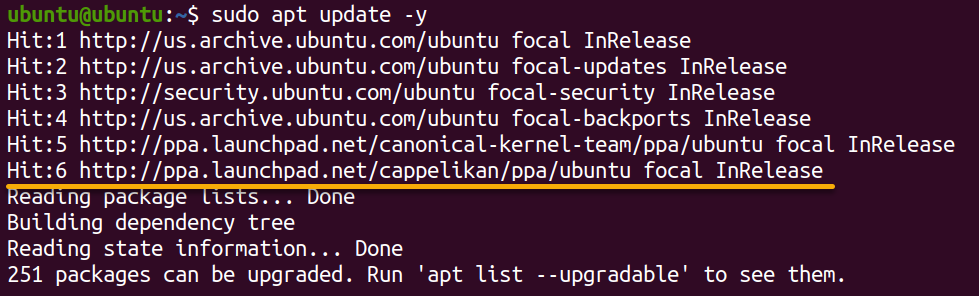
4. Finally, execute the apt install command below to install the mainline Kernel Installer.
sudo apt install mainline -y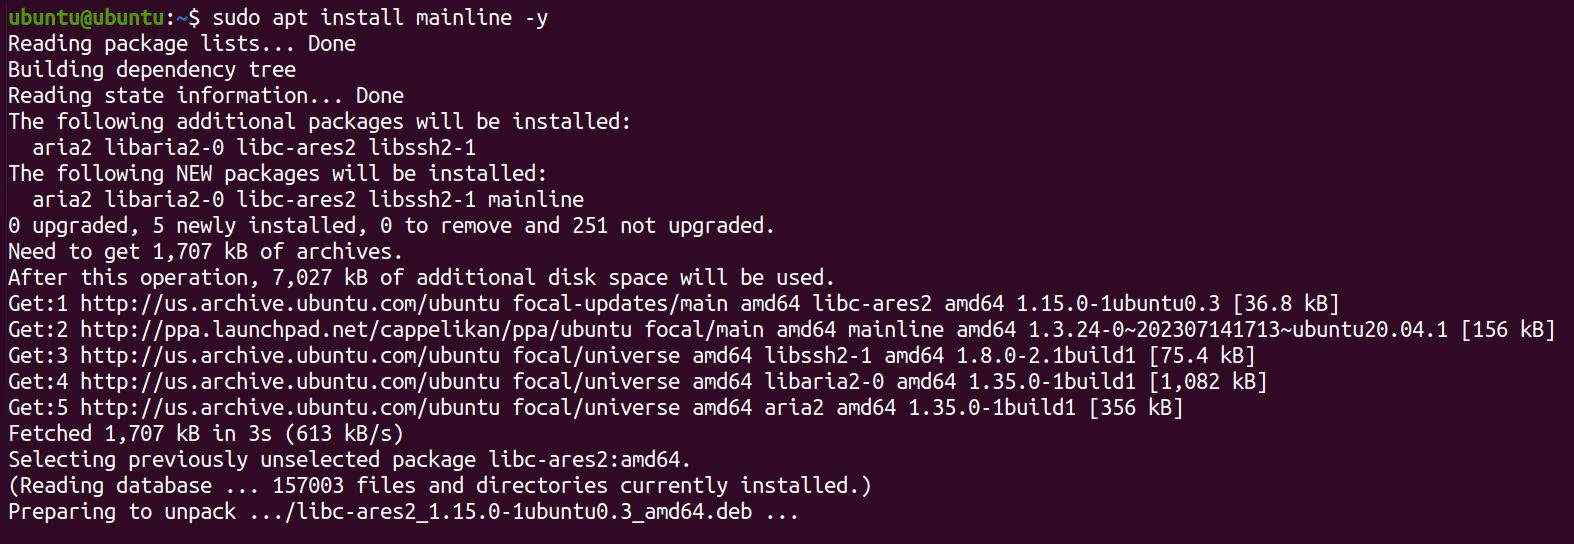
Updating Ubuntu Kernel via the Mainline Kernel Installer
Now that the Mainline Kernel Installer is installed, it is time to get your hands dirty updating your system’s Kernel to the latest version. The Mainline Kernel Installer simplifies the mainline kernel’s installation process by providing a graphical interface that guides you through the installation.
How this installer works is that it fetches the latest kernel files from the Ubuntu mainline kernel repository, downloads, verifies, and installs them on your system.
To update your Ubuntu Kernel via the Mainline Kernel Installer:
1. Run the below uname command to get the information about your current Kernel.
uname -mrsYou will see a similar output below with the following:
- Linux – Indicates the OS you are running, which is Linux.
- 5.15.0-76-generic – Represents the specific kernel version you have installed on your system.
- x86_64 – Refers to your system’s architecture, in this case, 64-bit (amd64).

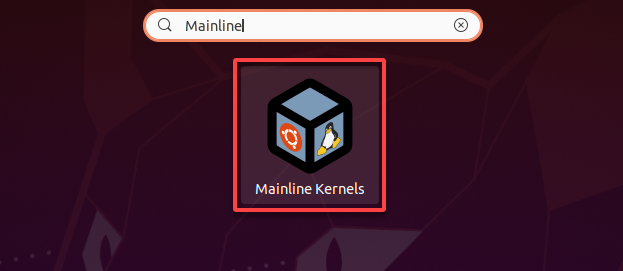
2. Next, open the Mainline Kernel Installer (Mainline Kernels) from the Ubuntu Application Launcher, as shown below.
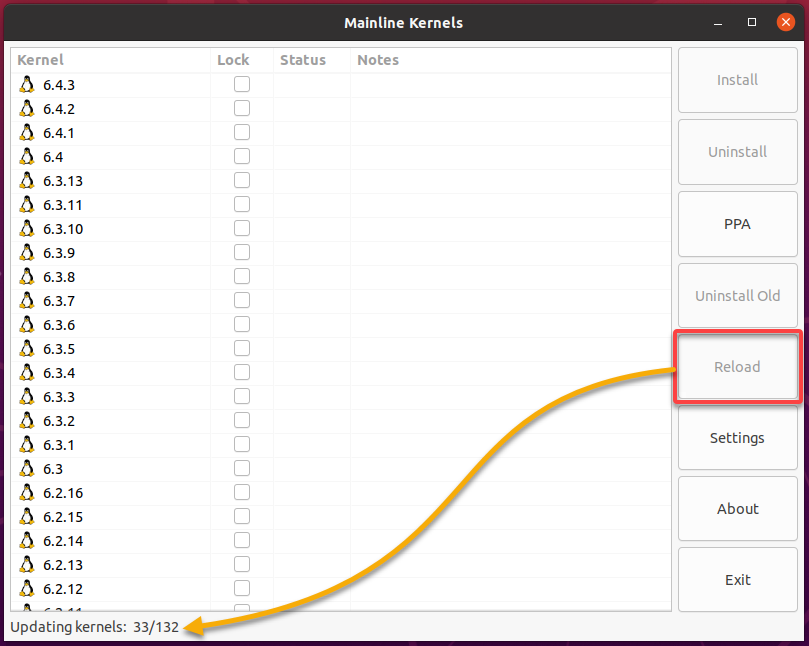
3. When the Mainline Kernel Installer opens, click Reload to fetch the latest available Kernel versions from the mainline kernel repository.
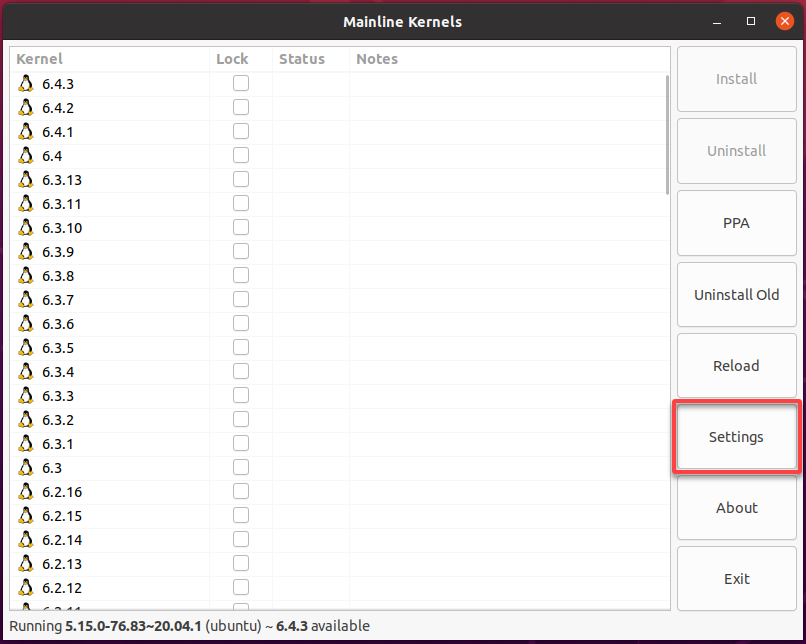
4. Once reloaded, click Settings to access the Mainline Kernels settings.
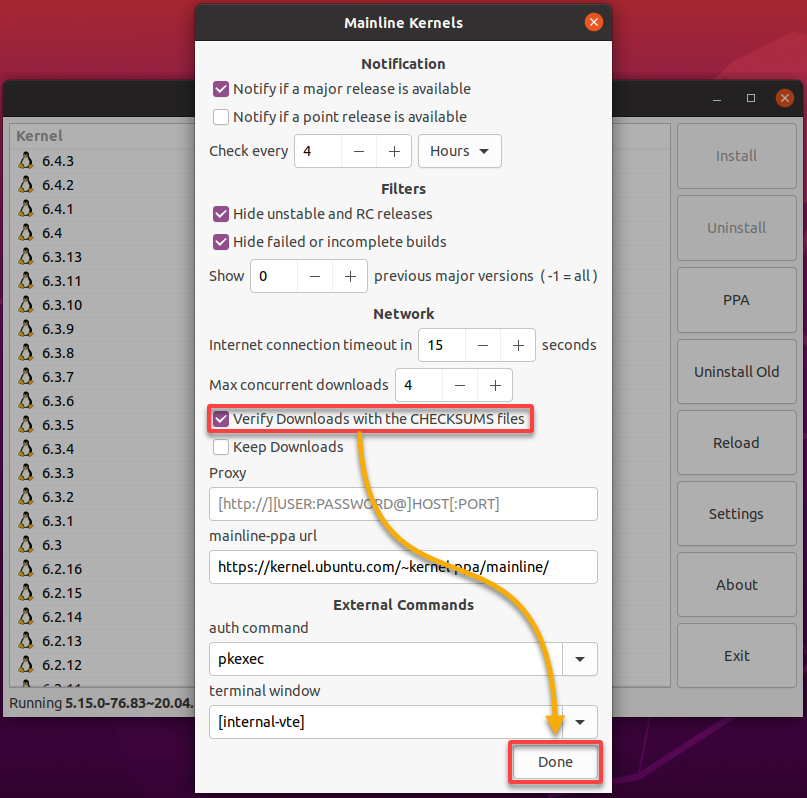
5. Now, tick the Verify Downloads with the CHECKSUM files box, and click Done.
This feature ensures the downloaded Kernels are valid and not corrupted.
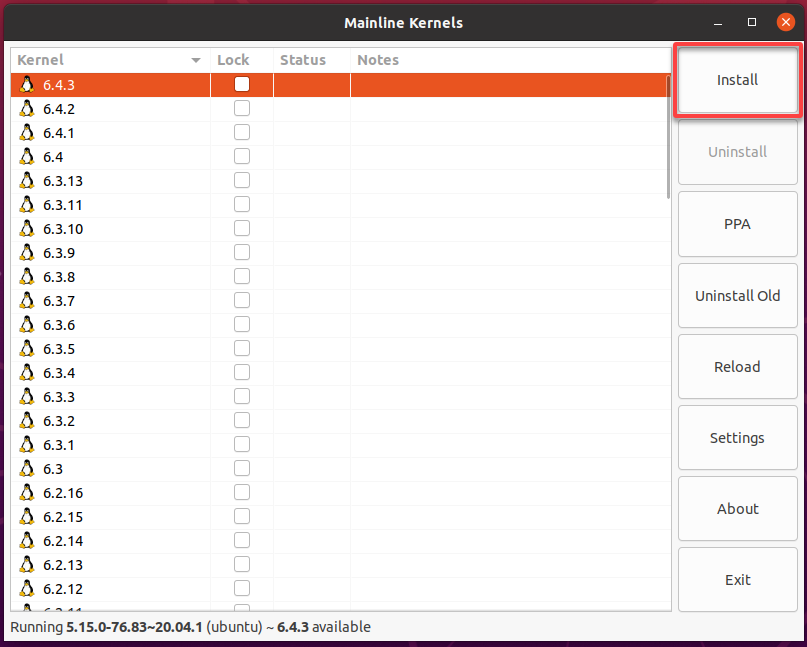
6. Oble Kernels are downloaded and listed, select a desired version from the list and click Install.
The latest version is strongly recommended, which at this time of writing is 6.4.3.
A new Mainline Kernels terminal appears, indicating the installation process begins, which may take time to complete.
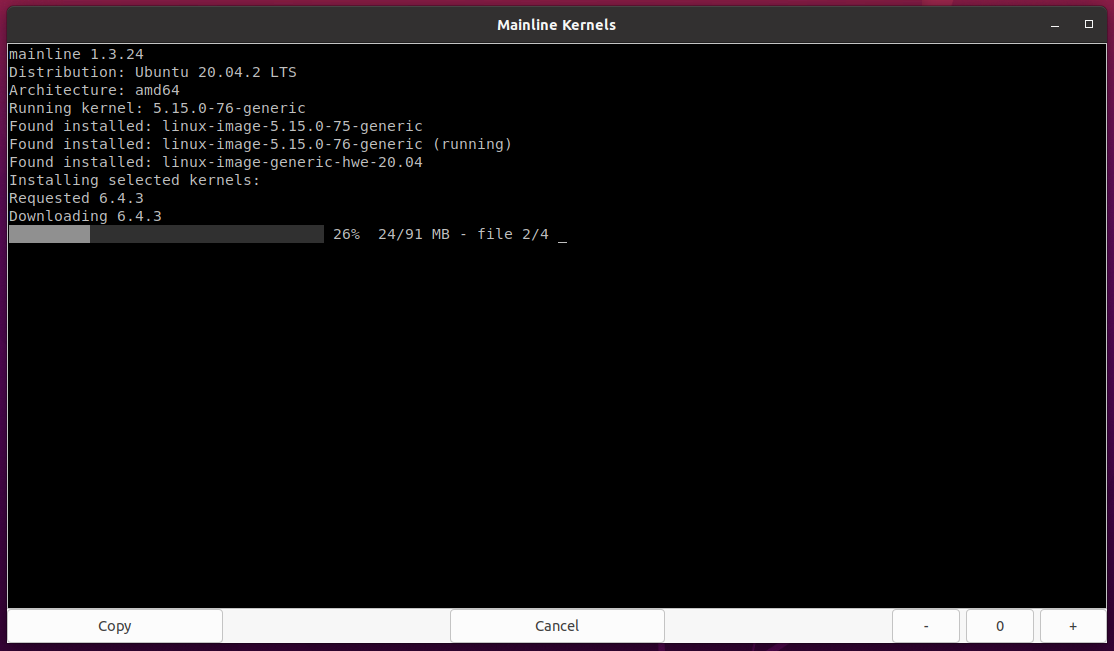
7. When prompted, enter your password to authenticate and proceed with the installation.

8. Lastly, once the installation finishes, reboot your system for the changes to take effect, and un the below grep command to verify the new Kernel version is running.
sudo dmesg | grep "Linux version"You will see your current Kernel version, as shown below.

Updating the Ubuntu Kernel via DEB Packages
If you are uncomfortable updating your Kernels via the Mainline Kernel Installer’s GUI, another option by downloading and installing the Kernel’s DEB packages.
These DEB packages provide the latest release candidate (RC) builds of the Kernel, which are unavailable through the mainline Kernels. RC builds are pre-release Kernel versions made available for testing and evaluation before the final stable release.
💡 Note that these kernel builds may not have passed all tests and can contain bugs.
To update your Kernel via the DEB packages:
1. Open your favorite web browser (like Firefox or Google Chrome), and visit the official Ubuntu Kernel page.
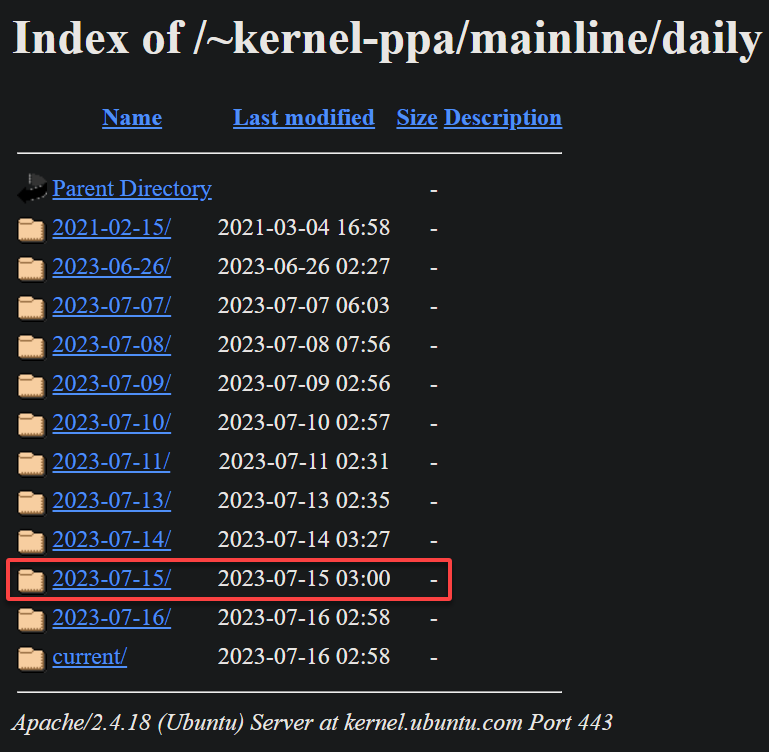
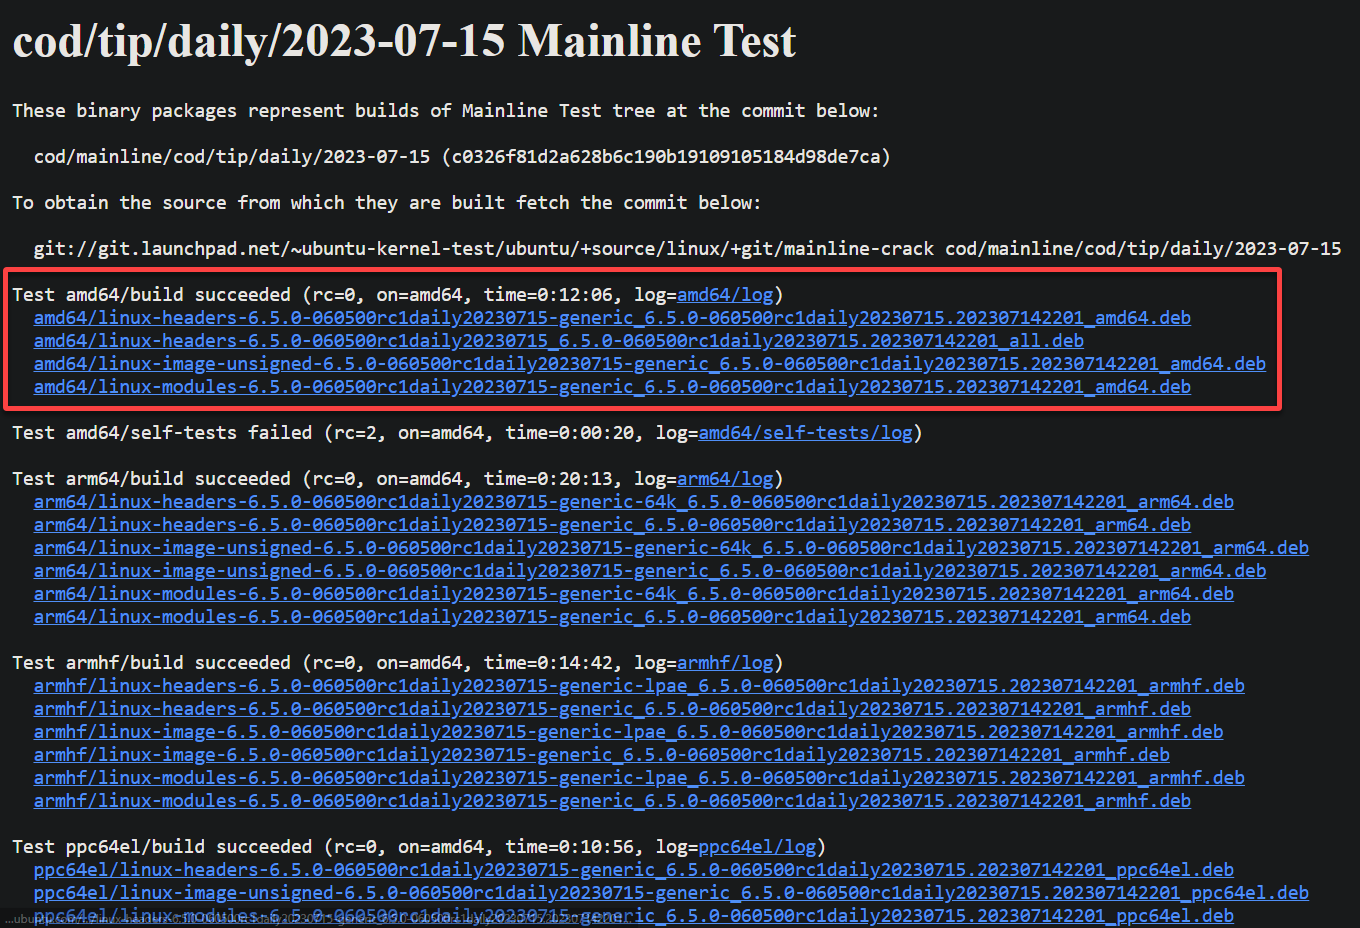
2. From the list of available releases, click the latest one that has passed all tests successfully and has no reported issues.
As of this time of writing, the latest release is 2023-07-15.
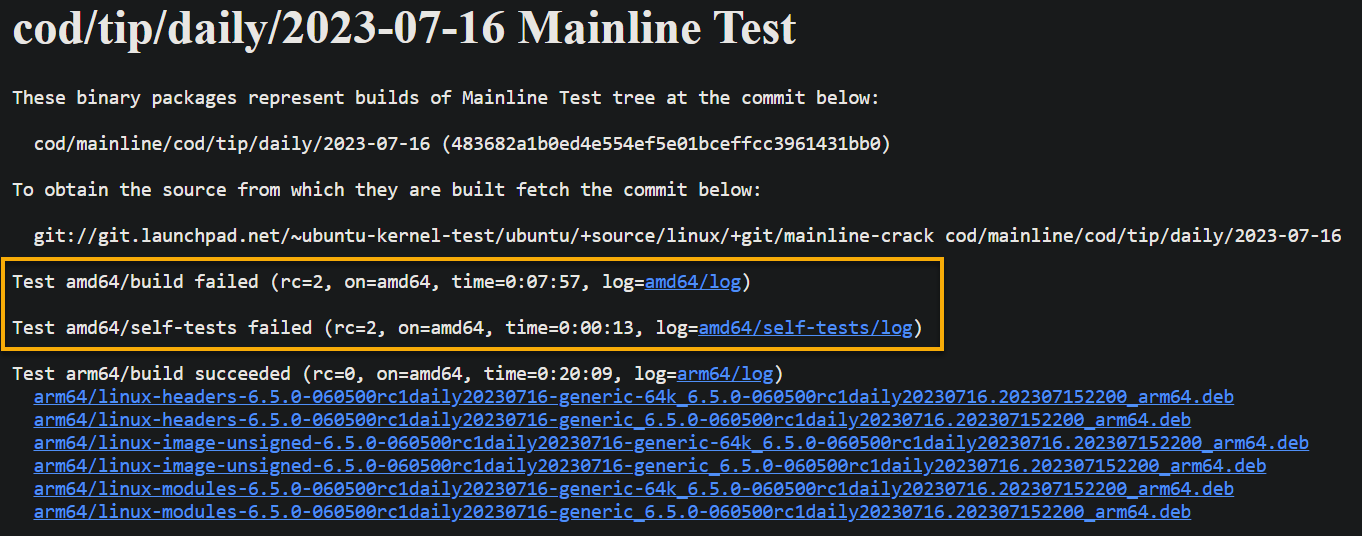
💡 Do not select the 2023-07-16 release since both Test amd64/self-tests and Test amd64/build failed, as shown below. Ensure you choose a release without known test failures to avoid potential issues.
3. Download the required DEB package as follows:
- On the selected release page, look for a pack suitable for your system architecture (i.e., amd64 for 64-bit systems).
- Click on each hyperlink to download all the DEB packages to your ~/Download directory. Each downloaded package file will have a .deb extension.
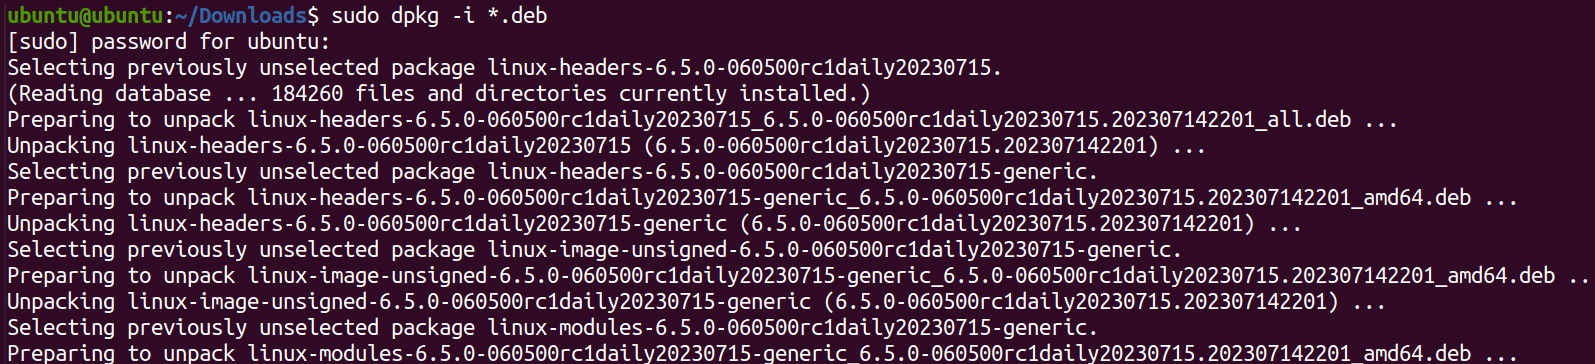
4. Open a terminal, navigate to the ~/Download directory, and run the below dpkg command to install all *.deb packages.
sudo dpkg -i *.debWait for the installation to finish, and reboot your system afterward to apply the changes.
5. Now, run the below command to check the Kernel version installed.
uname -rYou now have the latest release candidate Kernel version (6.5.0) running on your system, as shown below.

Rolling Back to a Previous Kernel Version
You have just updated your Kernel to the latest version, which is awesome. But as you may know, not all Kernel updates are successful.
Compatibility issues, bugs, or conflicts with certain hardware or software configurations get in the way of Kernel updates. These issues can result in system instability and boot failures. In such cases, you may need to roll back to the previous version, which helps restore system stability and functionality.
To roll back to a previous Kernel on your Ubuntu system:
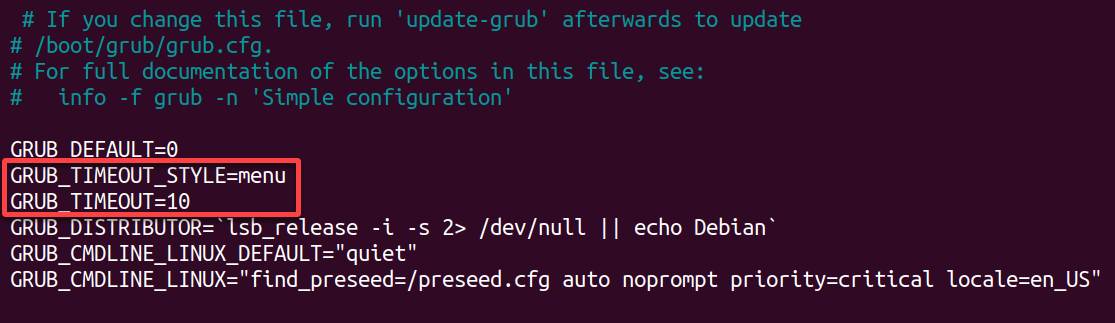
1. Open the /etc/default/grub file in your preferred text editor. This file allows you to control the default boot behavior and select different kernel versions and boot options.
2. Next, configure the following:
GRUB_TIMEOUT_STYLE=menu– Lets you define the style of the GRUB timeout behavior. When the value is set tomenu, the GRUB menu displays and waits for user input within the defined timeout period. This behavior allows you to select the desired Kernel to boot manually.
GRUB_TIMEOUT=10– Sets the duration (in seconds) for which the GRUB menu will be displayed before automatically booting the default entry.
In this case, the value is set to10seconds. During this period, you can press any key to interrupt the countdown and access the GRUB menu.
Once configured, save the changes and close the file.
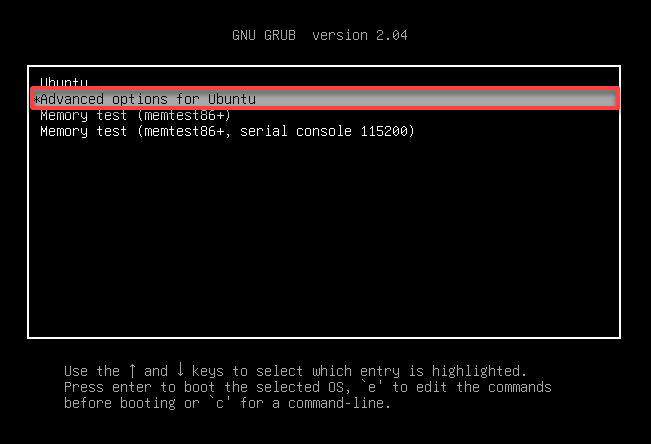
3. Execute the below update-grub command and reboot your system for the modifications to take effect. Once your system boots up, the GRUB menu appears with all your installed OSes (step four).
sudo update-grub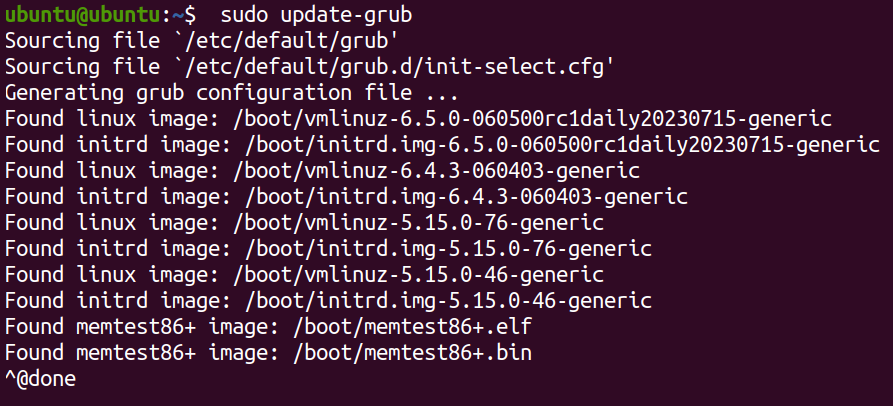
4. Now, use the arrow keys on your keyboard to highlight the second option (Advanced options for Ubuntu), and press Enter to select it.
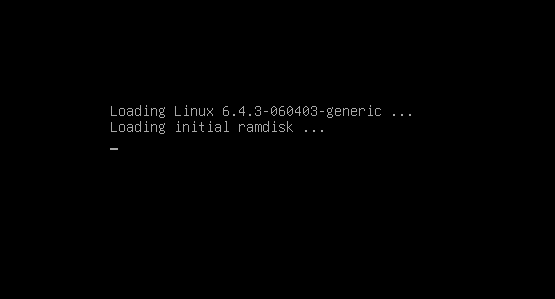
5. Select the previous Kernel version to boot into, and press Enter to confirm your selection.
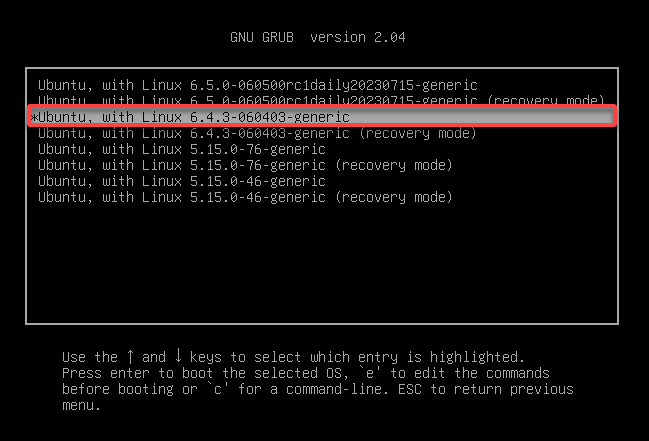
You will now be logged into the selected Kernel and can use Ubuntu as usual.
6. Lastly, log in with your credentials to access your Ubuntu desktop test if everything works normally.

Removing Problematic Kernels
If you find that booting into a previous Kernel has resolved your issue, you no longer need to keep the problematic Kernel. Doing so helps save disk space by eliminating unwanted problematic Kernels.
To remove problematic Kernels, follow the steps below:
1. Execute the below command to list all your --installed Kernels (linux-image).
sudo apt list --installed | grep linux-imageLook for the problematic Kernel version, and note down its package name for later use.
The package name should be in the form of linux-image-VERSION-generic, as shown below.

2. Next, run the following command to remove the problematic Kernel. Be sure to replace kernel-name with the package name you noted in the previous step.
sudo apt remove kernel-name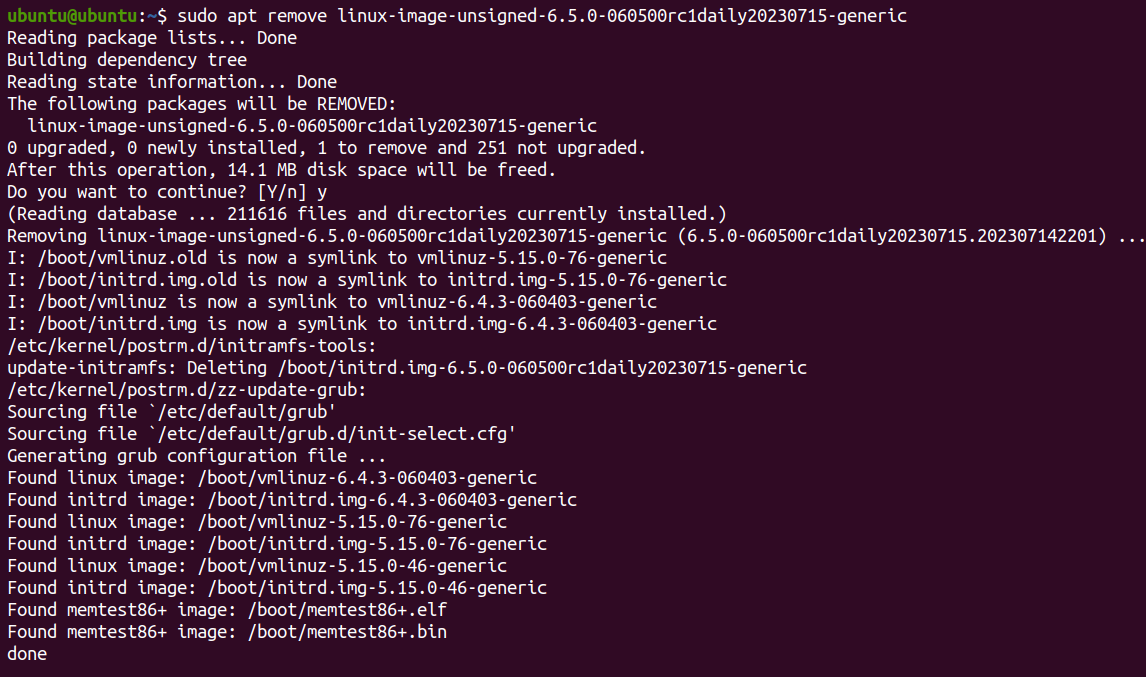
3. Finally, reboot your system to apply the changes, and rerun the command below to list all installed Kernels.
sudo apt list --installed | grep linux-imageBelow, you can verify the problematic Kernel (6.5.0) has been removed.

Conclusion
Throughout this tutorial, you have learned to safely update your Kernel and remove unwanted ones to keep your system running smoothly. Maintaining a safe and reliable environment is now within your reach.
At this point, you can confidently keep your Kernel up-to-date via the Mainline Kernel Installer or install the latest RC DEB package builds.
Problematic Kernels is one thing, but Ubuntu startup issues can get on your nerve too. Why not learn to fix Ubuntu startup issues with Ubuntu Boot Repair effortlessly?


