


Installing packages doesn’t always follow the same steps as when you plan to install a deb package on Ubuntu that is not available in the default repositories. Worry not, though. In such cases, you can install the software by manually downloading and installing the deb file.
In this tutorial, you’ll learn many ways to install deb packages on Ubuntu, what can go wrong, and how you can fix it.
Read on to get your hands dirty with Ubuntu package management!
Prerequisites
This tutorial will be a hands-on demonstration. If you’d like to follow along, be sure you have an Ubuntu system set up. This tutorial uses Ubuntu 20.04, but any modern version of Ubuntu will work.
Downloading a Deb Package and Listing its Dependencies
Before installing a deb package, your goal is first to download the deb package. For this tutorial, you’ll download the Chrome deb package from Google.
At this time of writing, Google Chrome packages are unavailable in the default Ubuntu repositories. Why? Because Google Chrome is not really an open-source project but Google-owned. But no worries, this tutorial has got you covered.
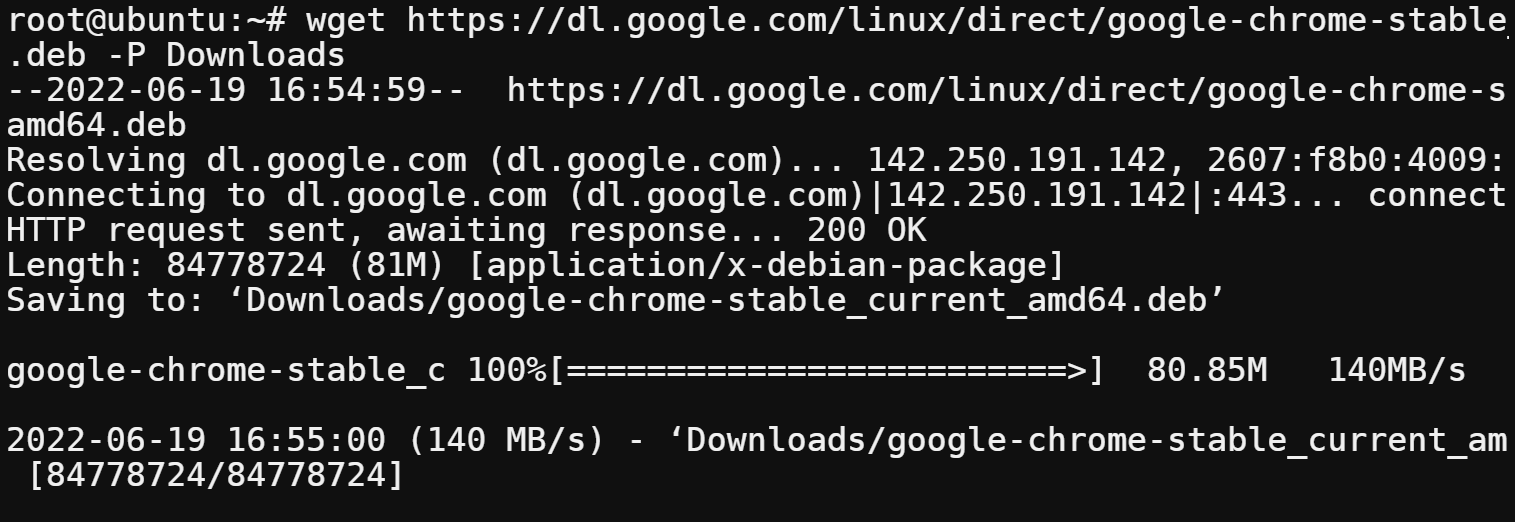
Run the wget command below to download, and save the Chrome deb package (google-chrome-stable_current_amd64.deb) to your Downloads directory.
wget <https://dl.google.com/linux/direct/google-chrome-stable_current_amd64.deb> -P Downloads
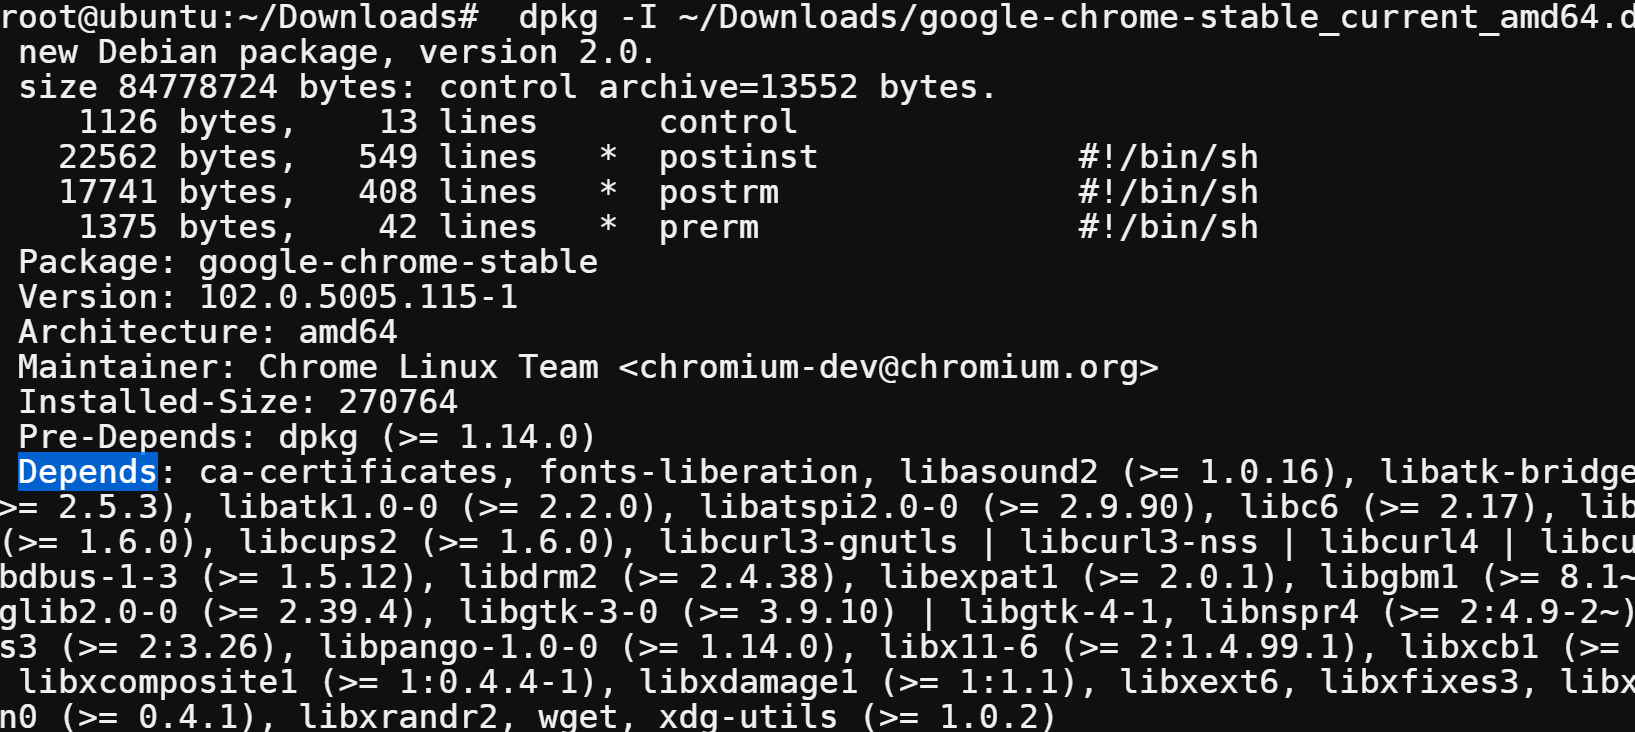
Now, run the below dpkg command to list all dependencies of the Chrome deb package (google-chrome-stable_current_amd64.deb). The -I option tells the dpkg command to display information about your target deb package, including the version, size, dependencies, and so on.
Knowing what dependencies a package has lets you ensure all dependencies are satisfied before you try to install the package. Almost every Linux package has dependencies, unlike Windows or Android packages.
dpkg -I ~/Downloads/google-chrome-stable_current_amd64.deb
Focus on the Depends section in the output below, which lists all dependencies of the Chrome deb package. This information helps you control what gets installed on your system.
If you don’t recognize some of them, most are probably satisfied by other packages already installed on your system. You’ll learn to deal with missing dependencies later in this tutorial.
Note that you can also use this same process to install any other software not available in the default Ubuntu repositories.
Extracting All Files from a Deb Package
Installing a deb file mainly extracts and copies all files from the package to the proper locations on your system. For this tutorial, you’ll extract all files inside the Chrome deb package to a custom location.
Run the below command to extract (-x) the contents of the Chrome deb package (google-chrome-stable_current_amd64.deb) to the chrome directory without installing the package.
This command doesn’t provide output, but you can think of this command as a “dry run” of the installation process.
dpkg -x ~/Downloads/google-chrome-stable_current_amd64.deb chrome
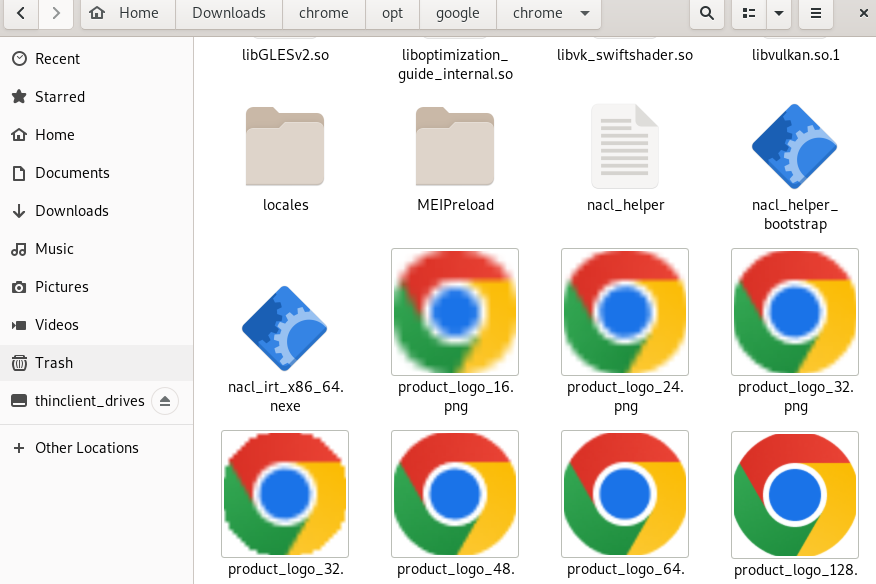
Open your file manager, navigate to the chrome directory, and see all the files saved on your system once you install the Chrome deb package.
You can see below that there are many files in the extracted directory. Most files are configuration files, shell scripts, and HTML files.
Installing a Deb Package Using GUI
If you’re more of a fan of clicking through a GUI when installing packages, your best option is the Ubuntu Software Center. Even though the Ubuntu Software Center has been discontinued, the program was created for managing repositories with a high-level GUI for the APT/dpkg package management systems.
To install a deb package via Software Center:
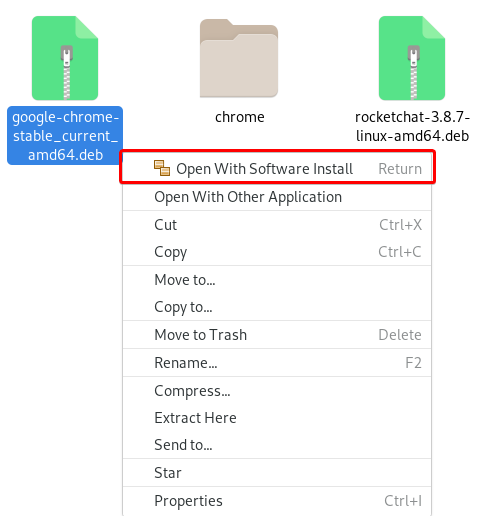
1. In your file manager, navigate to where you saved the Chrome deb package.
2. Right click on the Chrome deb package, and choose Open with Software Install to open the package in the Software Center.
3. Once the Software Center opens, click the Install button (top-left) to install Google Chrome on your system.
The installation may take a few minutes to complete, depending on the package size and your computer speed.

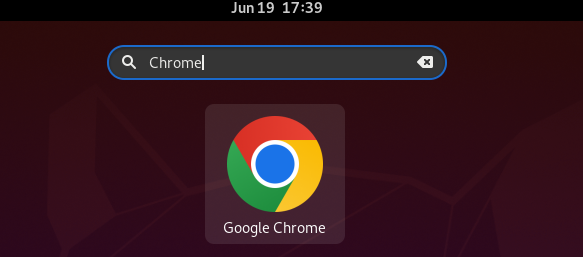
4. Finally, press the super key (or Windows key in Windows), search for Chrome, and click Google Chrome to open the application.
This step applies when opening Google Chrome regardless of which method you used to install the Chrome deb package in this tutorial.
Installing Deb Packages via Terminal
Not a hard fan of installing packages in a GUI? If working in a command-line environment is your forte, install deb packages via terminal instead.
There are different ways to install deb packages by running commands in your terminal. And for this tutorial, you’ll work on two of the most popular, dpkg and apt. But for a start, you’ll install the Chrome deb package using the dpkg command.
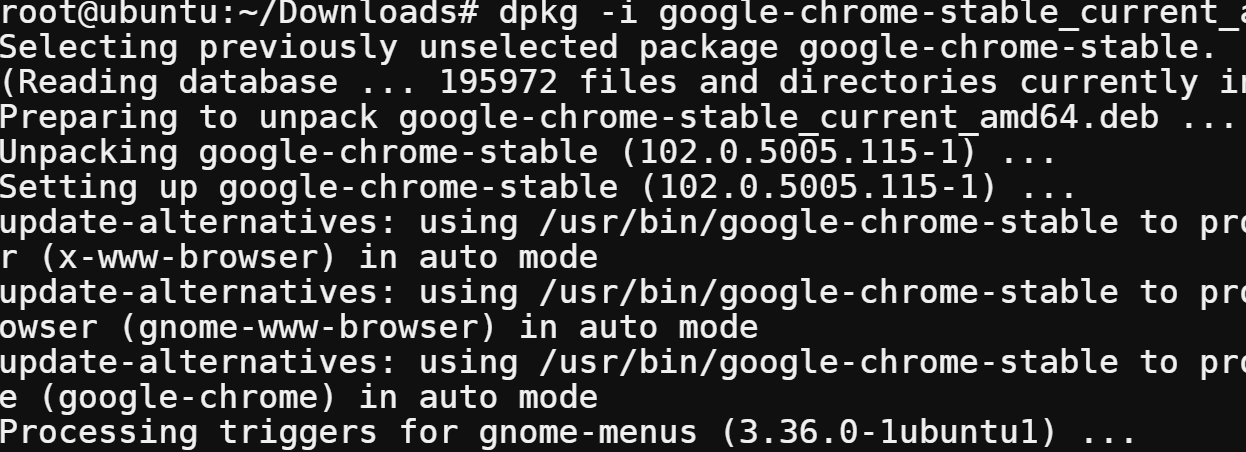
Run the dpkg command below to install (-i) your Chrome deb package (google-chrome-stable_current_amd64.deb). The dpkg command is case-sensitive, so the -i option must be lowercase.
sudo dpkg -i google-chrome-stable_current_amd64.deb
The apt command is a wrapper around the dpkg command that provides additional features, like updating installed packages, resolving dependencies, etc.
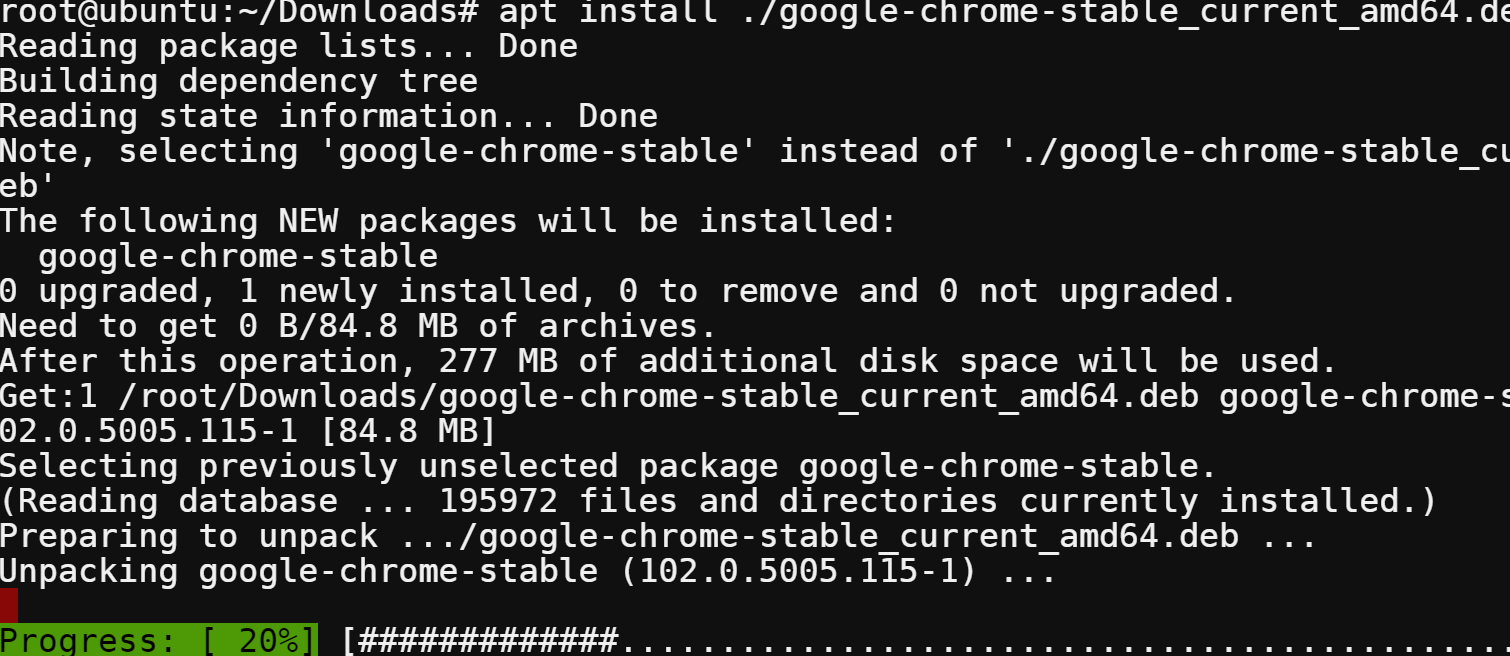
Now, run the apt install command below to install your Chrome deb package from the current directory (./).
The apt command is a powerful command-line tool that lets you handle packages in Debian-based systems. This tool automatically handles mixing dependencies making APT ideal for installing deb packages.
apt install ./google-chrome-stable_current_amd64.deb
Fixing Unmet Dependencies Error
So far, you’ve seen many ways to install deb packages that are pushed through. But what if you get an error that says dependency problems – leaving configured during installation?
The dependency problems error usually happens when you try to install a deb package that has unmet dependencies. To fix the error, you must first install the required packages for the deb package installation to work correctly.
Dependency problems occur if the software developer doesn’t include all dependencies in the deb package. Or the deb package is too old, and the dependencies have been updated.
To see how to fix dependency problems:
1. Run the wget command below to download the MySQL Workbench package to your Downloads directory.
wget https://downloads.mysql.com/archives/get/p/8/file/mysql-workbench-community_8.0.28-1ubuntu20.04_amd64.deb - P Downloads2. Next, run the following dpkg command to install (-i) the MySQL Workbench package.
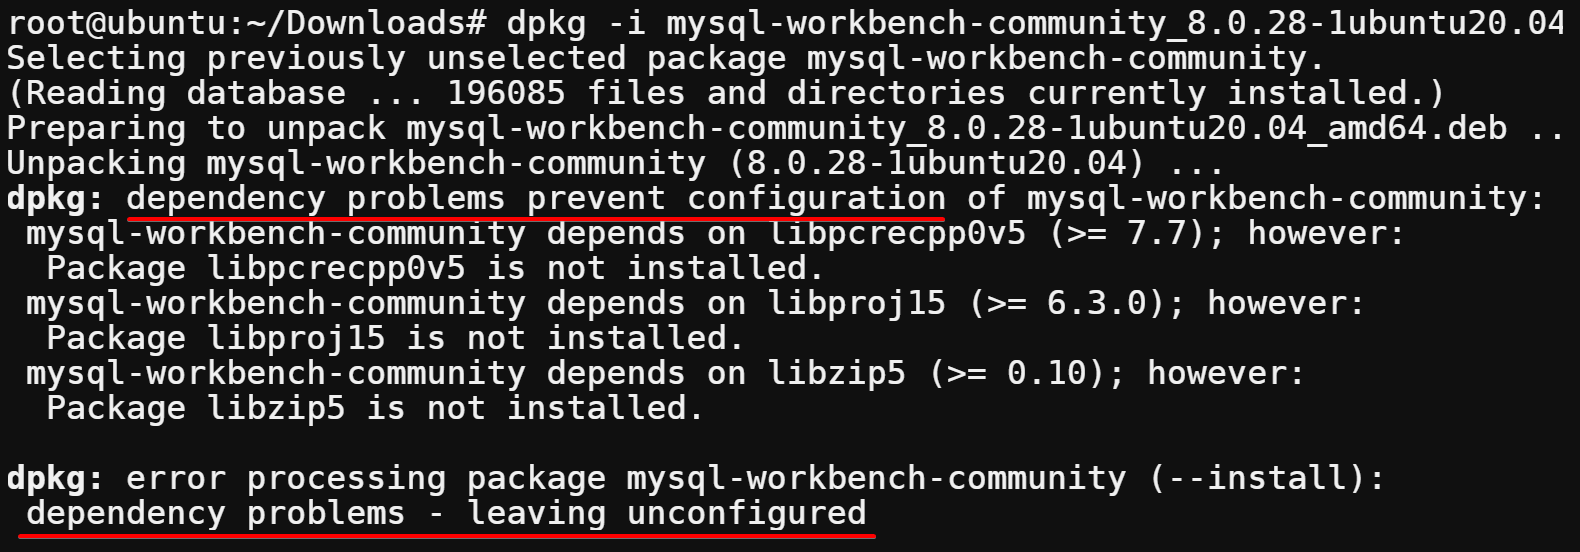
dpkg -i mysql-workbench-community_8.0.28-1ubuntu20.04_amd64.debAfter running the command, you’ll get the following dependency problems – leaving configured error message.
In the output below, there are packages you must install first before you can retry installing the MySQL Workbench package on your system.
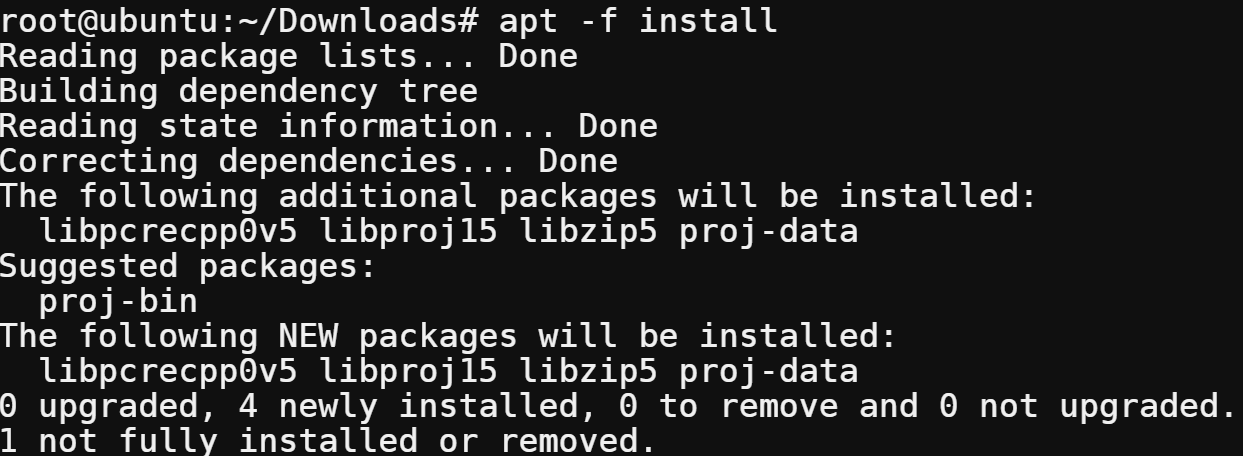
3. Now, run the apt command below with the -f option to fix broken dependencies.
Be sure to run this command right after you’ve tried installing the deb package with unmet dependencies.
apt -f installAs you can see below, the command tries to fix all broken and install all missing dependencies.
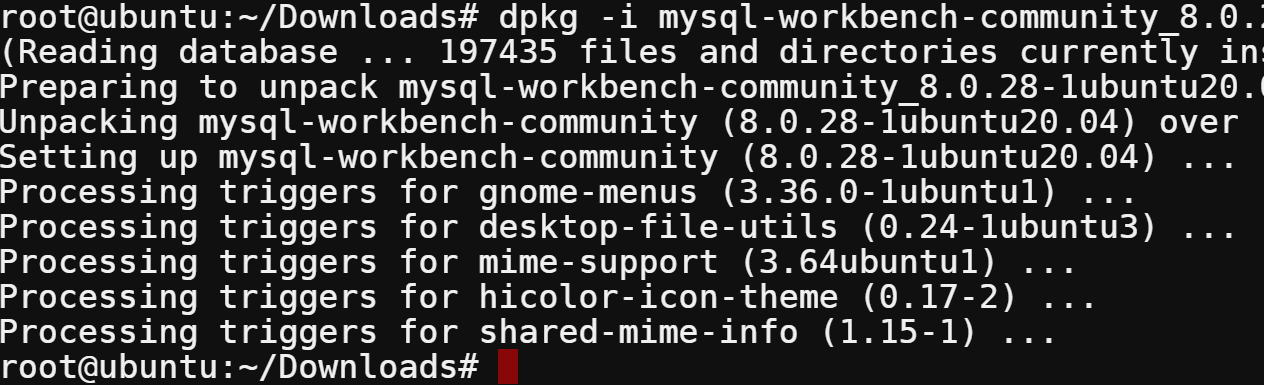
4. Finally, rerun the dpkg command below to install (-i) the MySQL Workbench package.
dpkg -i mysql-workbench-community_8.0.28-1ubuntu20.04_amd64.debThis time, you can see the installation works smoothly since all required dependencies are preinstalled.
Conclusion
In this tutorial, you’ve seen many ways to install deb packages on Ubuntu via GUI and terminal manually. At this point, you’re confident enough to install deb packages since you already know how to fix dependency problems if you ever get one.
Don’t stop here, though. Why not learn how to install software using .rpm files in an RHEL-based system? Increase your skillset by learning both package formats, so you can install any software you need on any Linux system.


