

If you’re new to Linux, you may be wondering how to install or update software packages. Well, you’ve come to the right place to get your head over managing software packages with Ubuntu Apt Get commands.
In this tutorial, you’ll learn how to update or upgrade existing software packages and install new ones or get rid of them when you don’t need them anymore.
Now read on and start managing software packages!
Prerequisites
This tutorial will be a hands-on demonstration but doesn’t require special tools, so long as you’re on Ubuntu 16 or higher version, you’re good to go. This tutorial uses Ubuntu 20.04.3 LTS version for the demos.
Updating System Package Repositories
One of the most common uses of the apt-get command is to update the list of packages available in your system. And doing so is recommended before installing, updating, or upgrading any software.
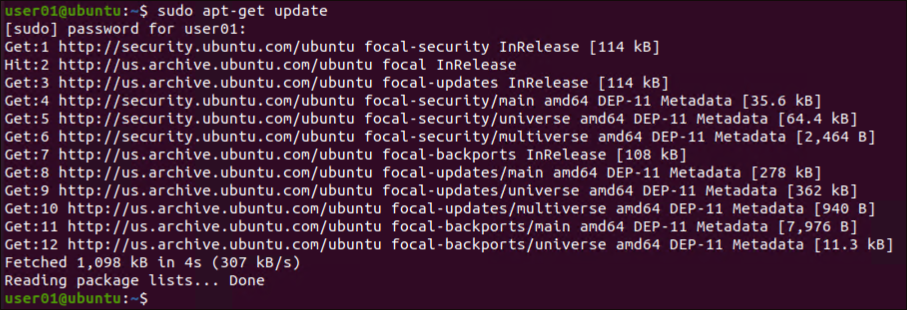
Open your terminal and run the below apt-get command to update the package list on your system. Enter your sudo password when prompted.
The below command checks for newer software versions from the entries in /etc/apt/sources.list file, and updates the system package list.
sudo apt-get updateWhen there is no package version update, you’ll see a note that says Hit. Otherwise, you’ll see a note saying Get, and the command downloads the package information (not the total package). When there is an error in retrieving the package information, it shows ign.
Upgrading Software Packages
You’ve just updated your machine’s software package list based on sources.list, but software packages will stay in their current version unless you run an upgrade. Upgrade software packages that have available updates based on the entries in the sources.list file.
Run the Ubuntu Apt Get command below to upgrade all installed software packages on your machine with newer versions available. You are prompted to confirm, and enter Y to continue.
You can bypass the confirmation prompt with the
-yoption. This may update/install packages that you did not intend to if you have not verified the list.
sudo apt-get upgrade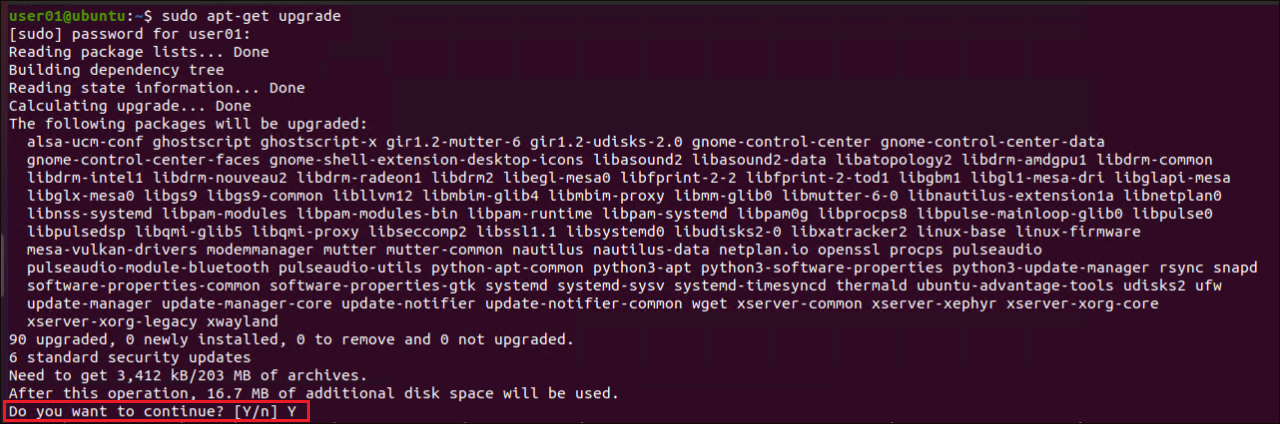
Perhaps you prefer to upgrade a specific software only. If so, specify the package name along with the apt-get upgrade command, as shown below.
sudo apt-get upgrade vsftpd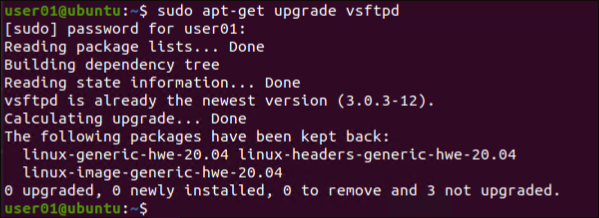
If you have 2-3 software to upgrade, you can specify them in the
apt-get upgradecommand separated by space, like the one below:sudo apt-get upgrade vsftpd google-chrome firefox
Intelligently Upgrading Application Packages with Ubuntu Apt Get
Apart from upgrading installed software packages, how do you intelligently manage software package conflicts? The apt-get upgrade package only upgrades existing packages but the dist-upgrade command will also remove existing packages if they are in conflict with the new versions.
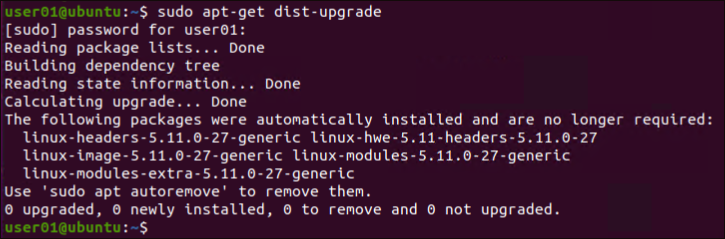
Run the below command to upgrade existing software packages on your machine. This command also adds or removes any packages to fulfill any dependencies.
sudo apt-get dist-upgradeThe
apt-get dist-upgradecommand has an intelligent conflict resolution system. If there is a conflict when upgrading the packages, the command chooses the critical packages to upgrade first and then the lower priority packages.
To upgrade an Ubuntu version to the next release version, you would run the command
do-release-upgrade. This runsapt-get dist-upgradeas well to update the packages.
Searching and Installing Specific Software Packages
So far, you’ve learned to update package repositories and the operating system itself. But how do you search for new software packages to install? The apt-cache command lets you search for all available or specific software packages.
Run the command below to display all locally known available software packages (pkgnames). This list is derived from the last update against the sources.list configuration file.
apt-cache pkgnames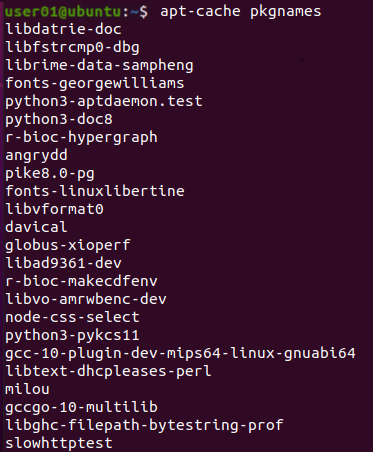
The apt-cache pkgnames command naturally returns tons of software packages, and it’s a pain to scroll through them. So why not specifically search for one if you’re familiar with the software package’s name?
Run the below command to search for specific software package repositories, in this case, for vsftpd. Since you’re only searching for a software package, you do not need to prepend the sudo command.
apt-cache search vsftpd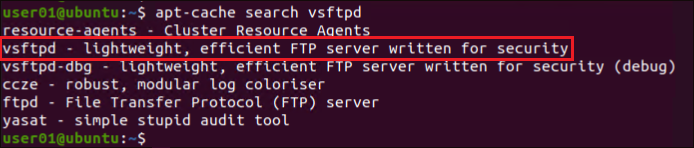
If you know the exact package name, replace
searchwith theshowparameter, like this:apt-cache show PackageName. ReplacePackageNamewith the actual package name. This command lets you view the package details, such as the origin, architecture, version, and so on.
Once you find the software package, run the command below to install that software package (vsftpd) on your machine.
sudo apt-get install vsftpd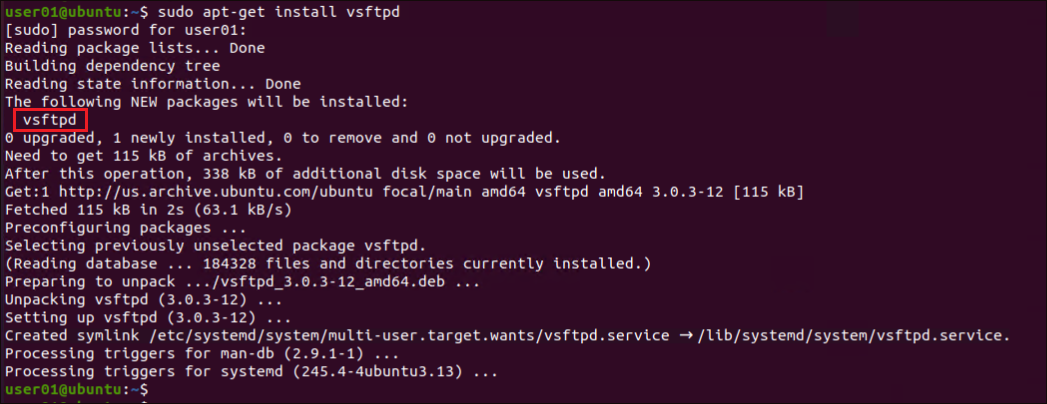
Reinstalling a Software
Perhaps you’re having trouble with some software, and you’re not into breaking things down just to see what’s wrong with it. If so, reinstalling the software is one thing you can attempt to fix the software issue.
Run the following apt-get install command to --reinstall the software (vsftpd) on your system.
sudo apt-get install vsftpd --reinstall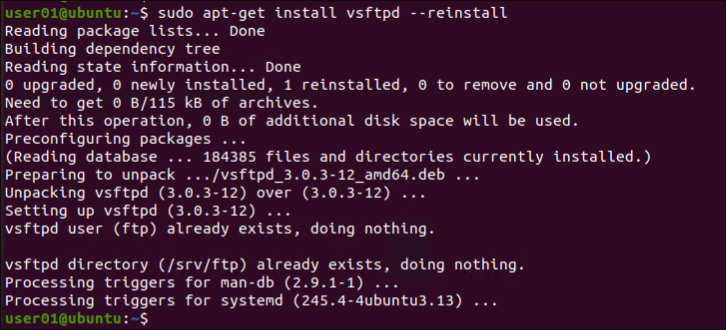
Removing Installed Software
Installed software in your system naturally consumes your storage. What if the software no longer serves a purpose? Removing that software is the ideal thing to do. Doing so lets you optimize your system’s performance.
Run the following command to remove a specific software (vsftpd) from your machine.
sudo apt-get remove vsftpd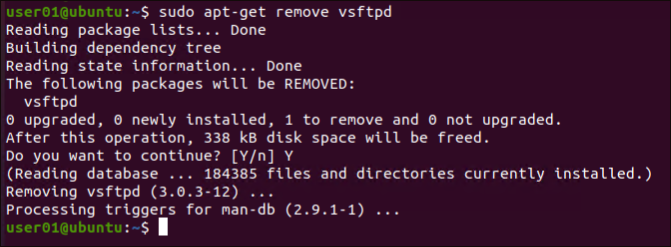
Removing Software and Any Supporting Files with Ubuntu Apt Get
Most of the software installed on your machine leaves residues, such as folders or configuration files, even after removing them. Those residues also contribute to your storage running out, so how do you remove them? Let the Ubuntu Apt Get command remove those residues for you.
Perhaps you already uninstalled a software but its configuration files remain. If so, using the purge parameter with the apt-get command will suffice.
Run the below command to uninstall the software (vsftpd) and remove the left-over files and folders (purge) from your machine.
sudo apt-get purge vsftpd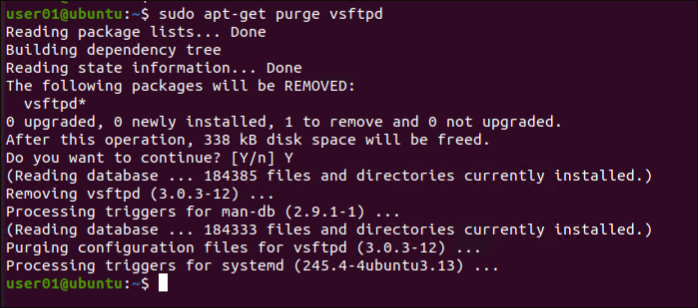
Alternatively, run the command below if you prefer to uninstall (remove) the software and rid (--purge) its configuration files in one go.
sudo apt-get remove --purge vsftpd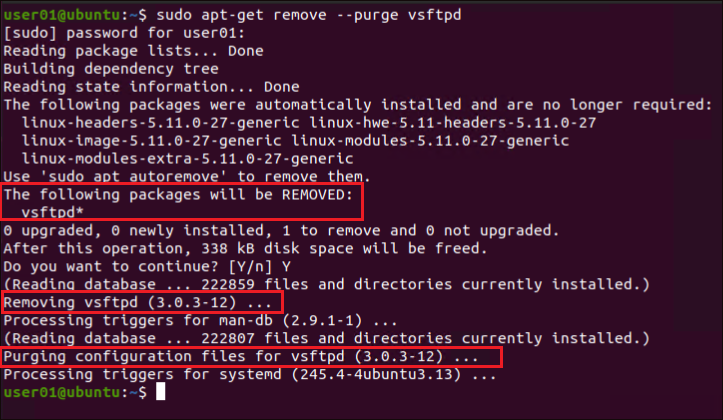
Resolving Dependency Errors
Installing, updating, or upgrading software doesn’t always end up perfectly completed. You tend to get errors at some point, like dependency errors due to a corrupted package database. But don’t worry! The Ubuntu Apt Get command lets you clear your local repository of retrieved package files that are not required which may be causing the dependency error.
Application packages themselves are stored in .deb files which are downloaded and installed on your machine when you install any software. Now, if you remove a specific software and reinstall it, apt uses the .deb files from your local repo for reinstallation, rather than redownload from the internet.
But if a newer version of the software is available and you try to reinstall the software, the existing files in your local repo will no longer be usable. As a result, you get a dependency error.
Run the apt-get clean command below to remove downloaded and cached package files in your local repo (/var/cache/apt/archives).
The
apt-get cleancommand does not remove the lock files from /var/cache/apt/archives and /var/cache/apt/archives/partial folders. Lock files are intended to prevent two different package managers from operating on the same files in conflict.
sudo apt-get clean
To remove downloaded packages of software that are no longer referenced by installed software use the autoclean parameter.
Run the below command to remove residual files (.deb files) (autoclean) from the /var/cache/apt/archives directory.
sudo apt-get autoclean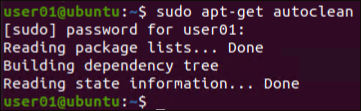
Conclusion
In this tutorial, you’ve learned how to use Ubuntu Apt Get commands to install or upgrade software packages and update the operating system itself. You’ve also touched on resolving installation errors by removing unnecessary package files of previous version install of software packages.
At this point, you already know how to manage software packages on your machine effectively. Now, why not automate upgrading software packages with a Bash script? Or might as well add cron jobs with a PHP script?


