

Ever dreamt of seamlessly deploying your data-driven applications for the world to see? Well, if you are here, you are probably facing the challenge of getting Shiny Server running on your Ubuntu system — a real head-scratcher!
But fear not; by the end of this tutorial, you will have a fully functional Shiny Server ready to host your interactive data applications.
Effortlessly showcase your projects to colleagues, clients, or even a global audience with Shiny Server!
Prerequisites
Before you dive in, ensure you have the following in place to ensure a smooth setup as you follow along with the hands-on demonstrations:
- A system running Ubuntu 18 or later – This tutorial uses Ubuntu 20.04.
- A user with full sudo privileges.
Installing R on Ubuntu for the Shiny Server Installation
With the prerequisites sorted, the next step is to get your Ubuntu system geared up for Shiny Server. You must install one of Shiny Server’s crucial components, the R programming language. Shiny applications are written in R, so you need R to interpret and run your code.
To install R on your Ubuntu machine, carry out these steps:
1. Open your terminal, and run the below wget command to perform the following:
- Download the public key for the Comprehensive R Archive Network (CRAN) repository (
marutter_pubkey.asc). - Add (
tee) the downloaded public key to the list of trusted keys in the Advanced Packaging Tool (APT) system (cran_ubuntu_key.asc).
Following this process ensures that your system trusts the packages you download from the CRAN repository. Moreover, doing so is a smart move to help safeguard against any potentially harmful installations.
sudo wget -qO- <https://cloud.r-project.org/bin/linux/ubuntu/marutter_pubkey.asc> | sudo tee -a /etc/apt/trusted.gpg.d/cran_ubuntu_key.asc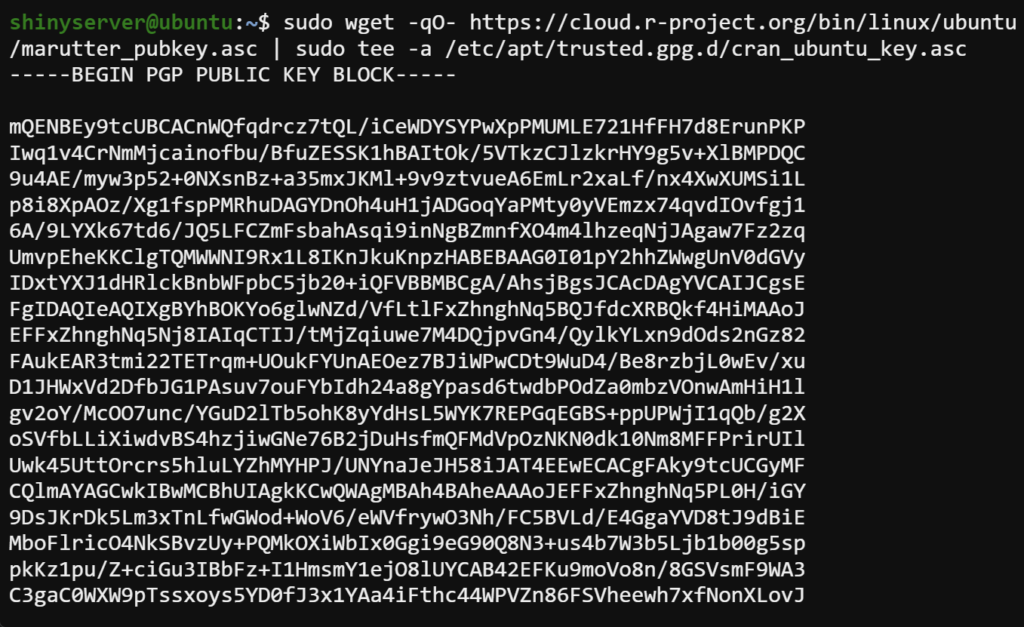
2. Next, execute the following gpg --show-keys command to check if the public key has been correctly added.
sudo gpg --show-keys /etc/apt/trusted.gpg.d/cran_ubuntu_key.asc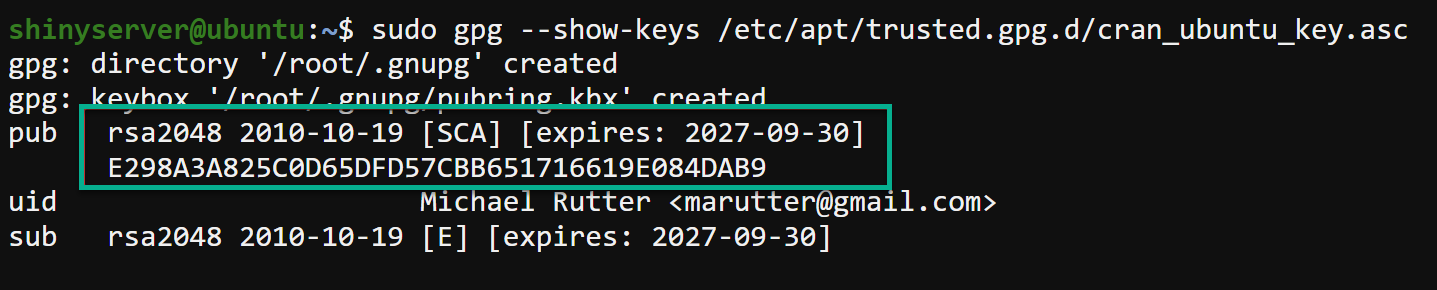
3. With the public key verified, run the add-apt-repository command below to add the CRAN repository for R to your list of apt sources.
sudo add-apt-repository "deb <https://cloud.r-project.org/bin/linux/ubuntu> $(lsb_release -cs)-cran40/"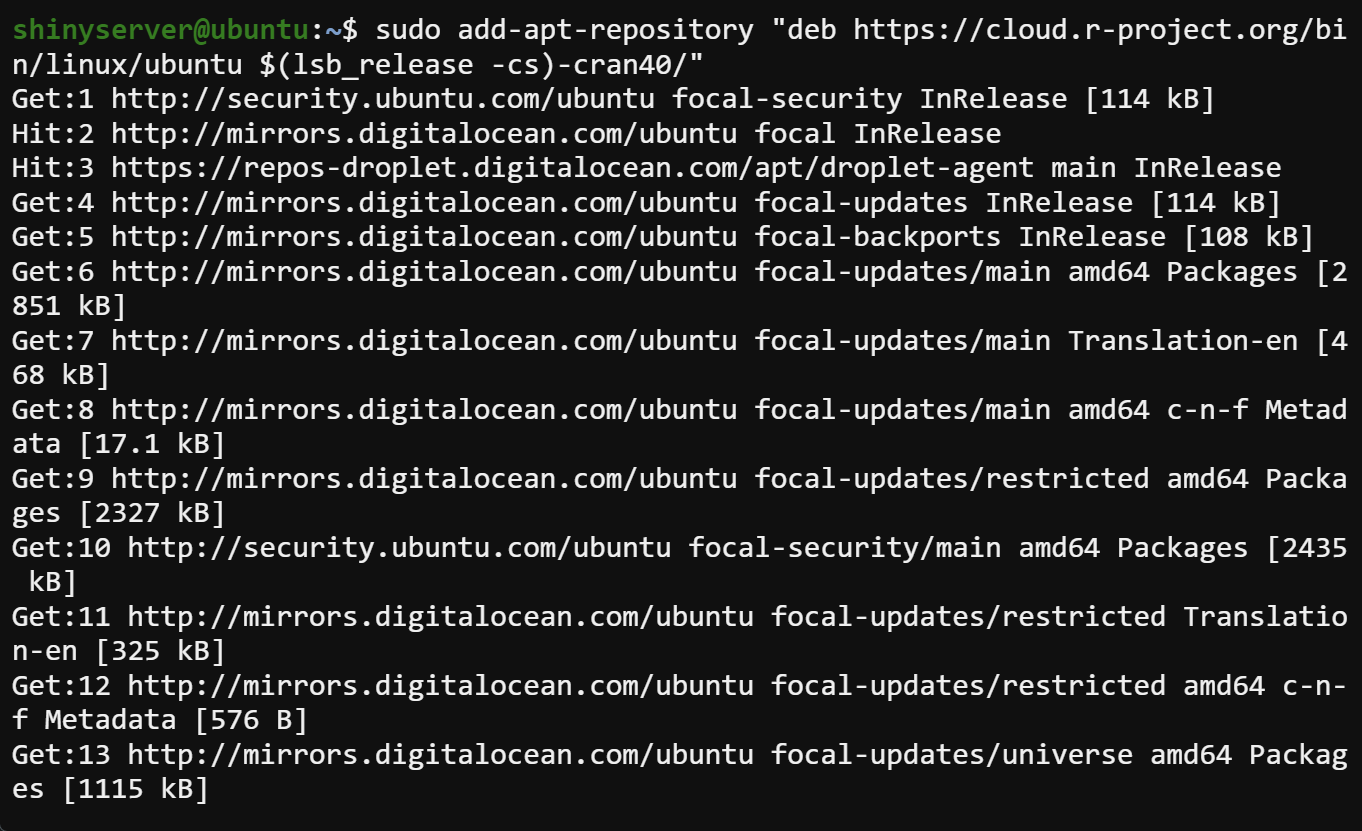
4. Now, run the below apt update command to update apt sources and pick up the new CRAN sources.
sudo apt update -y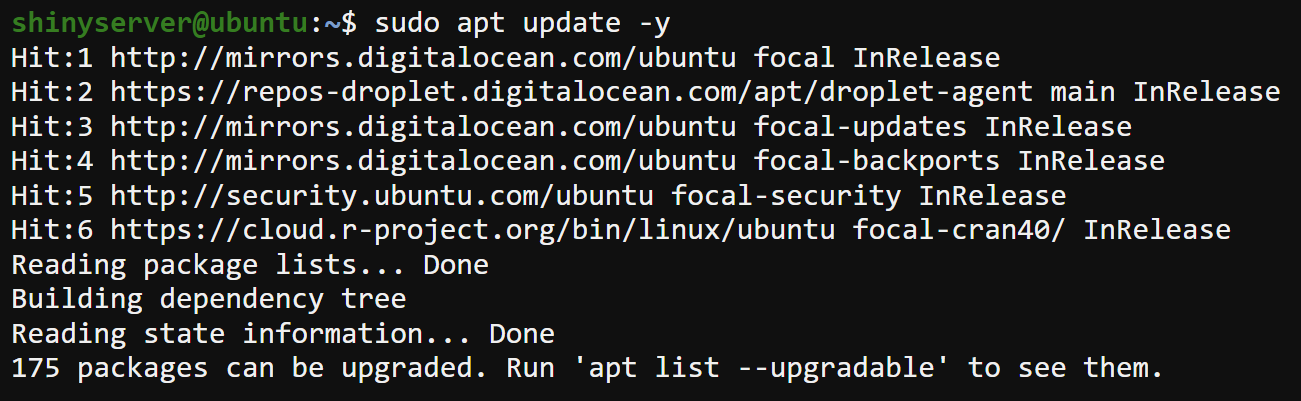
5. Once updated, invoke the below apt install command to download and install R.
sudo apt install r-base r-base-dev -y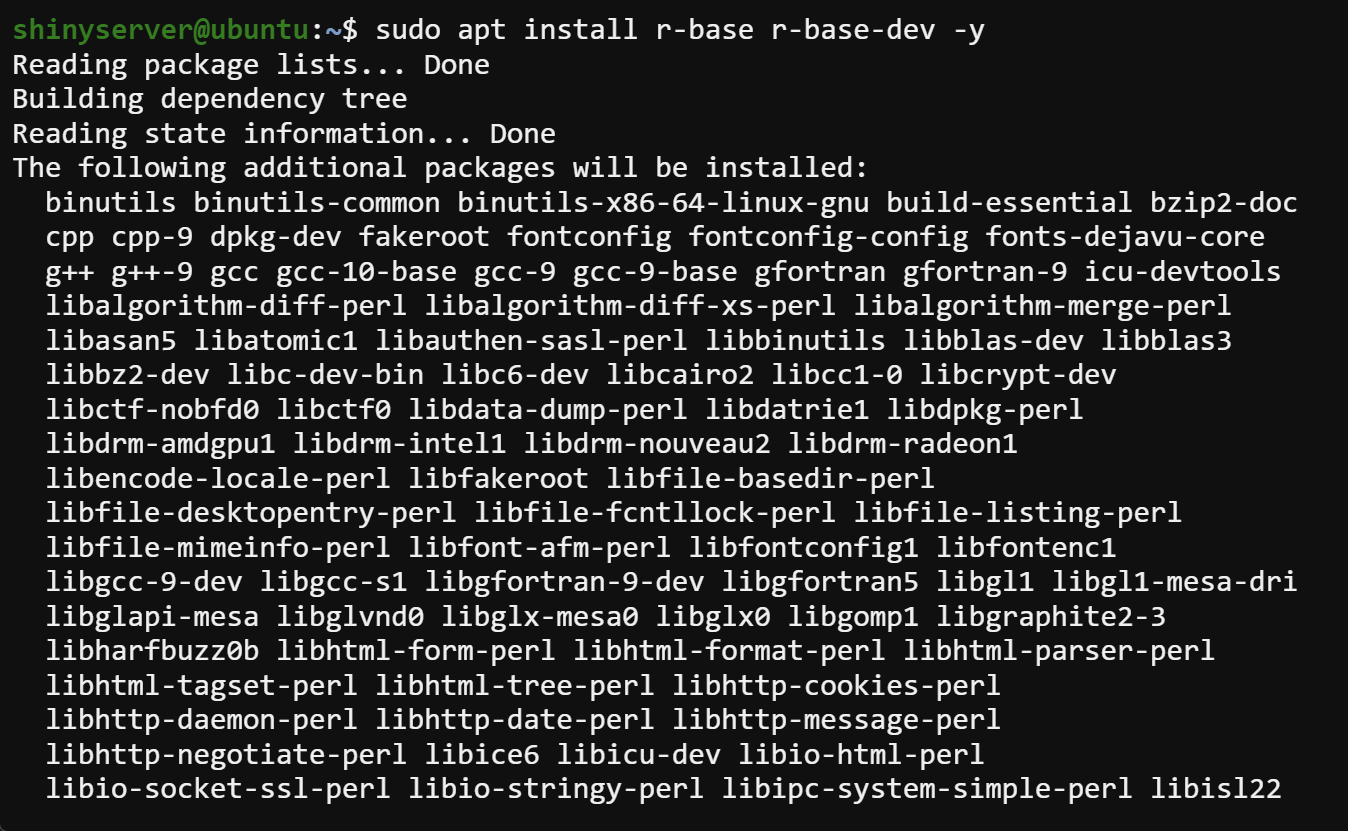
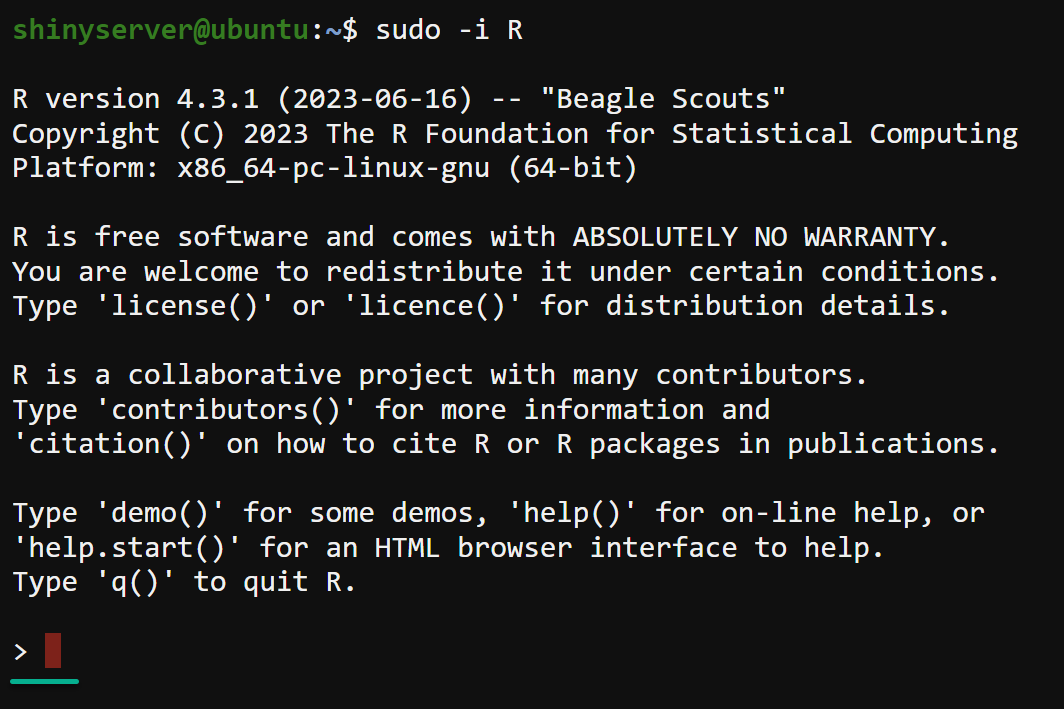
6. Execute the following command to switch to the root user (-i) and start the R interpreter.
sudo -i RIf your prompt changes to the one below (>), you have successfully installed R on your Ubuntu system.
7. Lastly, run the below quit() command exit out of the R CLI.
quit()
Installing the Shiny R Package for Creating Interactive Web Apps
Now that you have R installed on your system, you are almost ready to tap into the full potential of R for creating dynamic, web-based dashboards and applications. The show’s real star is the Shiny R package that you must install on your Ubuntu system.
Shiny R is open-source and is like magic for your R code, letting you effortlessly turn your analyses into web apps — no HTML, CSS, or JavaScript needed!
To install the Shiny R Package, follow these steps:
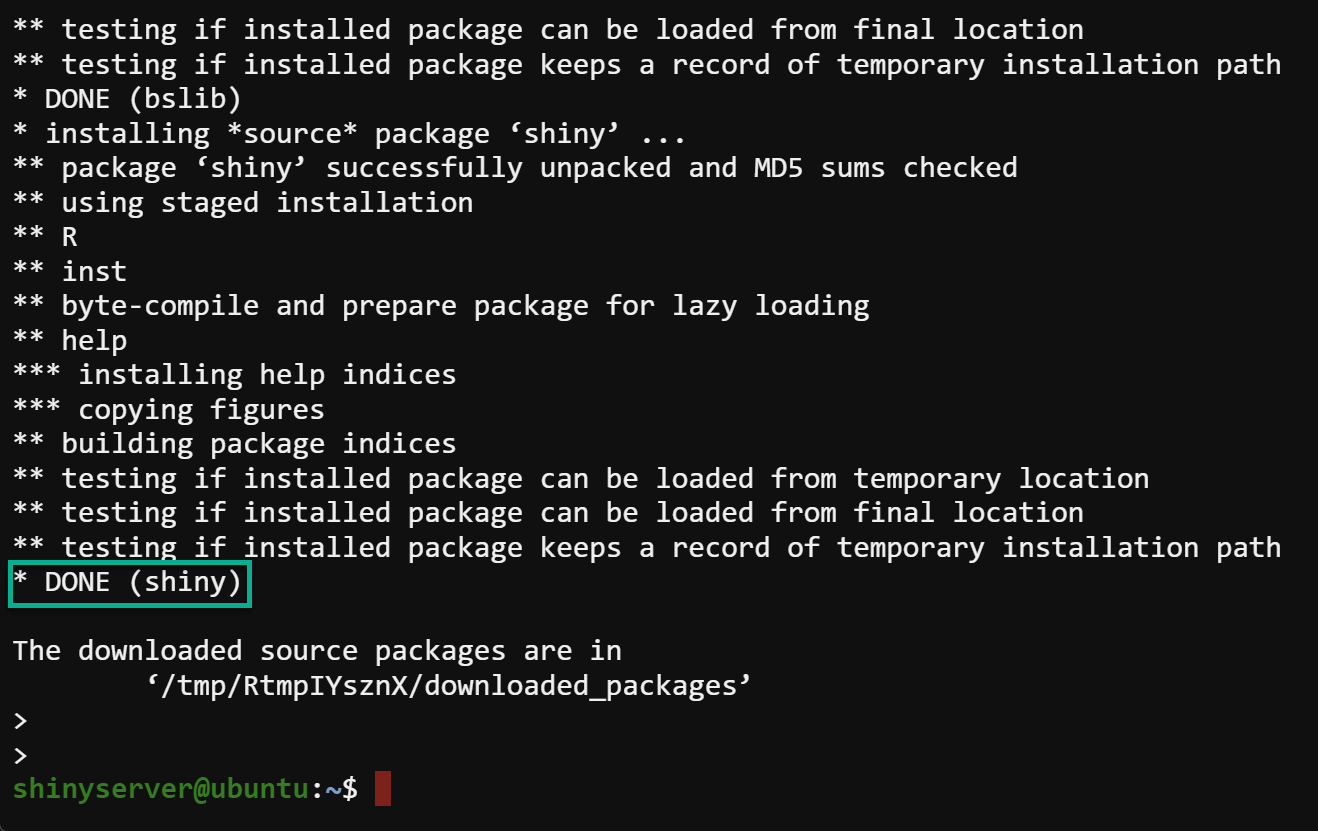
Run the following command to switch to the root user (su -), and execute (-c) an R command (R -e) that installs (install.packages) the shiny package from a specific repository.
sudo su - -c "R -e \"install.packages('shiny', repos='http://cran.rstudio.com/')\""💡 Instead of launching the R shell, this command lets you execute an R command directly. This approach is handy for automation (scripting and batch processing) and remote execution when you do not have a graphical interface to open an R session.
If everything goes well, you will see the following output.
Now, run the command below to switch back to the root user (su -) and execute an R command (R -e). This R command checks and displays the currently installed packageVersion of the shiny package.
sudo su - -c "R -e \"packageVersion('shiny')\""
Downloading and Installing the Shiny Server
With the Shiny R package setup, you need a platform for your Shiny applications to dazzle and engage your audience. Shiny Server is an open-source application that allows you to host and manage interactive web applications written in R.
Shiny Server handles the networking aspects of hosting a web application, so you do not need to be an expert in web development to host and share your Shiny applications.
To download and install Shiny Server, perform the steps below:
1. Run the below command to install the gdebi-core package. This package allows you to install packages from local deb files.
sudo apt install gdebi-core -y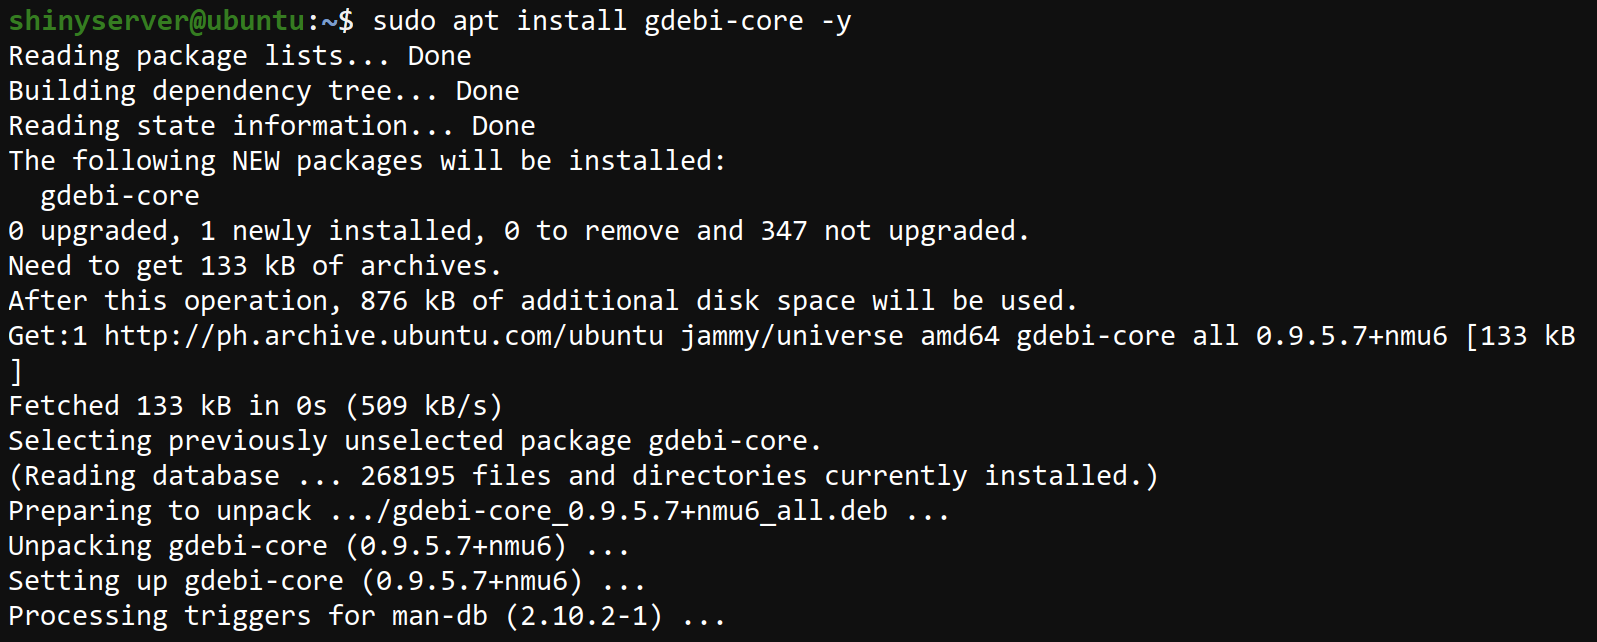
2. Next, run the below wget command to download the latest version of the shiny-server deb package to your local machine. At this time of writing, the latest version is 1.5.20.
sudo wget https://download3.rstudio.org/ubuntu-18.04/x86_64/shiny-server-1.5.20.1002-amd64.deb
3. Now, run the echo command below to verify the SHA-256 hash of the downloaded file. It’s a good practice to verify the integrity of the downloaded deb file.
echo "36667a9fbe59a103dcc147766cbf06027034887c3efb82a3c13bba32e255633b shiny-server-1.5.20.1002-amd64.deb" | sha256sum -cYou will see a similar output as the one below, indicating that the file integrity is as expected(OK).

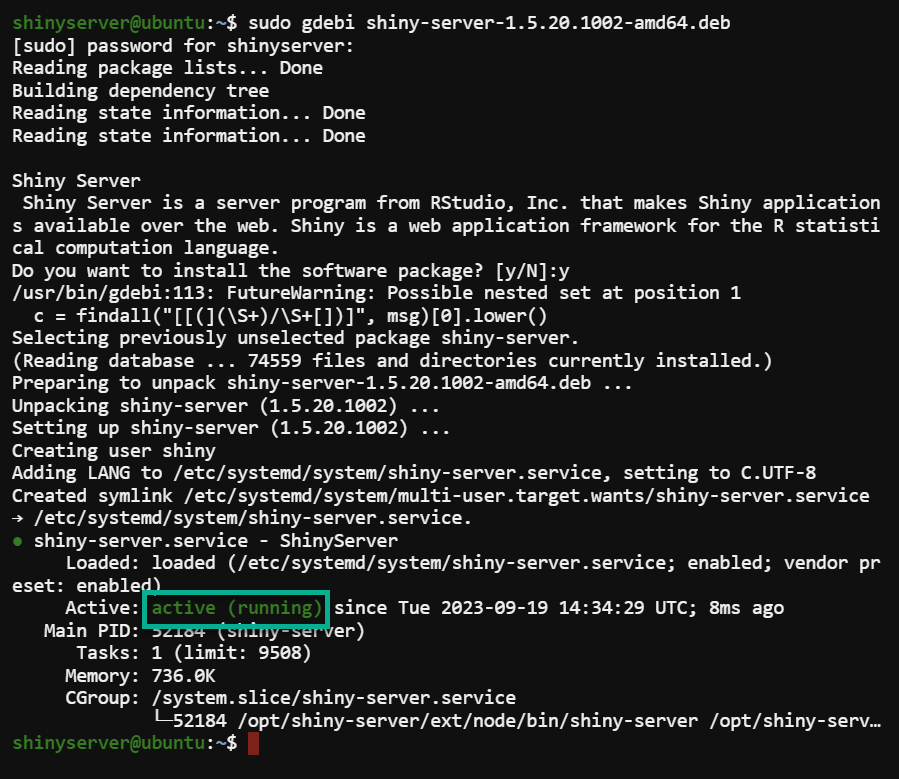
4. Lastly, execute the following gdebi command to install the Shiny Server’s specific version (shiny-server-1.5.20.1002-amd64.deb)
sudo gdebi shiny-server-1.5.20.1002-amd64.debType y and press Enter when prompted to continue.
If successful, you will see the Shiny Server’s status is active (running), as shown below.
Enabling Web Browser Access to the Shiny Server
Great job in installing the Shiny Server! But as it is, Shiny applications would remain confined. You must set up a virtual checkpoint — configuring the UFW firewall.
Think of the firewall as having a bouncer at the entrance of an exclusive event, ensuring only the right guests get in. In this case, this process is about allowing users to access your Shiny Server via web browsers.
To enable web browser access to your Shiny Server, complete these steps:
1. Execute the below ss command to confirm that the Shiny Server is actively listening on port 3838, the default port the Shiny Server service uses.
sudo ss -plut | grep 3838
2. Next, run the ufw command below to add a firewall rule to allow incoming network connections on port 3838.
sudo ufw allow 3838
3. Now, run the following command to check the current firewall status and rules.
sudo ufw status verbose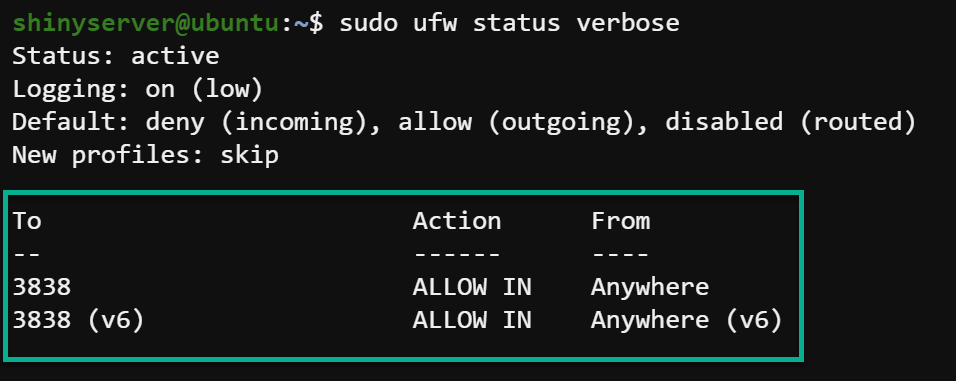
Accessing the Shiny Server and Finalizing the Installation
Now that you have set up the virtual gateway through the UFW firewall, you must ensure users can step inside your Shiny universe.
You will test your Shiny Server’s accessibility over a web browser to witness firsthand how your Shiny applications come to life in a web-based interface.
To access your Shiny Server via a web browser, execute these steps:
1. Open a modern web browser like Chrome or Firefox.
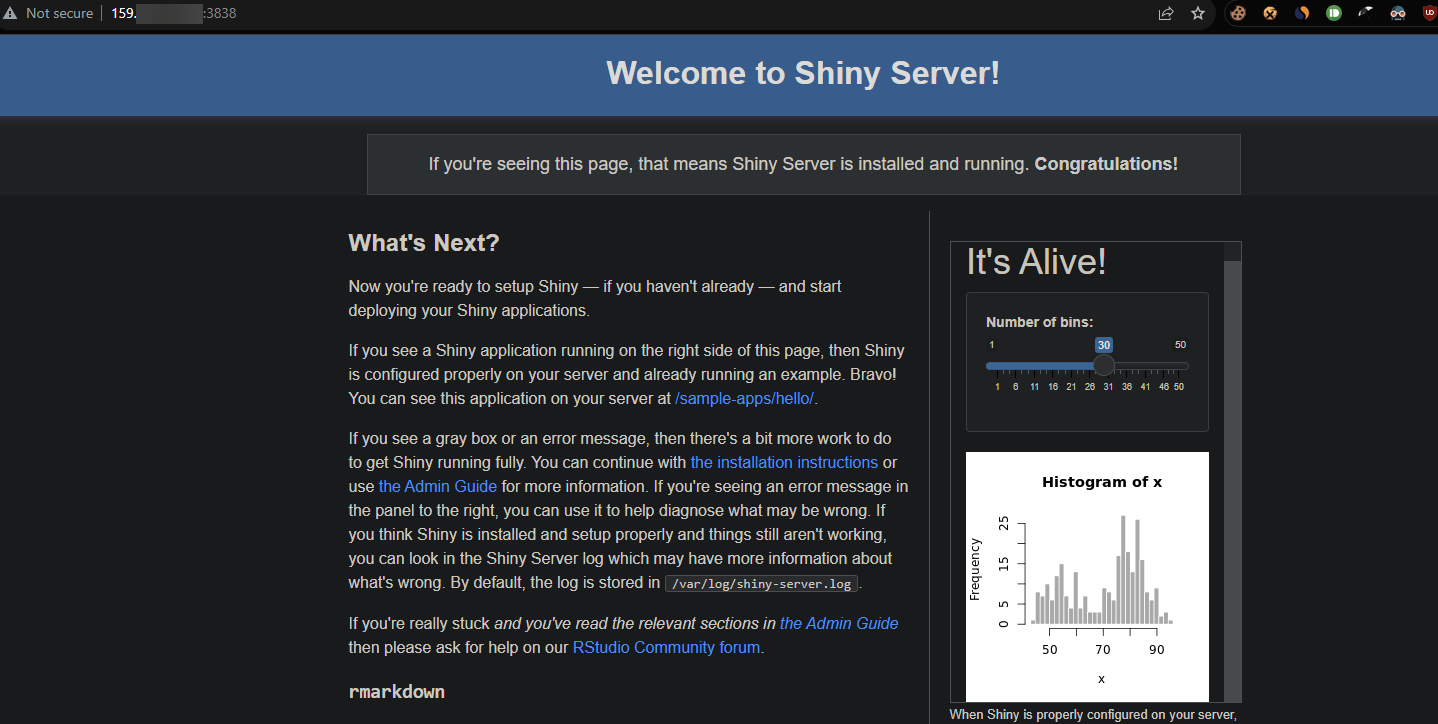
2. Next, navigate to your server’s public IP address, followed by port 3838 (i.e., http://159.x.x.x:3838)
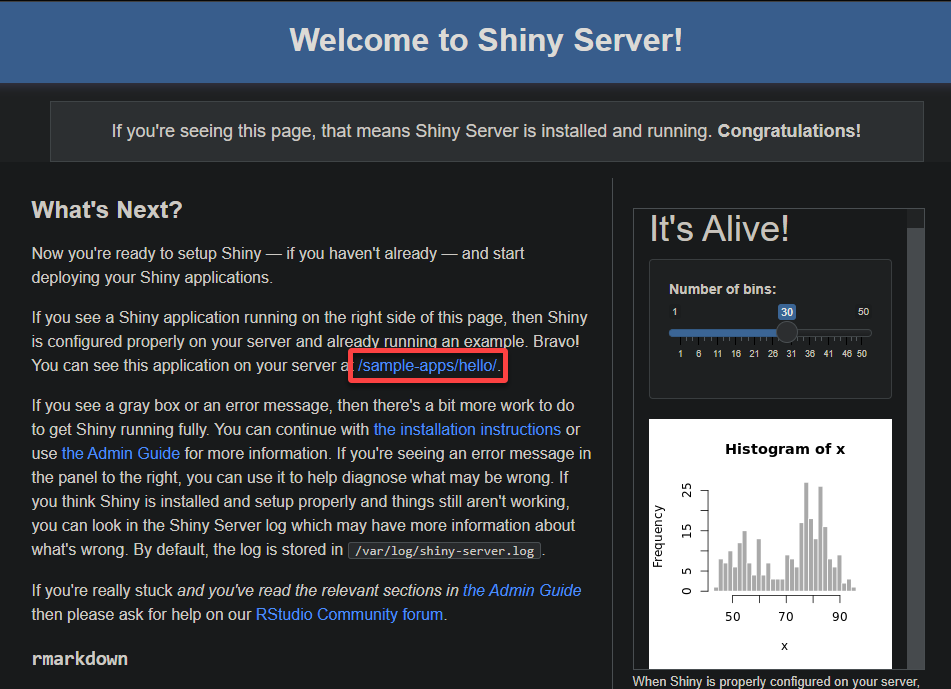
Assuming all goes smoothly, you will see Shiny Server’s welcome page like the one below.
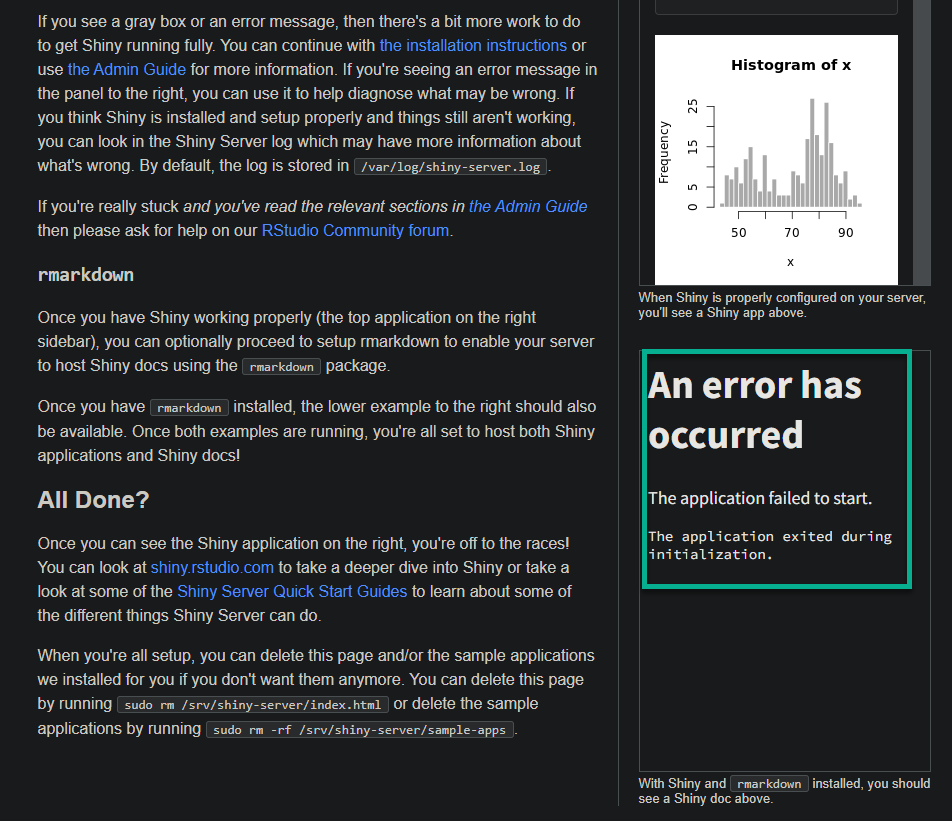
3. Scroll down, and confirm if you encounter an error, as shown below, that says The application failed to start.
When you see this error message, typically, there is a hiccup in getting your Shiny application running. Specifically, your Shiny Server is missing the rmarkdown package in this case. This package is crucial for creating those nifty dynamic reports in R.
4. Now, run the below command to install the rmarkdown package from the CRAN repository (http://cran.rstudio.com/).
sudo su - -c "R -e \"install.packages('rmarkdown', repos='http://cran.rstudio.com/')\""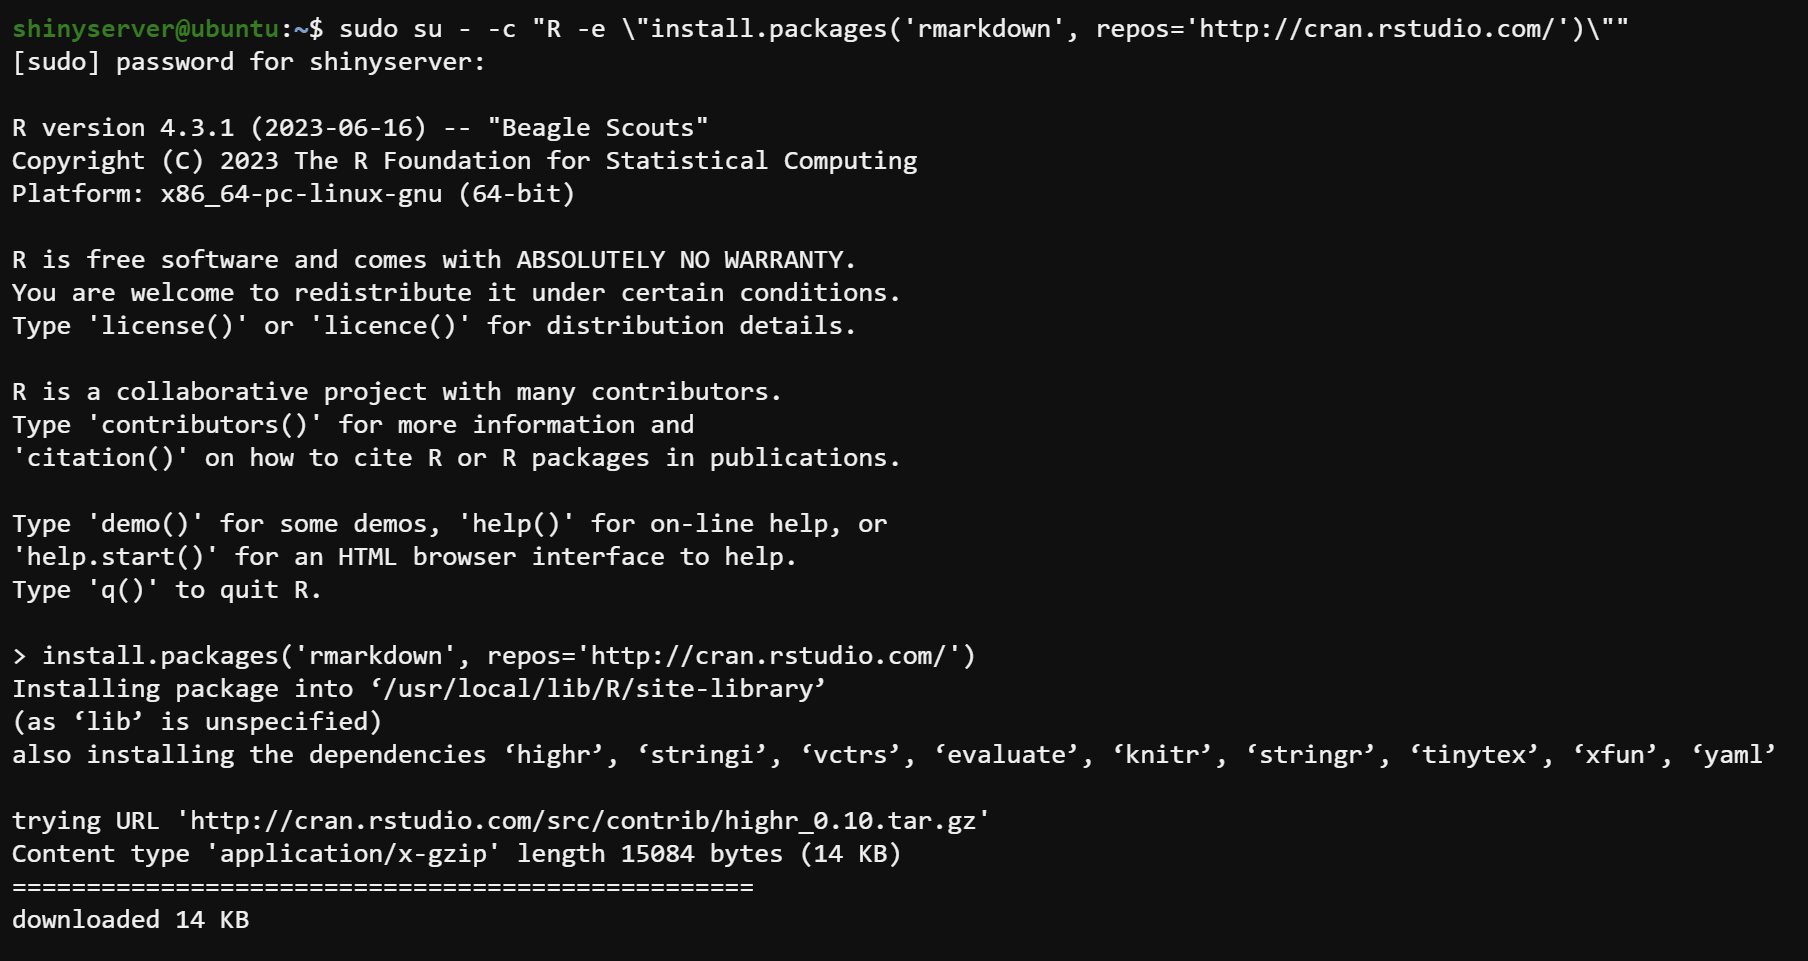
5. Once the installation finishes, reload your web browser.
As you can see below, the error is gone, and you are now ready to start creating Shiny applications on your server.
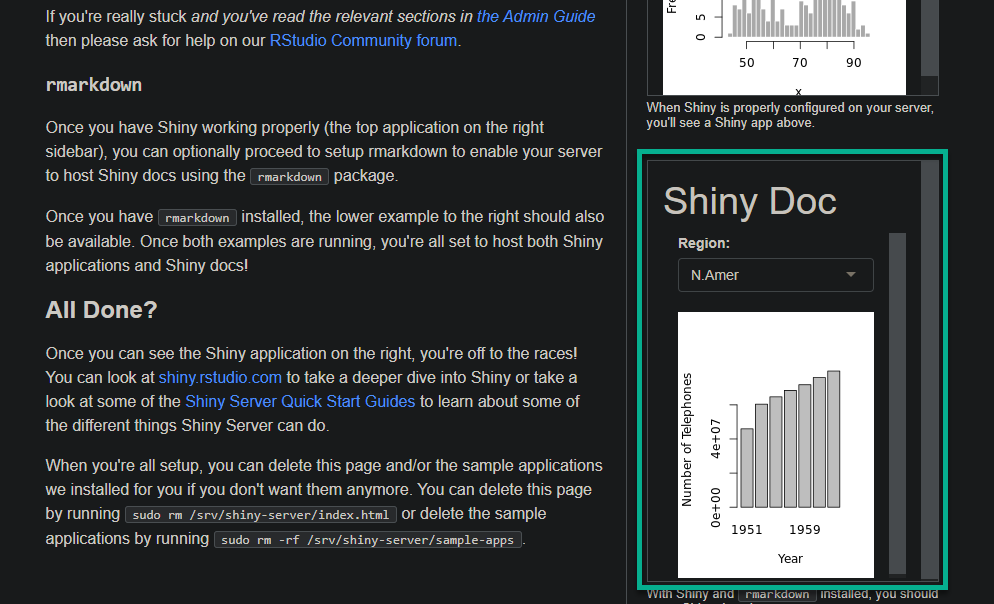
6. Scroll to the top, and click the hyperlink below (/sample-apps/hello/) to access a sample Shiny application named hello.
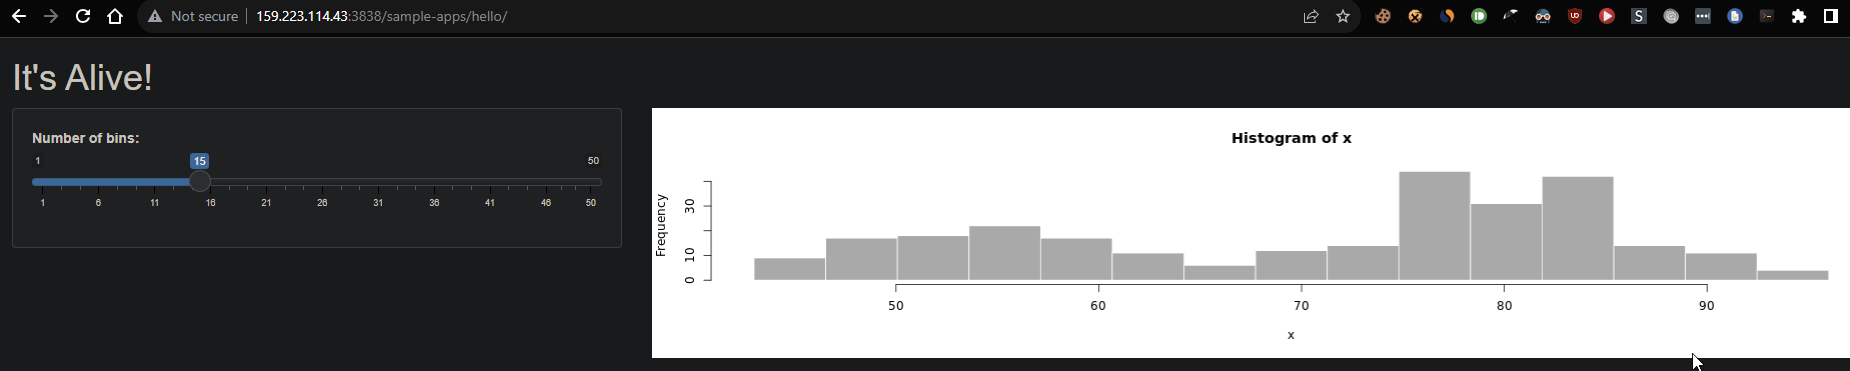
7. Finally, adjust the slider on the left (the page is interactive) to see the histogram updating in real-time on the right. The interactive nature of Shiny allows users to manipulate inputs and see the results in real time.
Conclusion
You have successfully set up your own Shiny Server on Ubuntu, navigated through the intricacies of installing R, adding the Shiny R package, and smoothly running your Shiny Server.
With your web browser now primed for access, you have effortlessly entered the world of interactive data visualization. And to top it off, you have seen how a sample Shiny application works!
Now, why not explore more advanced topics, such as setting up authentication, connecting to a Postgres database, and deploying applications online? With Shiny Server at your disposal, the possibilities are boundless!


