


Have you ever wished you could customize your terminal and make it more efficient as a work environment? Well, here’s some good news! Install Oh My Zsh on Ubuntu to get the command line experience you wish.
Oh My Zsh is an open-source framework, which may not make you a 10x developer, but will absolutely make you enjoy your work. In this tutorial, you’ll learn how to install Oh My Zsh on Ubuntu and customize your terminal to suit your taste.
Read on to take your command line to the next level!
Prerequisites
This tutorial will be a hands-on demonstration. If you’d like to follow along, be sure you have the following:
- A Linux system – This tutorial uses Ubuntu 20.04, but any modern Debian-based distribution will work.
Note that this tutorial assumes you’ve already SSHed into your Linux system.
- A WSL (Windows Subsystem for Linux) environment setup if you’re using Windows.
- A user account with sudo privileges – This tutorial uses a root user for simplicity. But a non-root user with sudo access is strongly recommended.
Installing Zsh on Ubuntu
Zsh is a shell, or command-line interpreter, for Linux systems. Zsh is similar to Bash but has some extra features. By default, Zsh is not installed on Ubuntu systems, but the base package is available in the repositories you can install with the APT package manager.
To install Oh My Zsh on Ubuntu:
1. Run the following apt update command to update your system’s local package index. This command ensures you have the latest versions of existing packages.
apt update -y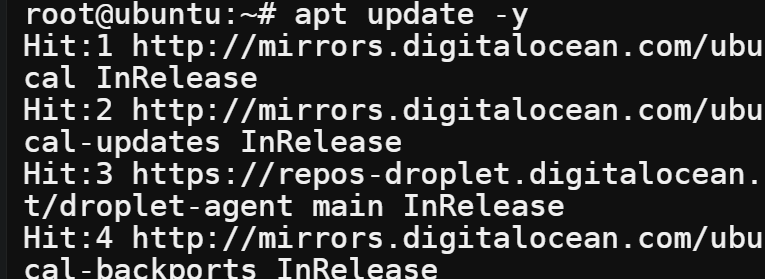
2. Once updated, run the below apt install command to install Zsh and its dependencies.
apt install zsh -y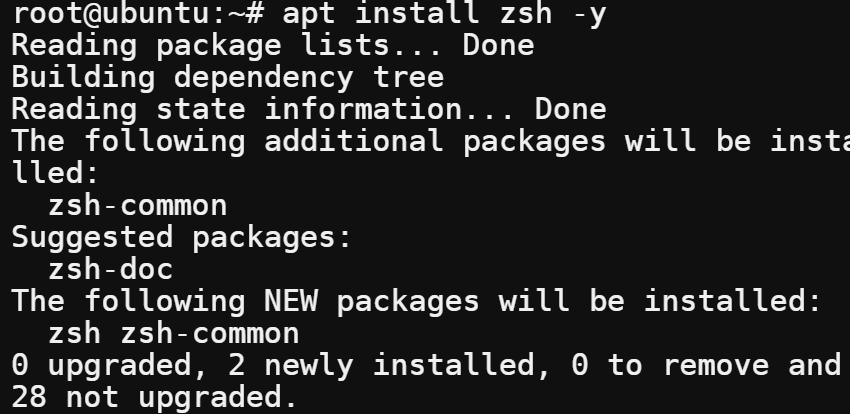
3. Lastly, run the zsh command below to check the version of Zsh installed.
zsh --versionYou can see the Zsh version installed is 5.8, the latest and stable version at the time of writing. Your installed version may differ if a newer version has been released.

Installing Zsh on Windows (WSL)
If you’re on Windows with WSL set up, you can install Zsh to take advantage of the increased functionality. The installation process is slightly different on Windows, but not by much.
To install Zsh on your Windows system:
1. Open PowerShell as Administrator, and run the below command to verify that Ubuntu is installed and set as the default WSL distribution.
Be sure you’re in the C:\Windows\System32 directory when you run this command.
./wsl -l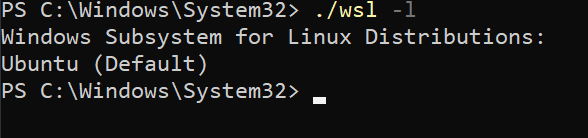
Run the ./wsl –set-default ubuntu command to set Ubuntu as the default WSL distribution if it’s not already set.
2. Next, run the following command to open the WSL terminal.
./wslYour terminal prompt changes (ata@Admin) to reflect that you’re now in an Ubuntu Linux environment.

3. Run the echo command below to verify you’re now working in a Bash shell.
echo $SHELL
4. Now, run the command below to update the package index, and install Zsh.
sudo apt update -y && sudo apt install zsh -y
5. Finally, run the zsh command below to check the installed –version of Zsh.
zsh --version 
Configuring Zsh as Default Shell
Installing Zsh is not enough before you can take advantage of Oh My Zsh. You’ll still need to configure Zsh as your default shell. Doing so lets you access the Zsh shell as soon as you launch your terminal.
Note that the following commands work on configuring your default shell, whether you’re on Ubuntu or Windows (WSL). But the following commands are demonstrated on an Ubuntu machine.
1. Run the echo command below to check your current default shell.
echo $SHELLThe output below indicates Zsh is not your current default shell.

2. Next, run the following command, which doesn’t provide output but performs the following:
which - Returns the path of the zsh binary.
chsh -s $(which zsh)3. Log out of your current session and log back in for the changes to take effect.
If you’re on Windows (WSL), you’ll be prompted with questions since you have no zsh startup files yet, like .zshenv, .zprofile, .zshrc, .zlogin.
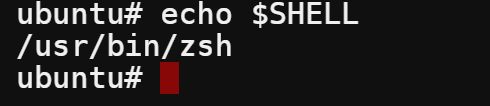
4. Now, rerun the command below to verify the change has taken effect.
echo $SHELLYou’ll see an output similar to the one below, which indicates that Zsh is now your default shell.
Installing Oh My Zsh on Windows and Ubuntu
So far, you’ve installed and set Zsh as your default shell. But what about all the other features that Oh My Zsh provides? Oh My Zsh comes with a bunch of out-of-the-box features that are not available in vanilla Zsh, such as auto-completion, themeable prompts, alias support, etc.
The recommended way to install Oh My Zsh is to use the installer script:
1. Run the below command to download (wget) the Oh My Zsh installer script from the Oh My Zsh GitHub repository and run it (sh -c).
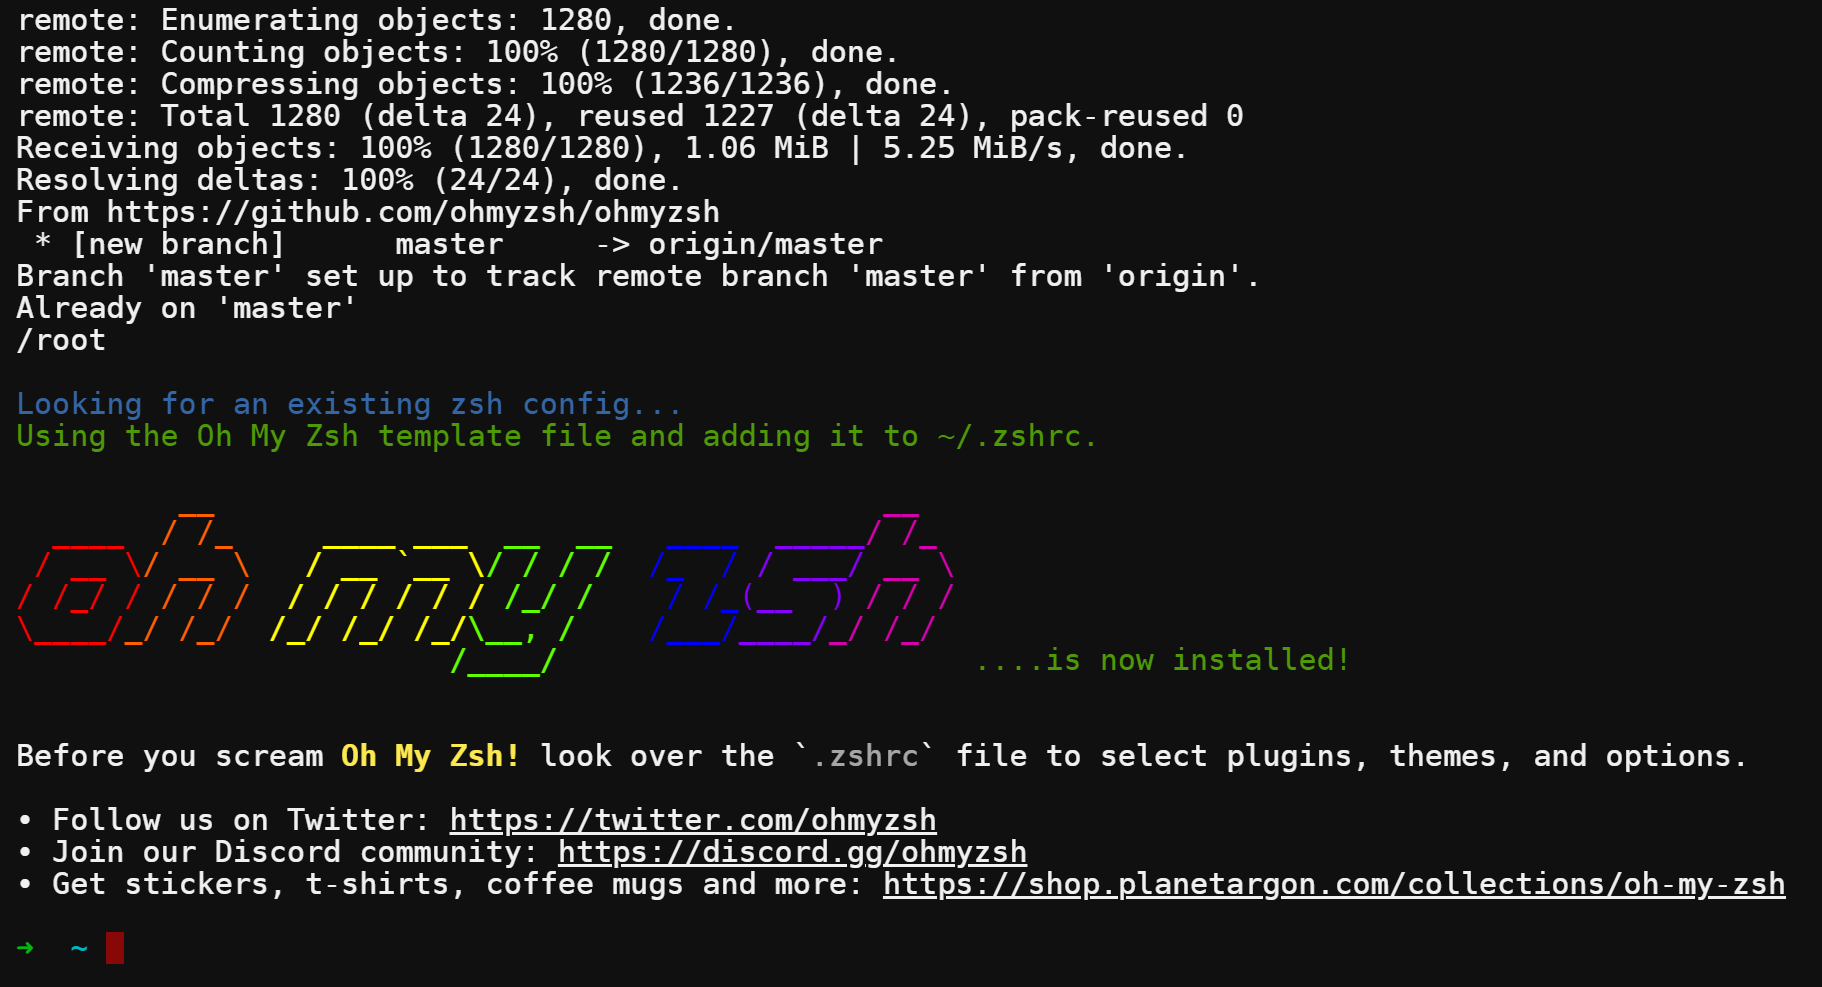
sh -c "$(wget https://raw.github.com/ohmyzsh/ohmyzsh/master/tools/install.sh -O -)"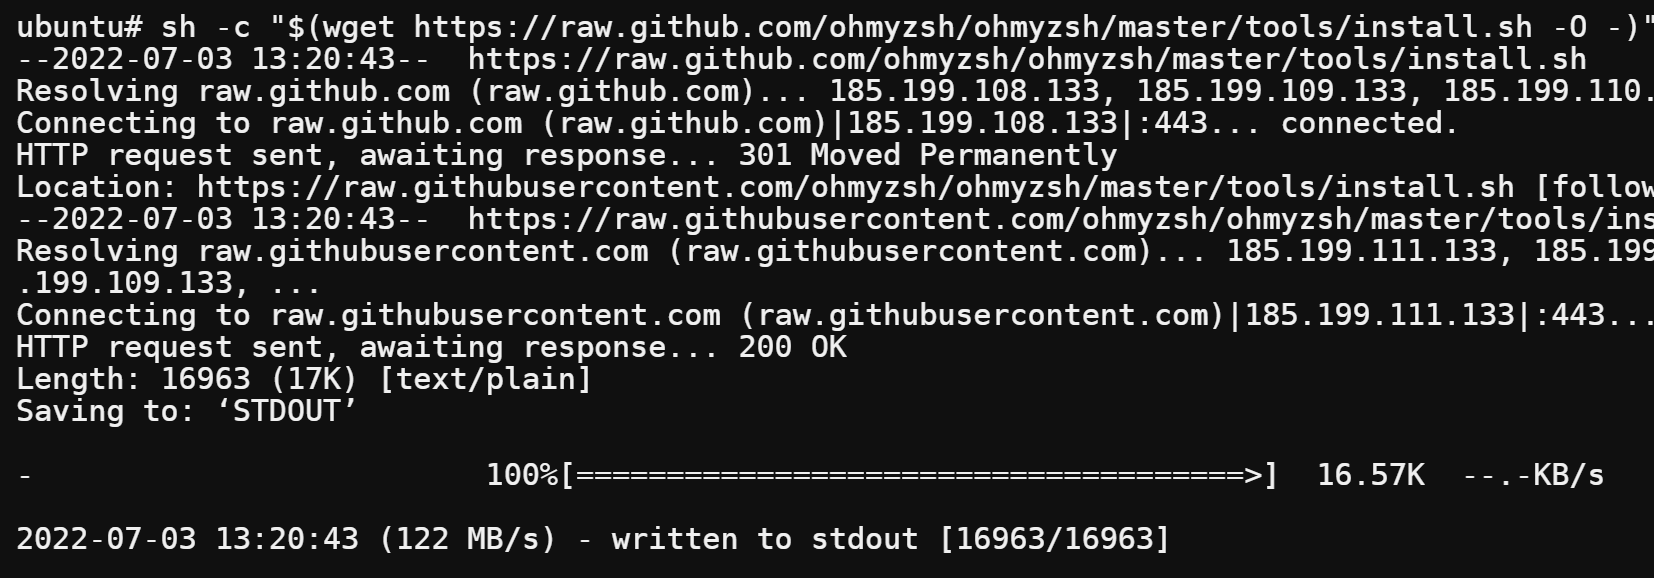
You can see your prompt changes to some fancy Zsh stuff (a green ~ symbol).
2. Next, run the env command below to verify that Oh My Zsh is installed and working. This command checks for the presence of all the $ZSH variables.
env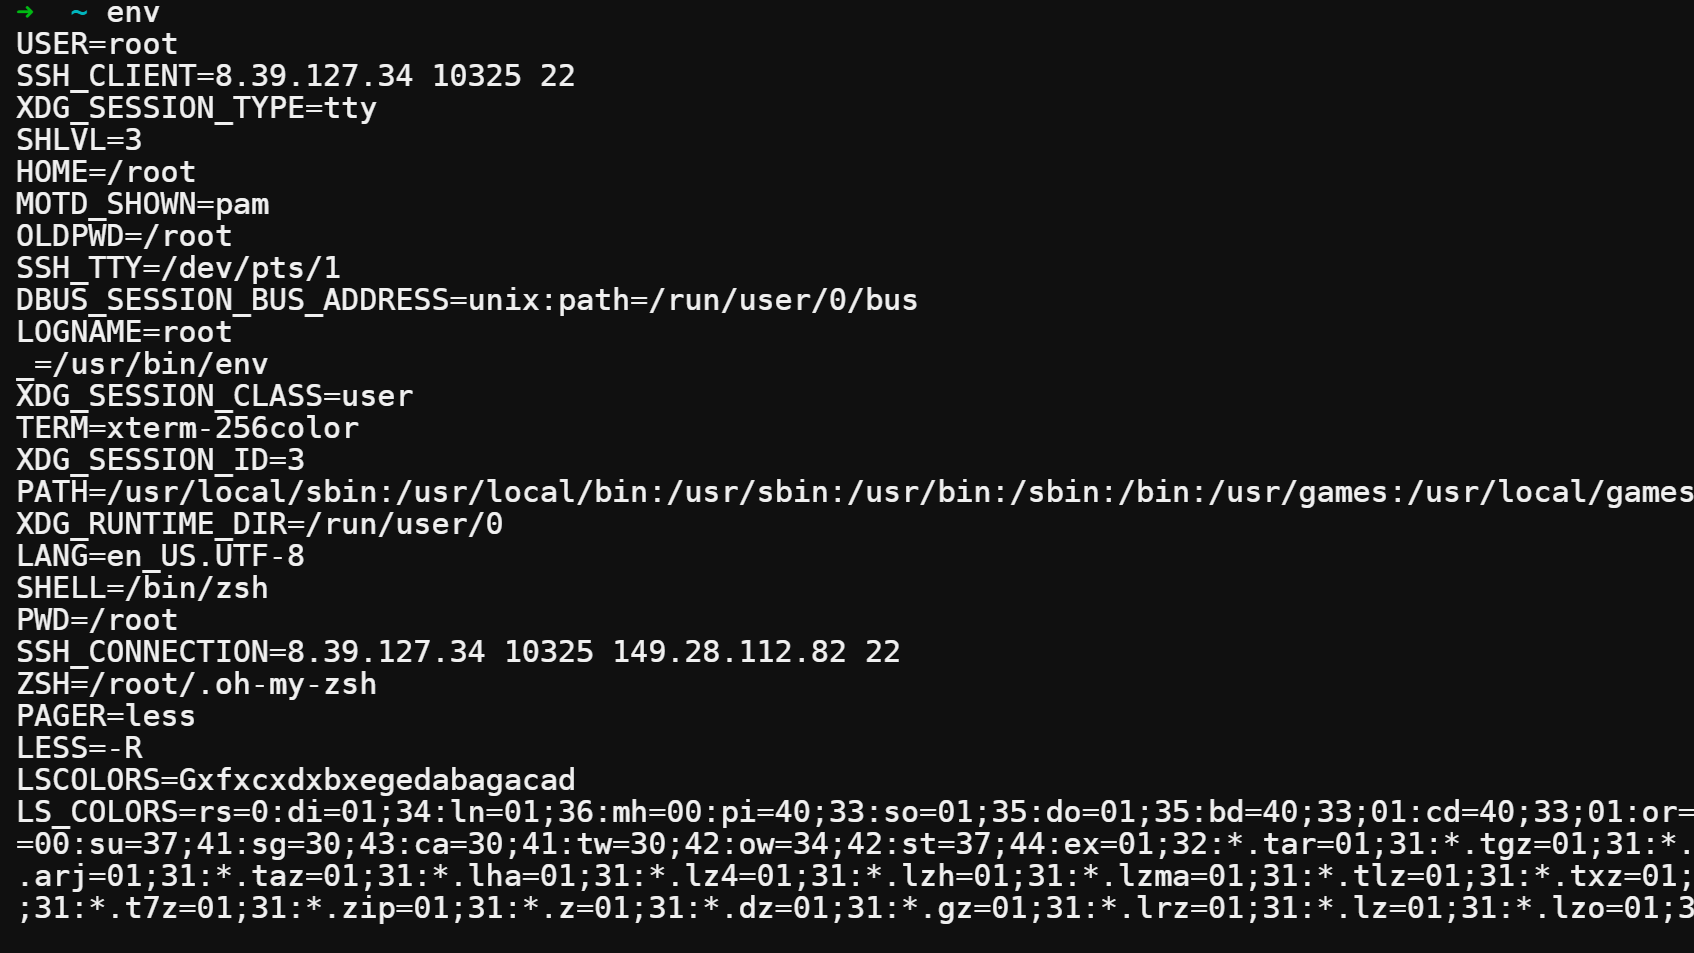
3. Finally, run the below apt install command to install the Powerline fonts. These fonts are used by some of the Oh My Zsh themes to display special characters and icons.
Broken characters in the prompt are a common issue that people run into when they try to use Oh My Zsh themes. Installing these fonts should fix that problem.
apt install fonts-powerline -y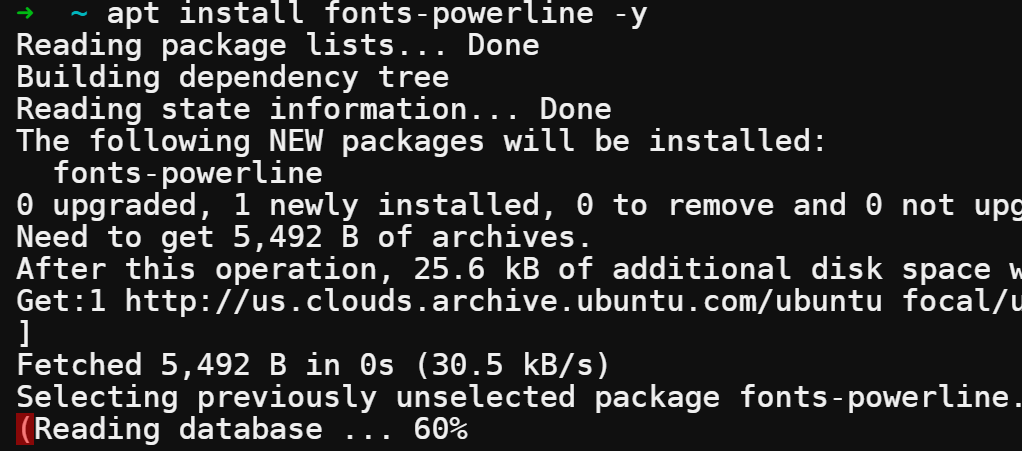
Customizing Your Oh My Zsh Theme
Now that you’ve installed Oh My Zsh on your machine, what’s next? It’s time to play around with the configurations to customize your terminal prompt. Oh My Zsh comes bundled with many themes that you can use to customize your terminal prompt.
As a developer, a custom terminal prompt can be a useful tool. A good-looking and functional terminal prompt gives useful information at a glance. For instance, the Git branch you are currently working in, your last Git commit status or even boost your mood with a joke of the day.
To configure your Oh My Zsh theme:
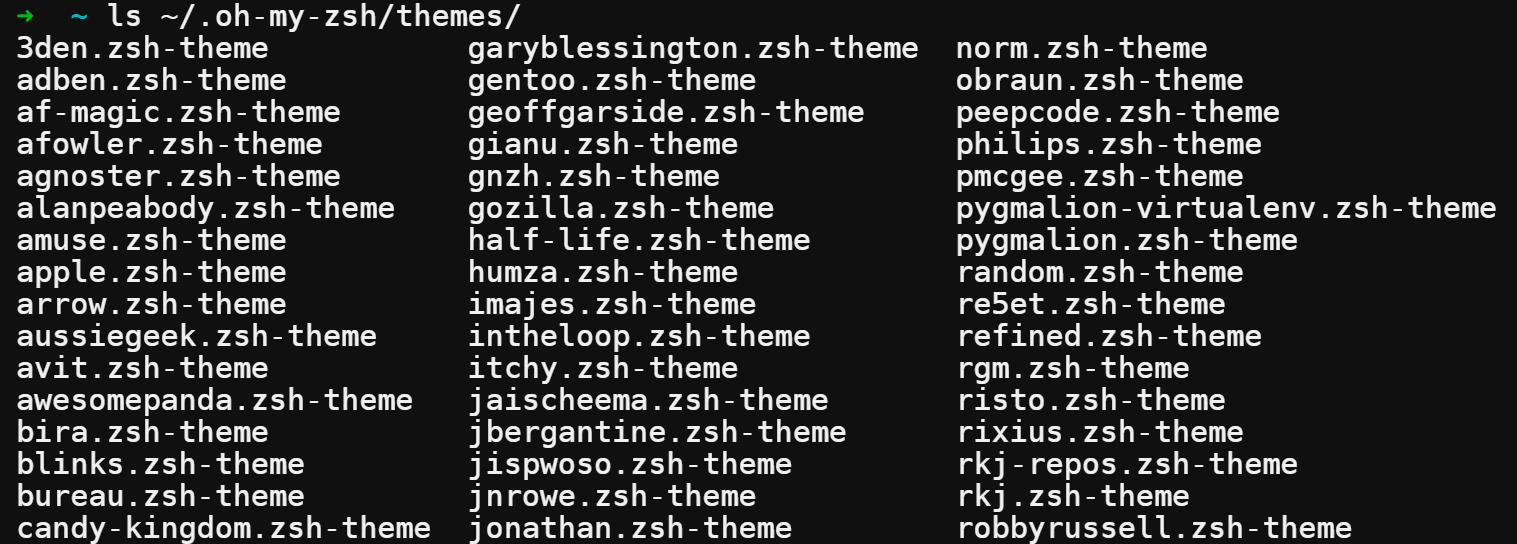
1. Run the following ls command to see a list of all available themes.
If you’re on Windows PowerShell, change the working directory to the home directory (cd ~) before running commands from this point forward.
ls ~/.oh-my-zsh/themes/The output below shows a small list of the themes installed by default with Oh My Zsh. There are hundreds if not thousands of Oh My Zsh themes you can choose for your prompt customization.
You can preview most of these themes on the Oh My Zsh themes page on GitHub.
2. Next, open the .zshrc file in your preferred text editor. This file lets you configure the appearance of your terminal prompt.
nano .zshrcIn the .zshrc file, look for the ZSH_THEME line with the default theme set as robbyrussell. This line tells Oh My Zsh which theme to use when rendering your terminal prompt.

3. Change the theme name to random, save the change, and close the editor.
This setting will cause Oh My Zsh to randomly select a theme for you each time you open a new terminal session.

4. Now, run the source command below to apply your changes to the .zshrc file and simulate opening a new terminal session.
You can run this command many times to test out different themes. Once you’ve decided which one you like the most, jump to the next step.
source ~/.zshrc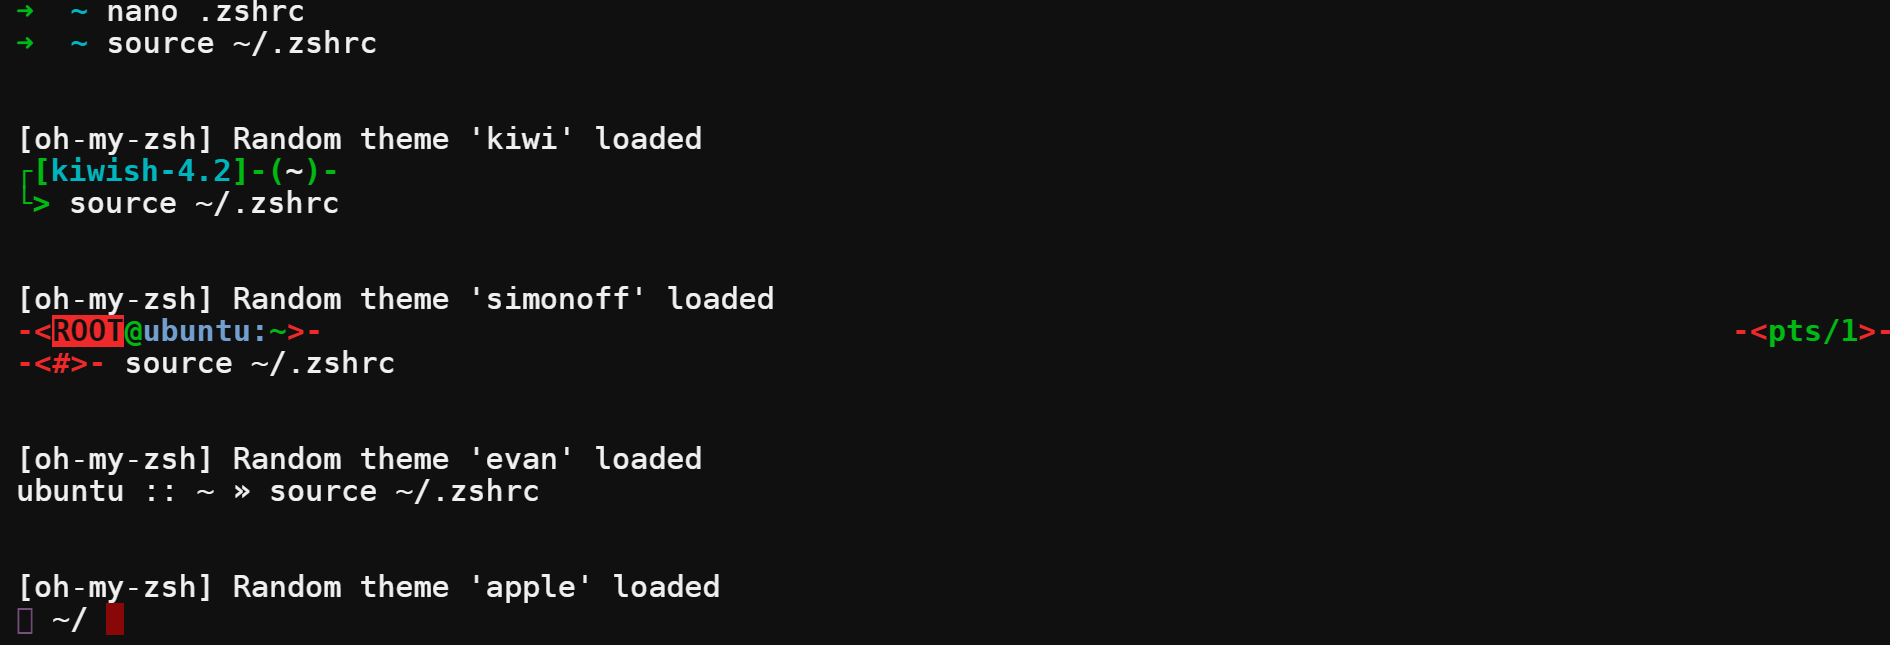
5. Open the ~/.zshrc file and change the value of ZSH_THEME from random to the name of the theme you like.
Some of the most-used and favorite themes are agnoster, kiwi, and avit. But this tutorial’s choice is the agnoster theme.

6. Finally, rerun the source command below to apply the new configurations.
source ~/.zshrc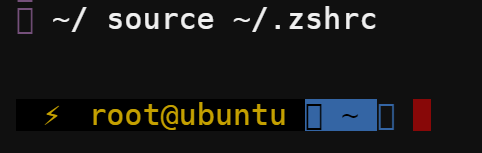
Extending Features and Functionality with Plugins
Was it fun changing your prompt’s theme? But that’s not all Oh My Zsh can offer. One of the essential features of Oh My Zsh is adding plugins.
As a developer, there are a lot of different tools that you need to use daily. Luckily, Oh My Zsh has many plugins that extend features and functionality to your terminal (for Git, AWS, NodeJS, etc.).
To add plugins, you first need to check which plugins are available:
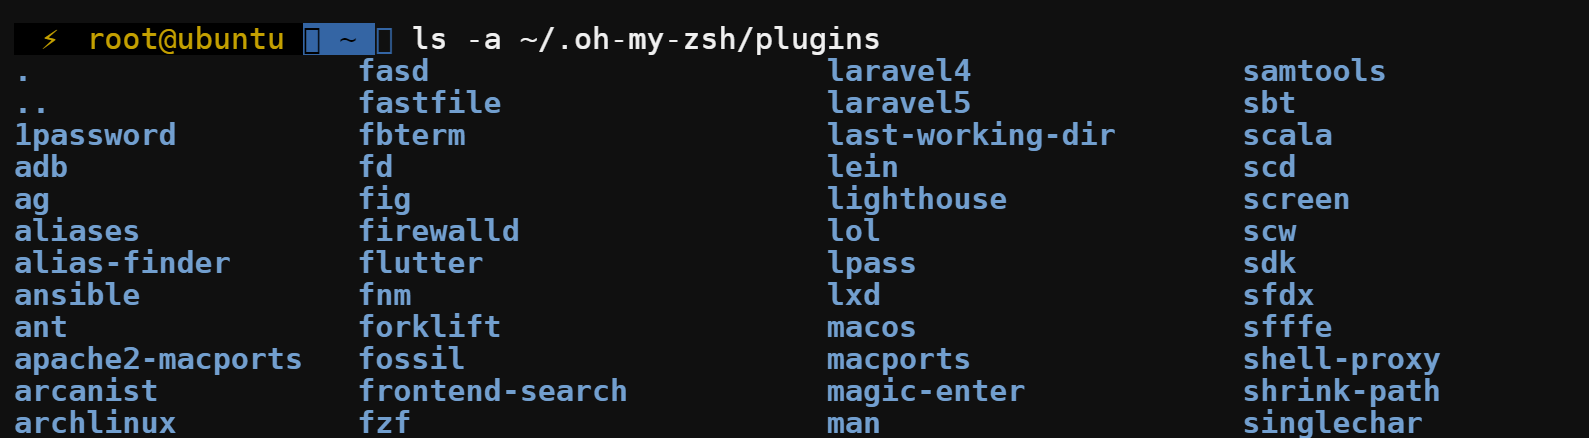
1. Run the ls command below to see a list of all available plugins for Oh My Zsh.
ls -a ~/.oh-my-zsh/plugins/The screenshot below only shows a small list of the plugins available for Oh My Zsh. You can see all available plugins on the Oh My Zsh GitHub page.
2. Next, run the below git clone command to clone the zsh-syntax-highlighting plugin into the custom plugins directory (~/.oh-my-zsh/custom/plugins/). This plugin can come in handy when you’re working with a lot of different files and directories. Why?
This plugin highlights commands, built-ins, functions, etc., in different colors depending on their status. For instance, built-in commands are green, while commands that don’t exist are red.
git clone https://github.com/zsh-users/zsh-syntax-highlighting.git $ZSH_CUSTOM/plugins/zsh-syntax-highlighting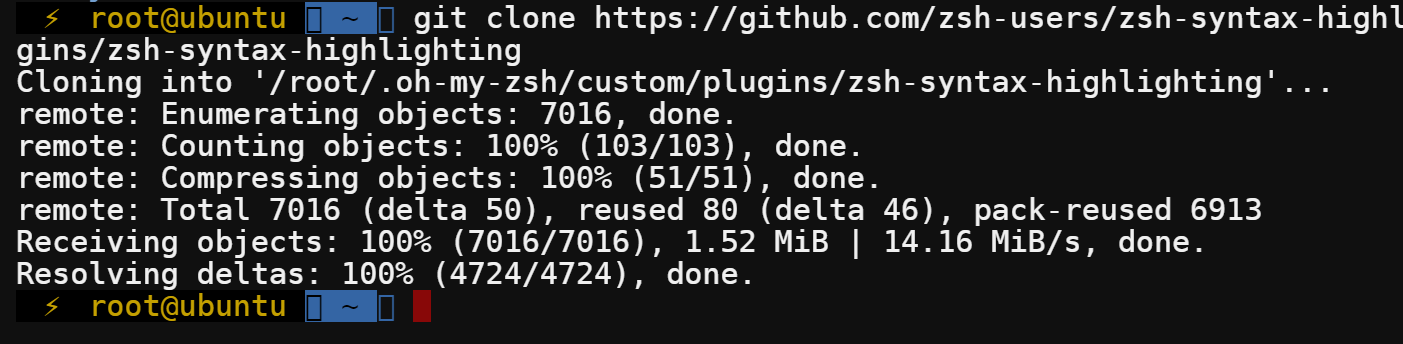
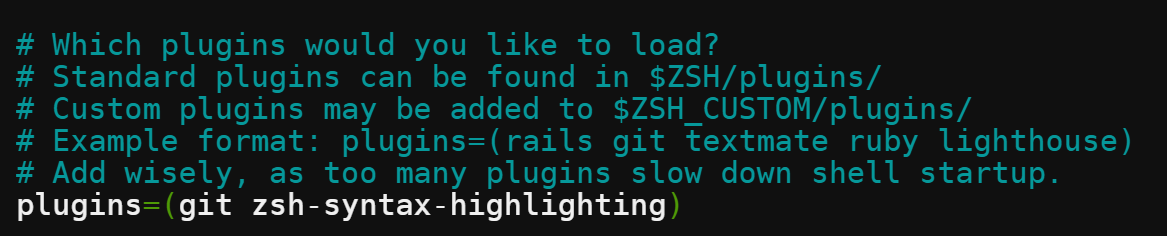
3. Open the ~/.zshrc file in your text editor and find the line that starts with plugins=.
nano ~/.zshrcOnce found, add zsh-syntax-highlighting to the list of existing plugins, save the changes and close the editor to enable the plugin.
Remember, no extra spaces and no commas. Or else the plugin will not be loaded.
4. Now, run the following command, which doesn’t provide output but applies the changes you made to the ~/.zshrc file.
source ~/.zshrc5. Lastly, open a shell script, and you’ll see the commands and texts in the scripts are now highlighted, as shown below.
This output indicates that the syntax highlighting plug is working correctly.

Conclusion
In this tutorial, you’ve learned to install Oh My Zsh on Ubuntu, change your terminal prompt theme, and enable a plugin to extend the features to your terminal. Now try experimenting with different themes and plugins until you find a combination that works best for you.
You can do many more things to take your terminal game to the next level. Why not learn more about using aliases and creating custom functions to speed up your workflow?


