

Have you ever wondered how you can access Linux utilities directly on your Windows OS? Well, Git Bash offers a solution. Whether you desire a separate terminal to run Git or want to familiarize yourself with Git Bash commands (Bourne Again Shell), this guide has you covered.
Not a reader? Watch this related video tutorial!
Not seeing the video? Make sure your ad blocker is disabled.
In this segment, you’ll delve deeper into Git Bash, its installation process on Windows, and how to execute some fundamental Git Bash commands on a terminal.
Prerequisites for Git Bash
The demonstrations in this tutorial are tailored for a Windows 11 PC version 22H2, but prior versions of Windows will suffice for Git Bash.
Understanding Git Bash
Before delving into Git Bash, let’s clarify what Git is. Git is a version control system designed to manage software development changes. Operating systems like macOS and Linux come with a native command-line terminal, making it straightforward to run Git and Linux commands. However, Windows presents a challenge with its non-Unix terminal.
So, how do you bridge this gap on Windows? The answer is Git Bash. Git Bash commands provide an emulation layer, allowing Git to execute Linux commands seamlessly on Windows systems. An emulator ensures one system mimics the behavior of another.
Procuring and Setting Up Git Bash
Armed with a bit of knowledge about Git Bash, let’s discuss its acquisition and installation process. There are three distinguished methods to download the Git software for your Windows OS, detailed below.
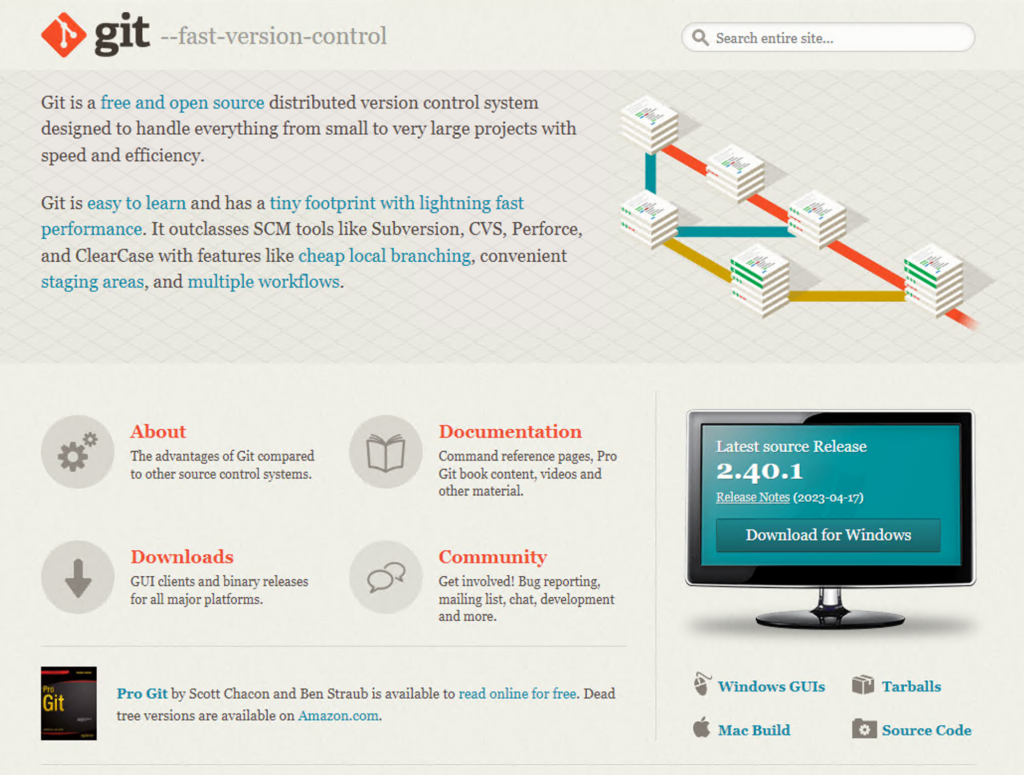
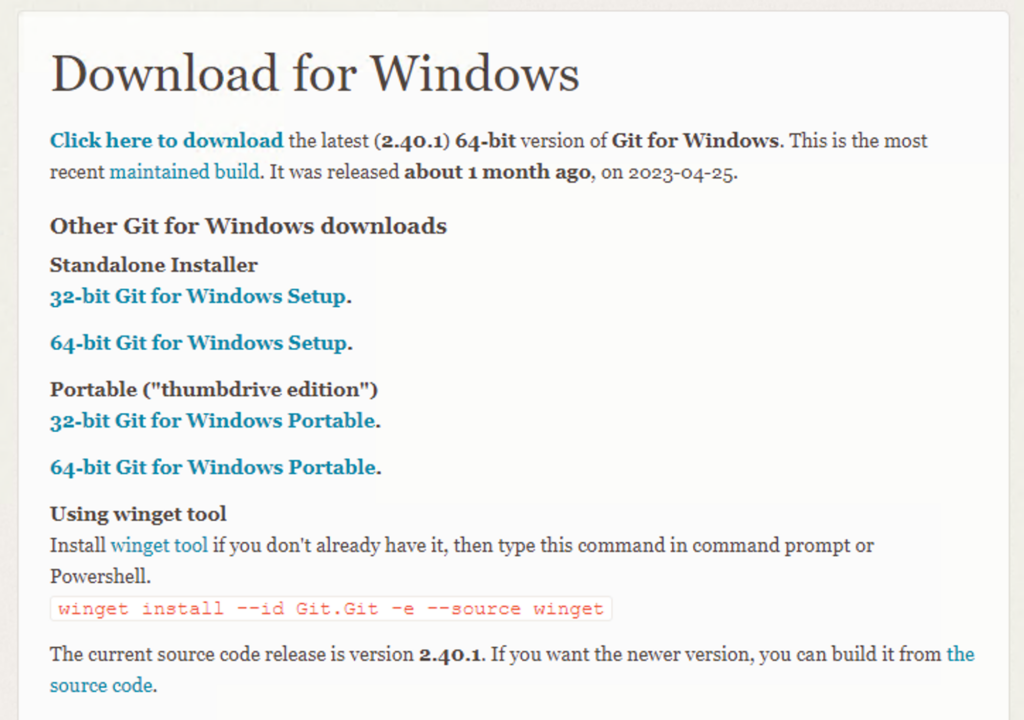
- By visiting Git’s official website
- Through a dedicated project on GitHub known as Git for Windows.
- Utilizing a software package manager such as Chocolatey
Feel free to acquire Git Bash using any of the above methods. However, this guide places emphasis on the official website’s method.
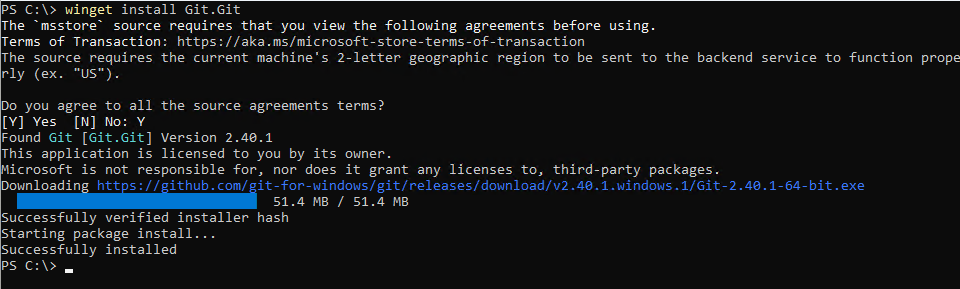
Once you’ve downloaded Git Bash, it’s time to install it on your Windows PC. Modern systems even offer the capability for an unattended Git Bash installation via WinGet.
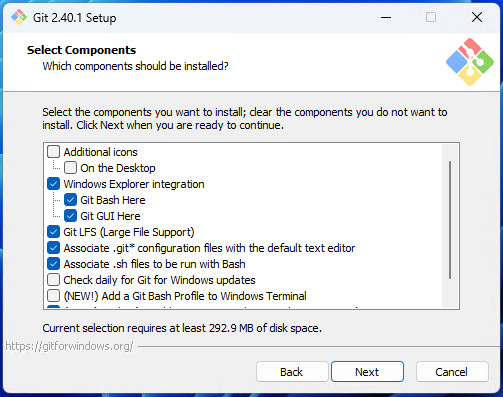
1. Start the Git Bash installer you downloaded. Click Next repeatedly until you reach the Select Components screen.
2. Here, check the boxes for any additional components you wish to include in the Git Bash installation. For now, let’s stick with the default selections shown below. Then, click Next.
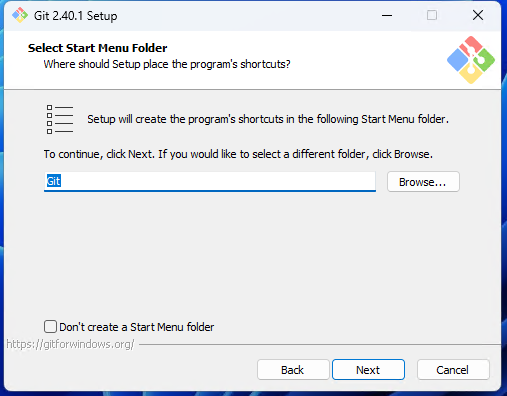
3. Retain the default setting for the start menu shortcut creation and click Next.
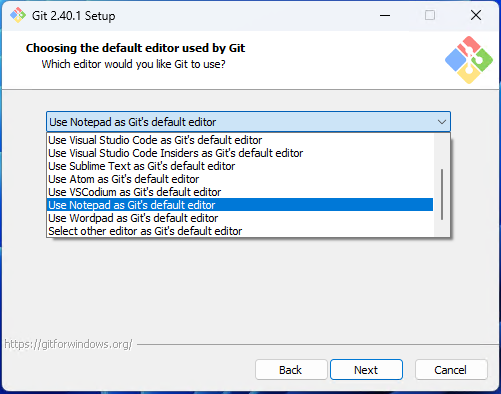
4. From the drop-down list, select Use Notepad as Git’s default editor as the primary editor for Git Bash. This will ensure Git Bash files, like ~./gitconfig, open in Notepad by default.
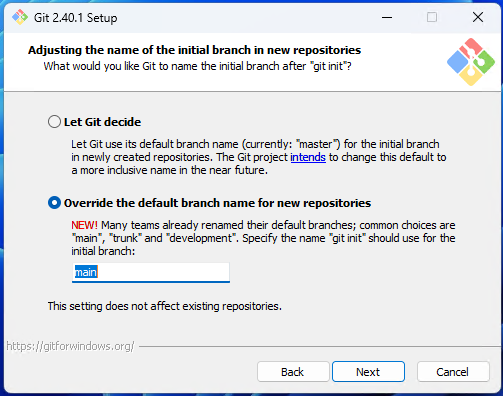
5. Opt for the Override the default branch name for new repositories setting, specifying the default branch name (main) Git Bash will utilize. Whenever you initialize a Git Bash repository, this will be the default branch name.
The default branch name was formerly “master” for Git repositories. However, due to its negative connotations, the term “master” became controversial. Hence, platforms like GitHub followed the Software Freedom Conservancy’s recommendation, allowing users to customize the default branch name during Git repository initialization.
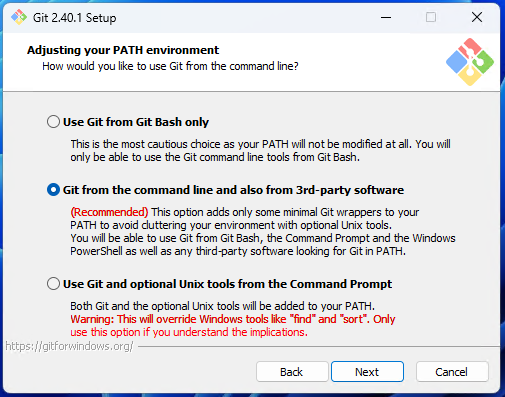
6. Lastly, pick the Git from the command line and also from 3rd-party software option. This ensures Git Bash commands can be executed from various interfaces, be it the Command Prompt, PowerShell, other 3rd-party software tools, or the Git Bash console itself.
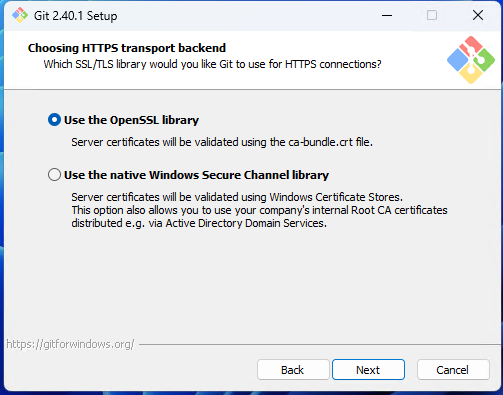
7. For secure connections, opt for the Use the OpenSSL library setting, allowing Git Bash to validate certificates through OpenSSL. Then, click Next. OpenSSL is renowned for its robust cryptographic library that encapsulates an open-source SSL and TLS protocol implementation.
If you’re employing Git Bash within an enterprise environment with managed certificates, it’s advisable to pick the User the native Windows Secure Channel library option.
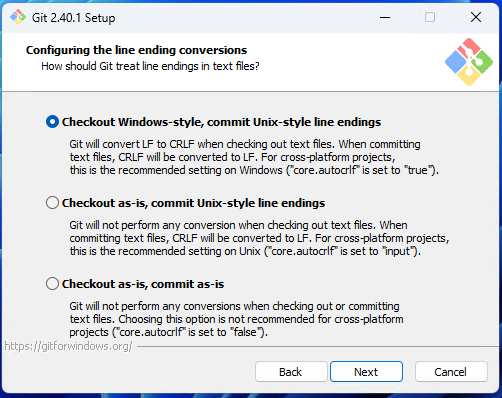
8. Stick with the Checkout Windows-style, commit Unix-style line endings default option and proceed by clicking Next.
Configuring for “Windows-style” line endings means when you execute a Git Bash command and press return, Git Bash embeds a covert character known as line ending. Bear in mind that when multiple contributors make alterations from varied operating systems, this could cause Git Bash to yield unforeseen results.
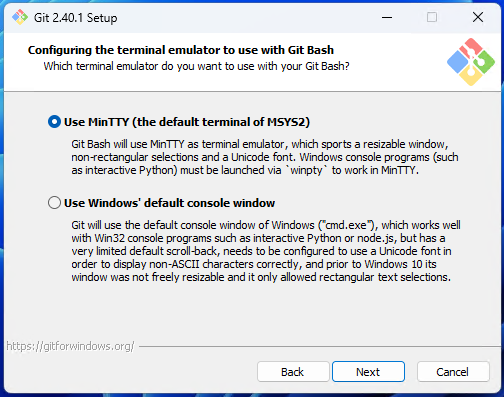
9. As for the terminal emulator for executing Git Bash commands, choose the Use Mintty (the default terminal of MSYS2) setting and hit Next. Mintty is the prime terminal for MSYS2, a suite of tools offering a Unix-like ambiance on Windows.
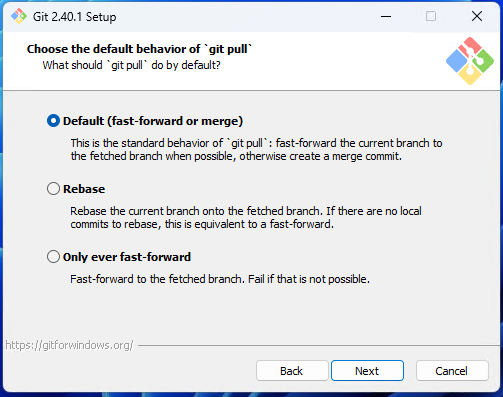
10. For the behavior of the git pull command in Git Bash, opt for the Default (fast-forward or merge) setting. Remember, the git pull command is essentially a combo of git fetch and git merge, amalgamating changes from a remote repo into your current branch in Git Bash.
Let’s say you wish to merge a fresh branch into the main in Git Bash. The system would directly employ fast-forwarding without calling git fetch or git merge. This merging is only plausible if no commits have been made on the primary branch (e.g., master or main) since the inception of the new branch.
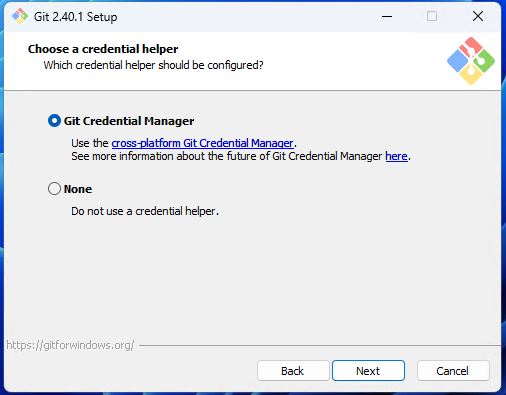
git pull command11. Finalize your preferences by picking the Git Credential Manager Core as the default Git credential assistant and pressing Next. These Git Bash credential managers are third-party apps that can be invoked by Git Bash for input data like usernames and passcodes. This info might be temporarily stored in memory or retained on disk for longer durations.
The Git Credential Manager Core, founded on the .NET framework, ensures that Git Bash supports multi-factor authentication via HTTPS.
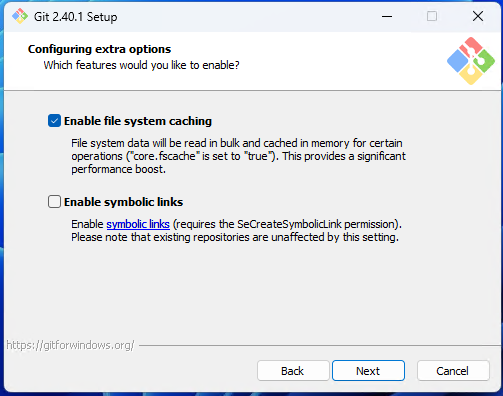
12. For your Git Bash settings, stick to the recommended extra features, as depicted below. By ticking the Enable file system caching box, Git Bash will furnish faster outcomes when executing Git commands.
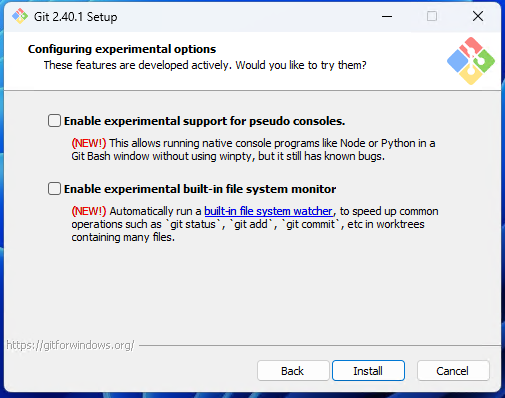
13. When setting up Git Bash, it’s advised to retain the default settings for the experimental features below – pseudo console and built-in file system monitor. Once done, hit Install.
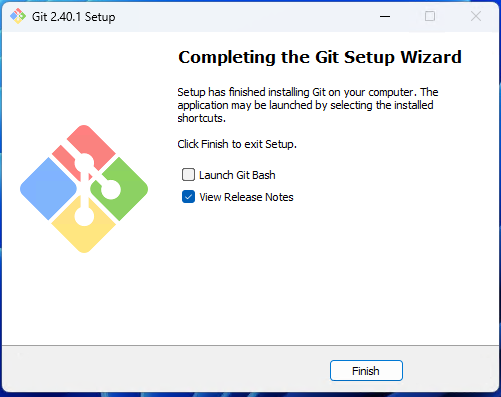
14. Once you’ve tailored all the Git Bash settings to your preference, complete the setup process by clicking on Finish.
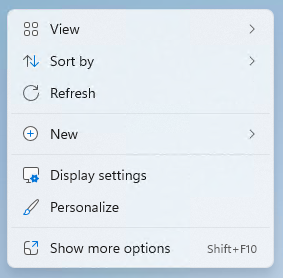
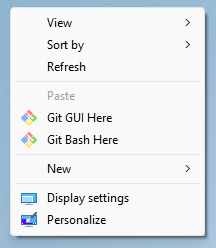
15. To quickly launch the Git Bash terminal, right-click on your desktop and opt for ‘Git Bash Here’ from the dropdown menu. This is a swift way to initiate Git Bash commands, but you can replicate this step even within a specific folder.
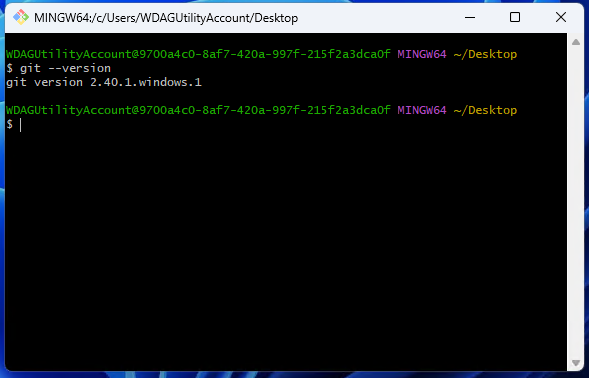
16. To ensure that Git Bash commands are functioning and to identify its current version, input the git command alongside --version in the Git Bash terminal.
git --versionAs depicted below, in this tutorial, the Git Bash version showcased is version 2.40.1.windows.1
Utilizing Git Bash Commands in Various Terminals
Having successfully installed Git Bash on your computer, you’re all set to dive into some fundamental Git commands. But remember, the utility of Git Bash isn’t confined solely to its native console. Surprisingly, you can also run Git Bash commands directly from the Windows Command Prompt. Intrigued? Let’s delve in.
Follow these steps to execute Git Bash commands in both the Git Bash console and the command prompt, ensuring you can access variables across both platforms.
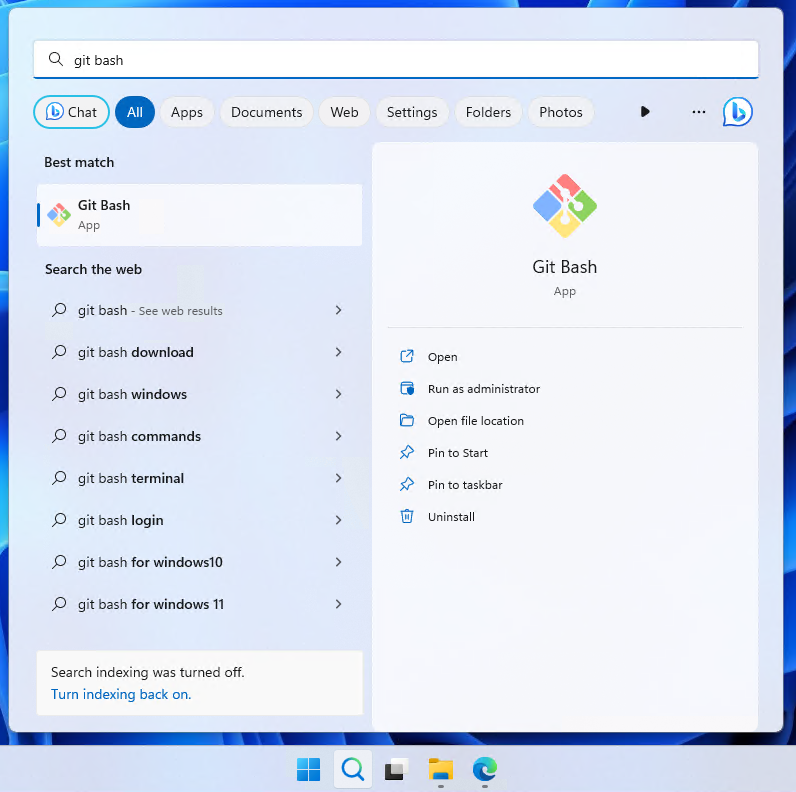
1. To initiate the Git Bash console, click on the Start button, type git, and select Git Bash.
2. Once in the Git Bash console, input the below git config command to register your name (YourName) as your Git username. This git config command is the go-to command to manage configurations affecting Git’s behavior and appearance.
By including the --global flag, you’re specifying the configuration to be saved in the ~/.gitconfig file.
git config --global user.name "YourName"3. Now, switch to the command prompt. Here, run the subsequent git config command to designate your email address as your Git email. This ensures that every time you perform a commit, Git Bash will recognize it’s you.
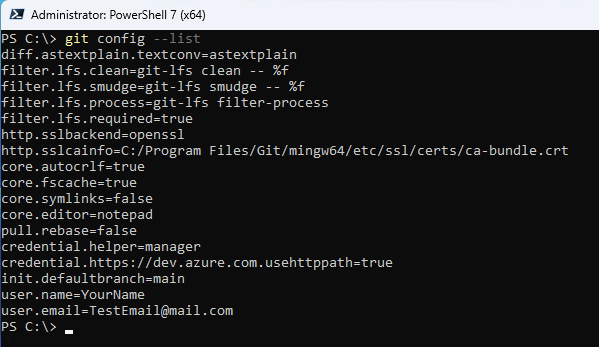
git config --global user.email "[email protected]"4. To get a list of all the configuration variables set in Git, simply run the git config --list command in the same command prompt window.
git config --listFrom the output below, it’s evident that even if you input configuration variables using separate consoles, Git Bash seamlessly retrieves and displays them in the command prompt.
Using Linux Commands with Git Bash on Windows
Now that you’re familiar with Git Bash, you might be wondering: can it handle Linux commands too? The answer is a resounding yes! Git Bash is versatile. Not only can you run Git Bash commands in its own console, but also directly from the Windows Command Prompt.
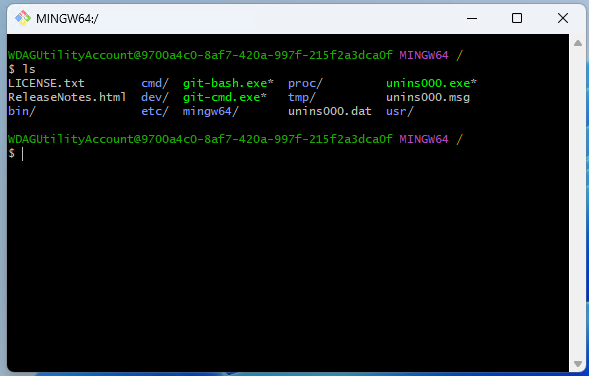
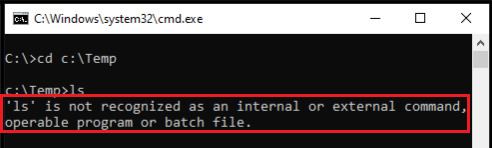
For a quick demonstration, try executing the ls command (a common Linux command) in both the Git Bash console and the Command Prompt. This command lists the files and folders in the current directory.
Observe the differences in output from the two environments. In Git Bash, the command seamlessly retrieves file and directory listings. However, the Command Prompt initially rejects the unfamiliar Linux command.
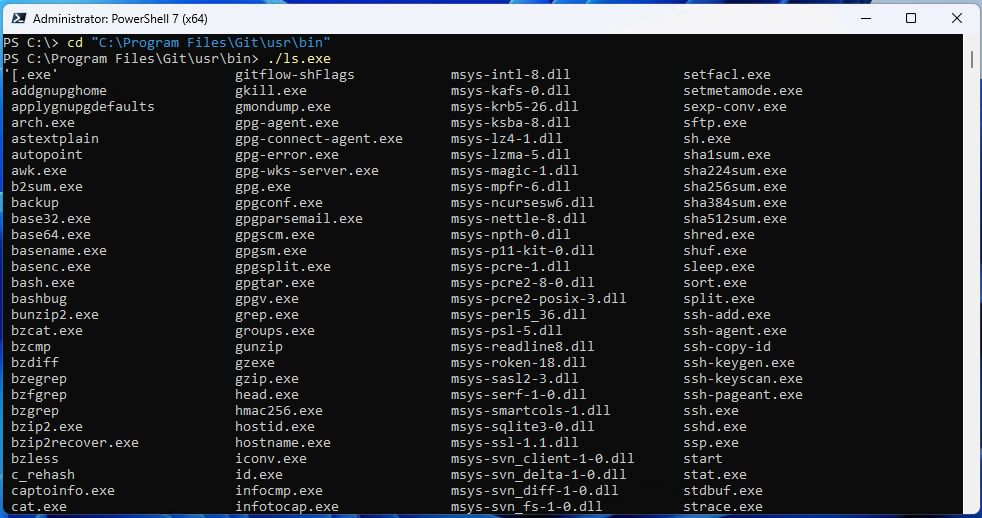
But don’t lose hope with the Command Prompt just yet! You can enable it to run Linux commands by navigating to the C:\Program Files\Git\usr\bin directory.
Open the Command Prompt and follow the instructions below to change your working directory and run the ls command:
cd C:\Program Files\Git\usr\bin # Navigate to the directory housing Linux utilities
ls # Execute the Linux command to list files and folders
With this adjustment, the Command Prompt now recognizes and correctly executes the ls command, producing file and directory listings just like Git Bash.
Wrapping Up Git Bash Commands on Windows
This guide has walked you through the nuances of Git Bash on Windows. By now, you should understand its capabilities, the ease of running Git Bash commands in multiple environments, and even the compatibility of Linux commands with Git Bash.
So, the next time you’re working with Git commands on your Windows machine, which console will be your first choice?


