


Are your projects needing a reliable and secure self-hosted solution for version control? Look no further, as Gitea + Docker is the perfect combination!
This combination is lightweight, affordable, and secure, offering automatic updating capabilities. And in this tutorial, you will learn to install and secure Gitea using Docker on an Ubuntu server.
Read on and start hosting private repositories and managing project life cycles!
Prerequisites
Before you follow along in this tutorial, ensure you have the following in place:
- A system running Ubuntu 18.04 or later – This tutorial uses Ubuntu 20.04.
- A non-root user with root privileges.
- Docker and Docker Compose installed on your Ubuntu system.
- A fully qualified domain name(FQDN) that connects to your server’s public IP address.
Creating a User for Gitea
Gitea, a lightweight DevOps platform, lets you quickly set up a self-hosted Git service. Since Gitea is written in Go, it runs almost anywhere, from a Raspberry Pi to the cloud.
But the first step in setting up Gitea is to create a dedicated user, which establishes a unique identity for individuals using Gitea. Doing so ensures that only authorized individuals can access and interact with the private Git repositories hosted on Gitea.
To create a user for Gitea, follow the steps below:
Open your terminal, and run the following adduser command to add a user called gitea (arbitrary) for Gitea with the following components:
-system– Creates a system user instead of a regular user. System users are typically used for running system services and are not intended for interactive logins.-shell /bin/bash– Sets the login shell for the user to the Bash shell (/bin/bash). This shell allows the user to runsudocommands to perform administrative tasks. But note that this shell access limits their access within the system since they cannot log in.-gecos 'Git Version Control'– Sets the General Electric Comprehensive Operating System (GECOS), a descriptive field providing additional user information. In this case, GECOS is set toGit Version Control.-group– Creates a group with the same name as the user, where the user is the sole member. You can use this group for assigning permissions or managing access control for Gitea-related resources.-disabled-password– Disables password-based login for the user. Following security best practices, disabling password-based login for system users is strongly recommended. Instead, other authentication mechanisms like SSH keys can be used for secure access.-home /home/gitea– Sets the home directory for the user to/home/gitea, which stores the user’s files and configuration.
sudo adduser --system --shell /bin/bash --gecos 'Git Version Control' --group --disabled-password --home /home/gitea giteaUpon creation, each user acquires their credentials (user’s ID and group ID) to authenticate themselves when accessing Gitea.
Note down the newly-created user’s UID (113) and GID (120) for later use.

Installing Gitea via Docker
With a dedicated user for Gitea created, you can now focus on installing Gitea. In this tutorial, you will install Gitea via Docker, as it provides a consistent and isolated environment for running Gitea.
This approach ensures the application runs reliably regardless of the underlying host system and configuration.
💡 Gitea can run on various OSes, including Linux, macOS, and Windows, and supports multiple architectures such as x86, amd64, ARM, and PowerPC. This capability makes Gitea a versatile choice for individuals or organizations looking to host their own Git service, regardless of their system.
To install Gitea via Docker on Ubuntu:
1. Execute the following apt update command to update the package manager index.
sudo apt update -y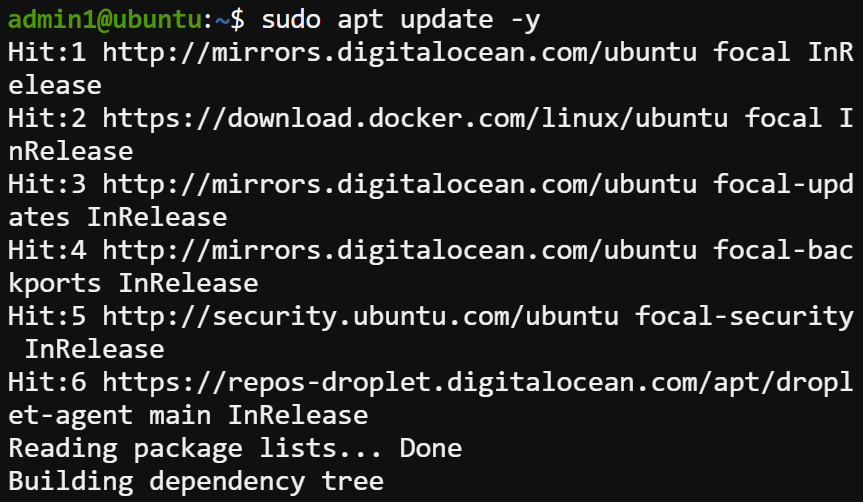
2. Next, run the below systemctl command to verify that the docker service is running.
systemctl status docker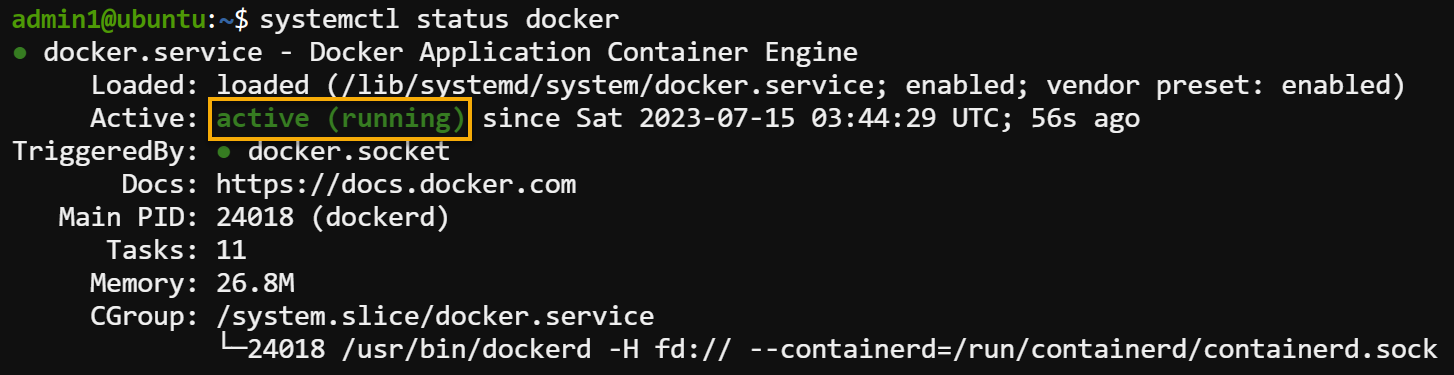
3. Execute the below command to create a new directory (mkdir) named gitea and move (cd) into that directory. This directory holds your Gitea service or performs any related operations of your Gitea installation.
mkdir ~/gitea && cd ~/gitea
4. Now, create a Docker Compose configuration as follows:
- Open a new file named docker-compose.yml with a text editor of your choice.
- Populate the code below to the
docker-compose.ymlfile, a Docker Compose configuration. This configuration is for setting up a basic Gitea service based on the latestgitea/gitea:latestDocker image for stable versions of Gitea. - Be sure you replace the user ID (
113) and group ID (120) with your own; otherwise, the container may not start correctly due to incorrect permissions.
Once configured, save the changes and close the file.
version: "3"

networks:
  gitea:
    # Internal network for Gitea service
    external: false

services:
  server:
    # Docker image for Gitea
    image: gitea/gitea:latest
    # Name of the container
    container_name: gitea
    environment:
      # User identifier (UID) inside the container
      - USER_UID=113
      # Group identifier (GID) inside the container
      - USER_GID=120
    # Restart the container automatically if it stops unexpectedly
    restart: always
    networks:
      # Connect the service to the "gitea" network
      - gitea
    volumes:
      # Mount the local directory "./gitea" as "/data" inside the container
      - ./gitea:/data
      # Mount the host system's timezone information as read-only
      - /etc/timezone:/etc/timezone:ro
      # Mount host system's local time information as read-only
      - /etc/localtime:/etc/localtime:ro
    ports:
      # Map the container's web interface to the host's loopback address on port 3000
      - "127.0.0.1:3000:3000"
      # Map the container's SSH server to the host's loopback address on port 222
      - "127.0.0.1:222:22"
5. Now, execute the below docker-compose command to run your Docker Compose configuration. (docker-compose.yml)
Docker pulls the latest Gitea image to your local machine (if not already available) and starts a container based on the specified configuration.
The Gitea service will be accessible through the defined ports on the host, and the container will have access to the specified volumes and network.
docker-compose up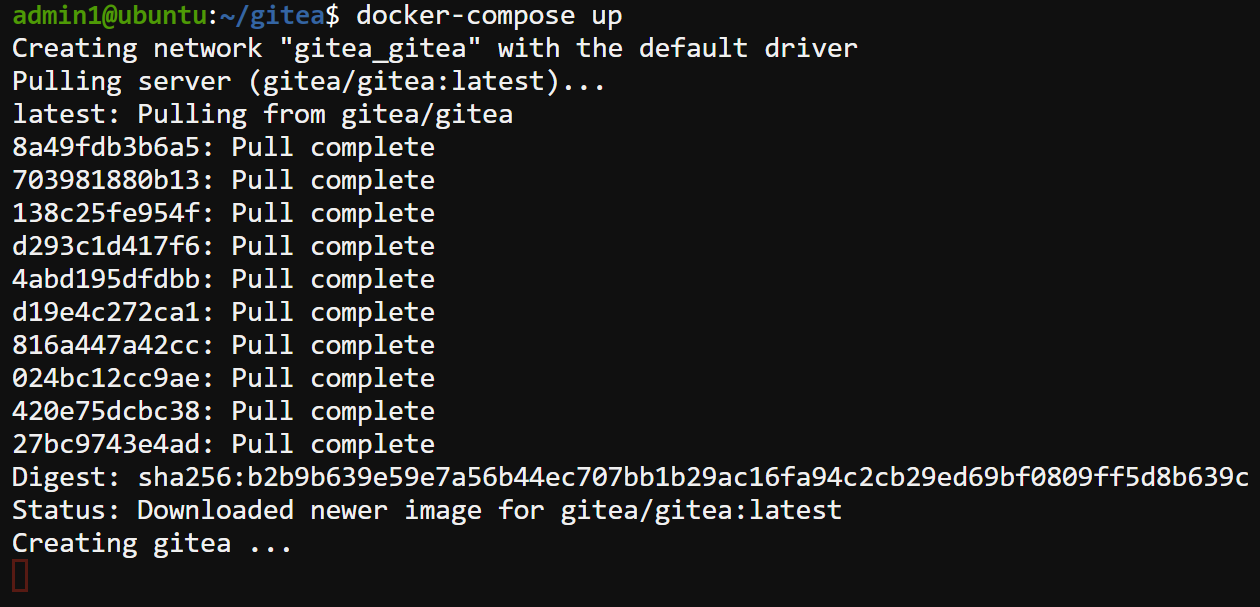
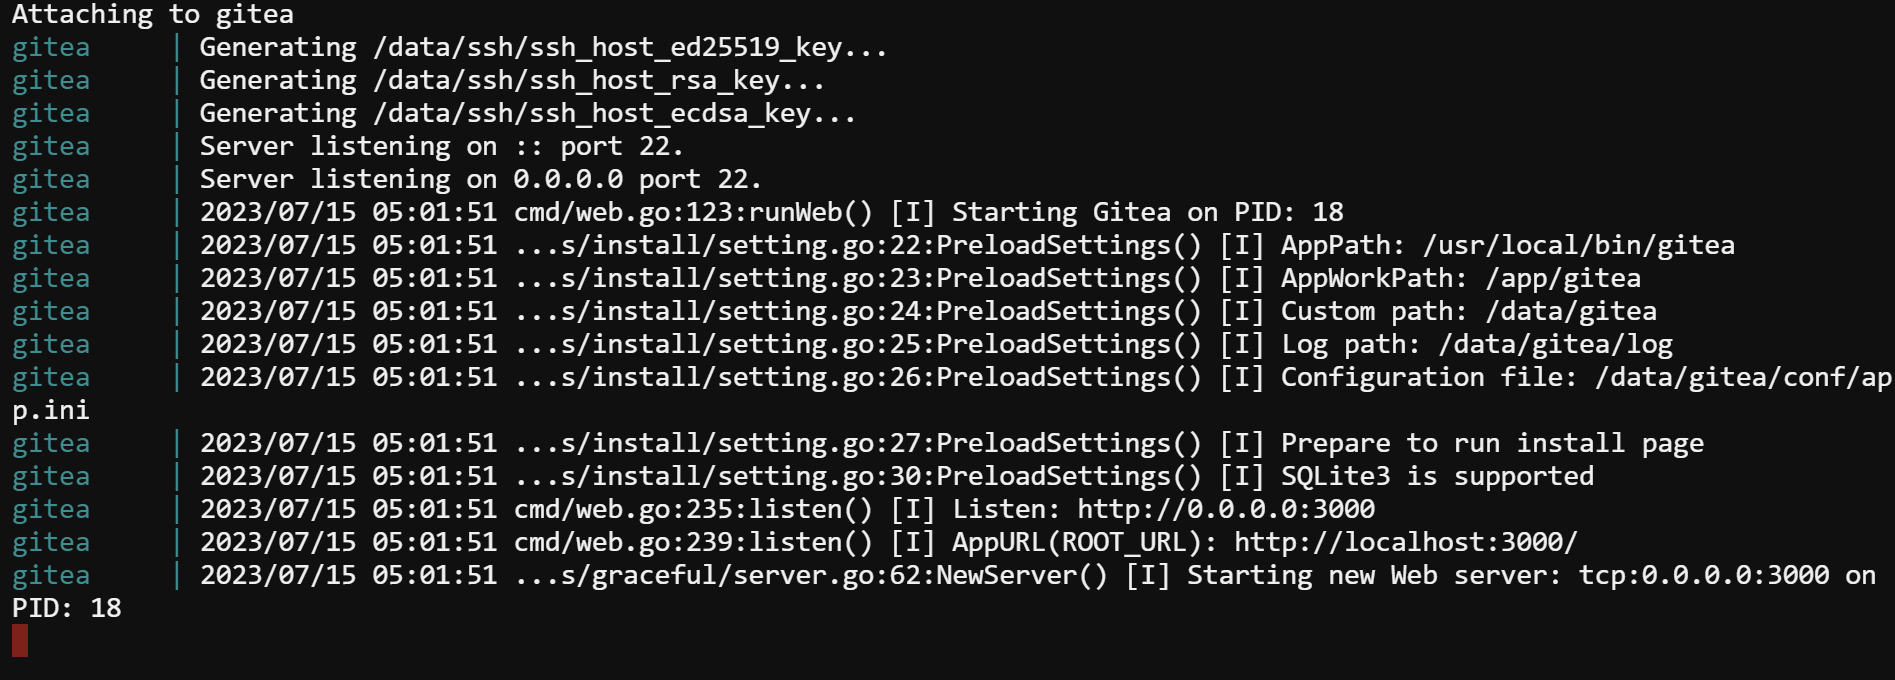
If all goes well, you will see an output like the one below, indicating that the container is now running.
Do not close this terminal window yet; otherwise, the container will stop.
Preparing a Reverse Proxy Server (NGINX)
Now that Gitea is running, you must optimize and distribute incoming requests to Gitea for improved response times and overall performance. How? By setting up a reverse proxy server.
In this tutorial, you will configure NGINX as your reverse proxy server for Gitea. NGINX is known for its high-performance and efficient handling of web traffic.
But first, you must install NGINX to your system and allow HTTP and HTTPS traffic on your firewall, as follows:
1. Open another terminal window and run the below command to install NGINX.
sudo apt install nginx -y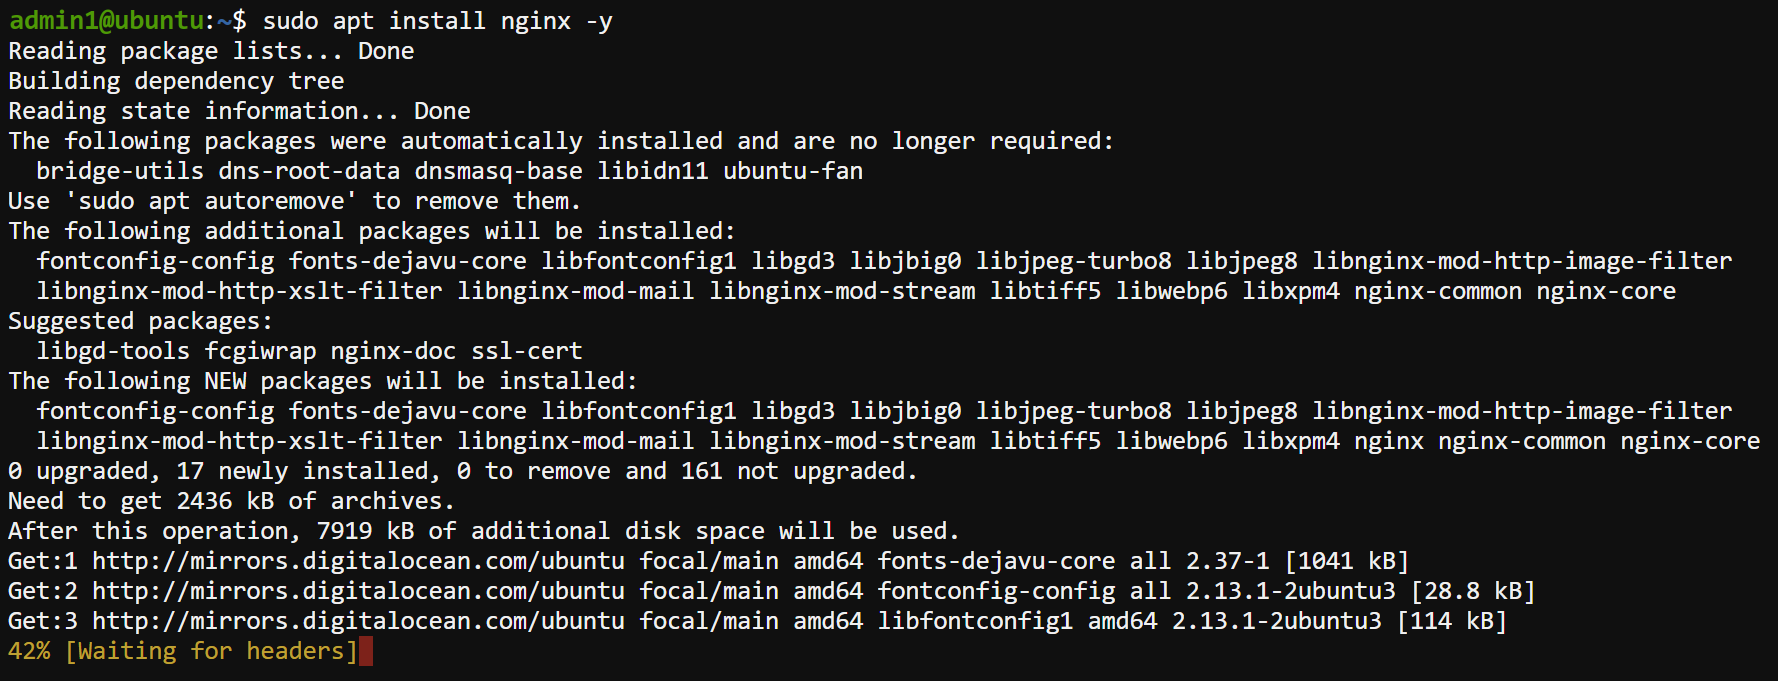
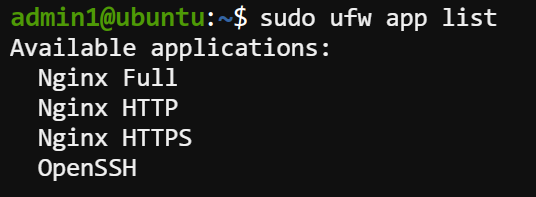
2. Next, execute the following command to view a list of available Uncomplicated Firewall (UFW) applications. UFW is a robust firewall system designed for Linux systems, and it comes preconfigured in Ubuntu.
sudo ufw app listThe output below indicates the available UFW applications, in this case, three relevant application profiles for NGINX: Nginx Full, Nginx HTTP, and Nginx HTTPS.
These profiles are predefined and can be used to allow the necessary HTTP and HTTPS traffic for NGINX to function correctly.
3. Run the following command to allow all HTTP (port 80) and HTTPS (port 443) traffic for the proper functioning of NGINX.
Allowing HTTP and HTTPS traffic is crucial since UFW blocks incoming traffic by default.
sudo ufw allow "Nginx Full"
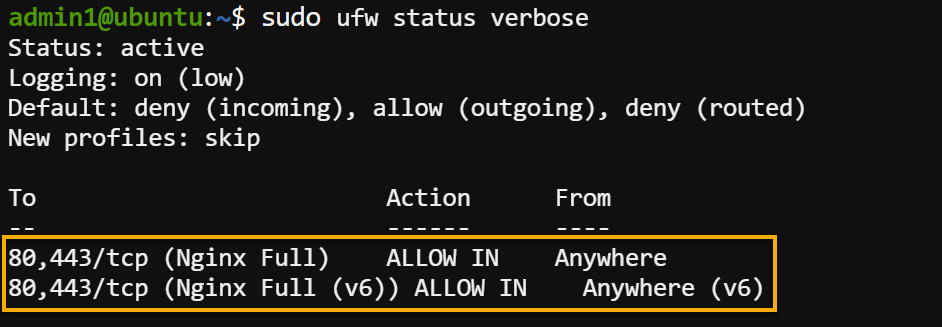
4. Now, execute the below command to check the UFW status to verify you have successfully enabled the correct profiles.
sudo ufw status verboseThe output below indicates you have successfully allowed HTTP and HTTPS traffic.
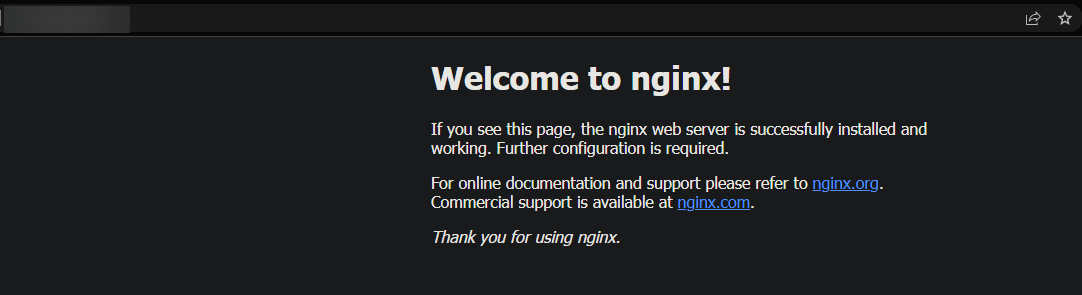
5. Finally, open your web browser and navigate to your FQDN to verify that NGINX is running correctly. You will see the default NGINX page below if everything is configured correctly.
Setting up NGINX as a Reverse Proxy Server for Gitea
Now that NGINX is configured and running correctly, you can set it up as a reverse proxy server for Gitea. Using a reverse proxy helps improve your applications’ performance, reliability, scalability, and security.
To set up NGINX as a reverse proxy server:
1. Open the NGINX configuration file (/etc/nginx/sites-available/gitea) for the Gitea in your text editor, and populate the below code. Ensure you replace your_domain with your FQDN to associate with the Gitea service, save the changes and close the file.
This code instructs NGINX as a reverse proxy, forwarding requests to a Gitea instance on port 3000.
# Defines the configuration for a specific virtual server.
server {
    # Listen for requests on your domain/IP address.
    # Specifies the domain or IP address that NGINX should listen to for requests.
    server_name your_domain;
    # Sets the root directory where NGINX should look for files to serve.
    root /var/www/html;

    location / {
        # Proxy all requests to Gitea running on port 3000
        # Specifies the URL where NGINX should proxy the requests.
        # NGINX will forward all requests to <http://localhost:3000>, which means
        # it will pass the requests to a service running on port 3000 on the same server.
        proxy_pass <http://localhost:3000>;

        # Pass on information about the requests to the proxied service using headers
        # Sets the HOST header to the original host value of the request
        proxy_set_header HOST $host;
        # Sets the X-Forwarded-Proto header to the scheme (HTTP or HTTPS) of the original request
        proxy_set_header X-Forwarded-Proto $scheme;
        # Sets the X-Real-IP header to the real IP address of the client making the request
        proxy_set_header X-Real-IP $remote_addr;
2. Next, run the below ln command, which does not produce output but creates a symbolic link between the following:
/etc/nginx/sites-available/gitea– The NGINX configuration file for the Gitea website./etc/nginx/sites-enabled/gitea– The NGINX configuration file for the Gitea web application instructs how the NGINX server should handle incoming requests for the Gitea site. These instructions include specifying the domain name, SSL certificates, proxy settings, and so on.
💡 The
/etc/nginx/sites-availabledirectory lets you keep multiple configuration files for different applications in one place.
Creating a symbolic link allows NGINX to read and use the configuration when handling incoming requests for the Gitea website.
sudo ln -s /etc/nginx/sites-available/gitea /etc/nginx/sites-enabled/gitea3. Execute the following nginx command to test your NGINX configuration, including files in the sites-enabled directory for any syntax errors.
💡 You must run this command each time you modify the NGINX configuration files. This command helps ensure your configuration is correct before applying it.
sudo nginx -tIf no syntax error is found, you will see a message indicating that the configuration was successful, as shown below.

4. Now, run the below systemctl command, which does not produce output but restarts NGINX to apply the new configuration.
systemctl restart nginxSecuring Gitea and NGINX with Let’s Encrypt SSL
Since Gitea runs behind an NGINX reverse proxy server, you must secure it with an SSL certificate. Let’s Encrypt offers free SSL certificates that can be easily set up on your server to ensure data transmitted between clients and your server is encrypted.
This encryption protects sensitive information, such as usernames, passwords, and other data, from being intercepted or tampered with by malicious actors.
To secure Gitea and NGINX with an SSL certificate:
Execute the below command to install the certbot tool, which you will use to generate and install an SSL certificate.
sudo apt install certbot python3-certbot-nginx -y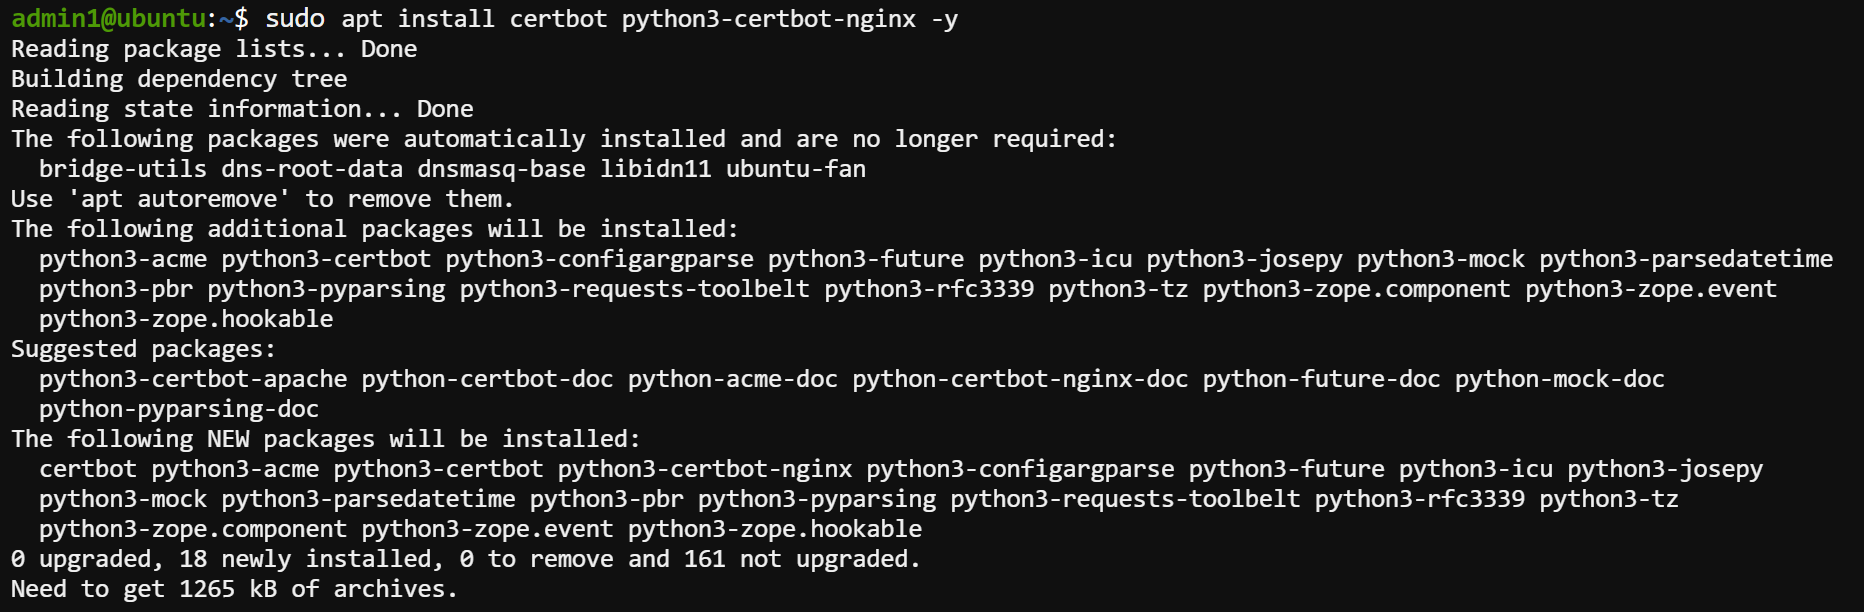
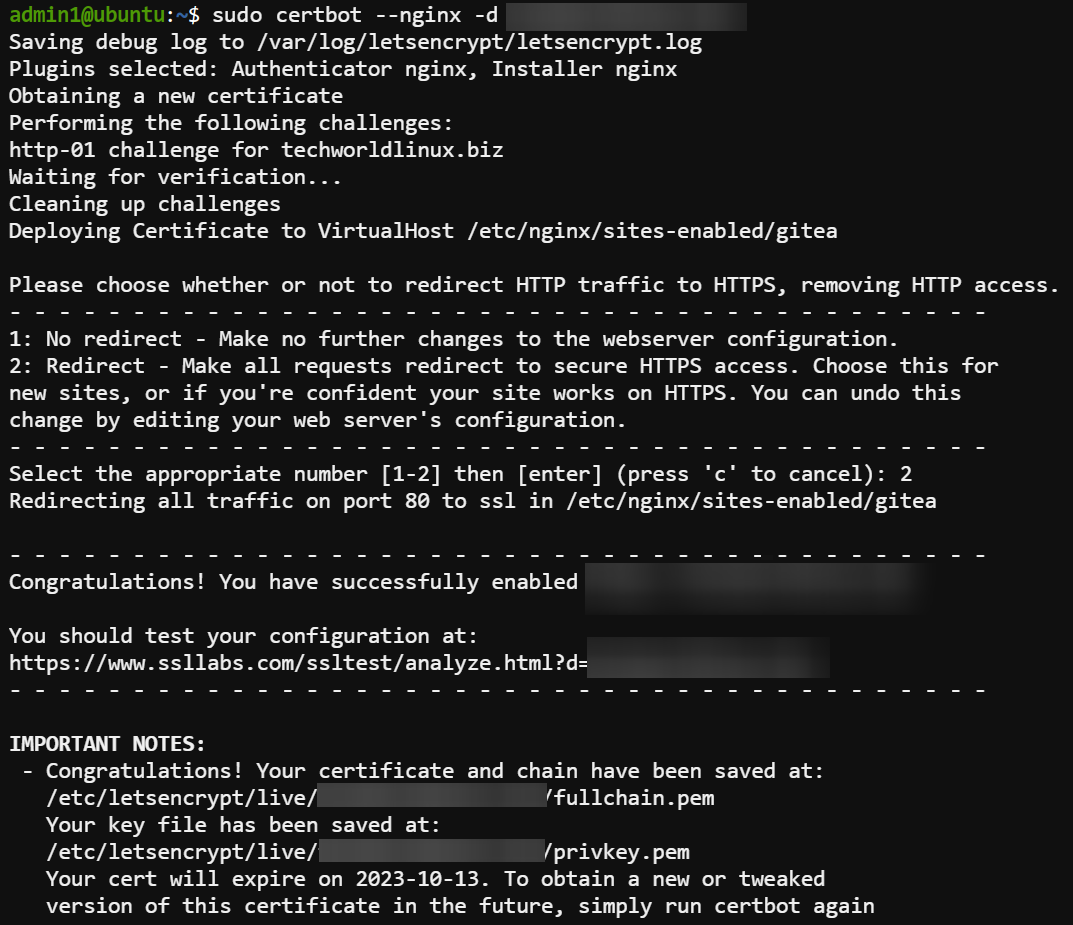
Now, run the following certbot command to use Certbot with the NGINX plugin to generate and install an SSL certificate for your domain (i.e., your_domain.com).
sudo certbot --nginx -d your_domain.comType 2 and press Enter when prompted to redirect all HTTP traffic to HTTPS.
Accessing Gitea and Finalizing the Gitea Installation
Once you have obtained and installed an SSL certificate for your Gitea instance, you can access Gitea via HTTPS and finalize the Gitea installation.
To access Gitea and finalize the installation:
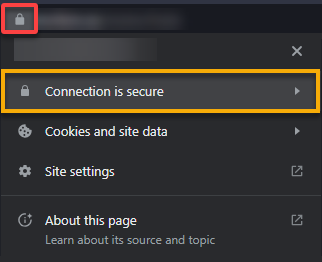
1. Open your web browser, navigate to your FQDN (i.e., https://your_domain.com) in your browser, and click the padlock icon in the address bar.
You will see that your connection is now secure, as shown below, which indicates your SSL certificate is correctly installed and your communication with Gitea is encrypted.
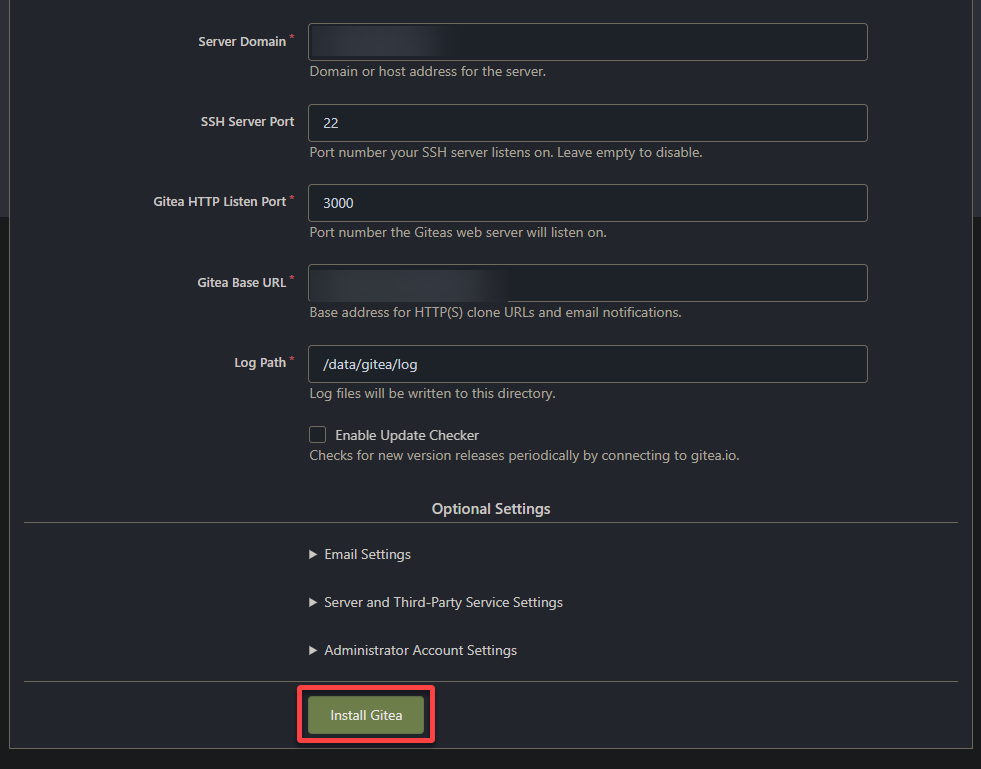
2. Next, review and adjust the settings according to your preferences in the configuration dashboard below. But for most cases, the default settings are fine.
Note that this configuration is just a one-time setup process.
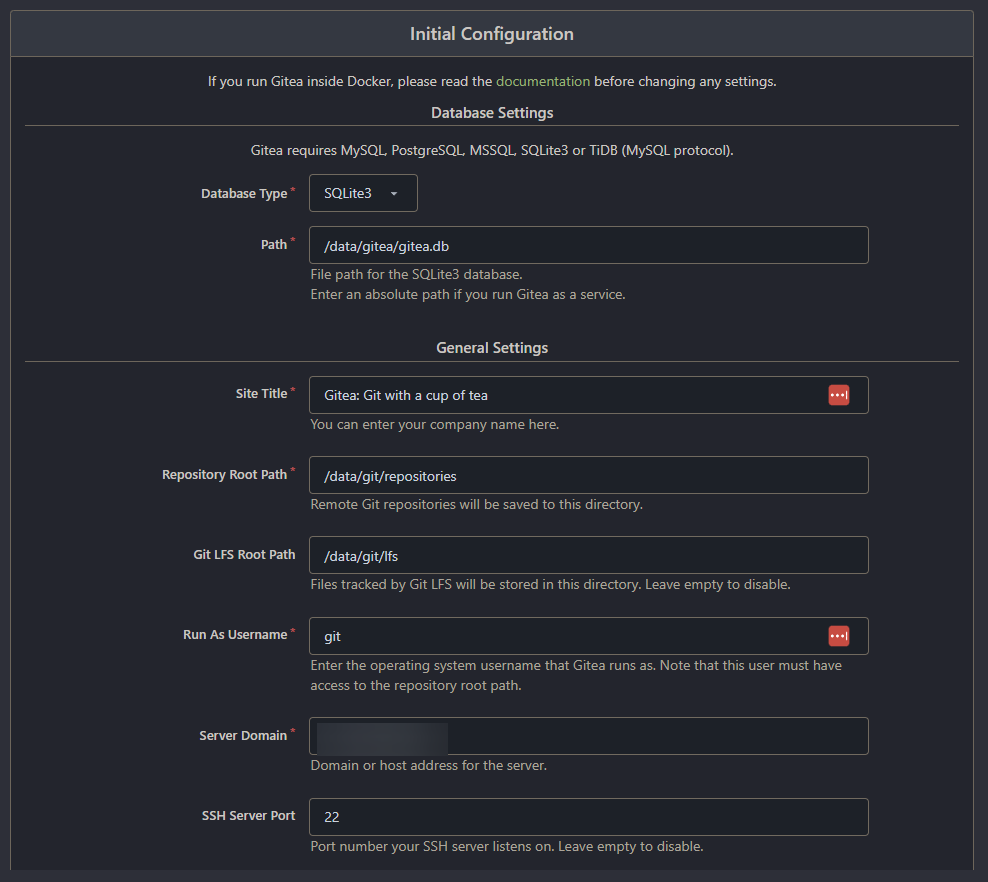
3. Once configured, click Install Gitea to save your configuration settings and finish the installation.
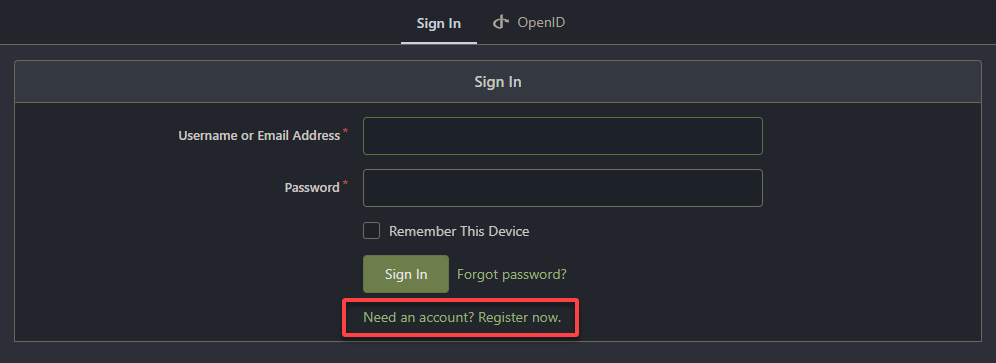
4. On the Sign In page, click the Need an account? Register now hyperlink to create an account to be treated as an administrative account.
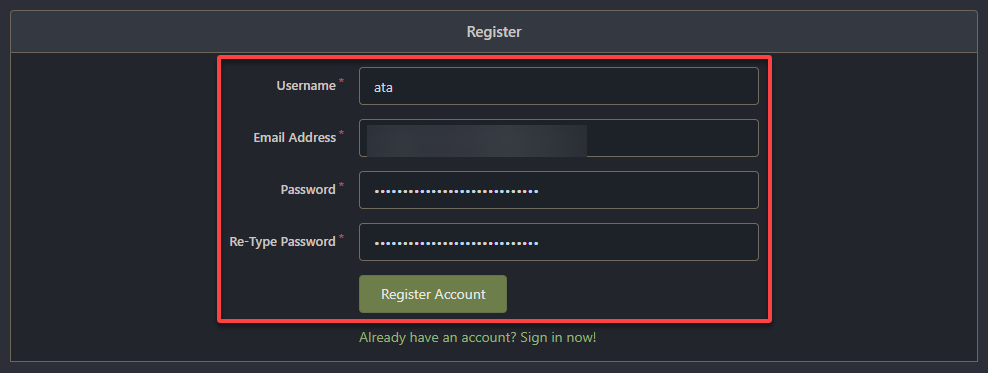
5. Ultimately, provide the required information, and click Register Account to complete the registration process for your administrative account for Gitea.
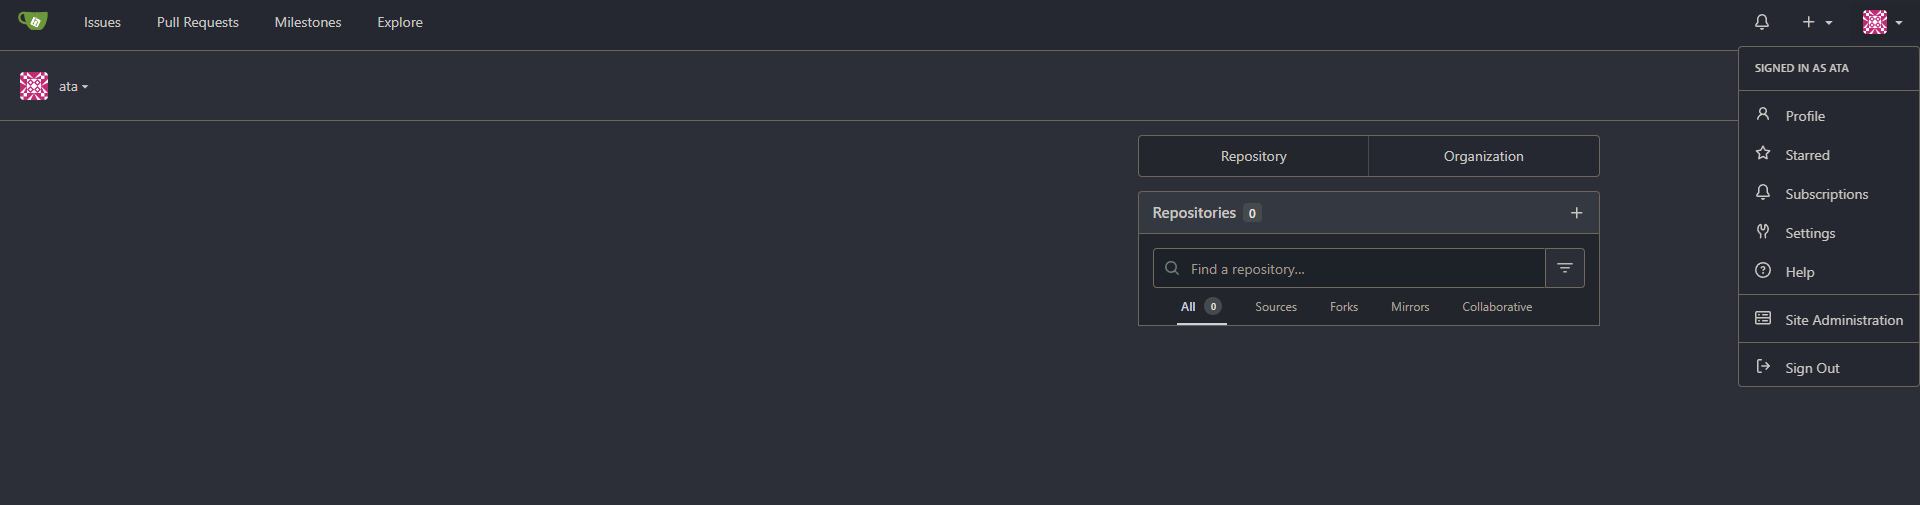
Once created, your browser redirects to the dashboard below, where you can start using Gitea.
From here, you can start hosting your Git repositories, track issues, collaborate with other administrators, and manage your projects.
Creating Your First Gitea Repository
With access to Gitea using your administrative account, it is time to test whether your Gitea installation works. And what better way to test your installation than creating your first Gitea repository?
To create a Gitea repository, follow these steps:
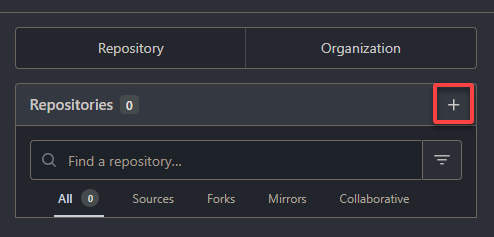
1. On Gitea’s dashboard, click the plus (+) button Repositories section to initialize creating your first Gitea repository.
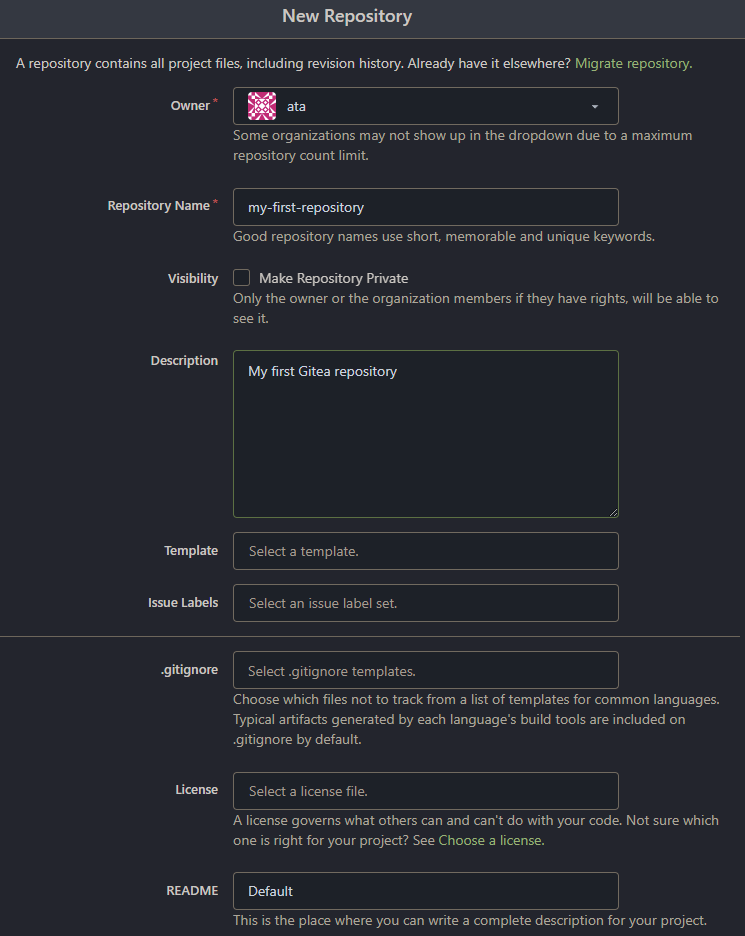
2. Fill out the required fields with relevant information about your new repository.
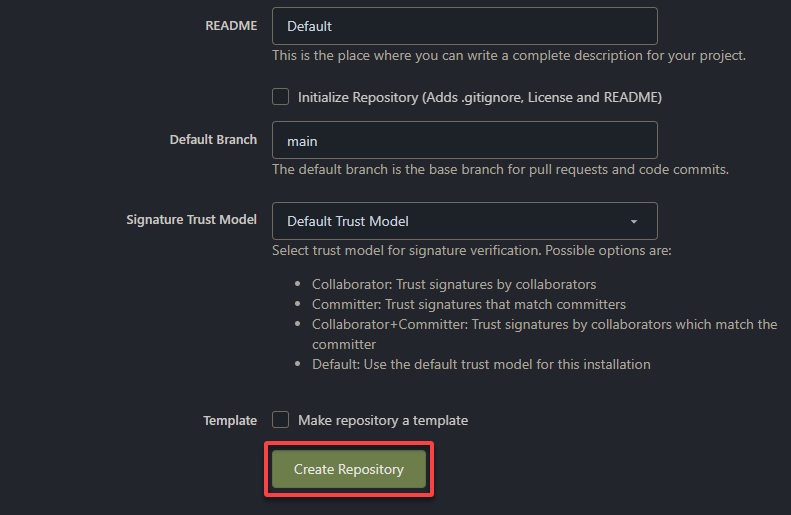
3. Now, scroll to the bottom, and click Create Repository to create your first Gitea repository.
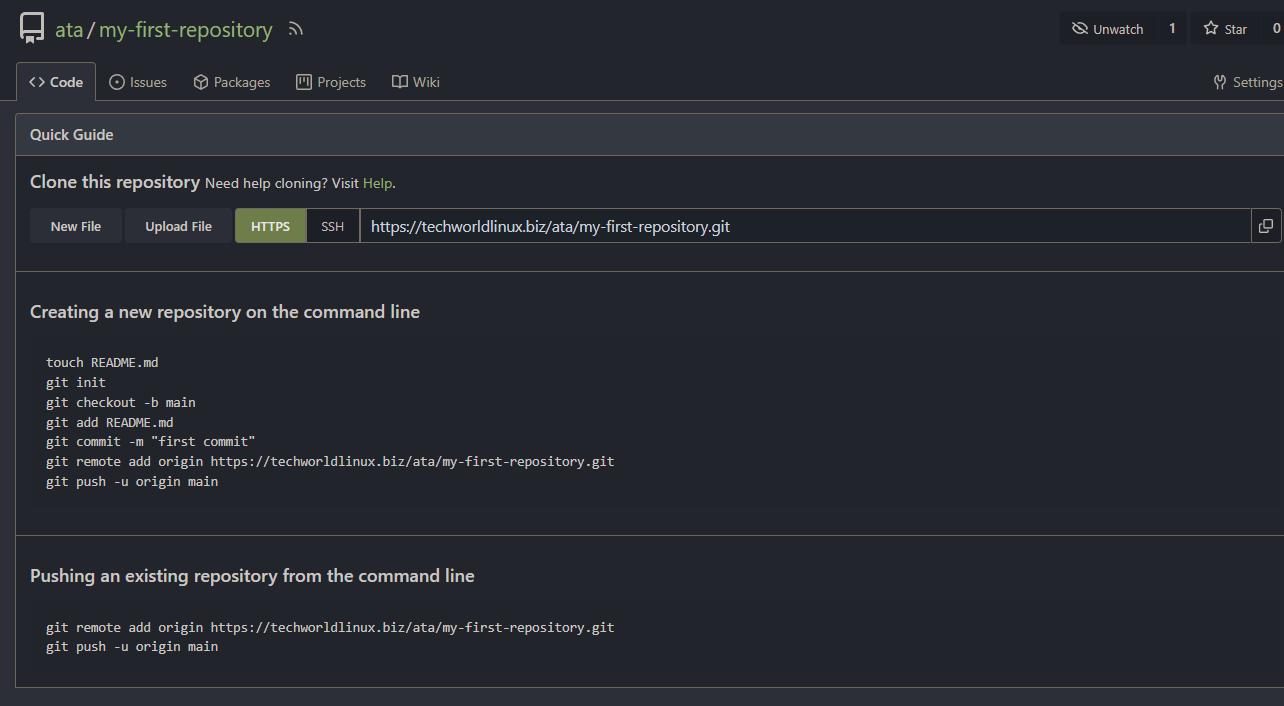
Once your repository is created, your browser redirects to an overview page, as shown below.
On the overview page, you can navigate to different sections of your repository, such as code, issues, pull requests, and settings.
You can check the code from the repository using Gitea’s built-in web editor or clone it to your local machine using a Git client.
Conclusion
In this tutorial, you have learned to set up Gitea via Docker on a Ubuntu server, configure NGINX as a reverse proxy server for Gitea, and secure Gitea and NGINX with Let’s Encrypt SSL.
You now have a fully functional self-hosted Git solution using Gitea. With Gitea, you can quickly host your Git repositories, collaborate with team members, and track project development.
But besides creating a repository, there are more features that you can explore with Gitea. Why not learn advanced features, like integrating CI/CD for automated builds and deployments? Or automate tasks and build custom integrations with the Gitea API?


