

Typically, you keep looking for a more streamlined and convenient way to manage your Docker containers. But have you found one yet? The Yacht Docker GUI is a great option!
This software eases organizing and managing your containers in an intuitive graphical interface. And in this tutorial, you will learn to install and start using the Yacht Docker GUI to its fullest potential.
Discover Yacht Docker GUI and start streamlining your Docker management!
Prerequisites
Before you get started, ensure you have the following in place to follow along in the hands-on demonstrations:
- An Ubuntu 16.04+ or any other Linux distribution that supports Docker – This tutorial uses Ubuntu 20.04 system.
- Docker is installed on the host system.
Installing Yacht Docker GUI via Docker
The Yacht Docker GUI is a web-based GUI for managing Docker containers. But before you can start using the Yacht Docker GUI, you must install it on your system first. In this tutorial, you will install Yacht Docker GUI via Docker. Docker allows you to package the Yacht Docker GUI and its dependencies into a single container.
This container can be deployed on any system that supports Docker, providing a consistent and portable deployment environment.
To install Yacht Docker GUI via Docker, follow these steps:
1. Open a terminal, and run the below systemctl command to start the docker service. Ensuring the Docker service runs is crucial in installing the Yacht Docker GUI.
This command does not provide output, but you will verify the service status in the following step.
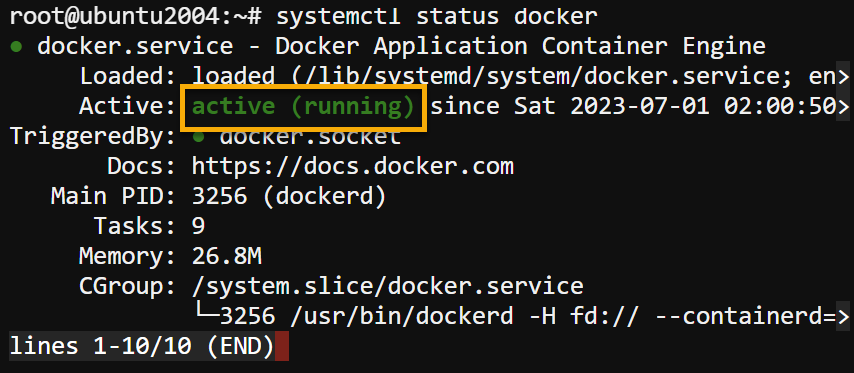
systemctl start docker2. Next, execute the following command to check the status of the docker service.
systemctl status dockerYou can see below the Docker service status shows active (running).
3. With Docker service running, run the docker volume command below to create a data volume named yacht (arbitrary) for the Yacht Docker GUI.
💡 This volume can persist data associated with the Yacht Docker GUI container, such as its configuration files or database.
The data stored within this volume persists even if the Yacht container is stopped or restarted. This behavior allows you to maintain the configuration and state of the Yacht GUI across container lifecycles.
docker volume create yacht
4. Run the below command to verify that the volume is created successfully.
docker volume lsThe newly-created volume is listed in the output, as shown below.

5. Execute the docker run command below to download the Yacht Docker GUI image from Docker Hub and create a container called yacht (arbitrary) based on the image.
Once completed, you will have a Yacht Docker GUI container running, which is accessible through port 8000 with the following command breakdown:
d– This flag runs the container in the background (detached mode) without attaching the container’s console to your terminal. This behavior allows the container to continue executing without interrupting your current workflow.p 8000:8000– Maps port8000from the container to port8000on the host, enabling you to access the Yacht Docker GUI web browser through port8000.
💡 If you already use port 8000 for another service like Portainer, start the container on a different port, such as port 8001, to prevent conflict.
v yacht:/config– Creates a volume namedyacht/configwithin the volume you previously created to store the Yacht Docker GUI’s configuration data.v /var/run/docker.sock:/var/run/docker.sock– Mounts the Docker socket from the host to the container. Mounting allows the Yacht container to communicate with the Docker engine on the host and manage Docker containers.
-name yacht– Assigns the nameyachtto the newly created container.selfhostedpro/yacht– Specifies the Docker image for the container, which is the latest Yacht Docker GUI image namedyacht. This image is downloaded from theselfhostedprorepository on Docker Hub.
docker run -d -p 8000:8000 -v /var/run/docker.sock:/var/run/docker.sock -v yacht:/config --name yacht selfhostedpro/yacht
6. Lastly, run the following docker ps command to verify that the container was created successfully.
docker psAs shown below, you now have a yacht container accessible through port 8000 on your host machine. You can now begin managing your Docker resources through the Yacht Docker GUI!

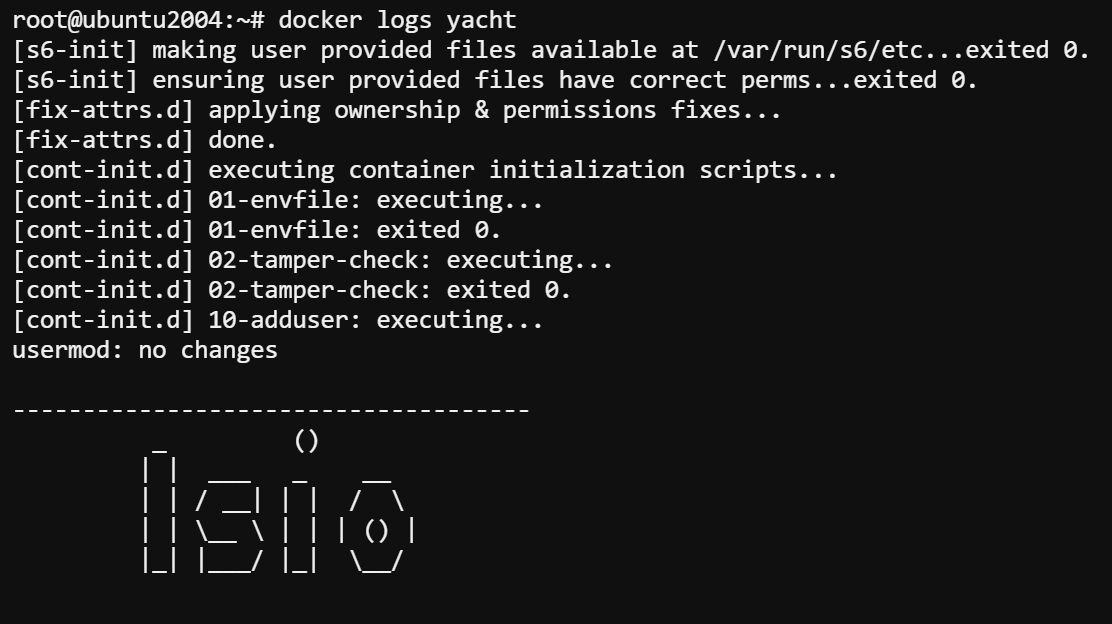
💡Not seeing your container on the list? Execute the following command to check the Docker logs for any error messages.
docker logs yacht
Making the Yacht Docker GUI Accessible via a Web Browser
With the Yacht Docker GUI container at your disposal, you must ensure the container is accessible via a web browser. By default, firewalls block most incoming connections to protect your system from unauthorized access.
If you have a firewall enabled on your host system, you must configure the firewall to allow access to the Yacht Docker GUI on port 8000 (or a different port). This example demonstrates configuring UFW, the default firewall application on Ubuntu Linux.
To open port 8000 via the UFW, follow the steps below:
Execute the following command to add a firewall rule to allow incoming connections on port 8000 (or your preferred port).
ufw allow 8000/tcp
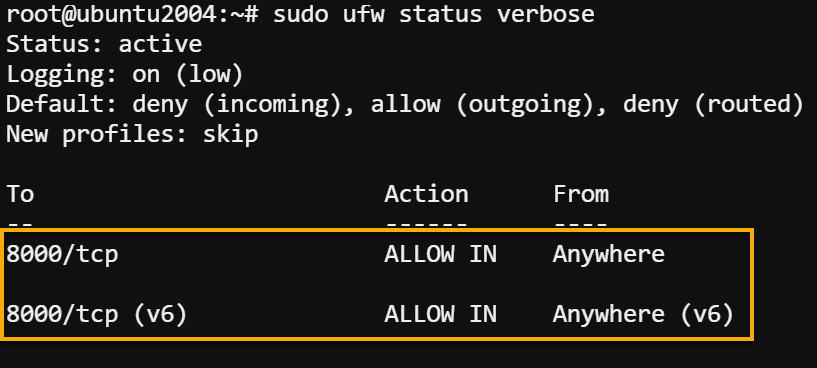
Now, run the below ufw status command to check the status of your firewall and verify the newly-added firewall rule.
sudo ufw status verboseBelow, you can see that port 8000 is now open for incoming connections.
Accessing the Yacht Docker Web GUI
Since you have successfully configured your firewall to allow incoming connections on port 8000, you can now access the Yacht Docker Web GUI. How? You will need a web browser and your host machine’s IP address.
To access the Yacht Docker Web GUI:
1. Run the following command to retrieve your host machine’s IP address.
hostname -INote the IPv4 address from the output, as you will need it later to access the Yacht Docker Web GUI.

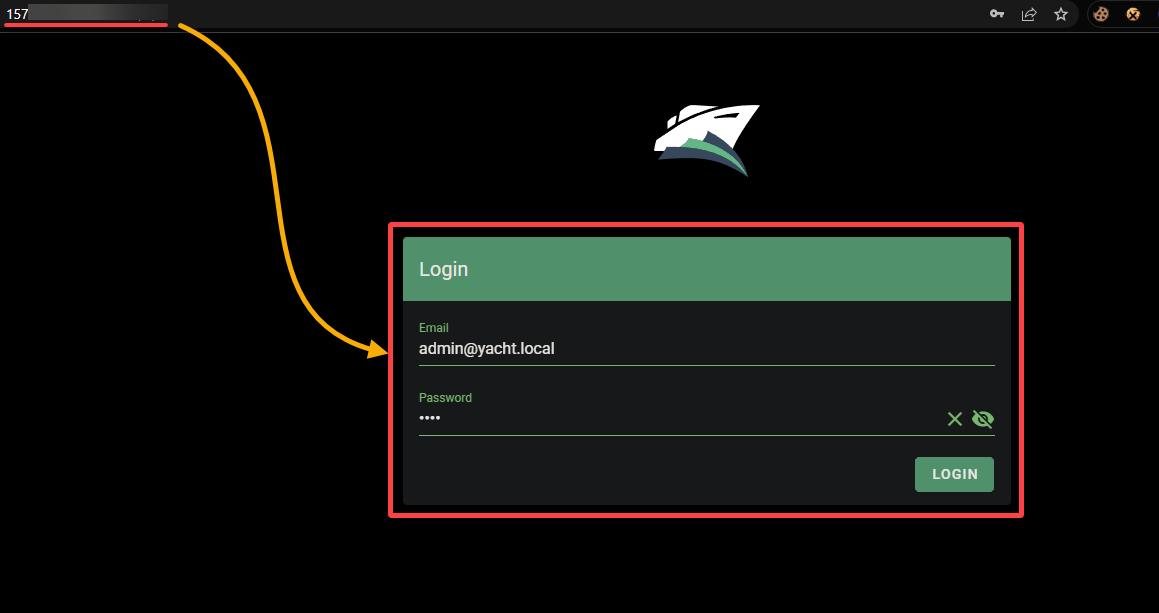
2. Next, open your favorite web browser, like Chrome, and navigate to your host machine’s IP address, followed by your preferred port (i.e., http://157.x.x.x:8000).
Enter the default email ([email protected]) and password (pass) when prompted to log in to the Yacht Docker Web GUI.
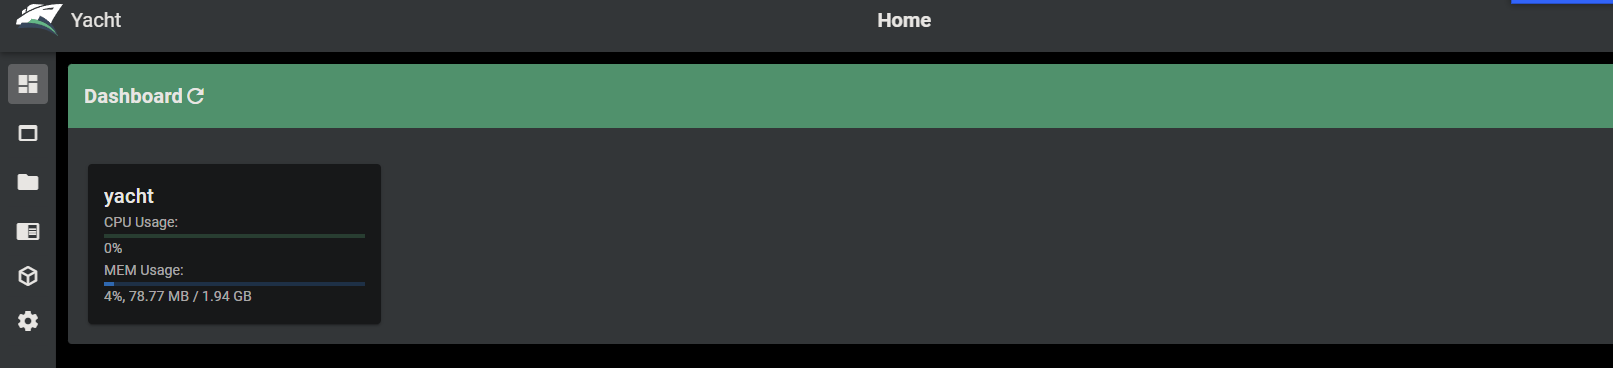
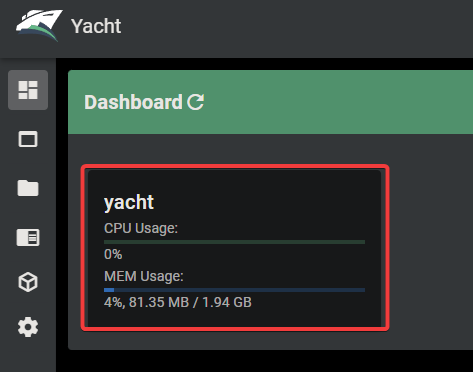
After logging in, your browser redirects to the Yacht Docker Web-based GUI dashboard, as shown below.
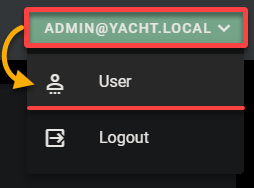
3. Click the username (top-right), and choose User to access the user details.
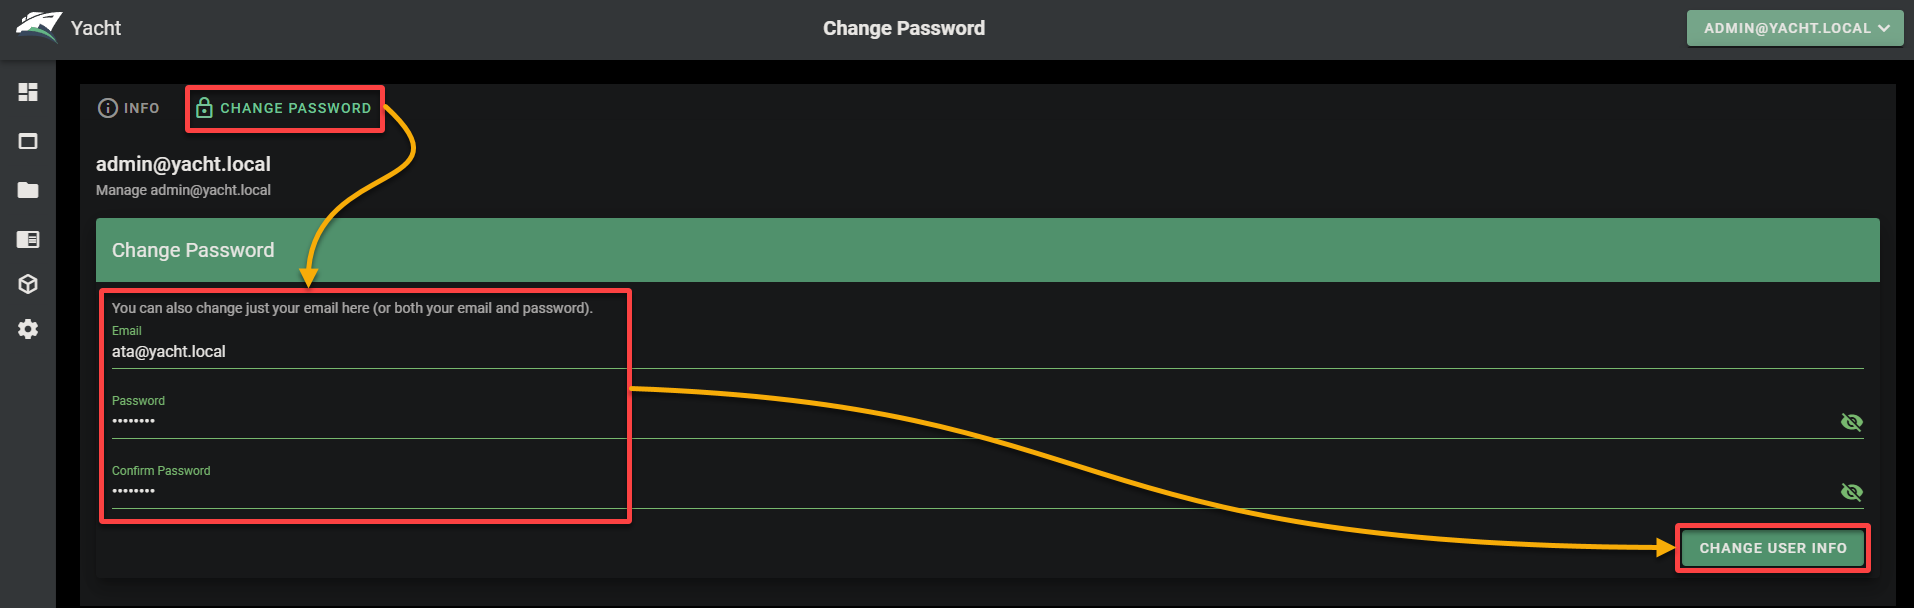
4. Finally, navigate to the CHANGE PASSWORD tab, provide a new email and a strong password, and click CHANGE USER INFO (bottom-right) to save your new login credentials.
Changing the default username and password after logging in for the first time is highly recommended for security reasons.
The default credentials are widely known and often targeted by attackers. If these default credentials are not changed, your Yacht Docker GUI installation is vulnerable to unauthorized access and potential security breaches.
Starting and Stopping Containers
With access to the Yacht Docker GUI, you can leverage its intuitive interface to manage your Docker containers efficiently. The GUI provides various features and capabilities to simplify container management.
In this example, you will first tackle starting and stopping containers, the fundamental aspects of managing Docker containers.
To see how to start and stop containers via the Yacht Docker GUI:
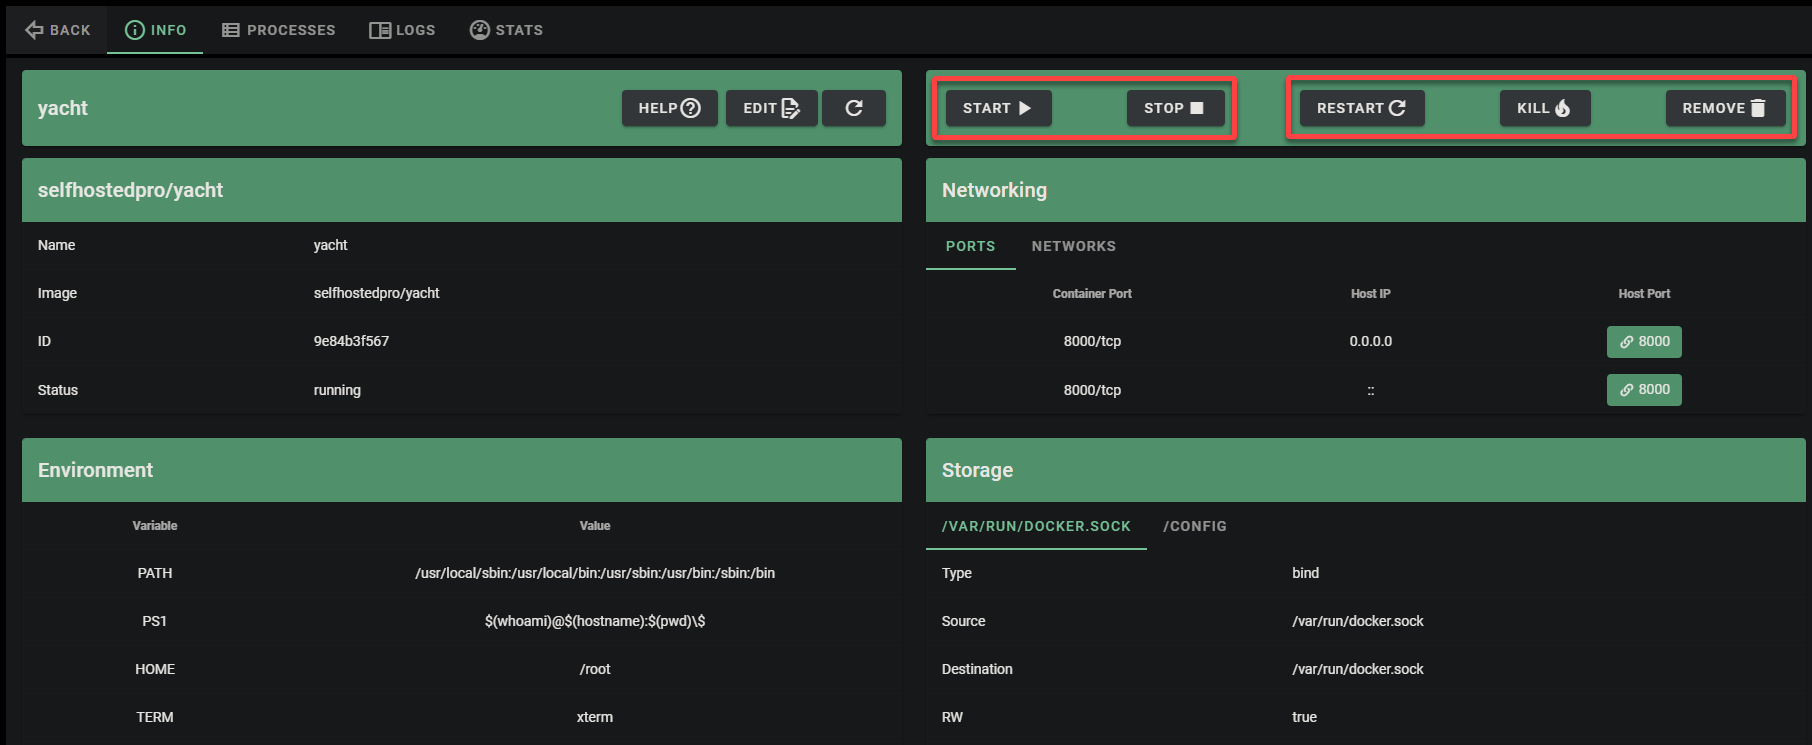
1. On your Yacht Dashboard, select the desired container by clicking on its name. This action opens the Container Details view (step two), showing container-related information.
Now, navigate to the INFO tab, and manage your containers with any of the following operations:
- Click the START button to start the container, the initial step to run your application or service within a containerized environment.
- Click the STOP button to stop the container gracefully, allowing the container to perform necessary cleanup tasks before shutting down.
This action allows your application or service to perform necessary cleanup tasks before exiting. This behavior ensures your application shuts down cleanly without any data corruption or adverse effects.
Stopping no longer-needed containers also helps reclaim system resources such as CPU, memory, and network ports. - You can also perform other actions, such as below:
| Actions | Details |
|---|---|
| RESTART | Restarts the container. |
| KILL | Immediately stops the container without a graceful shutdown. |
| REMOVE | Permanently removes the container from your system. |
With one click, the Yacht Docker GUI lets you quickly start or stop your containers, simplifying container management. This streamlined process allows you to efficiently allocate and reclaim system resources when containers are no longer needed.
Viewing Container Logs in Detail
In addition to starting and stopping Docker containers, you also need a way to monitor how your containers behave — containers revolting never sound good. Worry not, though. The Yacht Docker GUI provides a convenient way to view detailed container logs.
These logs contain valuable information about the execution and behavior of your containers, which help troubleshoot issues and monitor container performances.
Navigate to the LOGS tab while in the container details view to access and view all logs generated by your container.
By default, the GUI displays the latest logs at the bottom. You can scroll through the logs to inspect the container’s output. With this output, you can identify errors, exceptions, warnings, or other issues that may occur during the container’s operation.
This information helps you pinpoint the root cause of problems for efficient troubleshooting, quicker resolution, and improved container stability.

Viewing the Container Stats
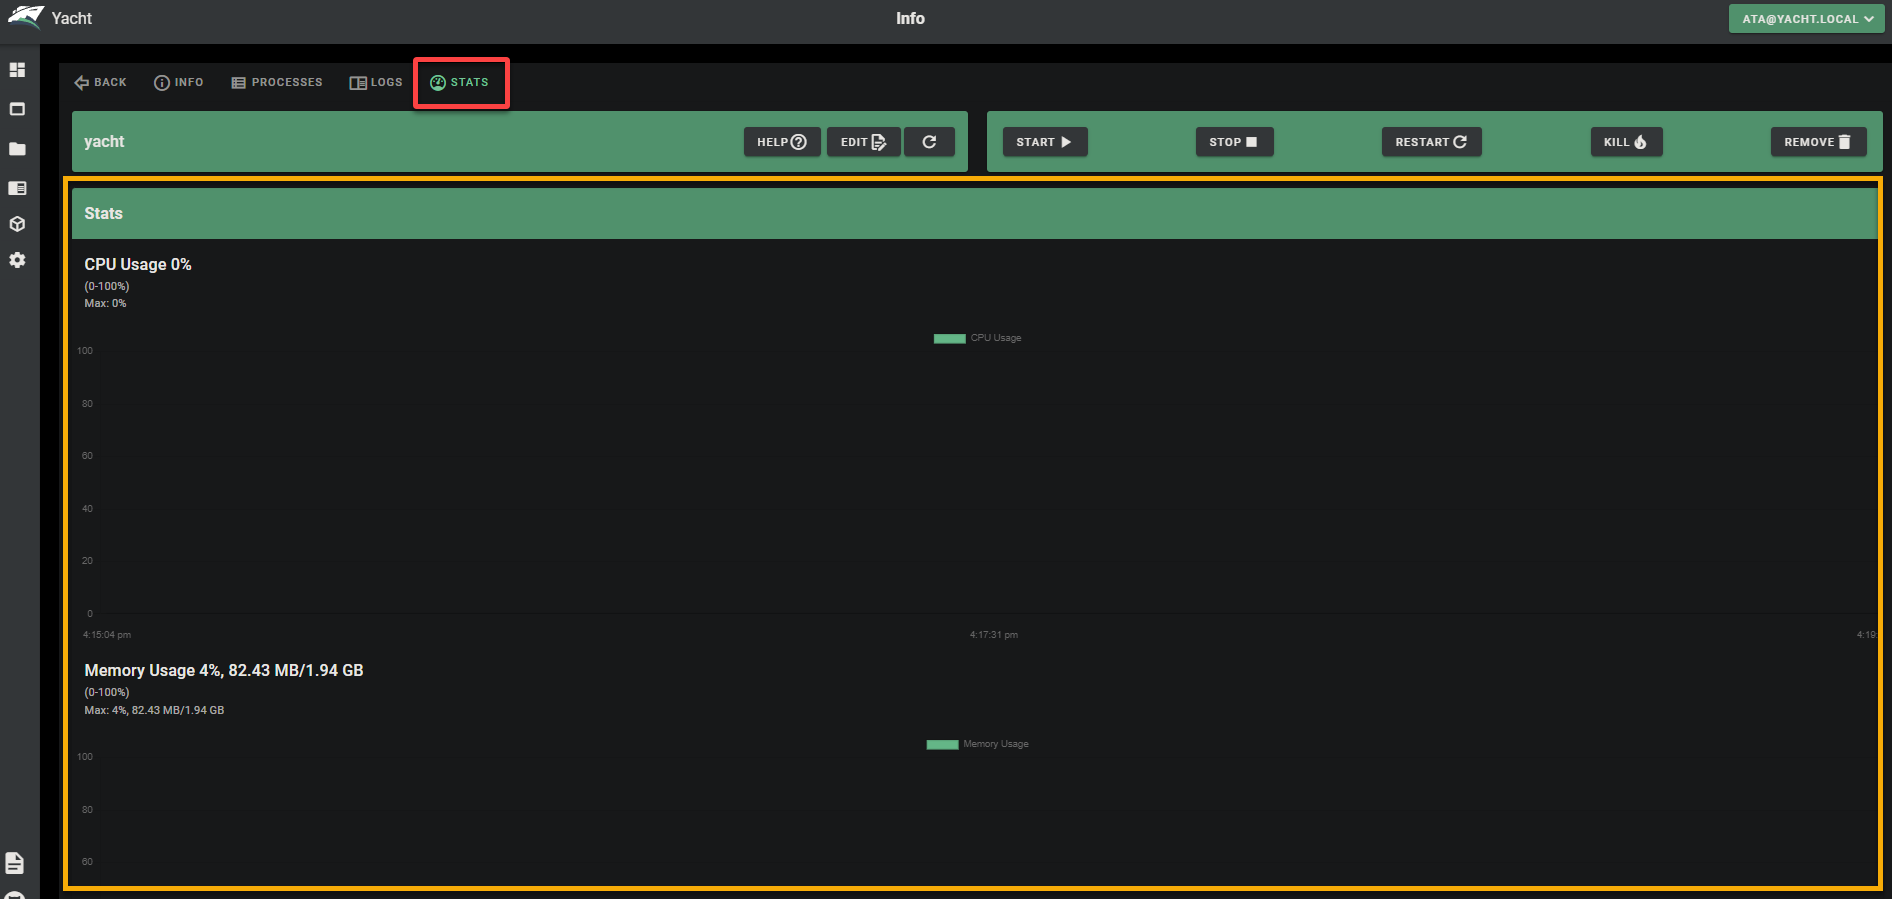
Besides the container logs, viewing your container’s resource utilization is also crucial in monitoring the container’s performance and identifying potential issues. How? With the Yacht Docker GUI, you can access and view real-time statistics of your selected container.
Navigate to the STATS tab, which displays the real-time statistics of your container, including valuable information like CPU usage and memory consumption.
Below, you can see that the stats are typically presented in a graph format, allowing you to visualize the container’s resource utilization over time.
From here, you can identify the following:
- Resource bottlenecks.
- Unusual spikes in resource consumption.
- Patterns that may indicate performance issues.
This information lets you optimize resource allocation, scale containers as needed, and troubleshoot anomalies effectively.
Conclusion
In this tutorial, you have successfully installed and accessed the Yacht Docker GUI via Docker, giving you a user-friendly web-based interface to manage your Docker containers efficiently.
But your journey should not end here. There are ways you can enhance your Yacht Docker GUI installation. Why not consider configuring a reverse proxy to improve security and streamline access to the Yacht Docker GUI? Provide additional layers of secure authentication, load balancing, and SSL termination!


