


In the IT world, securing your infrastructure applications and domains is crucial. And to achieve the ideal level of security, you need an SSL certificate. But how do you get an SSL certificate? One of the easiest and most cost-effective ways is to create self-signed certificates on your systems.
Self-signed certificates are public-key certificates that users can generate themselves rather than being issued by a certificate authority. And in this tutorial, you’ll learn how to generate a self-signed certificate on both Windows and Linux machines (for free).
Read on and start securing your apps and infrastructure!
Prerequisites
This tutorial will be a hands-on demonstration. If you’d like to follow along, be sure you have the following:
- A Windows 10+ device.
- An Ubuntu machine at least 14.04.4 LTS – This tutorial uses Ubuntu 20.04.4 LTS.
- OpenSSL installed on your Windows machine – This tutorial uses OpenSSL 3.0.3 Light (32-bit).
Generating a Self-Signed Certificates on Ubuntu
The easiest way to test the self-signed certificate is on a web server, and one of the most widely used web servers is Apache. So Let’s kick off this tutorial by configuring the Apache server already installed on the Ubuntu machine.
1. SSH into your Ubuntu VM using your favorite SSH client.
2. Run the apt update command below to ensure that Ubuntu has all the latest package sources.
sudo apt update 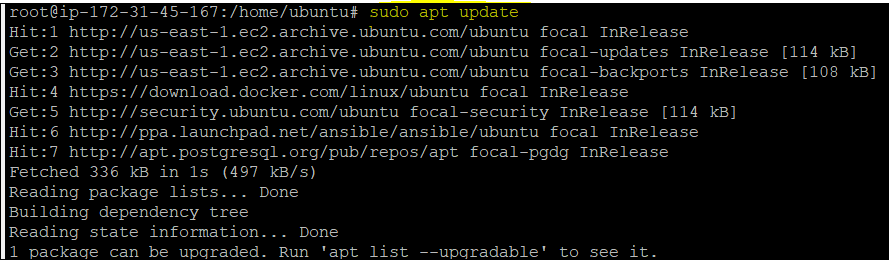
3. Next, open your favorite web browser, navigate to <server-ip-address>:80, and you’ll see the Apache homepage opens only on the HTTP port (Not secure).

4. Now, run each command below to create a directory named ~/certificates and change to that directory where you’ll store certificates.
mkdir ~/certificates
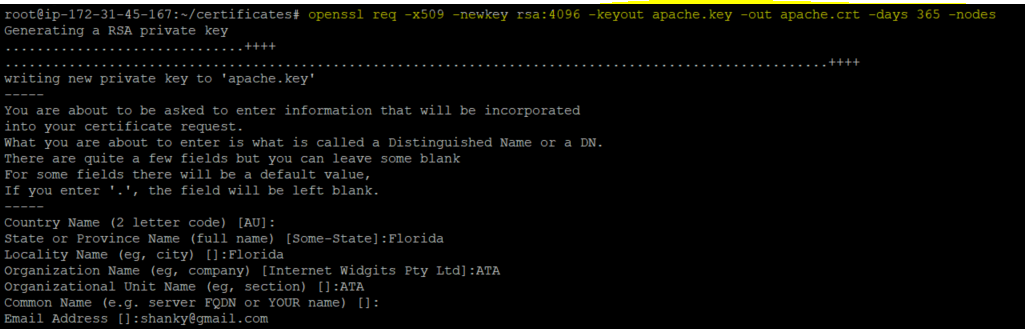
cd ~/certificates5. Next, run the following openssl command to generate a Certificate Signing Request (CSR ) and a private key.
openssl req -x509 -newkey rsa:4096 -keyout apache.key -out apache.crt -days 365 -nodesOnce you execute the command, enter the details, as shown below.
Securing the Apache Server with SSL Certificate in Ubuntu
After generating your certificates, you’ll have to configure the Apache server to use the certificates. But first, you need a dedicated directory to hold your certificate. You’ll enable the SSL module later and test if the certificates work in securing your Apache server.
1. Run the following commands to create a directory (/etc/apache2/ssl) and move the certificates from the ~/certificates/ directory to the /etc/apache2/ssl directory.
mkdir /etc/apache2/ssl
mv ~/certificates/* /etc/apache2/ssl/.
2. Open the default SSL Apache site configuration file (/etc/apache2/sites-available/default-ssl.conf) and add the below lines. Be sure to replace <my-server-name> with your server’s actual name.
In the below code, you specify the (certificate key and file) location where you previously copied your certificates.
ServerName <my-server-name>
SSLCertificateFile    /etc/apache2/ssl/apache.crt
SSLCertificateKeyFile /etc/apache2/ssl/apache.key
ProxyPreserveHost On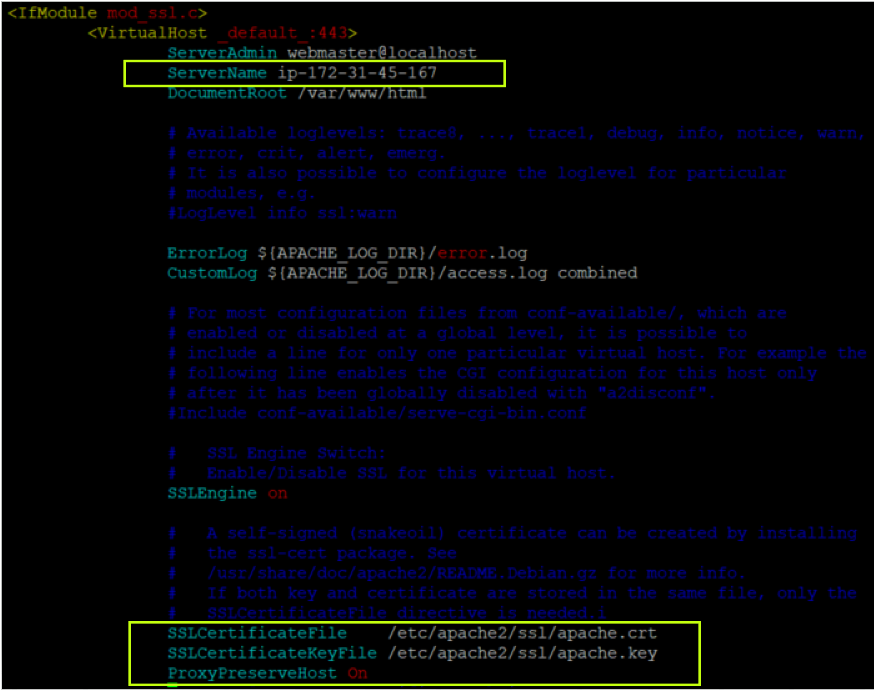
3. Now, run each command below to enable the SSL module, enable the site you modified (step four), and restart the Apache service.
# Enable the SSL module so that you can work with SSL connections.
sudo a2enmod ssl proxy proxy_http proxy_balancer
# Enable the site you modified (step four)
sudo a2ensite default-ssl.conf
# Restart the Apache service
sudo service apache2 restart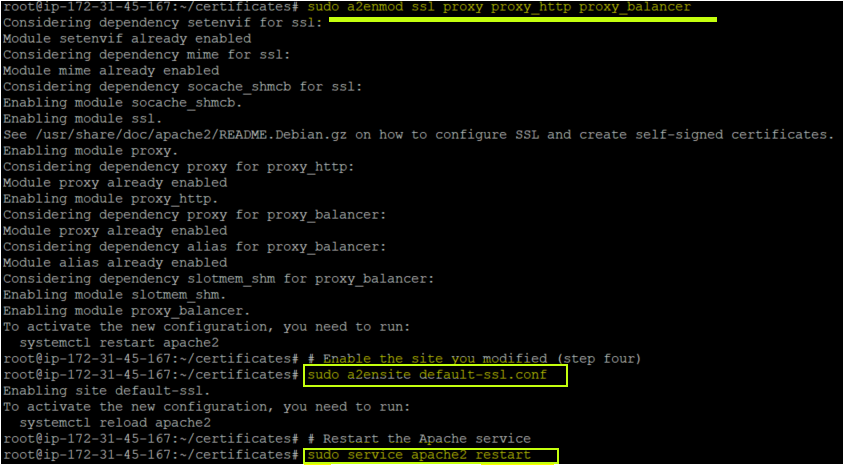
4. Finally, navigate to your Apache server again. But this time, using HTTPS, as shown below.
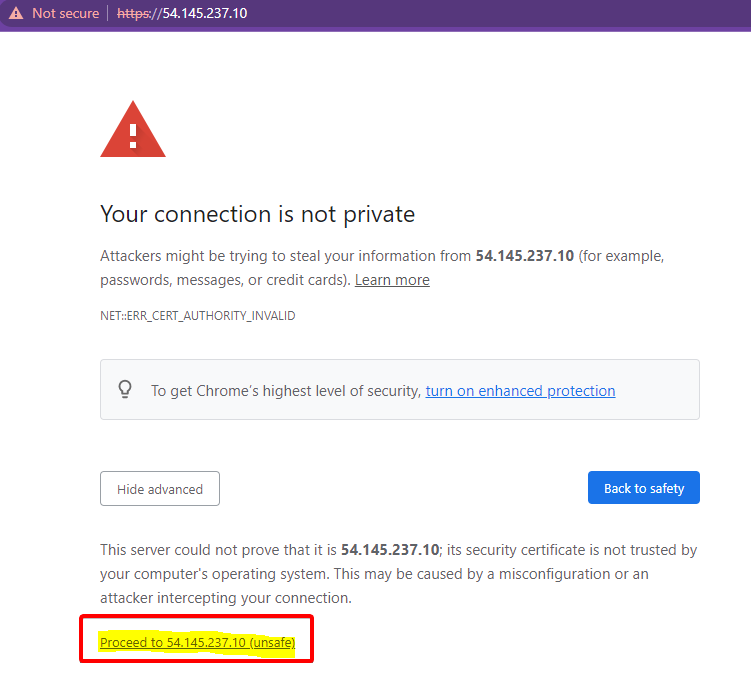
As you can see, Apache is successfully opening with SSL connections on an HTTPS port. Don’t worry if you see a warning symbol displaying the Not secure message. You’ll get that warning since you’re using a self-signed certificate (created by you) and not by the certificate authority.
Click on Proceed to <server-ip> (unsafe) to continue accessing the Apache server.
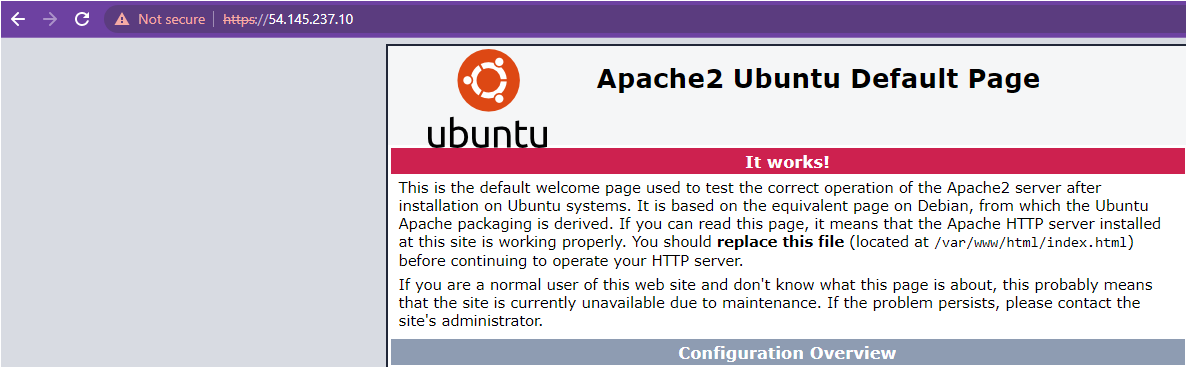
Do you see the same page as shown below? Congratulations! You’ve successfully secured the Apache server with your self-signed certificate.
Generating an SSL Certificate in Windows
Previously you secured an Apache server hosted on an Ubuntu machine using a self-signed certificate. In the same way, you can also secure the Apache server on a Windows OS.
To secure your Apache server on Windows:
1. Open the Apache configuration file (httpd.conf) at C:\Apache24\conf location and uncomment the below line.
The following line enables the SSL module on Windows machines and allows Apache to work with the HTTPS port.
LoadModule rewrite_module modules/mod_rewrite.so2. Next, open PowerShell as administrator, and run the following openssl command to generate a Certificate Signing Request (CSR ) and a private key.
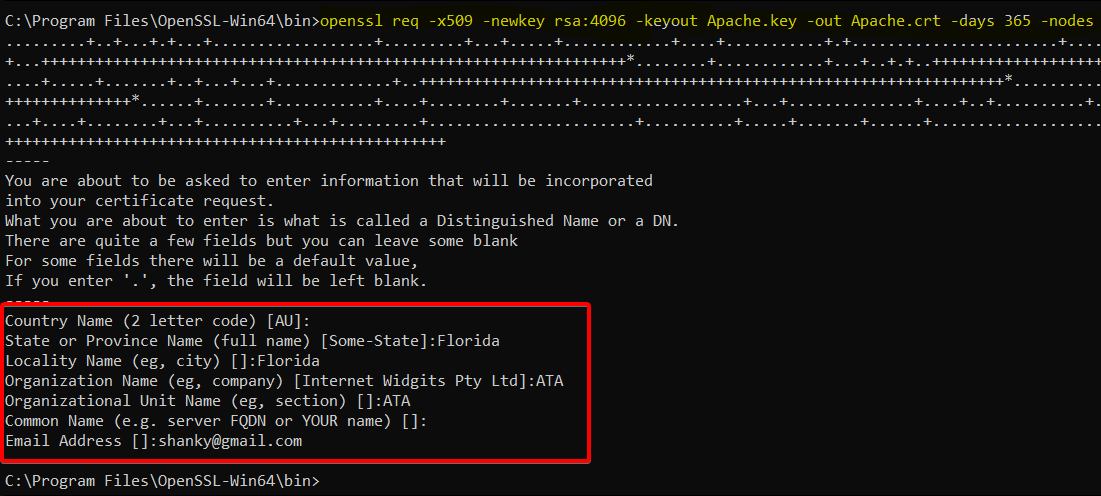
openssl req -x509 -newkey rsa:4096 -keyout Apache.key -out Apache.crt -days 365 -nodesAfter running the command, enter the details for your certificate, as shown below.
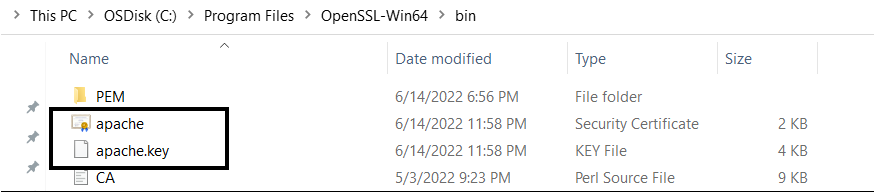
3. Navigate to the OpenSSL installation bin directory (C:\ProgramFiles\OpenSSL-Win64\bin) and verify the Apache certificate and key below.
Configuring the Apache Server to Use SSL Certificates
You’ve just generated your certificate and key to secure the Apache server connection. But like with Ubuntu, you need a dedicated folder to hold your certificate and key and enable the SSL module.
1. Copy your SSL certificate file (apache.crt) and private key file (apache.key) to the C:\Apache24\conf folder.
2. Edit the Apache SSL configuration file (C:/Apache24/conf/httpd.conf), and add the following lines or uncomment if already present.
The below lines enable the SSL module and allow Apache to work on HTTPS Port.
LoadModule ssl_module modules/mod_ssl.so
Include conf/extra/httpd-ssl.conf
LoadModule socache_shmcb_module modules/mod_socache_shmcb.so
3. Now, edit the Apache SSL file (C:/Apache24/conf/extra/httpd-ssl.conf) and add the following lines. This file will be called by httpd.conf file internally as defined in the httpd.conf file (Include conf/extra/httpd-ssl.conf).
SSLCertificateFile "C:\Apache24\conf\apache.crt"
SSLCertificateKeyFile "C:\Apache24\conf\apache.key"
4. Run the following commands on PowerShell to navigate to the Apache installation bin folder, and start the Apache service.
# Change the working directory
cd C:\ProgramFiles\OpenSSL-Win64\bin
# Start the Apache service
./httpd.exe
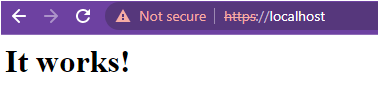
5. Finally, navigate to https://localhost to verify the Apache server.
You should see the same (It works!) message on the page, which confirms the Apache server is running with a self-signed certificate on a Windows machine.
Conclusion
In this tutorial, you learned how to configure an Apache web server on both Ubuntu and Windows operating systems and verify that you can access an Apache instance securely.
Now, how do you plan to up your game with Apache? Perhaps automate web deployments? Or create a Jenkins CI CD pipeline to improve your software development process?


