


Did you know that Jenkins has built-in support for Continuous Integration/Continuous Delivery CI/CD? Implementing a Jenkins CI CD pipeline with your project can significantly improve your software development process.
Not a reader? Watch this related video tutorial!Jenkins is one of the most popular DevOps automation tools to date. And if you’re looking to get started with the Jenkins CI CD pipeline, you’ve come to the right place.
Read on, and in this tutorial, you’re going to learn how to set up a Jenkins CI CD pipeline with GitHub.
Prerequisites
This tutorial assumes you have the following requirements to follow along with the examples.
You must already have a Jenkins installation. The examples in this tutorial will be using a Jenkins v2.319.1 on a Windows 10 20H2 computer.
- Your Jenkins web console must be accessible over the internet.
- A Github account to which you’ll connect with the Jenkins CI CD pipeline.
- Git SCM. This tutorial uses the latest (2.34.1) 64-bit version of Git for Windows.
Preparing the GitHub Repository
This tutorial involves integrating a Jenkins CI CD pipeline with a GitHub repository. Instead of creating a blank project, forking an existing repository is quicker to get started.
1. First, open a browser and log in to your GitHub account.
2. Next, navigate to the example repository URL (MyShuttle2 application from Microsoft Connect 2016). Once you’re on the repo page, click the Fork button near the top-right section of the page.

Wait for the forking process to finish. By the end, you will have the repository named “username/MyShuttle2” on your GitHub account to which you have full access.
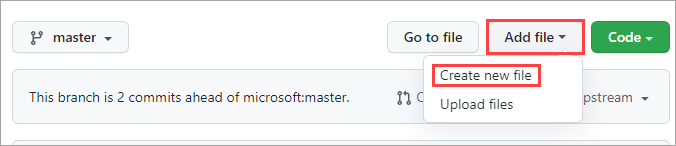
3. Now, add a new file to the repository named Jenkinsfile. A Jenkinsfile is a text file that contains the definition of a Jenkins Pipeline. This file should be inside the source code repository.
On your repository page, click Add file —> Create new file.
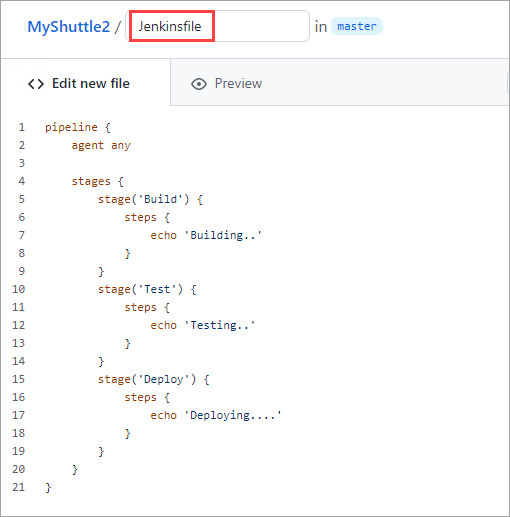
4. Type in Jenkinsfile as the name of the new file. Next, copy the code below and paste it into your Jenkinsfile.
- The term pipeline is a set of instructions written in code for continuous delivery.
- A stage block contains a series of steps in a pipeline, visualizing the Jenkins pipeline process.
- A step is a single task that executes a specific process at a defined time. A pipeline contains a series of steps.
This Jenkinsfile is only a basic example of a pipeline script. In production, pipeline scripts will be more complex and include multiple actions on one or all stages.
pipeline {
    agent any

    stages {
        stage('Build') {
            steps {
                echo 'Building..'
            }
        }
        stage('Test') {
            steps {
                echo 'Testing..'
            }
        }
        stage('Deploy') {
            steps {
                echo 'Deploying....'
            }
        }
    }
}
After writing the code, your file will look like the screenshot below.
5. Scroll to the bottom of the page and click Commit new file.
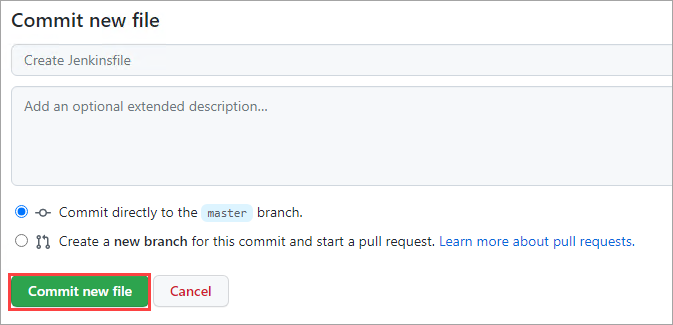
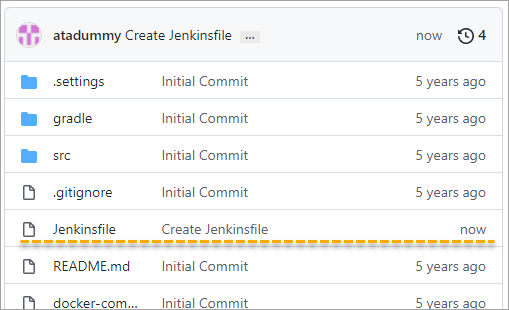
You now have a Jenkinsfile on your repository.
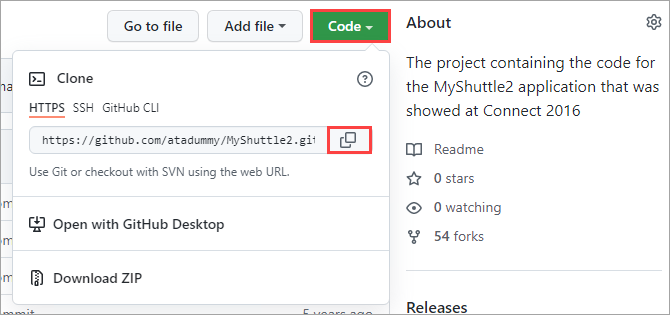
6. Finally, copy the repository URL. To do so, click Code and click the Copy button. You will need the resulting URL during the Jenkins CI CD pipeline creation.
Creating a Jenkins CI CD Pipeline
Developing a feature involves many code changes. Between every code change, there are a set of tasks to perform. These tasks may include committing changes, compiling, testing and packaging.
Automation services such as Jenkins help make these steps fast and error-free.
1. Open a browser, navigate to your Jenkins URL, and log in.
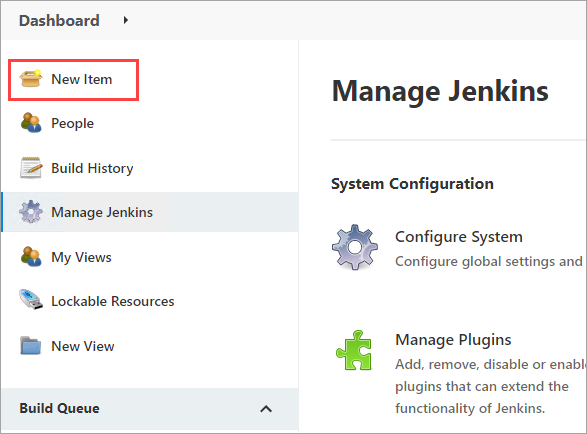
2. On the Jenkins Dashboard, click the New Item option on the left-hand side menu.
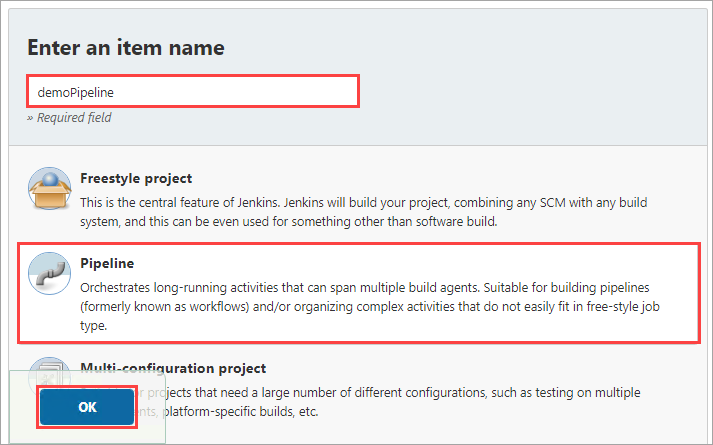
3. Enter the name of the new pipeline. For this tutorial, you will name it demoPipeline and select the Pipeline template. Click OK to finish.
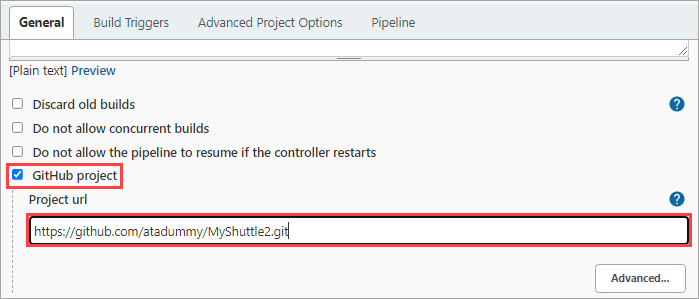
4. Check the GitHub project box under the General tab on the configuration page. Next, paste the repository URL you copied earlier into the Project URL box.
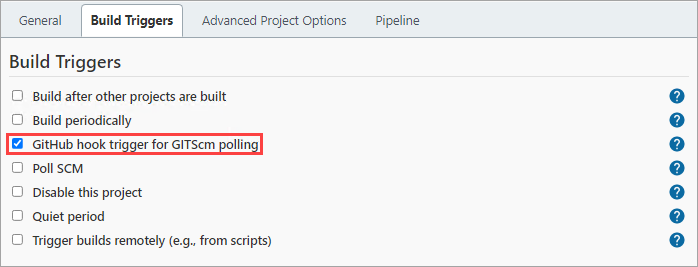
5. Scroll down to the Build Triggers section and check the GitHub hook trigger for GITScm polling box, like the screenshot below.
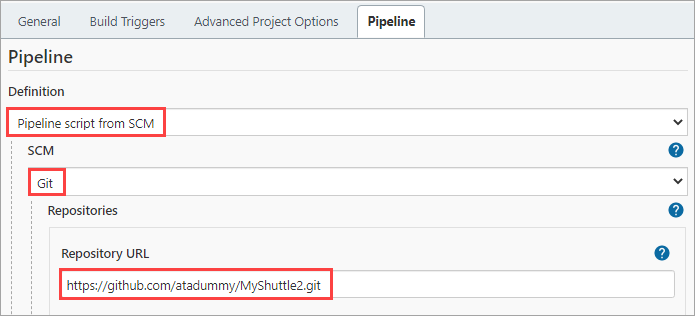
6. Next, scroll further down to the Pipeline section and select/specify the following values:
- Definition: Pipeline script from SCM
- SCM: Git
- Repository URL: Your repository URL
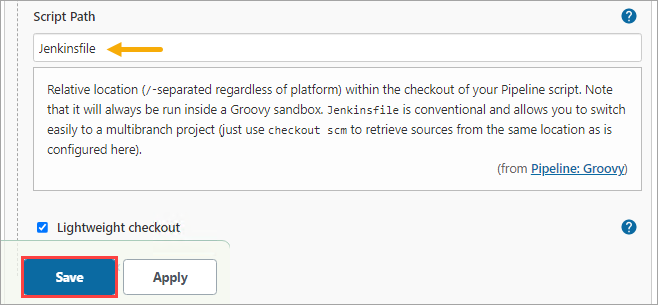
7. Scroll to the bottom of the page and confirm that the Script Path value is Jenkinsfile. This value references the Jenkinsfile you created earlier while preparing your Github repo. Finally, click Save.
Configuring a Webhook in GitHub
For Jenkins to run a new job, you must first create a webhook in the GitHub repository. This webhook will notify Jenkins as soon as a new push occurs in the repository.
Follow the steps below to create a Webhook.
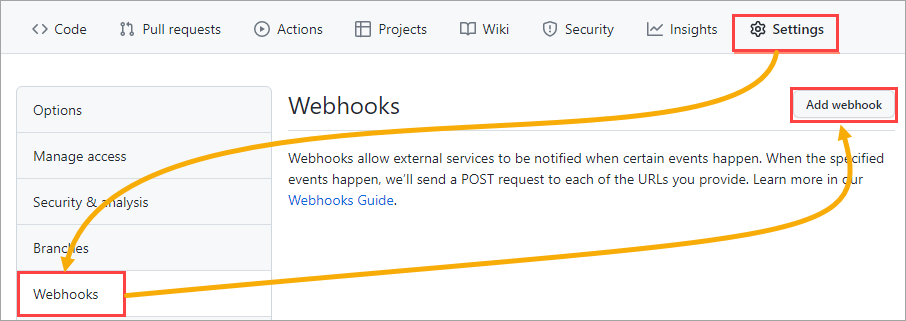
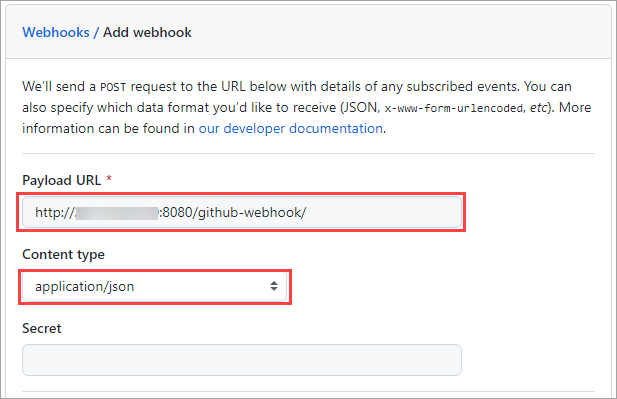
1. Navigate to the Settings page and click the Webhooks tab on your GitHub repository. On the Webhooks page, click Add webhook.
2. Specify your Jenkins URL and append /github-webhook/in the Payload URL field. For example, HTTP://jenkinsURLhere/github-webhook/.
Also, change the Content type value to application/json.
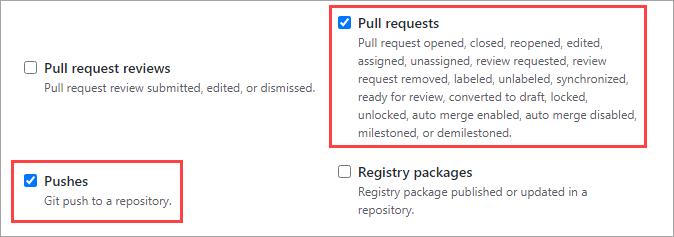
3. On Which events would you like to trigger this webhook selection, click the Let me select individual events option.

4. Scroll down and check the Pushes and Pull requests checkboxes. These options will ensure that GitHub will send a payload to Jenkins during these specific events.
5. Validate the webhook by clicking on the Add webhook button at the bottom. If the webhook validation went well, you’d see a notification on the top of the page similar to the screenshot below.

Executing and Triggering the Jenkins CI CD Pipeline Job
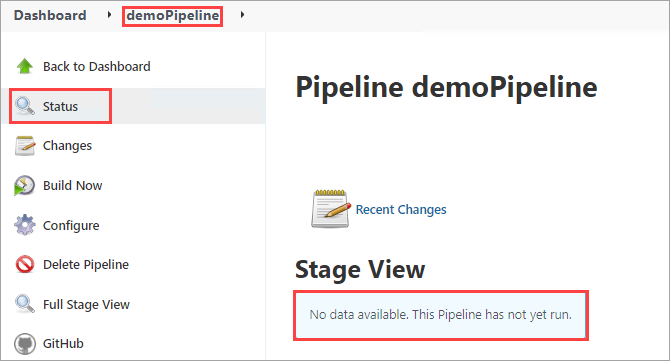
Now that you’ve created and configured your pipeline, how do you know that the pipeline works? Jenkins provides a Pipeline Stage View plugin to help you view the pipeline status.
1. To open the pipeline status, open the pipeline in Jenkins and click on Status. As you can see below, the Stage View status shows No data available because there hasn’t been an event that would trigger the pipeline.
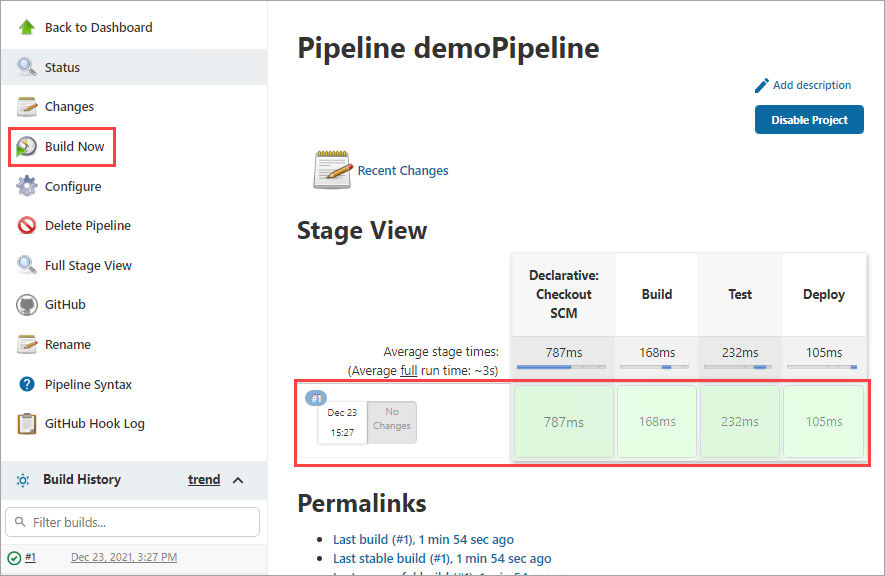
2. To generate initial build data, click Build Now and wait for the build process to complete. As you can see below, the Stage View now has one entry, saying that there are no changes in this build.
3. Now, test the pipeline by committing a new dummy file to the repository. To do so, go back to your GitHub repository and click click Add File —> Create new file.
Enter dummy as the new file’s name and make sure to add content.
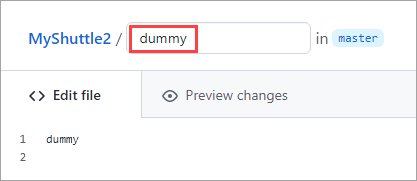
Finally, click Commit new file at the bottom of the page.
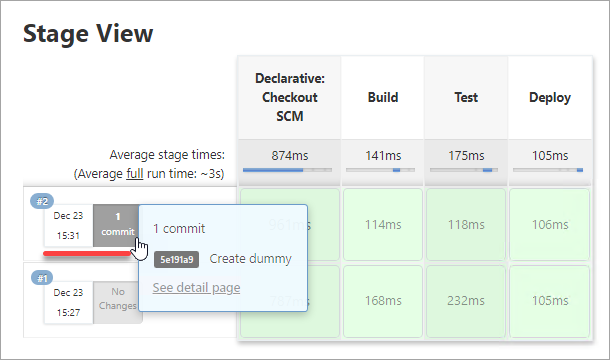
4. Go back to your Jenkins pipeline status page, and you should see a new build entry with one commit, as shown below.
Conclusion
Throughout this tutorial, you have learned how to set up a Jenkins CI CD pipeline to automate the software development lifecycle. You have also learned how to use Jenkins to maintain a chain of actions for CI in a software project.
Do you think the Jenkins CI CD pipeline is a strategy you would apply to your projects? Or is there another one you already have in place that you believe is a better CI/CD solution?


