


Building and deploying an application can be a difficult task. Why not use a Jenkins Build Job to automate the entire process? You concentrate on building while Jenkins handles code deployment.
In this tutorial, you will learn how to automate your code deployment using Jenkins to save time so that you can focus on other tasks simultaneously.
Ready? Time to dive in!
Prerequisites
This tutorial houses hands-on demonstrations. If you’d like to follow along, be sure you have the following:
- An Ubuntu System – This tutorial uses Ubuntu 20.04 for the demonstrations
- A GitHub account
- OpenJDK version 1.8.0_292
- Jenkins version 2.303.1
- Node.js version 14.17.6
- Fork this GitHub repository – After forking, note the GitHub repository URL as you’ll need it later.
Although the repository shown in the below screenshots slightly differs from the one linked above, once forked, you will use a different repository URL as well.
Creating a Jenkins Build Job
Jenkins is an open-source automation server that aids in the automation of a software development life cycle. This life cycle includes building, testing, and deploying, which facilitates continuous integration and continuous delivery.
In this demo, you’ll go through how to create a Jenkins build job. A build job is typically a configuration for autonomously running tasks for building/packaging software.
- Launch your favorite browser, navigate to http://localhost:8080/, and log in to your Jenkins dashboard. Port
8080is the default port to access the Jenkins dashboard.
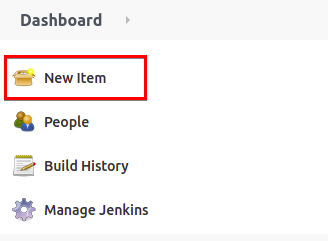
2. On your Jenkins’ Dashboard, click on the New Item button in the left panel to initialize creating a build job. Doing so redirects the browser to a new job page.
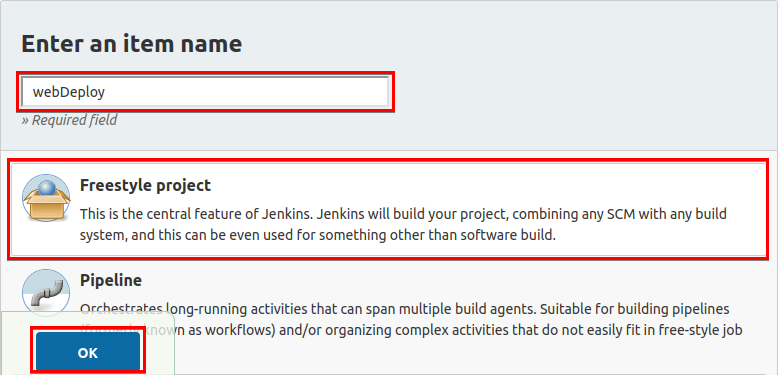
3. Next, enter a project name you prefer for the build job in the input field shown below. For this example, the project name is webDeploy.
Select the Freestyle project option to enable creating jobs, script post-build actions, and configure project build triggers, then click OK. You will be redirected to the job configuration page that you’ll see in the next step.
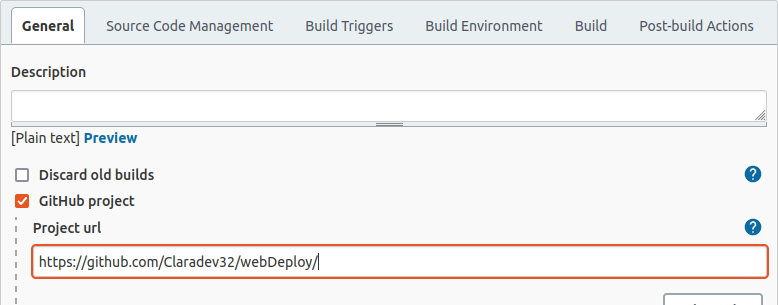
4. Click on the General tab, and check the GitHub project box to link a source code manager so that Jenkins will know where to pull your code. This demo uses Git as the source code manager for the sample project hosted on GitHub that you forked earlier. Paste the GitHub repository URL from your GitHub account to the Project url field below.
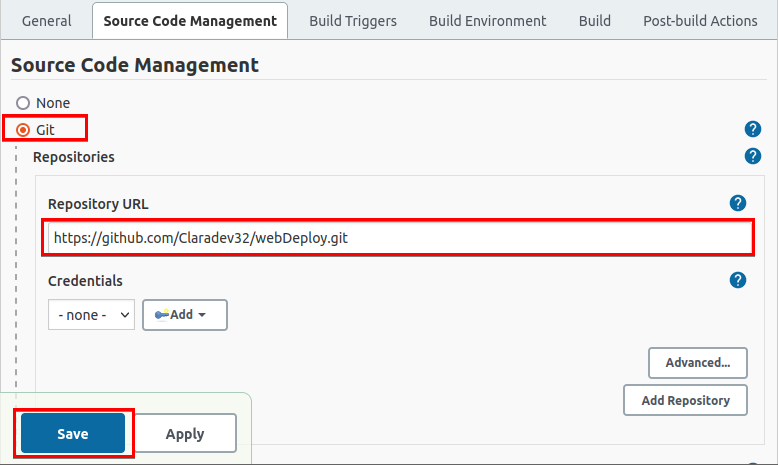
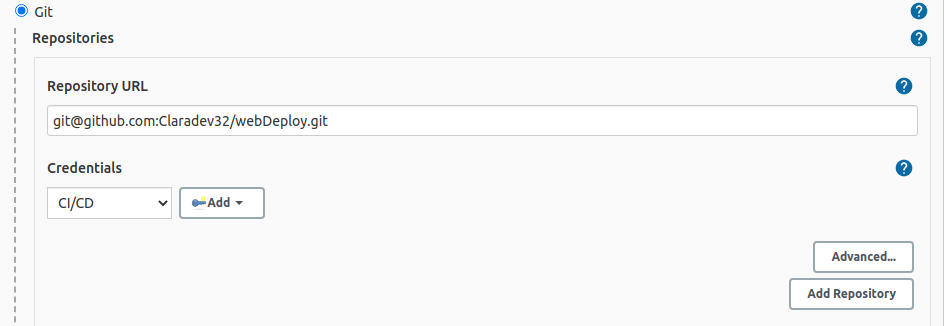
5. Finally, click on the Source Code Management tab, then select Git, which is your source code manager.
Copy and paste this GitHub repository URL (https://github.com/Claradev32/webDeploy.git) into the input field. Click on the Save button to save your current configurations.
Creating Credentials for a Jenkins Project
Perhaps you prefer to keep your repository private, which is common for client projects. If so, you’ll need to create credentials to authorize Jenkins to clone your project from GitHub.
To create credentials for your Jenkins project, you must generate and add an SSH key first to your GitHub account:
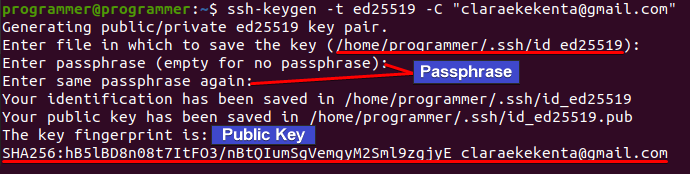
1. Open your Ubuntu terminal, and run the command below to generate an SSH key with ed25519 as the key type. Replace [email protected] with your GitHub email address to add it as a comment to the SSH key you’ll generate.
ssh-keygen -t ed25519 -C "[email protected]"2. Save your public SSH key with the following:
- Specify a save location for the SSH key and press Enter. If you don’t, the command saves the SSH key on a default location, as shown below.
- Type in a secure passphrase for the SSH key, press Enter to confirm the passphrase, and you’ll see the output of your public SSH key.
- Take note of the location of your generated SSH key as you’ll add it to your GitHub account in the following steps.
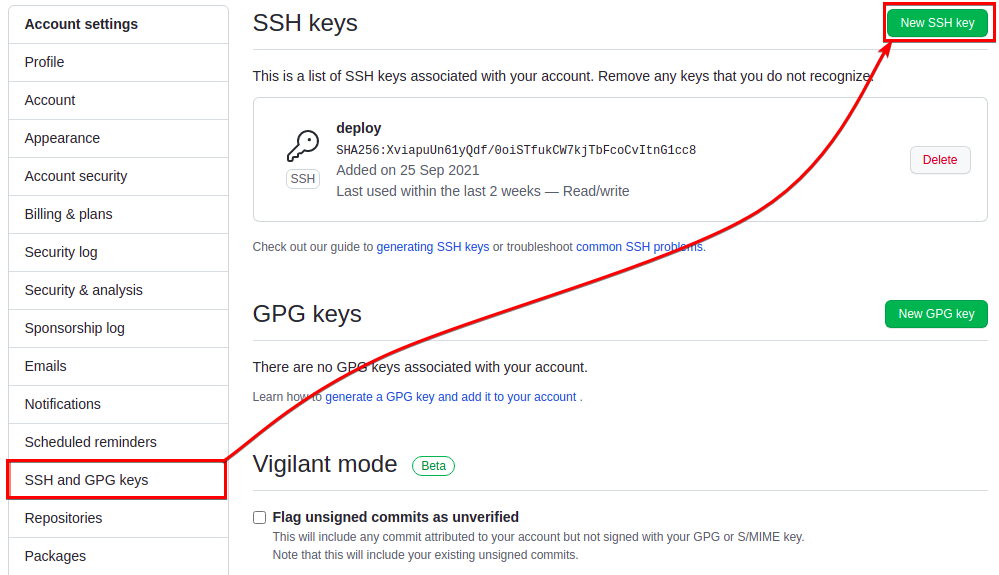
3. Sign in to GitHub on your web browser and navigate to your Account Settings page.
4. Click the SSH and GPG keys link on the left panel and then click on New SSH Key, as shown below, to configure your new SSH key.
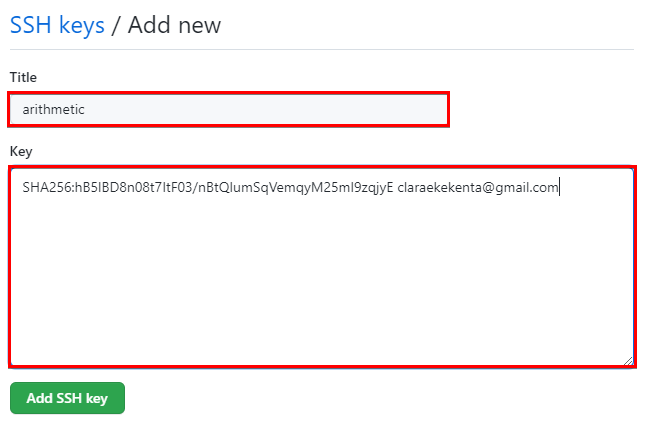
5. Finally, enter your preferred title for the SSH key. The title is only for internal documentation purposes. Paste your SSH key, from the previously saved file, in the Key input field, and click Add SSH Key to save the key.
Remember this is your public key and not your private key!
Adding SSH Private Key to Jenkins Credentials
Now that you have created your SSH key pair to use as a Jenkins credential, you must also add your SSH private key to your Jenkins credentials to authorize Jenkins access to your GitHub repository. But first, take note of your GitHub repository’s SSH URL.
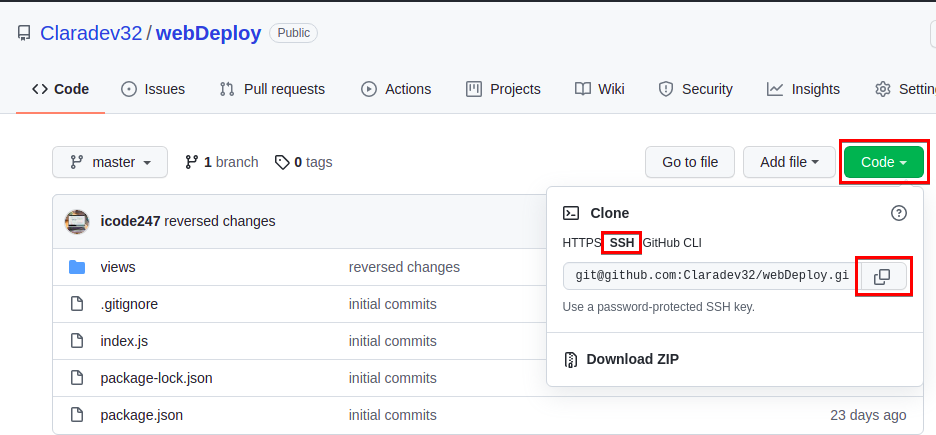
1. Navigate to your GitHub repository page, click on Code → SSH, and click on the copy icon shown below to copy the SSH URL to the clipboard.
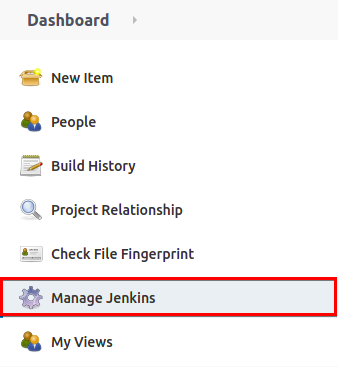
2. Next, navigate to your Jenkins dashboard, then click on Manage Jenkins to access your project’s settings page.
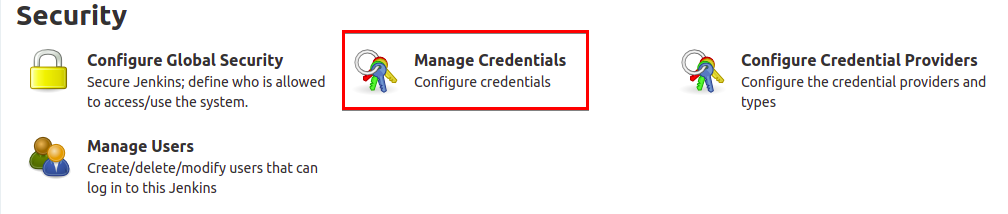
3. Scroll down, then click on the Manage Credentials option under the Security section to view the list of your Jenkins credentials.
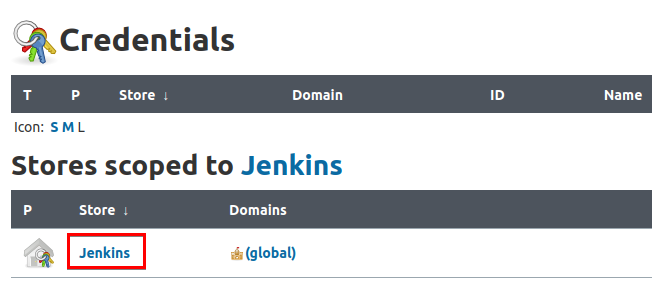
4. Click Jenkins on the Credentials page shown below to access the “System” page where you can add new credentials.
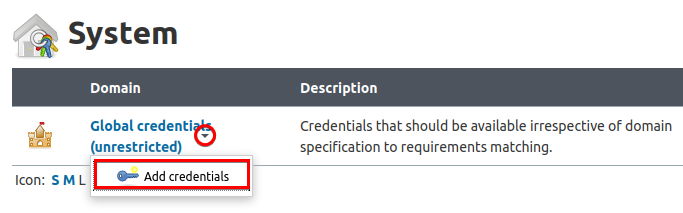
5. Now, on the System page, hover your mouse over the Global credentials (unrestricted) option to display the drop-down menu and click on the arrow down icon.
Click on Add credentials from the drop-down menu. The page redirects to a form where you’ll configure the new credentials shown in the next step.
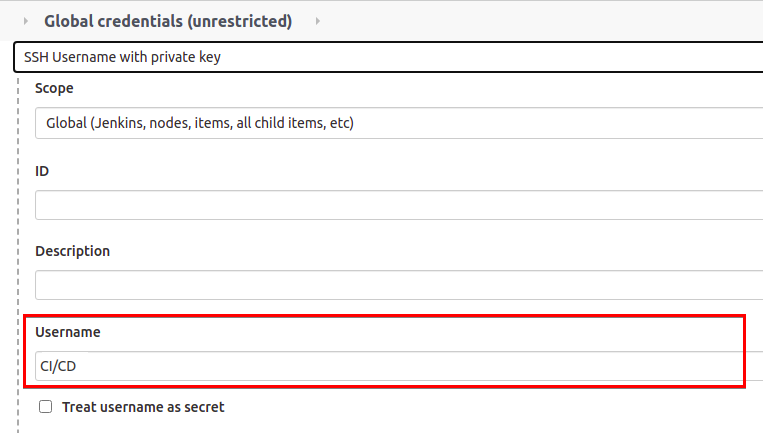
6. Select SSH Username with private key on the first input field and enter a project username in the Username field. For this example, the username is CI/CD.
In this case, the username is purely internal documentation and is not used for authentication.
7. Run the command below to view your SSH Private key, changing the location to where your key is saved, as shown below (the key below is located in the home directory). Note your SSH Private key as you’ll add it to your Jenkins credentials in the next step.
cat ~/.ssh/id_ed25519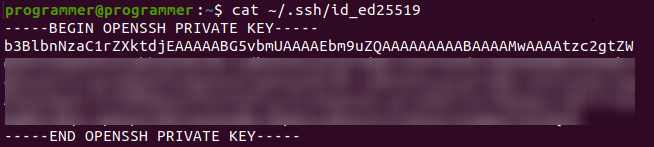
8. Once you have noted your SSH Private key, go back to the Global credentials (unrestricted) page.
Enter the passphrase you set on the “Creating Credentials for a Jenkins Project” section (step two) to the Passphrase input field, and click OK. Doing so authorizes Jenkins access to your GitHub repository.
If you didn’t include a password while creating the SSH key, click Enter directly and click the Add button. Enter your SSH Private key into the Key input field, as shown below, and press the OK button to save the credentials.
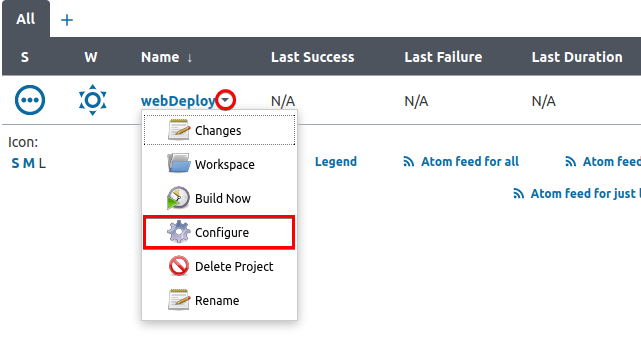
8. Go back to your Jenkins dashboard, hover your mouse to your project and click on the arrow down icon, then choose Configure, as shown below. The page redirects to your project’s configuration page.
10. Finally, select the credentials username in the dropdown field (from step six of the “Adding Secret Key to Jenkins Credentials” section). Jenkins applies the CID principle by default to ensure your project’s continuous integration and deployment.
Configuring Build Triggers and Post Build Actions
You’ve now successfully created the skeleton of a build job. But if you regularly make changes to your project, will you have to redeploy each time manually? Why not set up build triggers? Build triggers automatically redeploy your project’s changes pushed to GitHub.
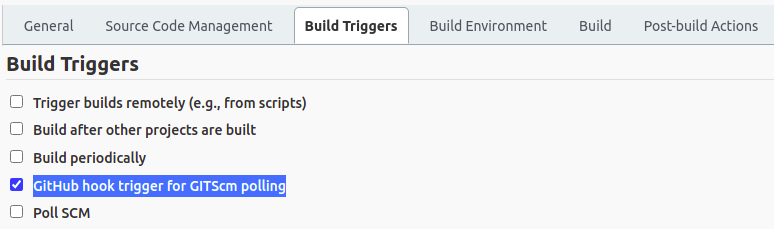
1. On your projects configuration page, click on the Build triggers tab, and check the GitHub hook trigger for GITScm polling option. This option allows you to redeploy your project’s changes automatically.
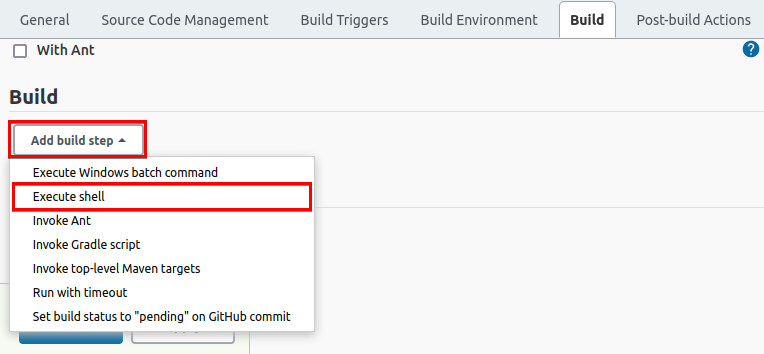
2. Click the Build tab, click on Add build step, and select Execute shell to create a script that will run whenever Jenkins downloads a new version of your code.
The shell script you create is dependent on your development environment. If you’re on Windows, Windows will execute the script; the same is true for other operating systems.
3. Type in the below shell commands, and click Save to save the build script. After saving the changes, the page redirects back to your project’s dashboard.
The commands below pull (pull) your code from your source code remote location (origin master) and with NodeJS NPM install (npm install) the necessary dependencies required to run your project. The commands execute each time you make a push request to your source code manager.
This particular project utilizes NodeJS for dependencies, but your particular project may not.
git pull origin master
npm install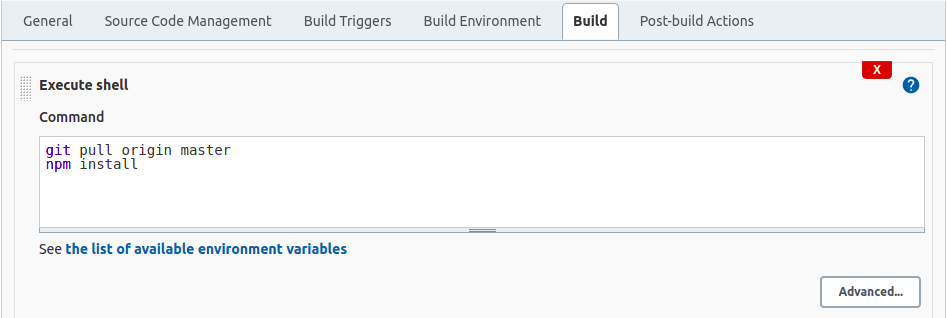
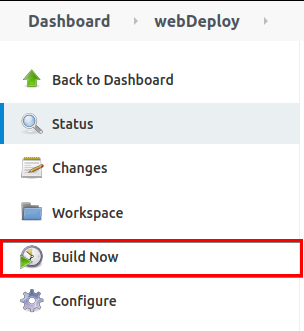
4. Now, on your project’s dashboard, click Build Now to run the build.
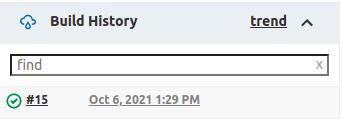
5. Scroll down to the build history to see the build’s status. If the build was successful, you’ll see a similar output to the screenshot below.
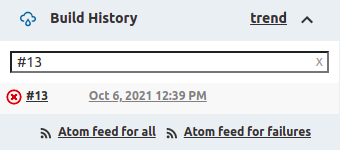
If the build fails, you’ll see the output shown below.
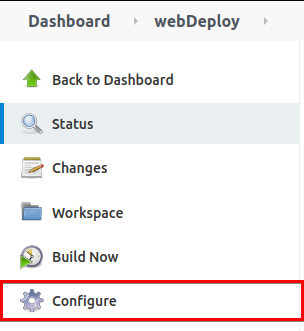
6. Next, scroll up and click on Configure to configure the project’s post-build actions.
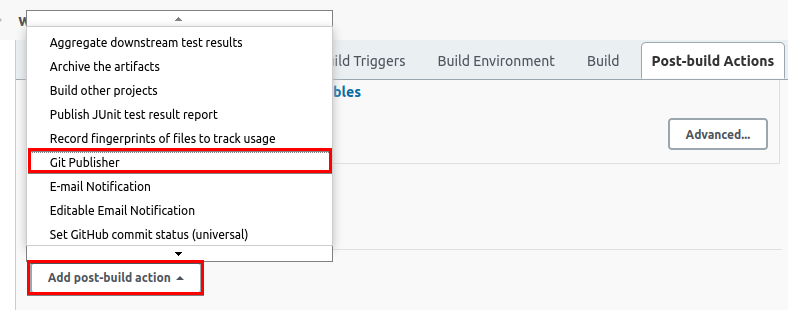
7. Click on the Post Build Actions tab, then click on Add post-build action and choose Git publisher. The page expands the Git Publisher settings section (next step).
8. Finally, enable the Push Only If Build Succeeds option and click the Save button to save the changes. Enabling this option tells Jenkins to deploy the code only when a build run succeeds.

Conclusion
In this tutorial, you’ve gone through the process of connecting Jenkins to your source code management system. You’ve also created a build script that automatically runs when Jenkins downloads a new version of your code and set up build triggers to automate web deployments.
Now, why not save yourself some time by automating your application deployment with a Jenkins build job?


