


Domain hosting management can be a challenge without a robust control panel. But today, you are in luck! Virtualmin is one of Ubuntu users’ most popular and feature-rich website control panels.
In this tutorial, you will learn to install Virtualmin on your Ubuntu server to get you started in managing your domain hosting environment.
Keep reading to enter the world of hassle-free web hosting!
Prerequisites
This tutorial comprises hands-on demonstrations. Be sure you have the following in place to follow along:
- An Ubuntu server with root privileges – This tutorial uses Ubuntu 20.04 LTS, but you can apply the steps to any Ubuntu 16+ version.
- A fully qualified domain name (FQDN) that points to your Ubuntu server. Virtualmin requires a domain name to connect to the web UI panel and your virtual server.
Installing Virtualmin on Ubuntu
Virtualmin offers a wide range of features to simplify the management of multiple domains and websites. Built upon the Webmin platform, Virtualmin provides an intuitive web-based interface that enables you to create, configure, and manage various aspects of your hosting environment.
But before you can enjoy Virtualmin’s features, you must first install it on your system as follows:
1. Open a terminal, and run the below apt update command to update your system’s package repository. Doing so ensures you have the latest software versions and security patches.
apt update -y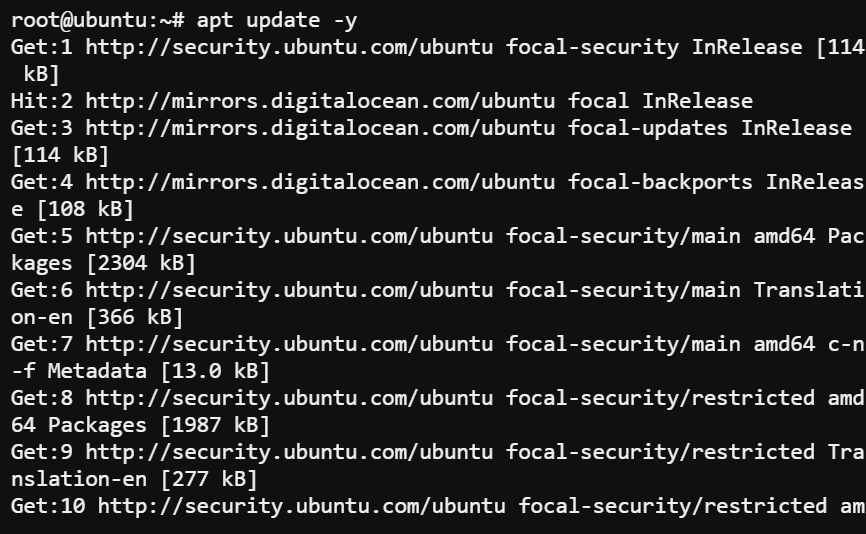
2. Once updated, execute the following command, which does not provide output but sets your server’s hostname (set-hostname) to your FQDN (i.e., example.com).
Ensure your domain name is valid and resolves to your server’s IP address, which is crucial for SSL certificate generation later.
hostnamectl set-hostname example.com3. Next, run the below wget command to download the Virtualmin installation script named install.sh from the URL http://software.virtualmin.com/gpl/scripts/.
This script is provided by the Virtualmin project, which you will use to automate the installation process of Virtualmin on your server.
wget http://software.virtualmin.com/gpl/scripts/install.sh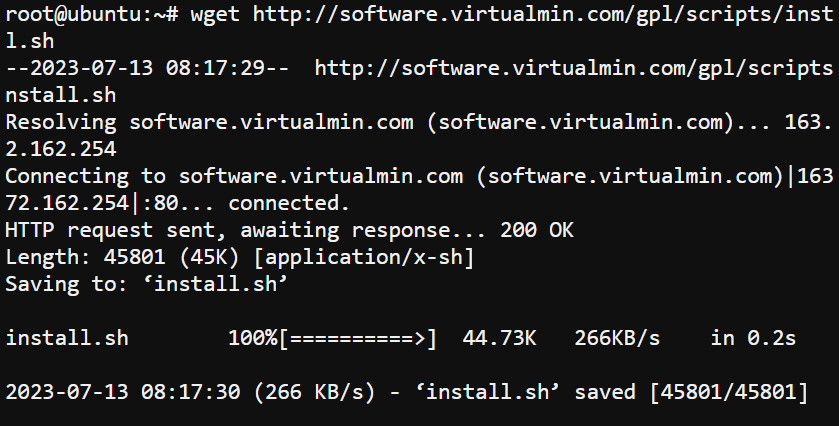
4. Now, execute the chmod command below, which does not provide output but sets the script as executable. Doing so allows you to run the script and initiate the installation process.
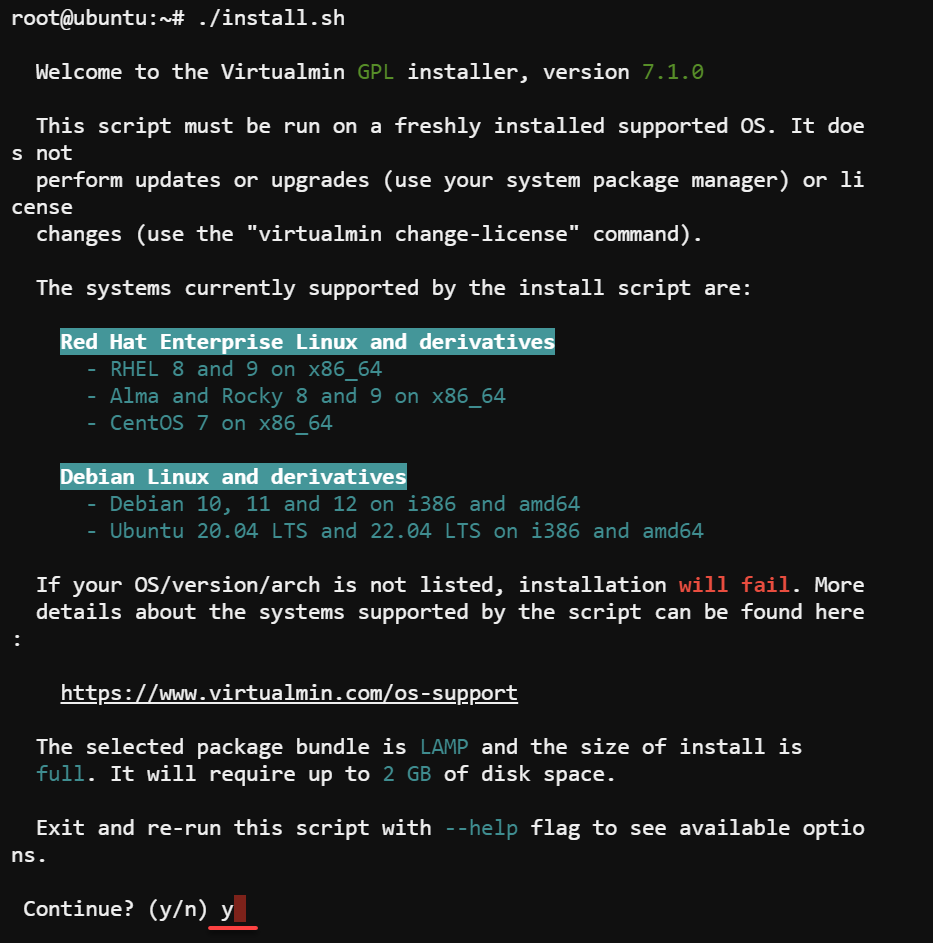
chmod a+x install.sh5. Lastly, run the installation script (./install.sh) with the following command.
./install.shType y and press Enter when prompted to start the installation process.
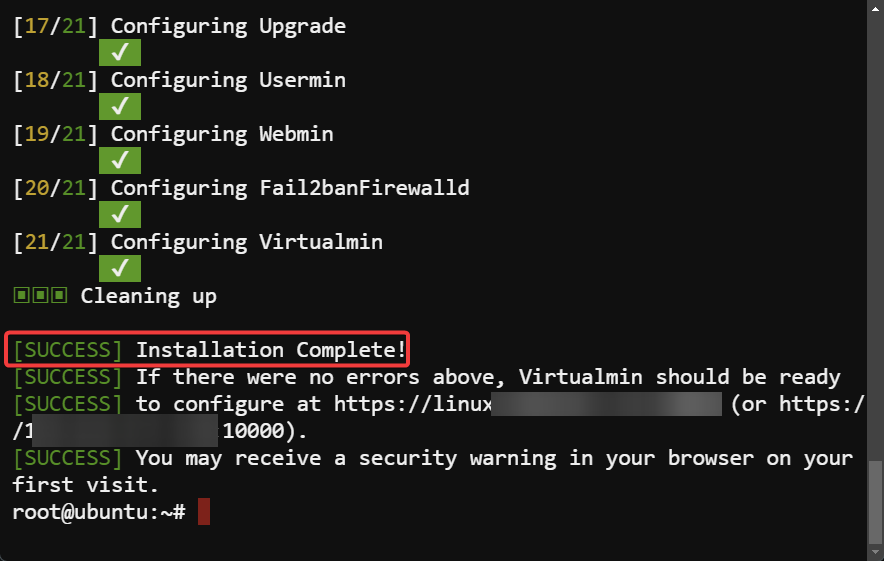
The installation process can be long, depending on the speed of your server and the number of packages that need to be installed. Do not interrupt or abort this process, as it may cause unexpected errors in the future.
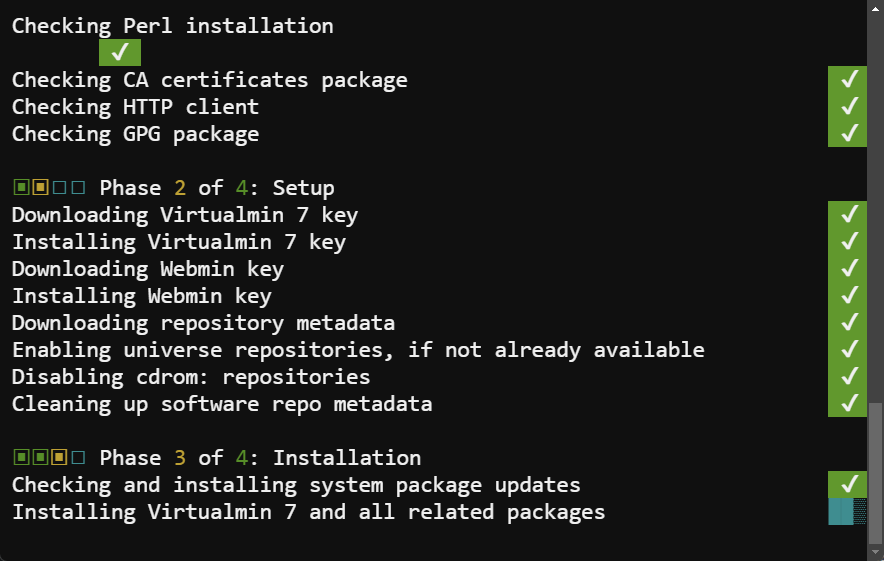
You will see a similar screen as shown below if the installation is successful.
Configuring UFW to Allow Access to the Virtualmin Web UI
Now that you have installed Virtualmin on your Ubuntu server, you need access to a control panel (Virtualmin Web UI) where you can manage your hosting environment.
You must configure the UFW firewall to allow access to the Virtualmin Web UI. By default, the Virtualmin Web UI listens on port 10000 for incoming connections.
To allow access to the Virtualmin Web UI:
Run the following command to add a firewall rule that allows Virtualmin Web UI access (1000) through the firewall.
ufw allow 10000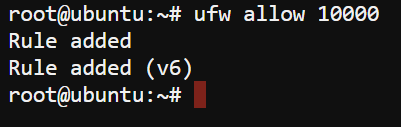
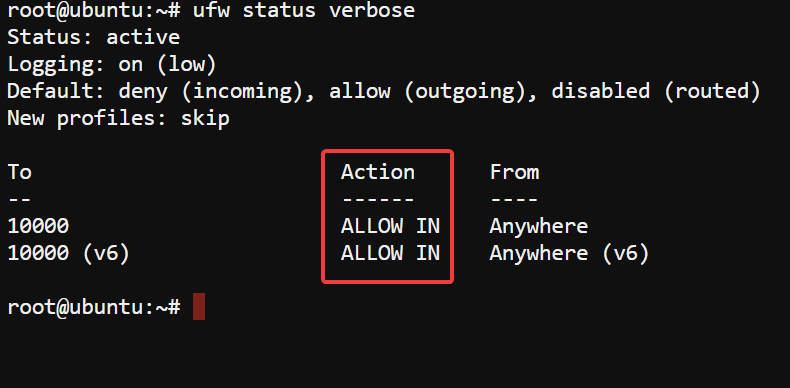
Now, run the below command to verify the changes made to UFW.
ufw status verboseYou will see that access is allowed for port 10000 as below.
Accessing the Virtualmin Web UI
You have just allowed Virtualmin Web UI in your firewall, but how do you access the Virtualmin Web UI? You can access the Virtualmin Web UI via your preferred web browser, like Google Chrome.
For example, if your FQDN is example.com and you have enabled access to port 10000, then you can access Virtualmin Web UI using the following URL in your browser: http://example.com:10000.
To access the Virtualmin Web UI:
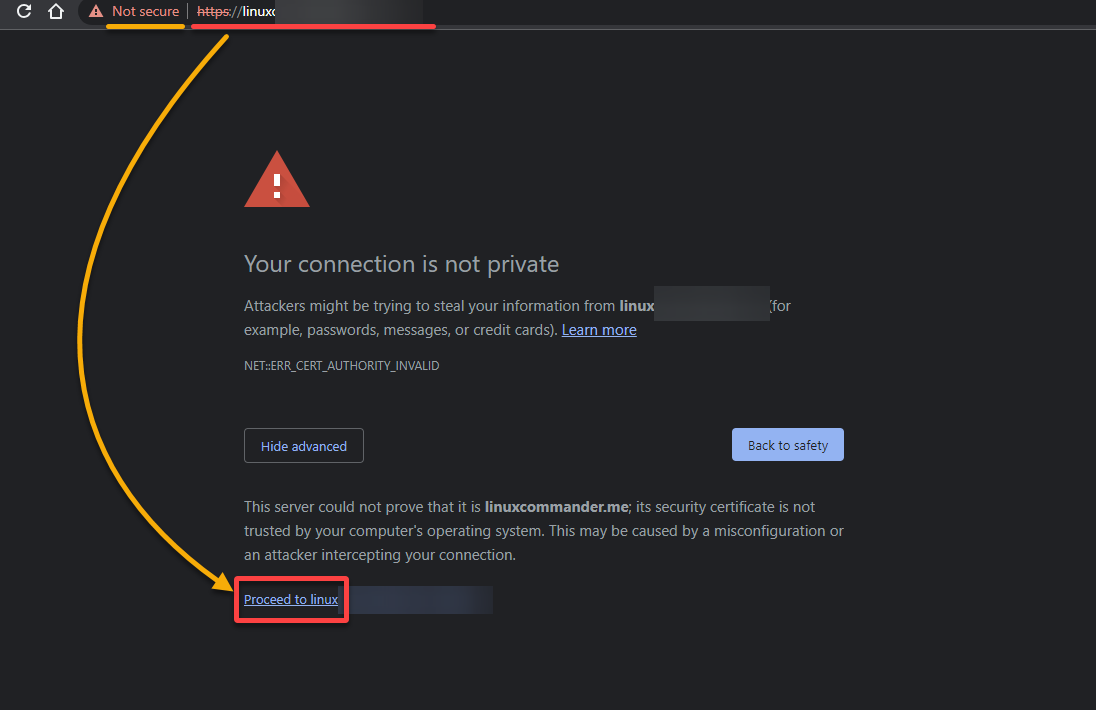
Open your web browser, navigate to your FQDN followed by port 10000 (i.e., http://example.com:10000), and click Proceed to …. to continue.
💡 Self-signed certificates are not trusted by default, but proceeding is generally safe for initial access within a trusted environment.
The red “not secure” warning below appears because the default self-signed SSL certificate generated during the Virtualmin installation is not issued by a trusted certificate authority.
Worry not. You will generate and install an SSL certificate for your domain to address this “not secure” warning later.
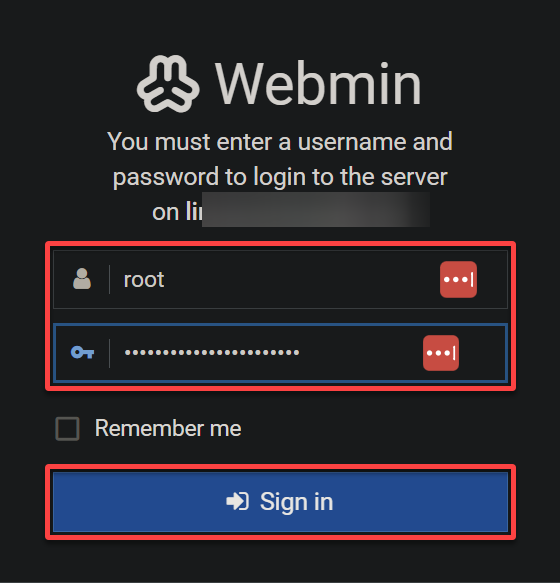
Now, sign in with your Ubuntu credentials on the Webmin sign-in page.
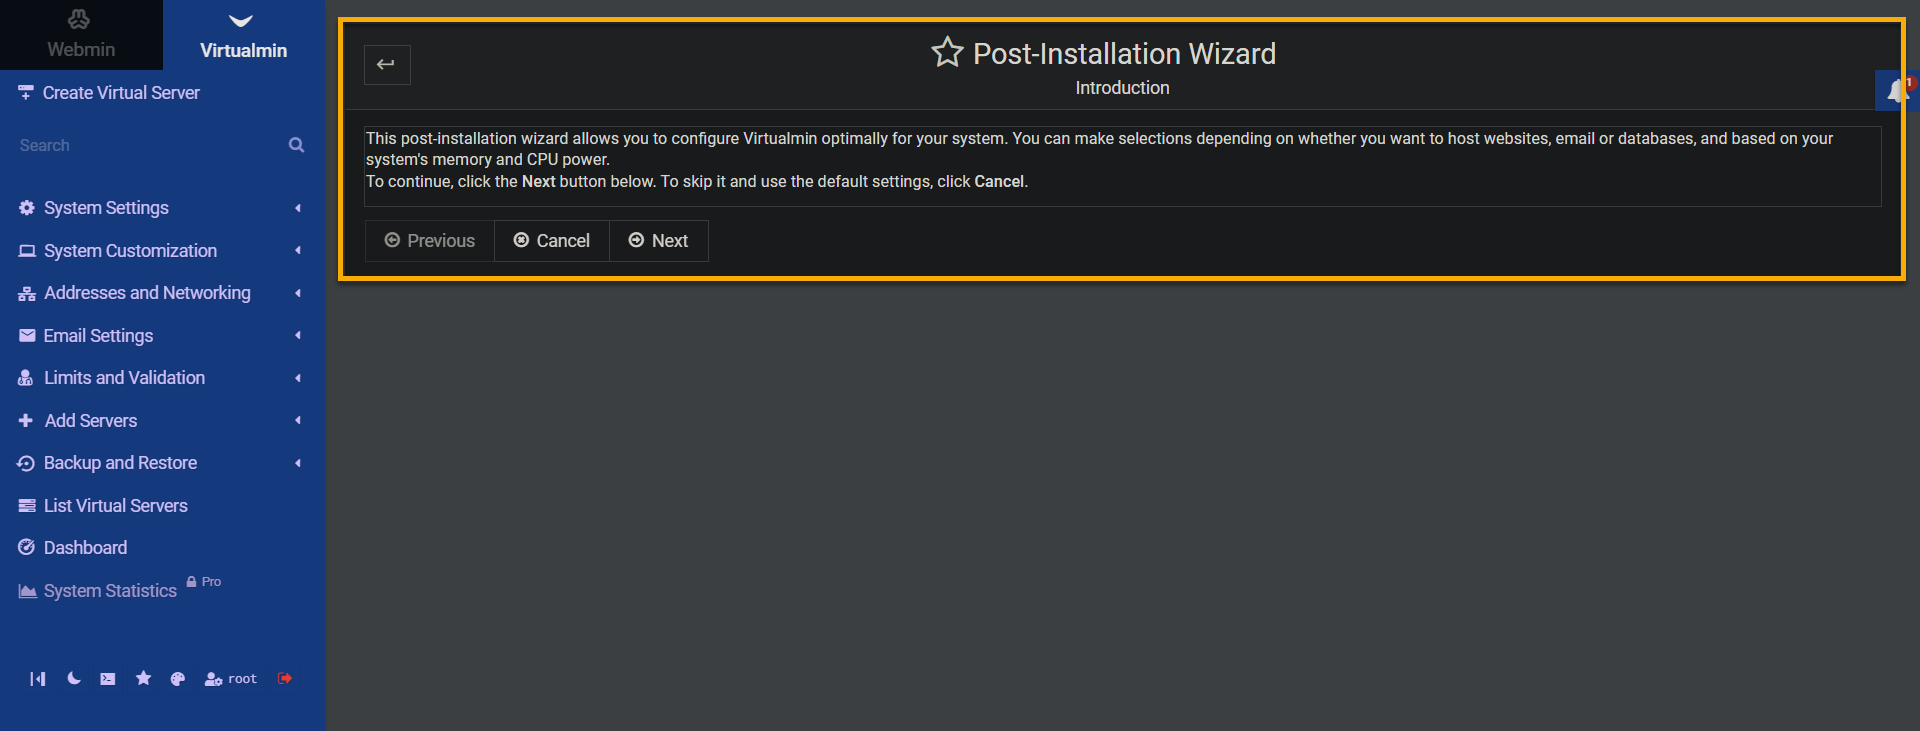
Once signed in, your browser redirects to the Virtualmin Web UI like the one below that shows the Post-Installation Wizard.
Do not close this window yet; you will need it to configure your Virtualmin server further.
Configuring the Virtualmin Server
With access to the Virtual Web UI, you should optimize your hosting environment according to your specific needs. How? Configuring your Virtualmin server after installation is crucial in taking advantage of the Virtualmin Web UI.
To configure your Virtualmin server:
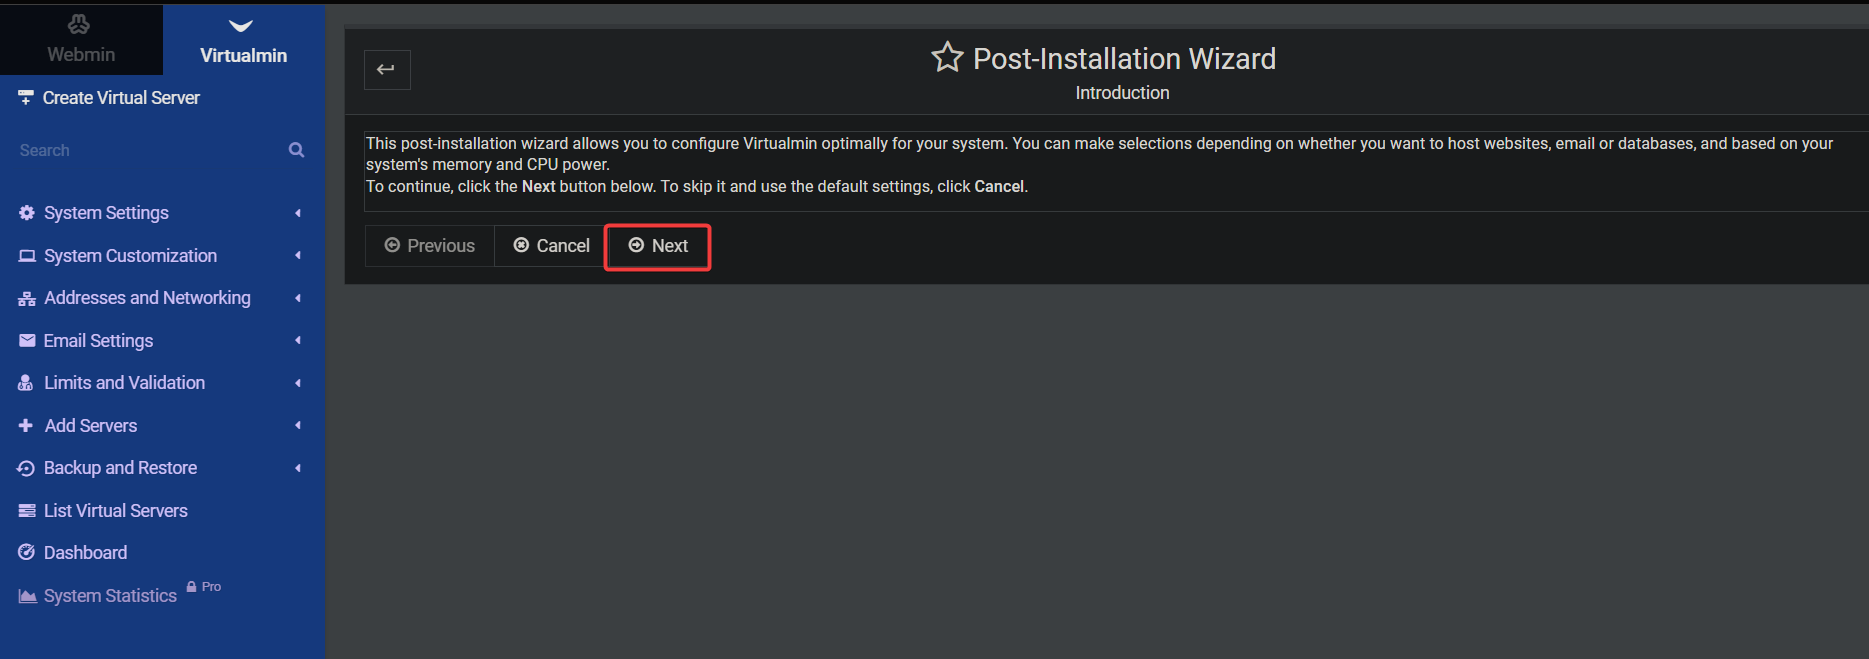
1. On the Post-Installation Wizard, click Next to start configuring your Virtualmin installation.
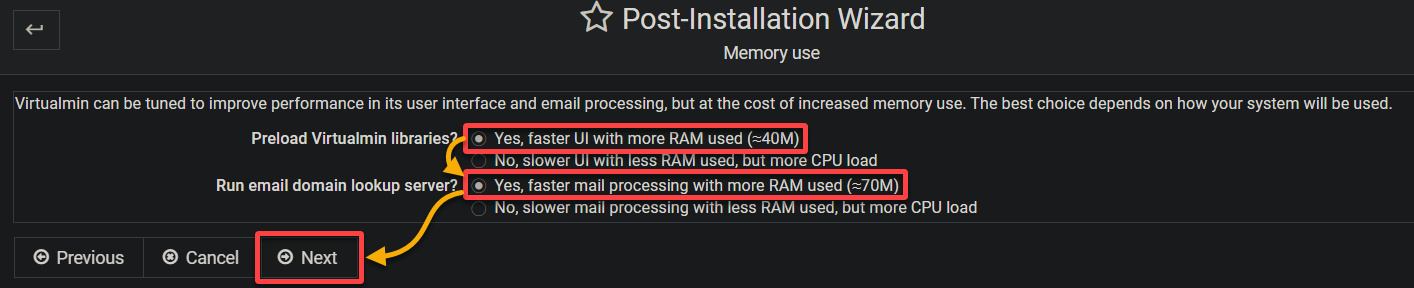
2. Next, fine-tune the interface performance and email processing with any of the following options, and click Next to continue.
These options involve allocating memory resources to improve performance. But considering the trade-off when it comes to increased memory usage is essential.
- Preload Virtualmin Libraries?
| Option | Details |
|---|---|
| Yes, faster UI with more RAM used (=40M) | Preloads Virtualmin libraries into memory, resulting in a faster UI response. But this option consumes approximately 40MB of additional RAM. |
| No, slower UI with less RAM used, but more CPU load | Reduces memory usage but results in a slightly slower UI response as libraries are loaded on demand. But this option increases CPU load as the libraries must be dynamically loaded. |
- Run email domain lookup server?
| Option | Details |
|---|---|
| Yes, faster mail processing with more RAM used (=70M) | Runs an email domain lookup server, which improves mail processing speed. This option requires additional RAM usage, approximately 70MB. |
| No, slower mail processing with less RAM used, but more CPU load | Reduces memory usage but results in slower mail processing without a dedicated lookup server. But in turn, this option leads to increased CPU load as the CPU handles mail processing tasks. |
This tutorial’s choice is Yes for both options.
3. Choose the No, email will not be filtered option for this tutorial to disable virus scanning for incoming emails, and click Next.
Why disable virus scanning? ClamAV scanning server consumes RAM even when it is not actively processing email messages. Enabling virus scanning can consume a significant amount of RAM, potentially up to 2GB.
If your system will not be hosting email services or you have alternative email filtering mechanisms, you can disable virus scanning. If you choose Yes, you enable virus scanning for incoming emails using the ClamAV scanning server, known as clamd.
This feature helps detect and prevent the delivery of emails containing viruses or malware but can generate a high CPU load.

4. Now, keep the default settings for the database server as is, and click Next. The MariaDB database server is sufficient for this tutorial.

5. On the next screen, provide a strong password for the root user of the MariaDB server, and click Next.

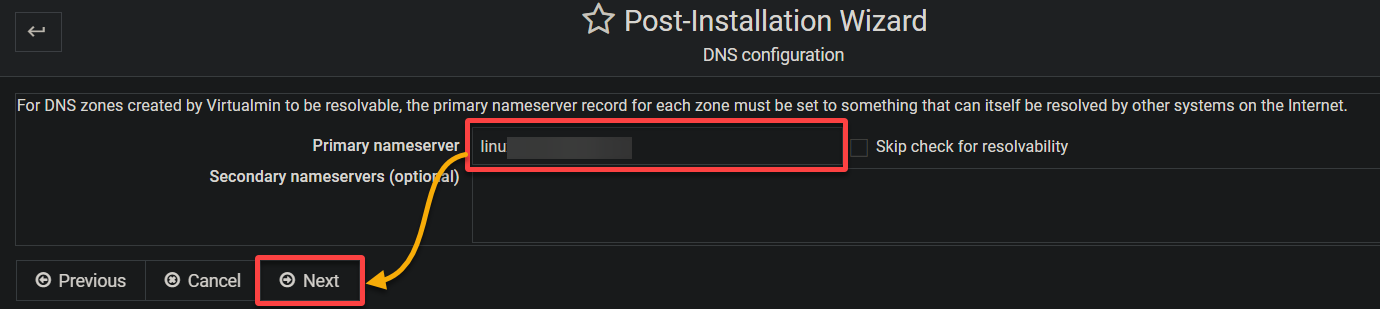
6. Provide your FQDN in the Primary nameserver field, and click Next twice to continue.
Optionally, enter secondary nameservers if needed. This nameserver facilitates the functioning of your websites, email services, and network services associated with your Virtualmin server.
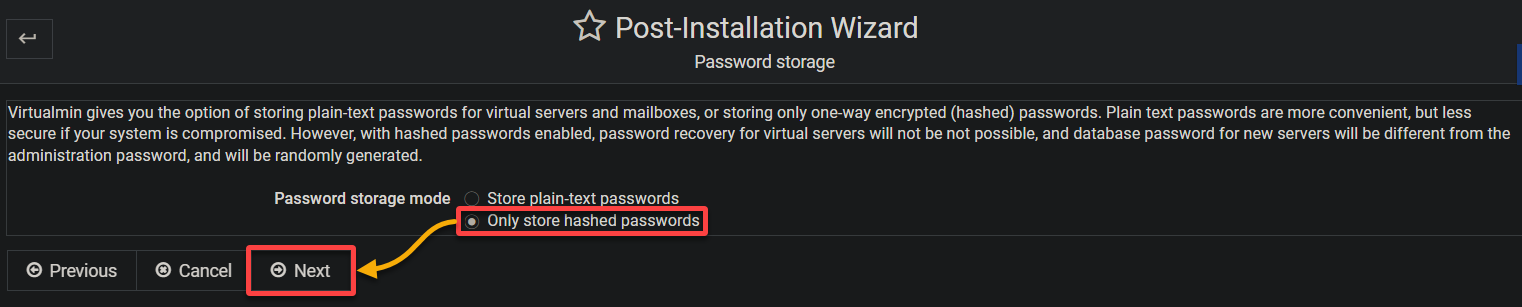
7. Select your preferred option for the password storage mode, as follows, and click Next.
- Store Plain-Text Passwords – This option stores passwords in plain text format, which provides convenience for password recovery and administration tasks.
But mind you that this option is considered less secure if your system is compromised. Anyone accessing the system files or database can easily read the passwords. - Only Store Hashed Passwords – This option stores passwords in a one-way encrypted format known as hashed passwords.
Hashing is a more secure, as the original passwords cannot be easily retrieved from the stored hashes.
This tutorial’s choice is the Only store hashed passwords option mode.
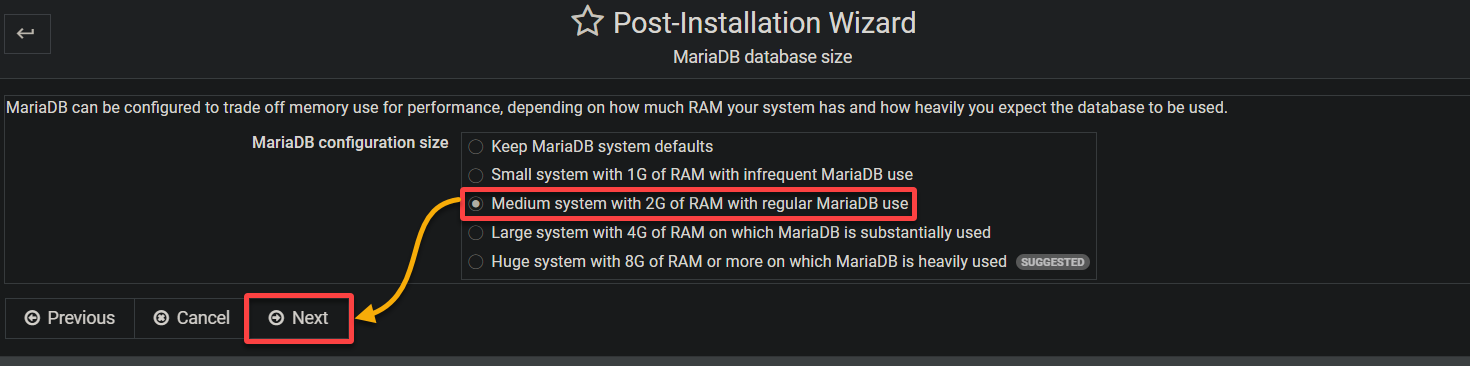
8. Select your preferred MariaDB database size and click Next. This tutorial’s choice is a Medium system with 2G of RAM with regular MariaDB use.
The choice of the MariaDB configuration size depends on your system’s available RAM and the anticipated usage of the database. But striking a balance between memory utilization and database performance is strongly recommended.
9. Now, select the Per-domain directory under…. option, and click Next.
This option ensures consistent management and mitigates the risk of accidental deletion.

10. Configure the virtual server creation with the following:
- Setup default virtual server? – Select the Create server with domain option and provide your FQDN to create a default virtual server. This default virtual server will serve requests to your system if the request does not match any other domain.
This behavior ensures all incoming requests are handled appropriately. - Enable SSL on default server? – Select the Yes, with Let’s Encrypt certificate option to enable SSL on the default server using a certificate generated from
Let’s Encrypt. Let’s Encrypt provides free SSL certificates recognized and trusted by most modern browsers.
💡 Do not select the Yes, with self-signed certificate option. As mentioned earlier, a self-signed certificate is not issued by a trusted certificate authority, which results in a browser warning.
Once configured, click Next to continue.

11. Click Finish to finalize the configuration.

12. Lastly, click Re-check and refresh configuration to apply the new configuration.
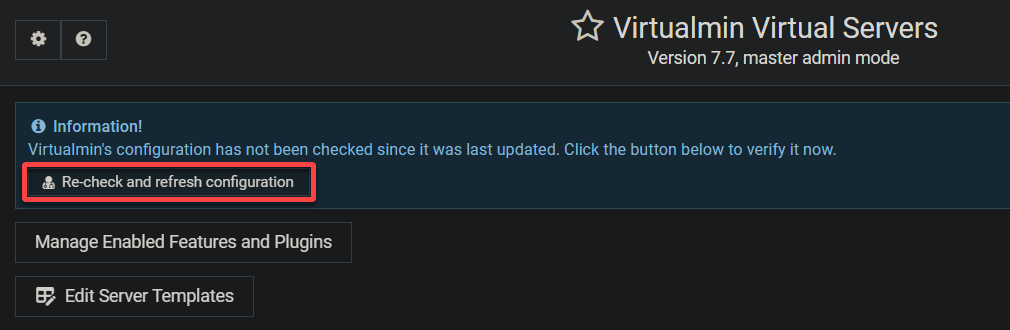
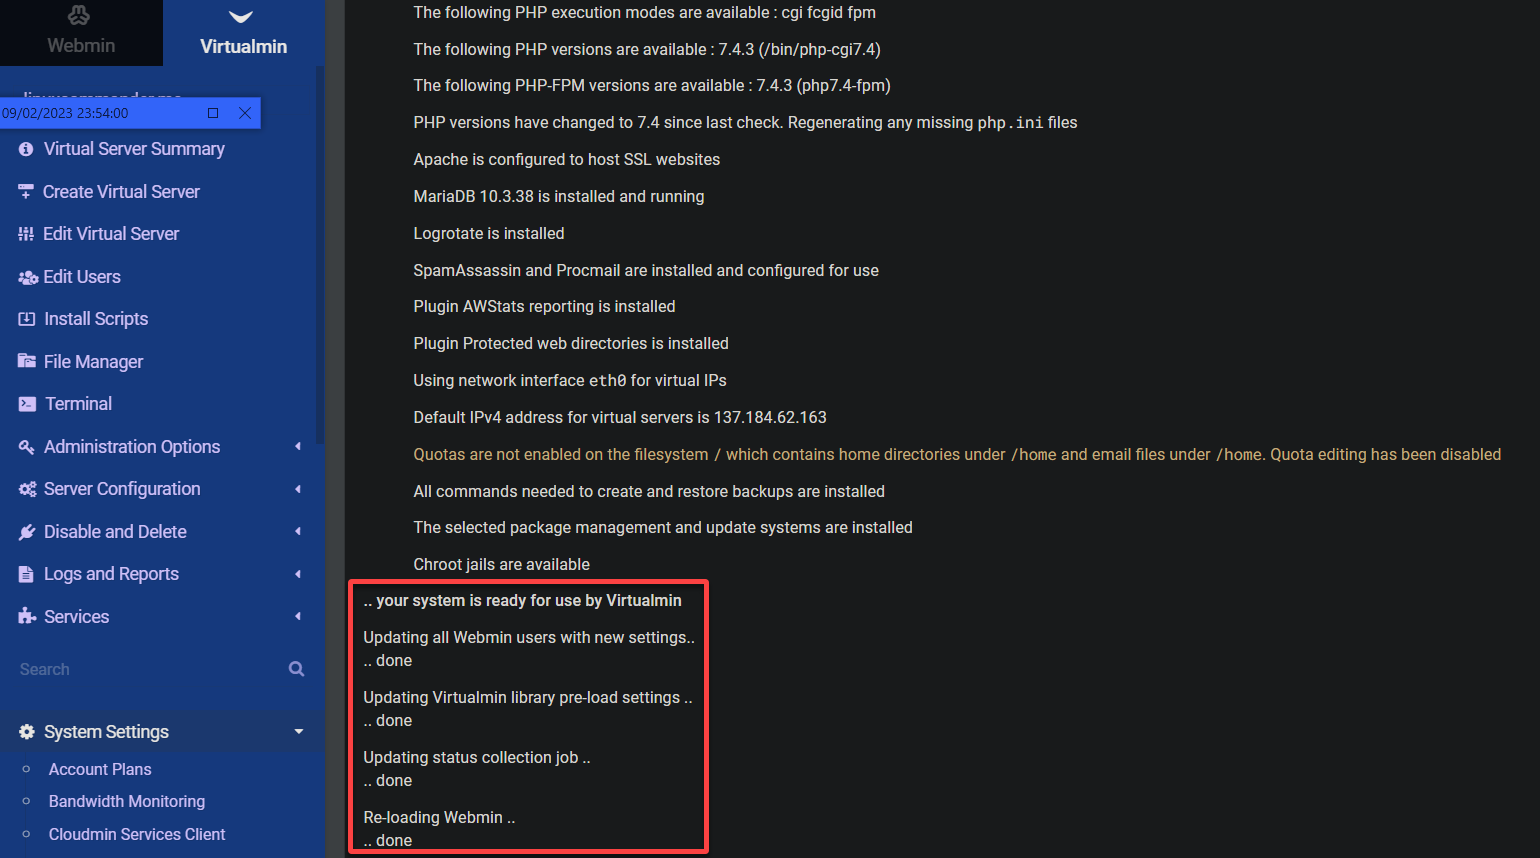
You will see a similar screen as below if everything goes well.
Congratulations! You are now ready to quickly create and manage multiple domains, websites, email accounts, databases, and more, all from a centralized control panel.
Verifying the Virtualmin Installation
After configuring Virtualmin, how do you know the installation works? You will verify your Virtualmin installation via a web browser, so be sure you have your FQDN ready.
Open a new tab on your web browser, and navigate to your FQDN without appending the port number 10000.
If the installation and configuration work as intended, you will see a default web page, as shown below
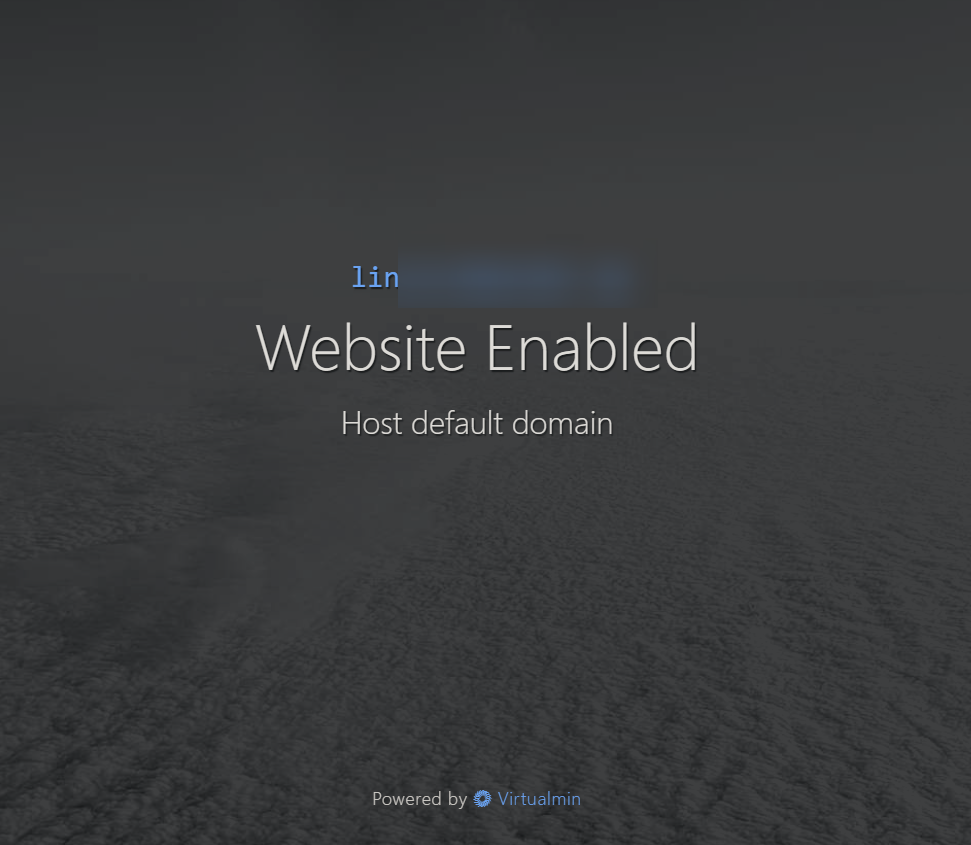
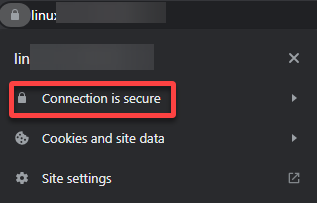
Notice that the red “not secure” warning no longer appears, indicating that the SSL certificate was configured correctly and trusted by the browser.
Conclusion
Throughout this tutorial, you have successfully installed and configured Virtualmin on your Ubuntu server. You now have access to a robust website control panel that simplifies the management of your hosting environment.
With a wide range of features and options available, you can transform your server into an advanced hosting environment that suits the requirements of your web applications.
Now, why not further enhance your hosting experience? How about configuring common mail clients to download mail for POP3 and IMAP? Or host Git repositories with Virtualmin to enable seamless collaboration and version control?


