


Are you looking for a great way to test a Linux distribution before committing to it? A USB LiveCD, created with UNetbootin in Linux, is the way. UNetbootin is a free, open-source tool that lets you quickly create a USB LiveCD.
This tutorial will walk you through creating a USB LiveCD with UNetbootin so you can boot up into an OS without actually installing the OS.
Read on and test different Linux distributions without sacrificing storage!
Prerequisites
This tutorial will be a hands-on demonstration. To follow along, be sure you have the following.
- A Linux machine – This tutorial uses Ubuntu 20.04, but you can use any Linux distro.
- A USB drive with at least 8 GB of storage.
- An ISO image of your target Linux distribution to test – This tutorial uses the Ubuntu 22.04 ISO, which is newer than the LTS version.
Downloading the UNetbootin Linux Binary
Before creating your USB LiveCD, you must download the UNetbootin Linux binary (a compiled executable program). As a binary, UNetbootin is ready to run without extra work needed.
To download the UNetbootin Linux binary:
1. Open your terminal, and run the cd command, which does not provide output but lets you move into the directory where you want to download the binary (Downloads).
cd Downloads2. Next, run the following wget command to download the UNetbootin Linux binary (unetbootin-linux64-702.bin). The UNetbootin Linux binary can be found on the official website, available for both 32-bit and 64-bit architectures.
wget https://github.com/unetbootin/releases/download/702/unetbootin-linux64-702.bin
3. Once downloaded, run the below command to list (ls) all contents with the name unetbootin-linux64-702.bin in a long list format (-la).
ls -la unetbootin-linux64-702.binThe output below confirms that the UNetbootin Linux binary has been successfully downloaded.

Lastly, run the chmod command below, which does not provide output but makes the UNetbootin Linux binary executable.
You must make UNetbootin Linux binary executable since Linux distributions will not allow you to execute downloaded binaries by default.
sudo chmod +x unetbootin-linux64-702.binCreating a USB LiveCD with UNetbootin in Linux
With the UNetbootin downloaded, you are ready to create a USB LiveCD. Creating a USB LiveCD saves you from burning a CD or DVD with an ISO image.
UNetbootin Linux requires the 7z command-line tool to extract the ISO image when creating a LiveCD. The 7zip package is available in most Linux distributions through their package manager. But if not, you must first install the 7zip package.
💡 Before creating the LiveCD, back up any data on your USB drive. UNetbootin will overwrite all the data on the drive and create a new partition table as you create a LiveCD.
To create a USB LiveCD, below are the steps to follow:
1. Run the apt install command below to install the 7zip package (p7zip-full).
sudo apt install p7zip-full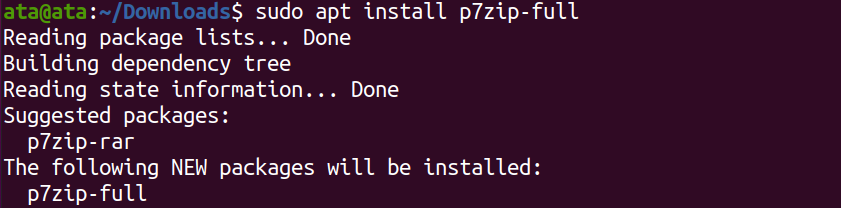
2. Next, run the following command to launch UNetbootin Linux.
The USB drive needs to be mounted with administrative privileges (sudo). Otherwise, you will get unwanted results if you try to run UNetbootin Linux as a regular user.
sudo ./ unetbootin-linux64-702.bin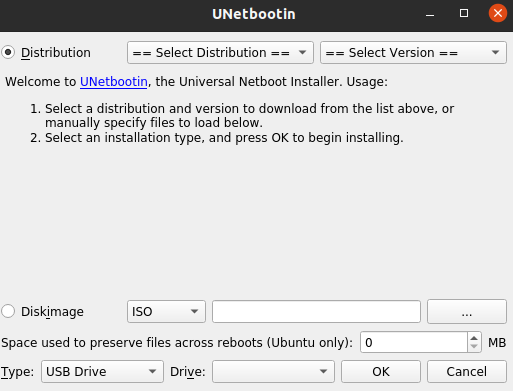
3. Insert your USB drive into your machine, and UNetbootin will automatically detect the drive.
Now, on the UNetbootin window, configure the following options:
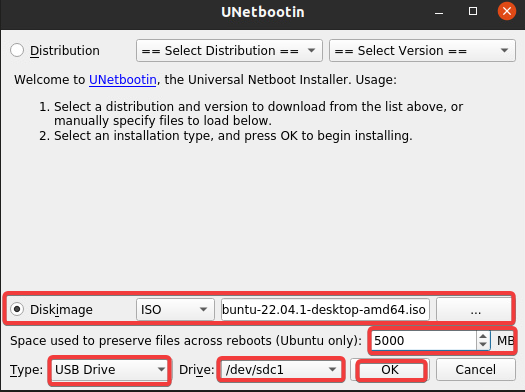
- Select the Diskimage option, and choose ISO from the drop-down field. These options tell UNetbootin to create a LiveCD from an ISO disk image.
- Click the ellipsis (three dots) button, and locate the ISO image of your Linux distribution.
- Specify a space size (5000 MB) to reserve on the USB drive for storing (persisting data), allowing you to keep settings and files between reboots.
- Select USB Drive as the device type from the Type drop-down field, and select your USB drive from the Drive drop-down field. This drive is what you will use to create the LiveCD. In most cases, /dev/sdc1 is the USB drive.
Be careful when selecting the USB drive. If you choose the wrong drive, you may lose important data.
Once configured, click OK to start creating the LiveCD against your selected configuration.
5. Click Yes to All when prompted to confirm the LiveCD creation. Doing so overwrites any bootloader already installed on your USB drive with a new one.
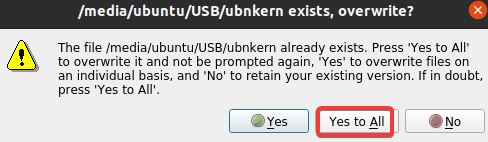
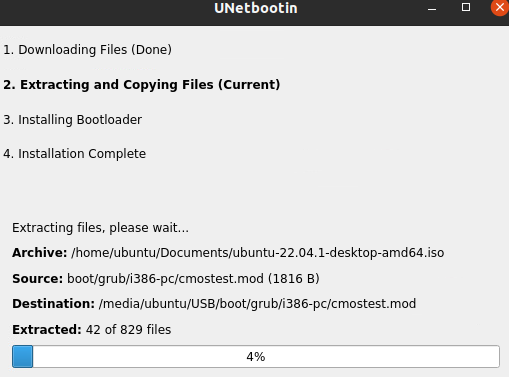
Below, you can see UNetbootin formats, extracts, and copies the ISO image data onto your USB drive and install a new Bootloader.
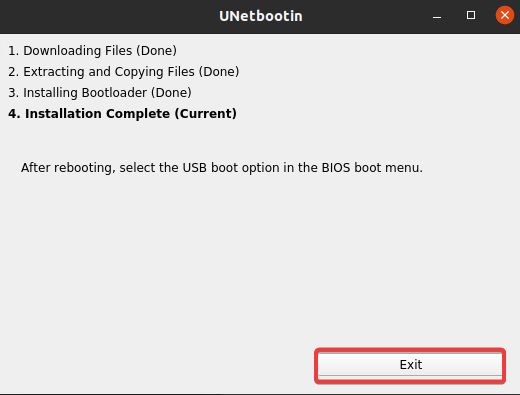
6. Now, click Exit once the bootloader is completely installed to close the window.
Booting from the USB LiveCD
You have managed to create your first USB LiveCD with UNetbootin. But how do you know the LiveCD works? Like in any computer, you will boot from your USB LiveCD to see if the bootloader installed works.
To boot from your USB LiveCD, follow these steps:
1. Set the boot priority order in your BIOS to boot from the USB device first.
2. Next, restart your computer to boot from your USB LiveCD.
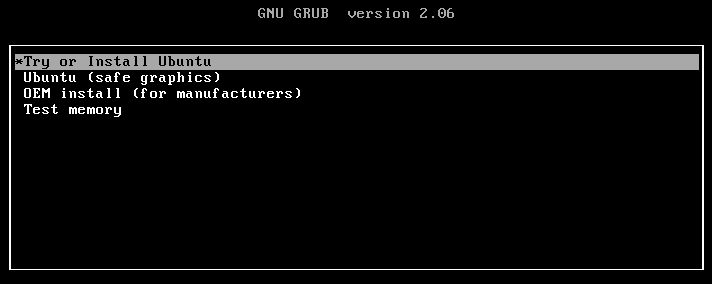
3. Use your arrow keys to navigate to the first entry in the GRUB menu (Try or Install Ubuntu), as shown below, and press Enter.
This action launches Ubuntu in test mode, so you can explore the Linux distro first or go straight to the installation.
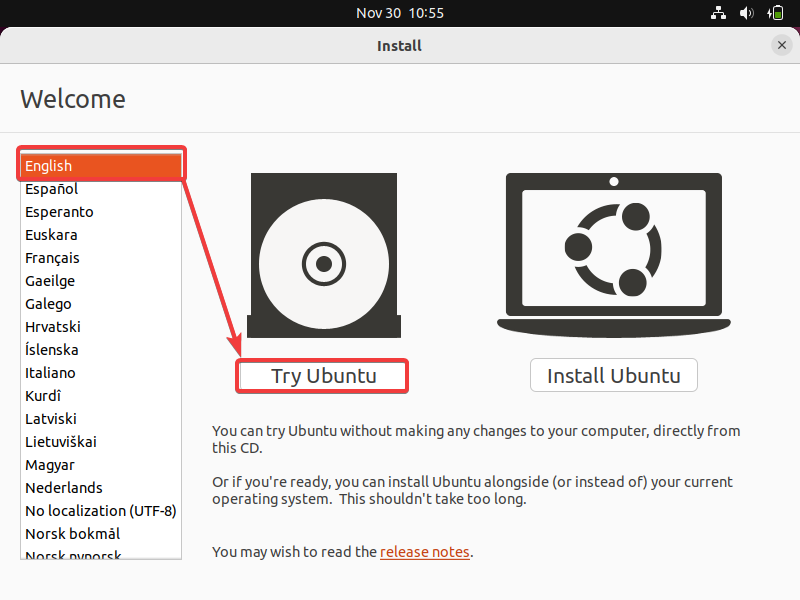
4. Finally, select your preferred language (left panel), and click Try Ubuntu. This action launches the LiveCD version of Ubuntu on your computer, allowing you to test it before installing it.  Choosing to try Ubuntu without installation
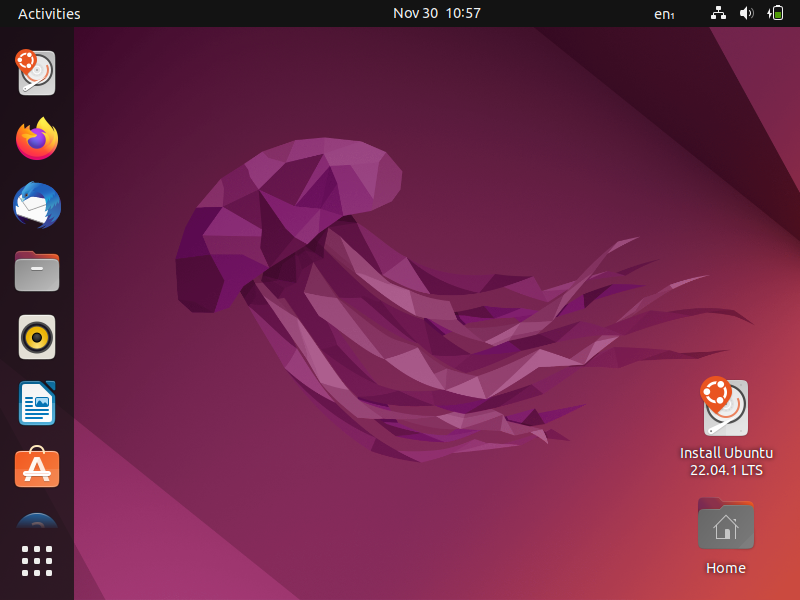
You will see Ubuntu’s desktop environment if all goes well, as shown below. Now go full steam ahead and explore the features of the Linux distro so you can later decide if it suits you.
Conclusion
In this tutorial, you have learned to create a USB LiveCD with UNetbootin in Linux. And at this point, you can create a USB LiveCD for any Linux distribution before committing to installing one on your machine.
Found the suitable Linux distribution for yourself but do not want to sacrifice your storage for bloatware? Why not learn how to install Ubuntu minimal desktop?


