


Working on a remote directory as if it were a local one is more convenient, don’t you agree? Instead of pushing and pulling files remotely using SCP, SFTP, or FTP, what if you could manage those files directly? Lucky for you, the SSHFS mount is a quick solution to this dilemma.
This tutorial will teach you how to use SSHFS mount so you can access the remote directory contents on your local machine. Whether you’re a Windows or Linux user, this tutorial’s got you covered.
The specific use-case example in this tutorial demonstrates updating a website’s contents on a remote server’s SSHFS mounted directory. But, the general concept should apply to your specific situation and is not limited to web servers only.
Prerequisites
This tutorial will be a hands-on demonstration. If you’d like to follow along, be sure you have the following:
- A Linux web server – This tutorial will use a Fedora 35 named
wbserverwith Apache HTTP Server installed. This server contains the remote directory that will be the target of the SSHFS mount. - A Linux client – This tutorial will use a Fedora 35 client named
fedora. - A Windows client (Windows 7 and above) – This tutorial uses a Windows 10 client named
win10pc.
Preparing the Remote Directory
This tutorial will be working on the remote directory on the wbserver server called /var/www/html. By default, only the root account has access to this folder. Since you will not be using the server’s root account, you must give the designated user account permission to the directory instead.
In this example, the designated user account for mounting and accessing the SSHFS mount is adm1. Follow the below steps to give adm1 the proper permissions to /var/www/html on wbserver.
1. Log in to wbserver using your preferred SSH client.
2. Next, run the below command to give the adm1 user full access (rwx) permissions to the /var/www/html folder.
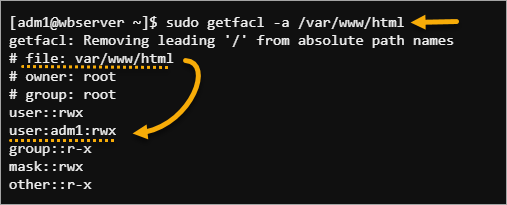
sudo setfacl -m u:adm1:rwx /var/www/html3. Lastly, confirm that the permission is correct by running the below command.
sudo getfacl -a /var/www/htmlAs you can see below, adm1 now has read/write access to the folder.
Using SSHFS Mount on Linux
SSHFS is primarily a Linux tool, and you only need to issue a few commands to mount a remote directory to your computer. Installing the packages to enable SSHFS mount is as convenient as installing other packages on Linux through your distro’s package manager.
Installing SSHFS and Mounting a Remote Directory
Follow the below steps to install the SSHFS mount package and mount a remote directory to a local path.
1. Log in to your Linux client via SSH or Desktop, depending on your environment.
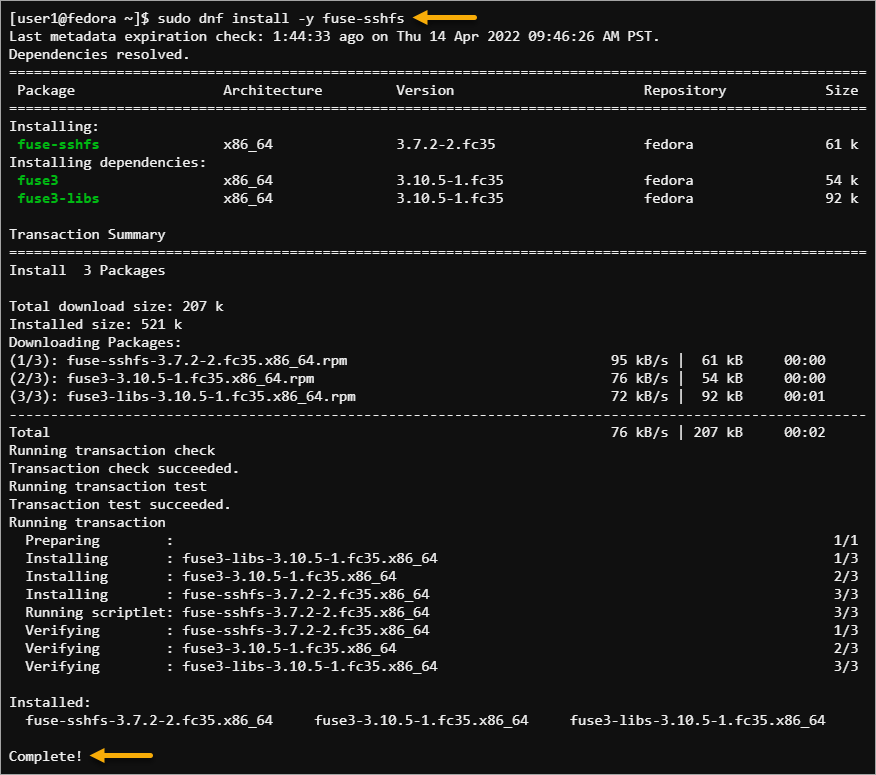
2. Run the following command to install the fuse-sshfs package using your package manager.
Note: On Debian-based Linux distros, the package name is sshfs.
sudo dnf install -y fuse-sshfsThe package manager also installs the dependencies not yet present on your computer. And because each package size is below 100KB, the download and installation took only a few seconds to finish.
3. Next, create a new folder under your home directory called mnt. This new folder is the mount point for the remote directory.
mkdir ~/mnt4. After creating the mount point, execute the below sshfs command.
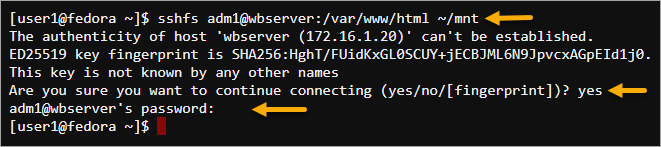
This command will mount the web server’s (wbserver) remote directory (/var/www/html) to the local mount point (~/mnt) you created while using adm1’s credentials for access.
sshfs adm1@wbserver:/var/www/html ~/mntIf the SSH server is not listening to the default port 22, you must specify the -o port <number> switch with the sshfs command. For example, if the remote server listens to port 2222, the command would be sshfs -o port 2222.
5. If you’re connecting to the server for the first time, confirm the connection by pressing Y at the prompt—type in the account’s password and press Enter.
6. Lastly, confirm that you’ve successfully mounted the remote directory by running the below command.
findmntYou should see that the remote directory is now mounted to the local directory you specified.

Enabling Automount on Boot
While you’ve successfully mounted the remote directory, remember that this mount status is not persistent. Restarting the computer will not automount the remote directory.
But, you can make the SSHFS mount survive computer restarts by editing the /etc/fstab file and enabling key-based authentication for the adm1 account. Enabling the SSH key-based authentication ensures that the SSHFS mount will be fully automated (no password prompts).
1. On the Linux client, generate a new SSH key pair by running the below command.
ssh-keygenOn the Enter file in which to save the key prompt, type in the key filename and press Enter. In this example, the key filename to save is /home/user1/.ssh/adm1@wbserver.
Leave the passphrase empty, and press Enter twice. The below screenshot shows the key pair creation result.

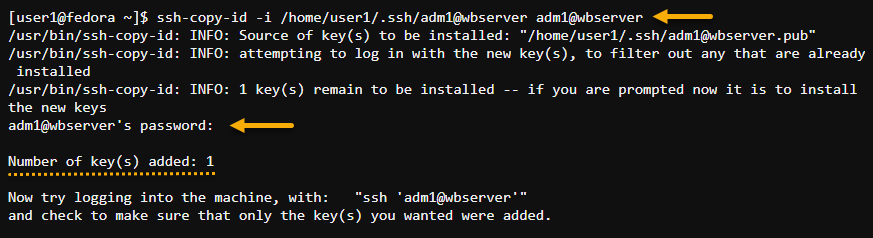
2. Now, copy the key to the webserver. The command below installs the key you previously generated (/home/user1/.ssh/adm1@wbserver) to the adm1 account on wbserver.
ssh-copy-id -i /home/user1/.ssh/adm1@wbserver adm1@wbserverType in the password for adm1@wbserver at the prompt and press Enter. As you can see below, the command successfully installed the key to the server.
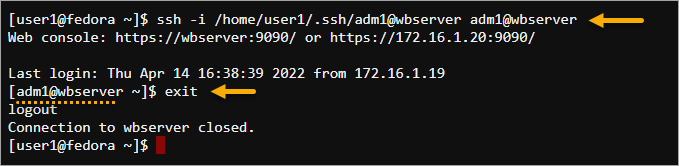
3. SSH into wbserver using the key pair to ensure that the key-based login works.
ssh -i /home/user1/.ssh/adm1@wbserver adm1@wbserverAs a result, the login should succeed without asking for a password. Type exit and press Enter to log out of the wbserver.
4. Now that you’ve configured the SSH key-based authentication for the SSHFS user account, you’re ready to configure the persistent SSHFS mount.
Open the /etc/fstab file in a text editor.
sudo nano /etc/fstab5. Append the below code to the end of the /etc/fstab file. Make sure to change the identityfile= value with the SSH key file path.
adm1@wbserver:/var/www/html /home/user1/mnt fuse.sshfs identityfile=/home/user1/.ssh/adm1@wbserver,allow_other,_netdev 0 0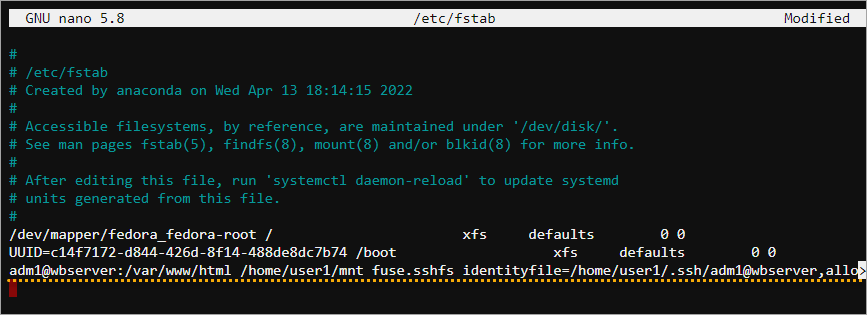
6. After editing, save the file, close the text editor, and reboot the computer. As you can see below, the SSHFS mount is available again after the reboot.

Testing the SSHFS Mount
So you’ve mounted the remote directory to your local computer. The question now is, “does it work?”. The quickest test to confirm is creating a new file and saving it to the SSHFS mount point. The file you created should then appear on the server.
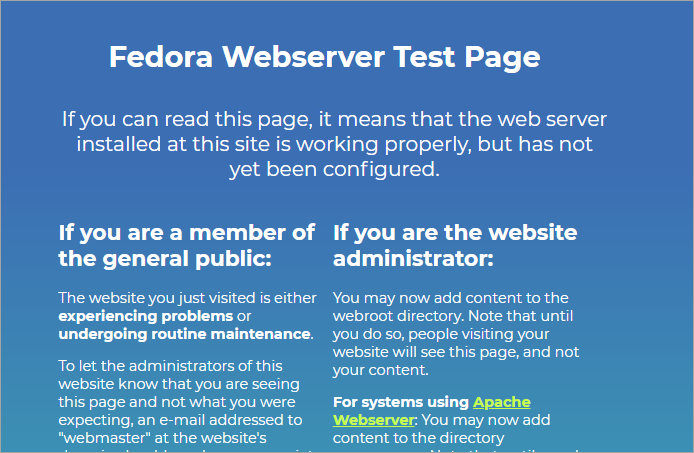
By default, the /var/www/html folder on the webserver is empty. When you access the website hosted on https://wbserver, you’ll only see the default test page, like the screenshot below.
In this example, you’ll create a new home page and confirm that the webserver displays that new page.
1. Switch the working directory to ~/mnt, the SSHFS mount point.
cd ~/mnt2. Execute the touch command to create an index.html file and open it in the text editor.
touch index.html && nano index.html3. Now, populate the index.html file with the below HTML code, save the file, and exit the editor.
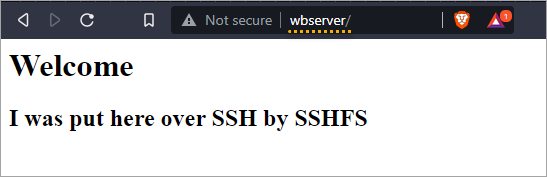
<h1>Welcome</h1>
<h2>I was put here over SSH by SSHFS</h2>
The screenshot below shows the expected content of the index.html file.

4. Lastly, open the website URL in your web browser again. The web server should pick up and display the new home page, as you can see below.
Congratulations! You’ve now successfully implemented the SSHFS mount on your Linux computer. You do not need to upload or download remote files to make changes manually.
Unmounting the Remote Directory
Suppose that you no longer need access to the remote directory via SSHFS mount and want to unmount it, run either the one of the below commands.
Run the command below if you mounted the remote directory interactively using the sshfs tool.
fusermount -u /home/user1/mnt
If you automounted the remote directory in fstab, run the command below instead. Additionally, you must remove the SSHFS automount entry in fstab. If not, the remote directory will automount again following a reboot.
sudo umount /home/user1/mnt
Using SSHFS Mount on Windows
Windows computers can map network locations as local drives, such as FTP sites, network shares, and SharePoint libraries. You’ll be glad to know that you can also add SSHFS mount drives in Windows by installing a program called SSHFS-Win — a port of SSHFS on Linux.
Installing WinFsp and SSHFS-Win
SSHFS-Win requires WinFsp to work as it provides the underlying FUSE functionality. Follow the below instructions to install both WinSfp and SSHFS-Win.
1. Open the browser on your Windows client and download the latest release of WinSfp (v1.10) and SSHFS-Win (v3.5.20357).
2. Locate the installers you downloaded and run the WinSfp installer first.

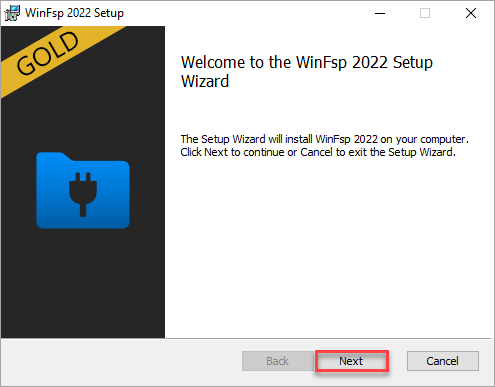
3. Click Next on the Welcome to the WinFsp 2022 Setup Wizard page.
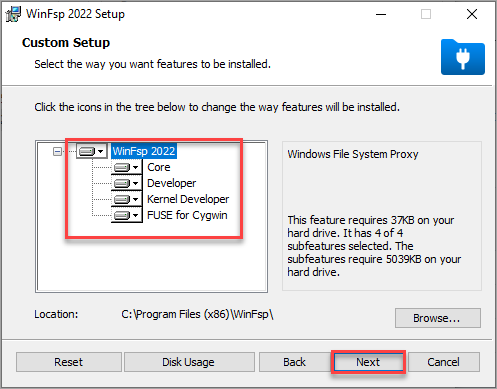
4. Select all features and click Next.
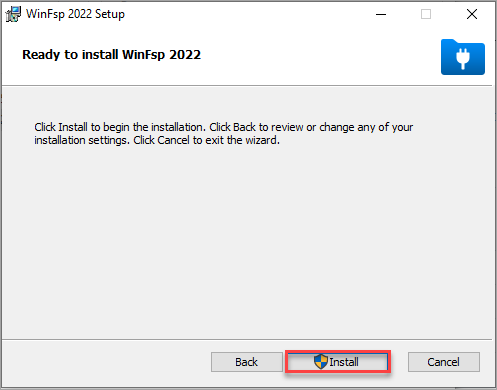
5. Click Install on the Ready to install WinFsp 2022 page.
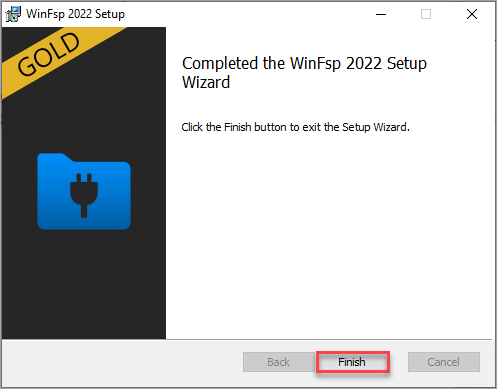
6. After the WinFsp installation, click Finish.
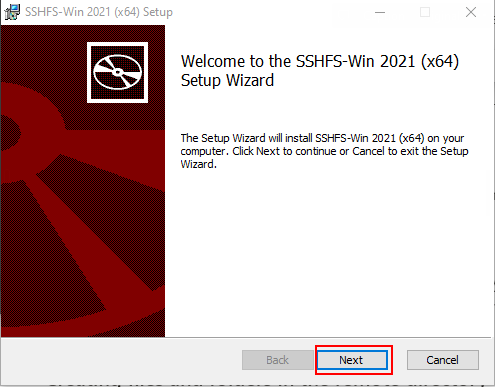
7. Next, start the SSHFS-Win installer.

8. Click Next on the first screen, as shown below, to start the installation process.
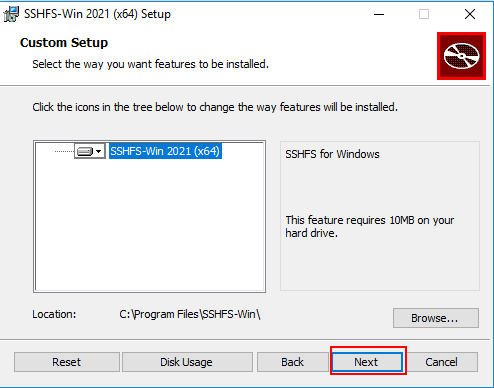
9. Click Next on the Custom Setup page.
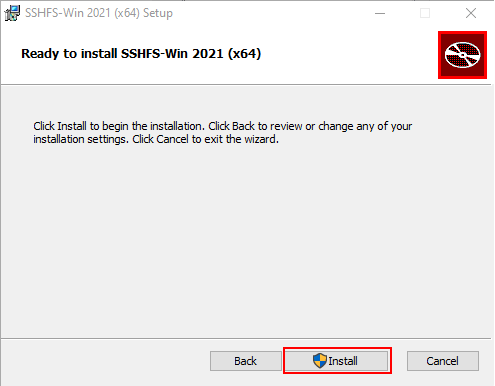
10. On the Ready to install SSHFS-Win page, click Install.
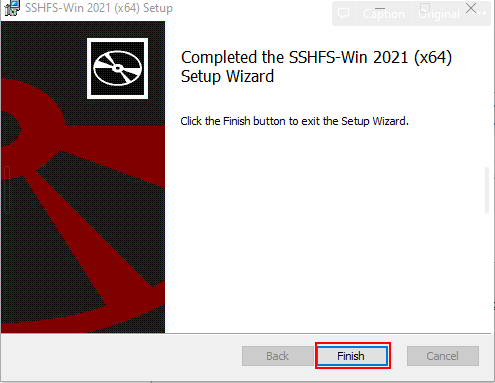
11. Finally, click Finish to complete to exit the Setup Wizard.
Understanding the SSHFS Path Syntax
Before mapping a remote directory via SSHFS mount, review the list below to understand how SSHFS-Win interprets the remote paths.
\\\\PREFIX\\REMUSER@HOST[!PORT][\\PATH]
REMUSERis the remote user whose credentials you’ll use to authenticate with the remote server.HOSTis the hostname or IP address of the remote server.PORTis the remote server’s SSH listening port. This value is optional, and the default is port 22.PATHis the remote path relative to thePREFIX. The different prefixes are:sshfs– maps to the path relative to the user’s home directory (i.e.,HOST:~REMUSER/PATH).sshfs.r– maps to a path relative to the host’s root directory (i.e.,HOST:/PATH)sshfs.k– maps to the path relative to the user’s home directory (i.e.,HOST:~REMUSER/PATH) and uses SSH key-based authentication. This prefix uses the key in%USERPROFILE%/.ssh/id_rsafor authentication.sshfs.kr– maps to a path relative to the host’s root directory (i.e.,HOST:/PATH) and uses the key in%USERPROFILE%/.ssh/id_rsafor authentication.
Mounting and Unmounting the Remote Directory using the Windows File Explorer
One way to map a network drive in Windows is through the Windows File Explorer. With this method, you do not have to run any commands, and you’ll do every step in a wizard-style GUI.
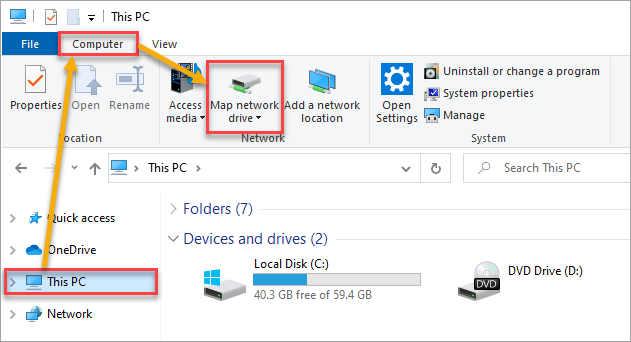
1. Open a File Explorer window, click This PC —> Computer —> Map network drive.
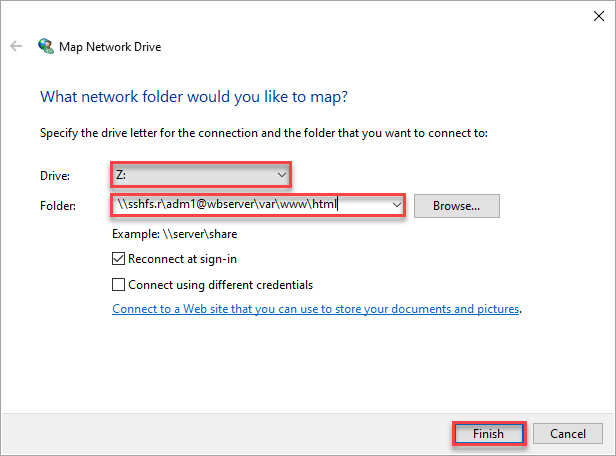
2. Choose a Drive letter and type the below path into the Folder box to mount the \var\www\html folder.
\\sshfs.r\adm1@wbserver\var\www\htmlLeave the Reconnect at sign-in option checked, and click Finish.
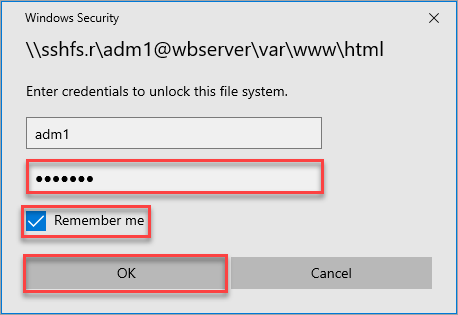
3. Enter the account password, check the Remember me box, and click OK.
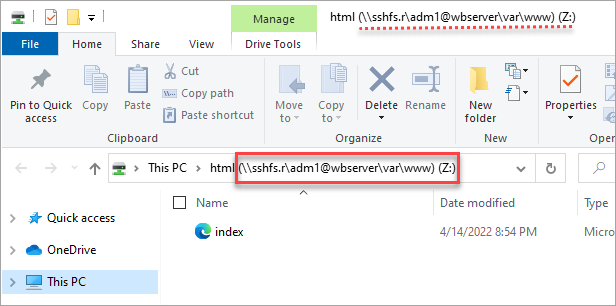
You have now mapped an SSHFS mount with a drive letter. And because you enabled the Reconnect at sign-in and Remember me options, Windows will reconnect the SSHFS mount after restarting the computer.
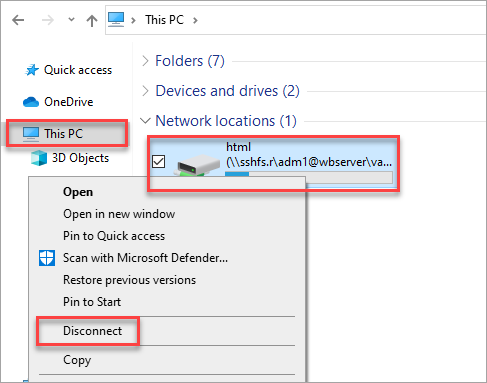
4. At this point, you can now manage the files on the remote directory. But, if you no longer need the mapped drive and want to remove it, right-click the SSHFS mount and click Disconnect.
Mounting and Unmounting the Remote Directory using the Command Line
The net use command is another way to map a remote directory in Windows. Mapping SSHFS mount drives via the command line is helpful for scripting and automation.
To mount the remote directory, open the Command Prompt or PowerShell and run the below command to map the \\var\\www\\html remote directory to the local computer’s drive Z. Make sure to change the PASSWORD value with the remote user’s password.
net use Z: \\\\sshfs.r\\adm1@wbserver\\var\\www\\html PASSWORD /user:adm1

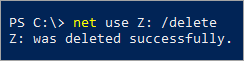
To remove the SSHFS mount drive using the command line, delete the mapping to drive Z: by running the below command.
net use Z: /delete
Testing the SSHFS Mount
Now that you have access to a locally mapped network drive, you can manage the files on the remote directory as you would any other local files. In this example, you will update the website’s home page directly from the mapped SSHFS drive.
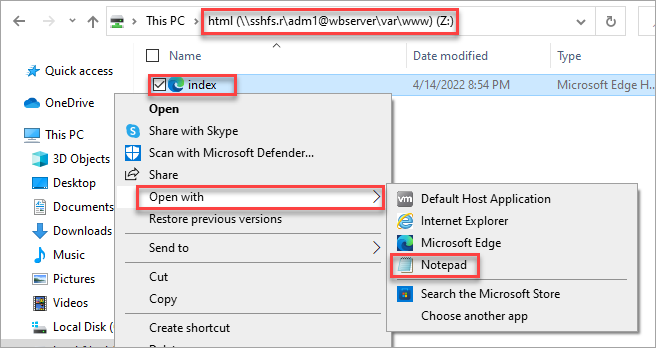
1. Open the File Explorer and navigate to the mapped drive.
2. Open the file called index.html in a text editor like notepad. If the file does not exist, create it first.
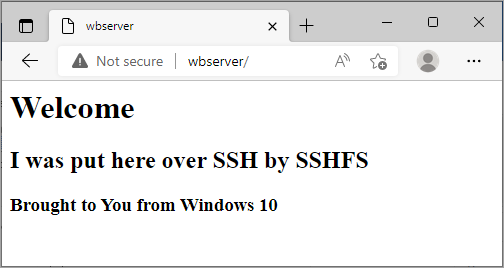
3. Copy the HTML code below, paste it into your index.html and save the file.
<h1>Welcome</h1>
<h2>I was put here over SSH by SSHFS</h2>
<h3>Brought to You from Windows 10</h3>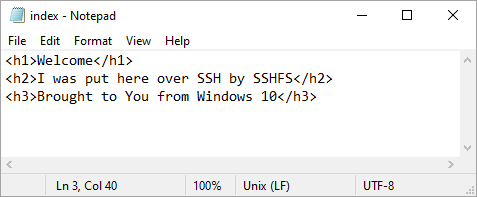
4. Lastly, open your web browser and navigate to the website URL HTTP://wbserver. You should now see the updated home page you edited, confirming that your SSHFS mount works as intended.
Conclusion
You’ve finally reached the end of this tutorial. You’ve learned to use the SSHFS mount to map directories to your local Windows or Linux computer from a remote SSH server. SSHFS is an excellent tool for convenience and remote file access security.
Speaking of security, perhaps you should check out How To Secure SSH with Fail2Ban as a next step? Good luck!


