


If you use SharePoint, chances are you’re using it as a repository for your documents. You’re probably accessing your document libraries through a web browser. There is another way to access your files in SharePoint. That is to map SharePoint as a network drive to your computer.
In this article, you will learn how to map SharePoint as a network drive on your computer. In turn, your SharePoint site’s contents become accessible through Windows Explorer, PowerShell, and even in the command prompt.
Prerequisites
This article features step-by-step examples. If you follow along with the examples in this article, there are several requirements that you should have in place.
- A Windows 10 computer with Windows PowerShell 5.1 or PowerShell 7+. The examples in this article use PowerShell 7.1 when running commands, but you should be fine using Windows PowerShell 5.1
- Access to a SharePoint Online site and document library that you will map as network drives. This tutorial will be using the poshlab2.sharepoint.com URL for its demo workspace. The SharePoint site is ITOps, and the document library is Case Review, which contains only one document.
- You must install the OneDrive Sync App. This is only required in the section “Using the OneDrive Sync App to Map SharePoint Document Libraries” in this article.
- You may already have OneDrive installed on your computer. Refer to the Which OneDrive app article on how to confirm your OneDrive sync app installation.
Using WebDav to Map SharePoint Drives
WebDav is an older technology that allows clients access to remote web content. In this section, you learn how to map SharePoint drives using Windows Explorer and command prompt. Both of which depend on WebDav to access mapped remote web contents.
Because WebDav depends on the WebClient service, you need to ensure that the service is enabled and running on the computer. The WebClient service is rarely disabled from user computers. If you need to confirm the WebClient service status, you can use one of the steps below.
- Run this command in PowerShell –
Get-Service WebClient.

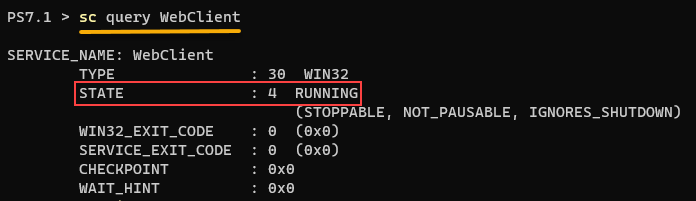
- Run this command in command prompt or PowerShell –
sc query WebClient.
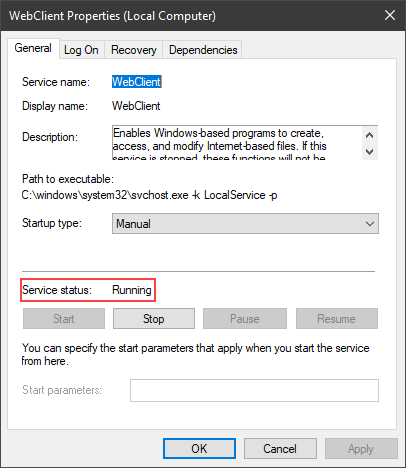
- Open the Services management console (Start —> Run —> services.msc), and look for the WebClient service.
Preparing Access to Your SharePoint Site
There are two SharePoint locations that you can map as network drives; sites and document libraries. Depending on your requirement and access level, you may want to map entire SharePoint sites or specific document libraries only.
The screenshot below shows a SharePoint Online document library open in the browser.

To make the URL’s anatomy abundantly clear below is the breakdown of the SharePoint URL parts from the screenshot above.
- The root SharePoint URL is ‘https://poshlab2.sharepoint.com’
- The site URL is ‘https://poshlab2.sharepoint.com/sites/ITOps’
- The document library URL is ‘https://poshlab2.sharepoint.com/sites/ITOps/Case Review’
Adding your SharePoint URL to Trusted Sites
A requirement to map a SharePoint drive is to add the web site as a Trusted Site on your client computer. Follow these steps to add a trusted site.
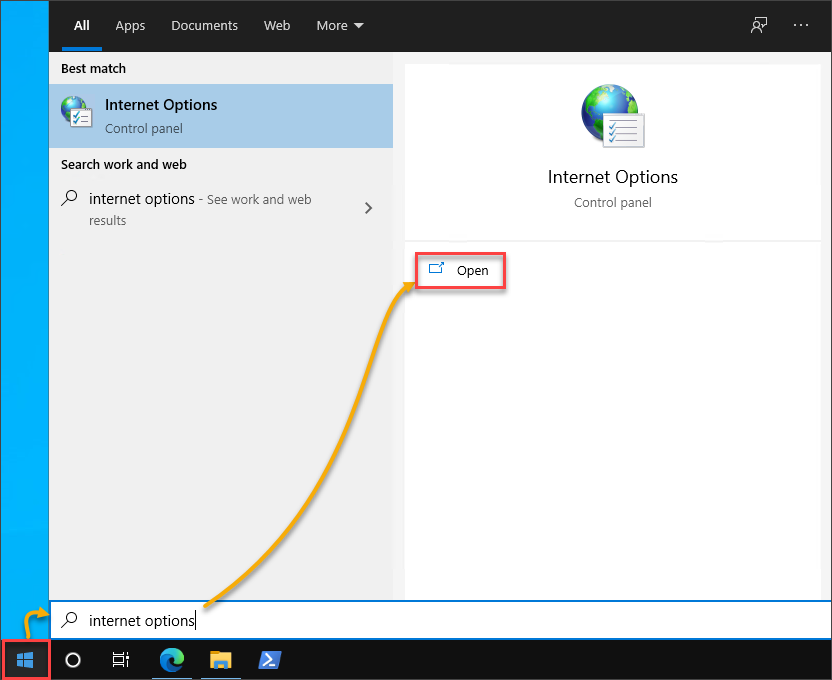
- Click on the Start button and type in “internet options” in the search box. Then, click on the Open button.
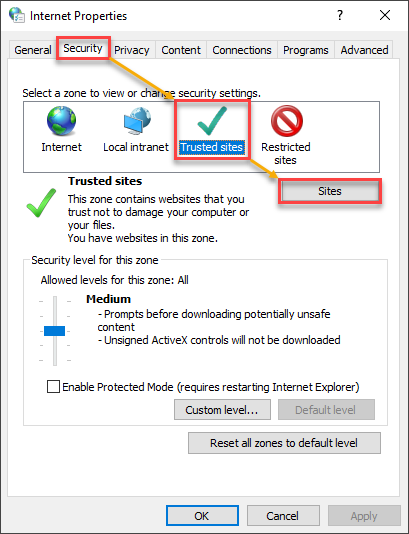
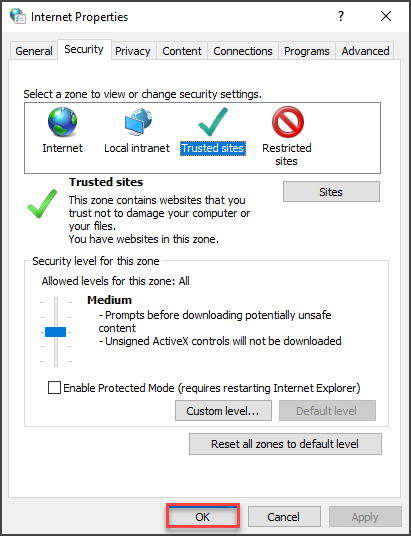
2. On the Internet Properties window, go to the Security tab. Click on Trusted Sites from the list of zones. Then, click on Sites.
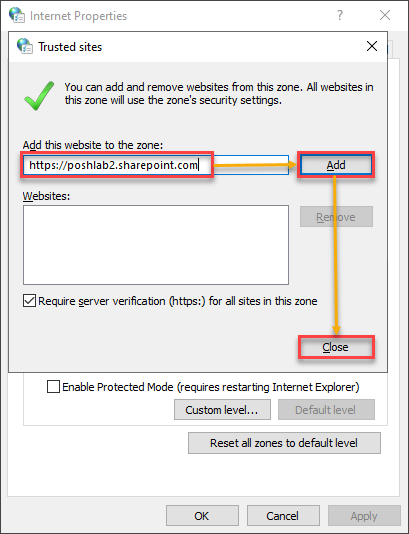
3. Then, in the Add this website to the zone box, type in the SharePoint URL. Click on Add and Close.
4. Back on the Internet Properties window, click on OK to close and apply the changes.
Initiating Access to your SharePoint Site
You’ve added the SharePoint URL as a trusted site on your computer. The next step is to access the web site at least once using Internet Explorer so that you may log in first. WebDav does not support other browsers.
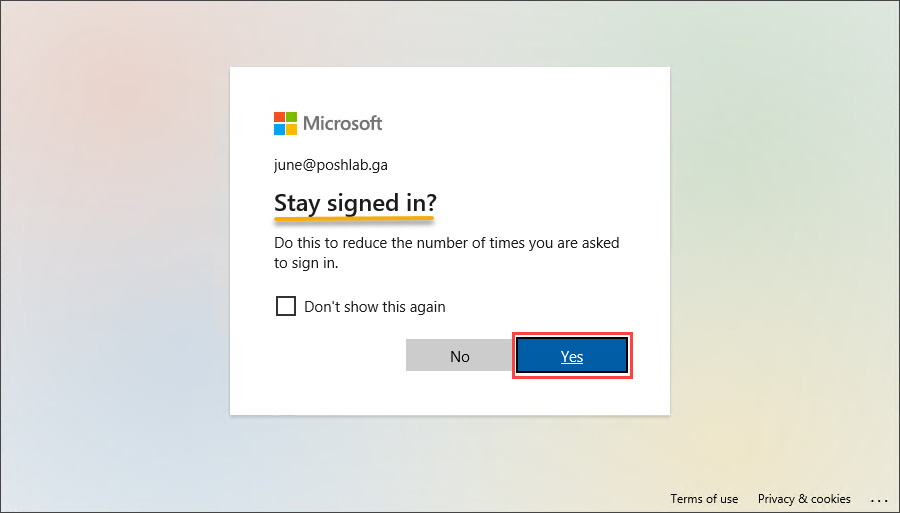
- Open Internet Explorer and navigate to your SharePoint site. Log in and select the option to state signed in.
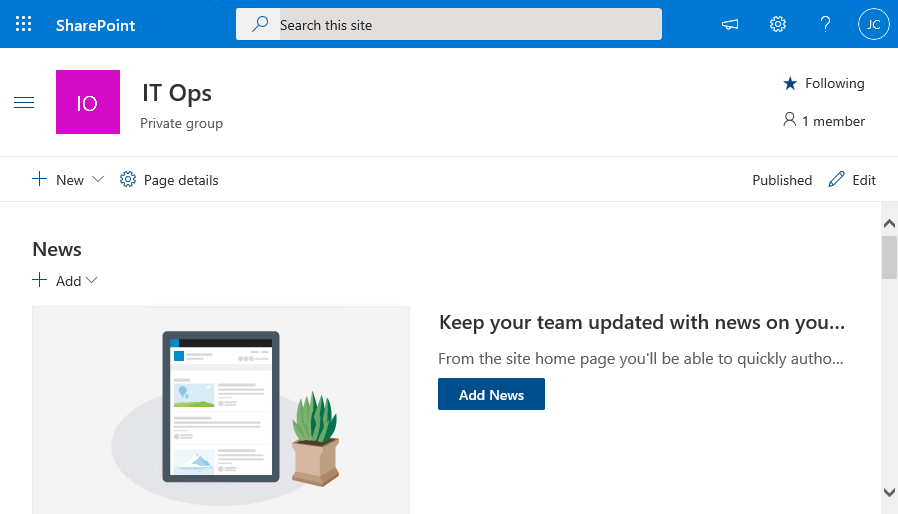
2. When the site loads up, then you’ve completed the preparation to map the SharePoint drive. If not, then you may have entered the wrong credentials.
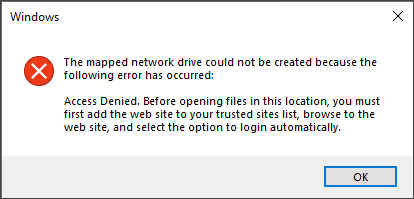
Performing all the preparation steps as shown above is crucial. Skipping the preparation steps will result in the error below. You will not successfully map SharePoint as a network drive as a result.
Using Windows Explorer to Map SharePoint as Network Drive
At this point, you’ve already prepared your SharePoint site or library for mapping as network drives. In this section, you’ll create mapped drives using Windows Explorer (GUI). Follow these steps below.
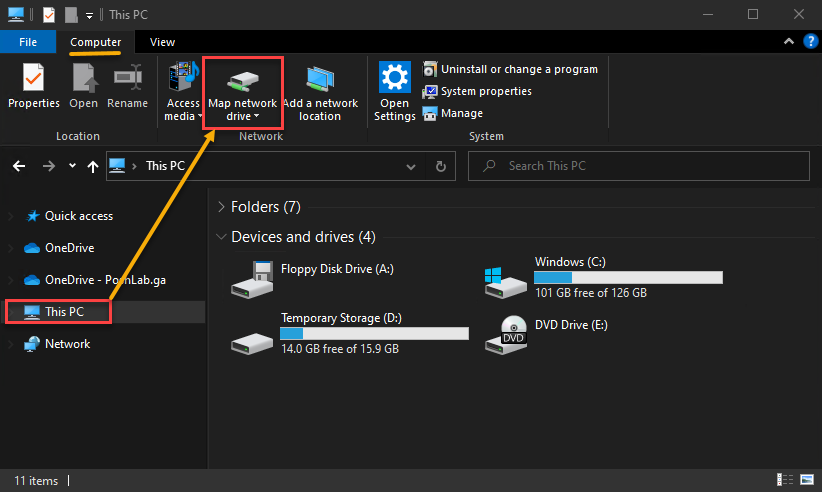
- First, open Windows Explorer. Go to This PC, then on the Computer ribbon, click on Map network drive.
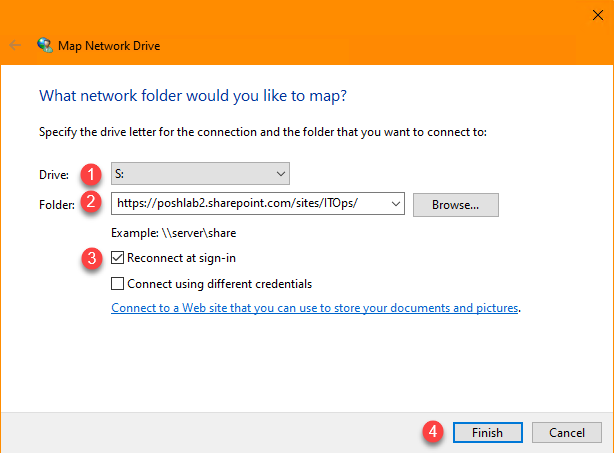
2. On the Map Network Drive window:
- Choose and assign the Drive letter to the SharePoint drive. In this example, the chosen drive letter is drive S.
- In the Folder box, enter the SharePoint site or document library URL.
- To make the network drive persistent, put a check on Reconnect at sign-in. Enabling this option means that your computer will always keep the network drive mapped, even after a reboot.
- Lastly, click on Finish. Because you’ve already logged in to the SharePoint site using Internet Explorer, this step will not ask you to re-authenticate.
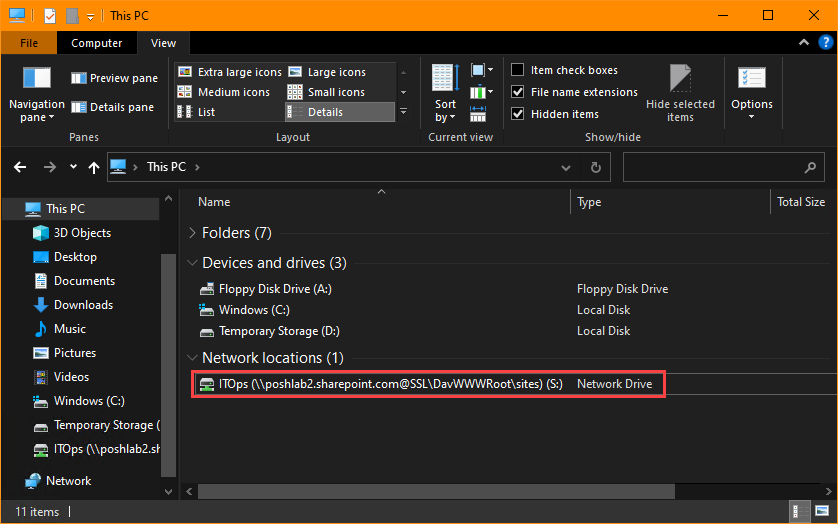
3. When the mapping process completes, the new network location will be added to Windows Explorer as a mapped network drive.
Mapping a SharePoint Drive using the NET USE command
So far, you’ve learned to map a SharePoint drive using Windows Explorer. Using the same preparations earlier in this article, you can use the net use command to map SharePoint as a network drive.
If you’ve already mapped a SharePoint drive as shown in the previous section, you can list the existing mapped drives using the net use command. As you can see in the screenshot below, the SharePoint drive mapped in the previous section appears in the list.
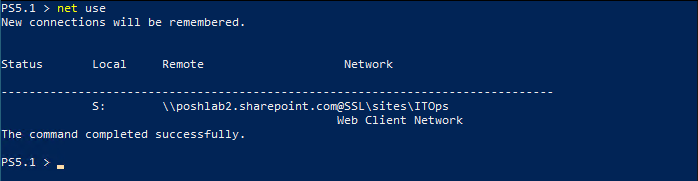
The remote location path is not written in normal URL format. Instead of the URL https://poshlab2.sharepoint.com/sites/ITOps/, the path is formatted as \\poshlab2.sharepoint.com@SSL\sites\ITOps.
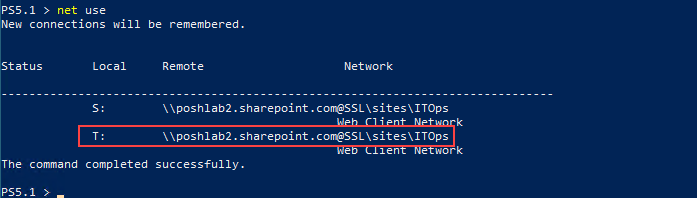
To add a new mapped drive pointing to your SharePoint online site, use the command below. In the command below, net use is assigning the drive letter T to the remote path. The argument /persistent:yes keeps the mapped drive connected even after a reboot.
net use T: \poshlab2.sharepoint.com@SSL\sites\ITOps /persistent:yesRun the command above in Windows PowerShell. If there are no errors, you’ll see a similar result to the one shown below.

You’ll then see that the new network drive appears in the list of mapped drives when you rerun net use.
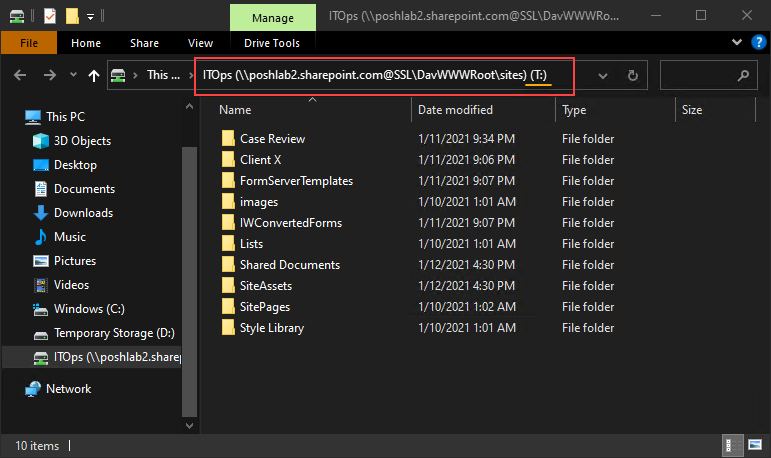
The ultimate test to determine if the SharePoint drive mapping is successful is access the contents using the file explores. You can see in the screenshot below, the contents of the SharePoint drive are accessible in Windows Explorer as a mapped network drive T.
Mapping a SharePoint Drive using PowerShell
If you’re more comfortable with PowerShell, you can map a SharePoint drive, too! Using PowerShell is an excellent option if you want to incorporate mapping network drives in a script.
Related: How to Run a PowerShell Script
PowerShell can use Component Object Model (COM) objects to perform actions that are not native to PowerShell. There are a variety of COM objects in existence. In this example, the target COM object to use is WScript.Network.
Related: PowerShell and Excel: Yes, They Work Together
The script below will map the SharePoint object library as a network drive and assign the drive letter X. Also, the mapped drive will be persistent.
(New-Object -ComObject WScript.Network).MapNetworkDrive(
     'X:', # --> DRIVE LETTER
     'https://poshlab2.sharepoint.com/sites/ITOps/Case%20Review', # --> SharePoint URL
     'true' # --> Make the drive persistent
     )
Copy the code above and run it in your PowerShell session. The demo below shows you how the code works in real-time.

Your SharePoint network drive may stop working due to reasons such as:
- When you cleared your browser data.
- Your Microsoft 365 credentials expired.
- The SharePoint Online access token issued by Office 365 expires.
Keep an eye on your SharePoint network drives. Don’t forget to re-authenticate from time to time by logging in to your SharePoint site using Internet Explorer.
Using the OneDrive Sync App to Map SharePoint Document Libraries
If you have a Microsoft 365 account, then you might already have access to OneDrive for Business. Did you know you can use the OneDrive Sync App to map and sync SharePoint document libraries to your computer?
To map SharePoint as a network drive using the OneDrive sync app does require WebDav. Hence, you do not have to use Internet Explorer or add a drive letter to your computer. Follow the steps below to map SharePoint as a network drive using the OneDrive sync app.
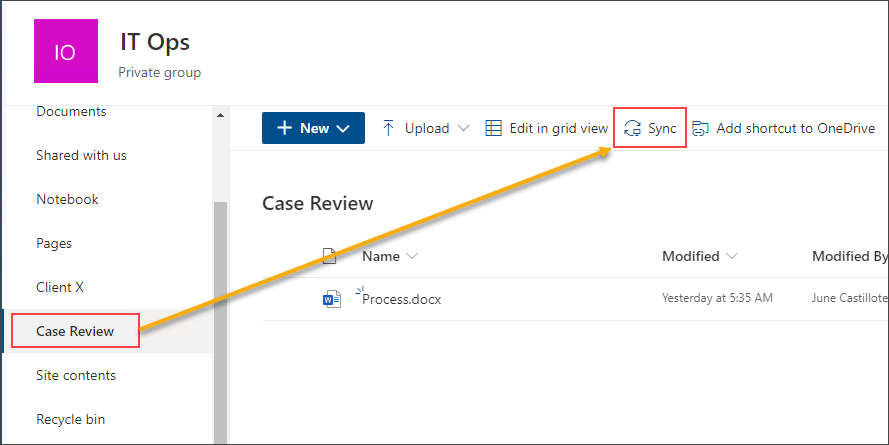
- First, navigate to the SharePoint document library that you want to map.
2. Then, once inside the document library, click on the Sync button.
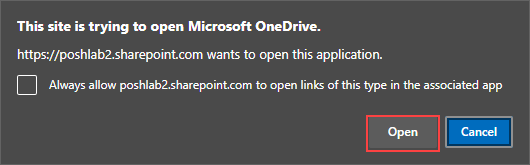
3. If you get a notification saying that the site is trying to open Microsoft OneDrive, click on Open.
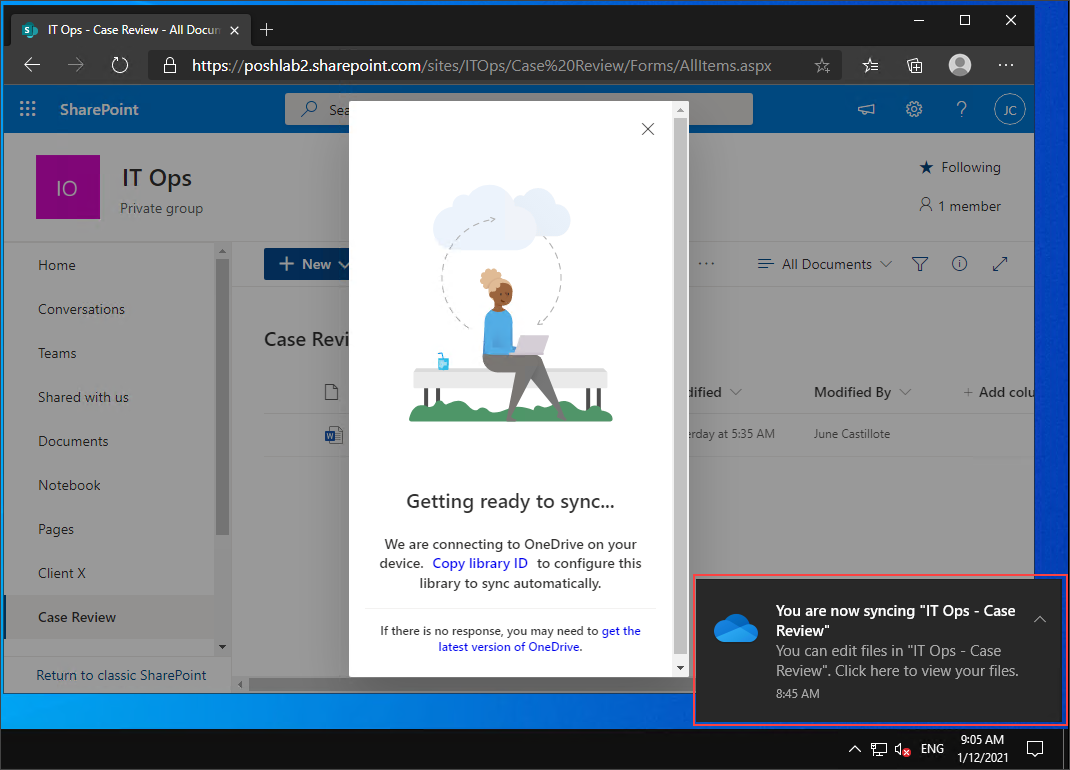
4. Wait for the sync process to begin. When the sync completes, you should see a toast notification at the bottom right of your screen like the one shown below.
5. At this point, you can now close the browser. Open Windows Explorer, and you’ll find the document library listed on the navigation pane on the left.
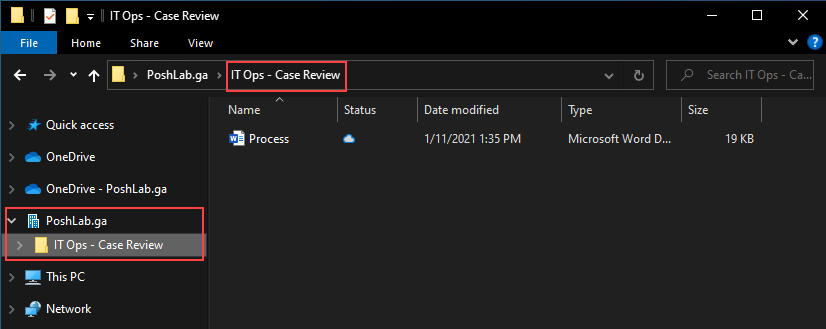
As long as the OneDrive sync client is up and working, the mapped SharePoint document libraries remain synced and accessible.
Next Steps
To map SharePoint as a network drive, you can choose two underlying technologies. The first one is WebDav, which is the older technology. The newer one is the OneDrive client sync, which comes with OneDrive for Business.
In this article, you’ve learned how to use Windows Explorer, net use, COM Object, PowerShell, and the OneDrive sync client to map SharePoint sites and document libraries.
How do you think you can further apply the techniques you’ve learned in this article? Automating your Team’s SharePoint libraries’ network drive mapping using group policies or login scripts would be an excellent next step.


