


Are you tired of having your essential files scattered across multiple devices and platforms? Worry not! Setting up a Raspberry Pi FTP server effectively keeps all your files in one place.
In this tutorial, you will learn how to set up your Raspberry Pi FTP server for secure file transfer and management. Whether sharing files with friends and family or accessing your files remotely, a Raspberry Pi FTP server will be handy.
Read on and never lose track of your files!
Prerequisites
This tutorial will be a hands-on demonstration. To follow along, be sure you have the following in place:
- A Raspberry Pi with Raspbian OS installed – This tutorial uses Raspberry Pi 4 with Raspbian Bullseye 64-bit.
- A monitor, keyboard, and mouse to connect to your Raspberry Pi.
- A stable internet connection and a network connection for your Raspberry Pi.
- A local machine to serve as an FTP client – This tutorial uses a Windows 10 machine with FileZilla installed (FTP client).
Installing the Raspberry Pi FTP Server (vsftpd) Package
Very Secure FTP Daemon (vsftpd) is a popular and widely used FTP server software designed for Unix-based systems, including the Raspberry Pi. The vsftpd package provides various security features such as SSL encryption and chroot jail to ensure the privacy and security of your data.
Installing the vsftpd package allows you to set up a secure and reliable FTP server for quick file transfers over the internet or local network.
Open a terminal, and run the following apt update command to update the list of available packages on your Raspberry Pi. This command ensures your Raspberry Pi has the latest and most up-to-date package information.
sudo apt update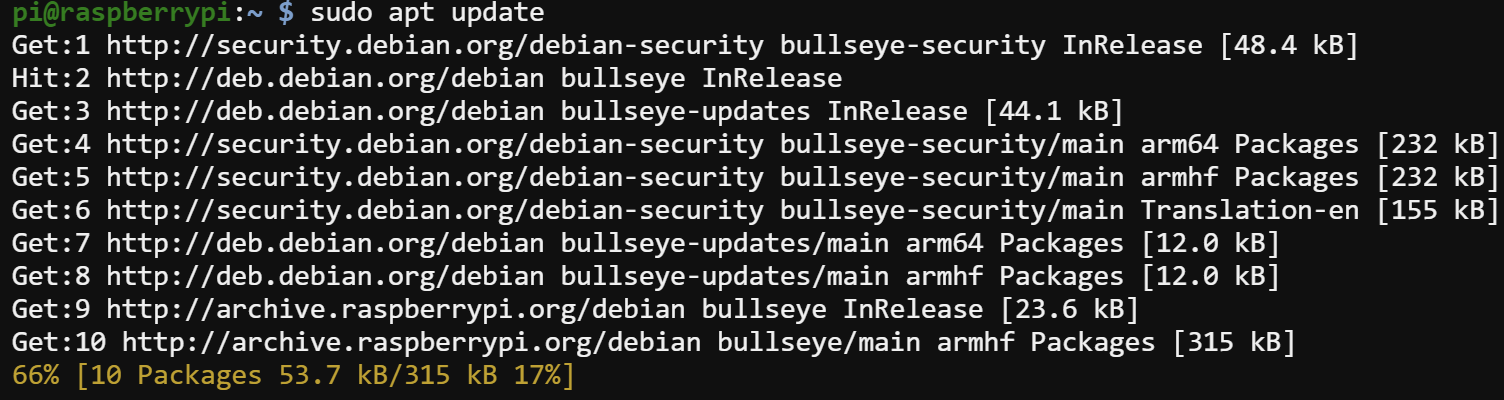
Once updated, run the apt install command below to install the vsftpd package and any necessary dependencies.
sudo apt install vsftpd
Configuring the vsftpd Server
After installing the vsftpd package, the default configuration file is /etc/vsftpd.conf. But the default configuration may not always meet your needs, such as disabling anonymous FTP access or setting up user authentication.
As a solution, you must configure the vsftpd server, an essential step in setting up a functional and secure FTP server on your Raspberry Pi. By modifying the configuration file, you can ensure that the vsftpd server operates efficiently and securely and provides the necessary features for file transfers.
To configure the vsftpd server, follow these steps:
1. Open the /etc/vsftpd.conf file in your favorite text editor.
sudo nano /etc/vsftpd.confPerhaps you prefer a GUI-based text editor. If so, why not try Gedit or Sublime Text on Ubuntu?
2. Next, configure the following parameters per your requirements to ensure the vsftpd server operates securely and efficiently. Proper configurations allow local users to access and transfer files to and from the server with the necessary permissions.
- anonymous_enable=NO – This parameter specifies whether anonymous FTP access is allowed or not. Setting it to NO disables anonymous access, which is recommended for security reasons.

- local_enable=YES – This parameter determines whether local users can access your FTP server. Setting it to YES allows local users to access the FTP server. This parameter can be handy in a home or office environment where multiple users need access to a central file repository.

- write_enable=YES – This parameter allows for write permissions for the local users accessing the FTP server. Setting it to YES enables local users to upload, create, modify, or delete files on the server.

- local_umask=022 – This parameter sets the default file permissions for uploaded files. The default value is 022, which sets the file permissions to 644 for files and 755 for directories, as follows:
| Content | Permissions | Details |
|---|---|---|
| Files | 664 | Files created by local users will have read-and-write permissions for the owner and read-only permissions for others. |
| Directories | 755 | Directories created by local users will have read, write, and execute permissions for the owner and read and execute permissions for others. |

- chroot_local_user=YES – This parameter specifies whether local users should be restricted to their home directories. Setting it to YES restricts users to their home directories, which adds an extra layer of security to the server. Chrooting users to their home directories helps prevent unauthorized access to other users’ files on the server.

3. Append the following configurations to the end of the configuration file, save the changes, and close the file.
These configurations ensure that each user logging in is chrooted to their own FTP directory and can access only their files.
user_sub_token=$USER
local_root=/home/$USER/ftp
4. Now, run the following command to restart the vsftpd service to apply the changes.
This command does not produce output, but you will check the service status in the following step.
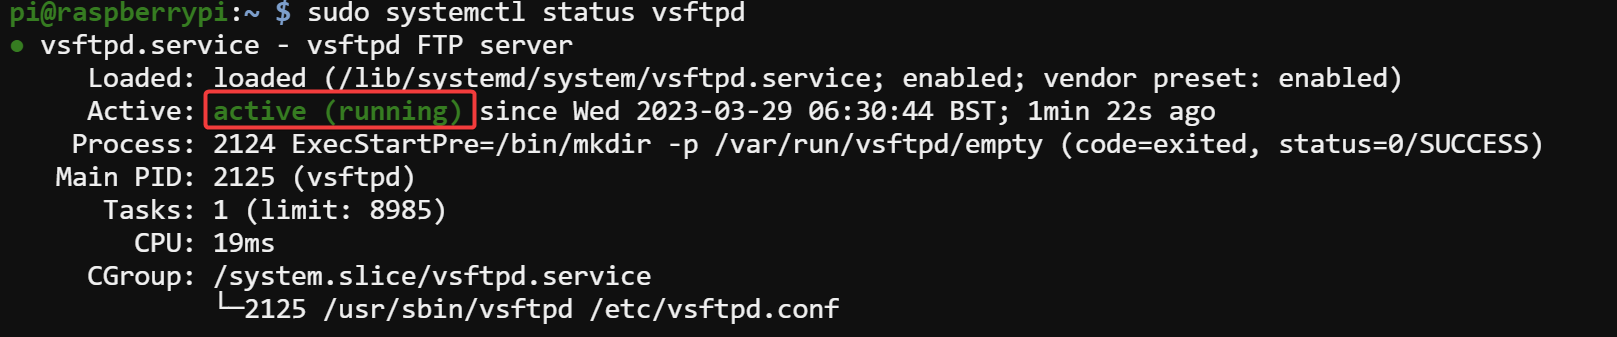
sudo service vsftpd restart5. Lastly, run the below systemctl command to check the status of the vsftpd service to verify it is running correctly.
sudo systemctl status vsftpdsYou will see the following output:
Creating a New FTP User and Setting Permissions
So far, you have a vsftpd server installed and configured on your Raspberry Pi. But you must create a dedicated FTP user account before anyone can access your FTP server.
An FTP user account provides a layer of security by allowing only authorized users to access the FTP server. Each user account has a unique username and password to authenticate the user’s identity when connecting to the FTP server.
To create an FTP user with the necessary permissions:
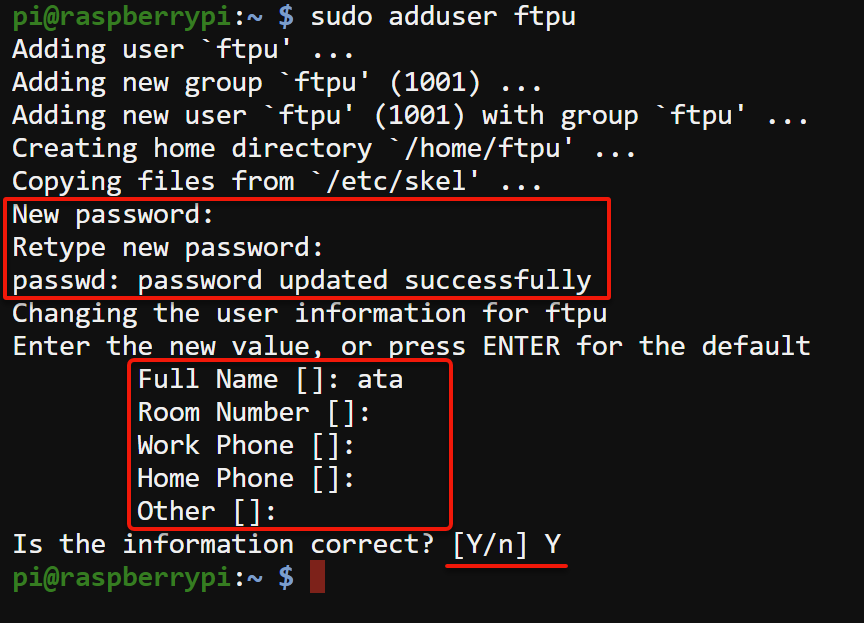
1. Run the below command to create a new FTP user. Feel free to replace ftpu with the username of your choice. But this tutorial’s choice for the username is ftpu.
sudo adduser ftpuConfigure the new FTP user with the following:
- Provide and retype a strong password for the user.
- Fill out the remaining user details.
- Input Y and hit Enter to finish creating the FTP user account.
2. Next, run each mkdir command below, which does not produce output but creates two directories for the FTP user to store and access files on the FTP server.
Note that when creating directories for an FTP user, avoiding using directory names that contain spaces or special characters is strongly recommended. Some FTP clients may have difficulty interpreting spaces or special characters in directory names. This difficulty may cause issues when accessing files via the FTP server.
# Create the root directory for the FTP user.
sudo mkdir -p /home/ftpu/ftp
# Create a directory that stores files the FTP user can access and manage.
sudo mkdir -p /home/ftpu/ftp/files
3. Lastly, run the following adduser command to add the FTP user (ftpu) to the sudo group. Doing so gives the user access to run commands with administrative privileges using the sudo command.
sudo adduser ftpu sudo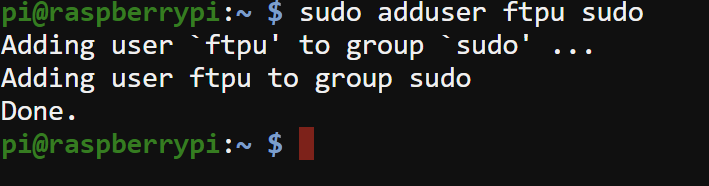
Connecting to the FTP Server and Transferring Files
With an FTP user created, you can now connect to your FTP server. Any FTP client application works, but this tutorial uses the FileZilla FTP client to connect to the server and transfer files. But first, you must know your Raspberry PI’s IP address.
To connect to the FTP server using FileZilla, follow these steps:
1. Run the below hostname command to retrieve all IP addresses (-I) associated with your Raspberry Pi.
hostname -INote down the IPv4 address of your Raspberry Pi for later use.

Note that your IP address may change over time, primarily if it is assigned by a Dynamic Host Configuration Protocol (DHCP) server on your network. DHCP server may reassign the IP address to another device on the network if your Raspberry Pi is offline or if the IP address lease expires
2. Next, open the FileZilla client on your local computer and configure the FTP connection with the following:
- Host – Input the IP address of your Raspberry Pi you noted in step one.
- Username and Password – Provide your FTP user’s username (ftpu) and password.
- Port – Input Port 22 for Secure File Transfer Protocol (SFTP).

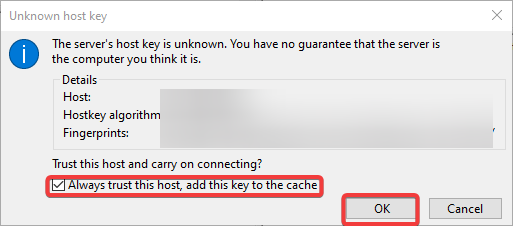
3. When prompted, tick the checkbox, as shown below, which adds a key to the client’s key cache, and click OK.
This prompt asking you to trust the Raspberry Pi’s host key only appears when connecting to a Raspberry Pi for the first time.
Once connected, you will see a success message on the Status pane, as shown below. The success message indicates you can now access and manage files on the FTP server using the FileZilla client.

4. Now, transfer (drag and drop) a file or folder from your local machine (left pane) to the FTP server (right pane), as shown below.
5. Finally, run the below command to list (ls) all (-a) contents (files and folders) of your FTP server’s /home/ftpu/ftp/files directory.
ls -a /home/ftpu/ftp/filesThe output below shows the folder (MyFolder) you transferred to your FTP server, which confirms the transfer is a success.

Conclusion
Through this tutorial, you have learned how to set up your Raspberry Pi FTP server. You have also performed a secure transfer from your local machine to your FTP server.
With the correct permissions configured, you can connect to the FTP server and manage and store files securely via an FTP client of your choice.
Now, why not secure your vsFTPd server with SSL/TLS encryption for an extra layer of security?


