


Transferring files to your server and vice versa is beyond convenient, but the task also comes with a security risk. Why not consider FileZilla? Download FileZilla for Windows and experience a fast and reliable file transfer.
With FileZilla’s intuitive GUI, you can quickly access and transfer files remotely. And in this tutorial, you will learn how to install FileZilla and transfer files securely from your device to a remote server.
Dive in and change how you transfer files without the security risk!
Prerequisites
This tutorial will be a hands-on demonstration. To follow along, be sure you have the following in place:
- A Windows computer – This tutorial uses Windows 10 64-bit, but other versions will work.
- A remote FTP server to transfer files – This tutorial uses an Ubuntu FPT server.
Downloading FileZilla for Windows
FileZilla is an immensely popular and widely-used FTP client. This client enables users to swiftly and efficiently transfer files between a client and a server.
To take advantage of FileZilla, you must first download FileZilla for Windows with the following steps:
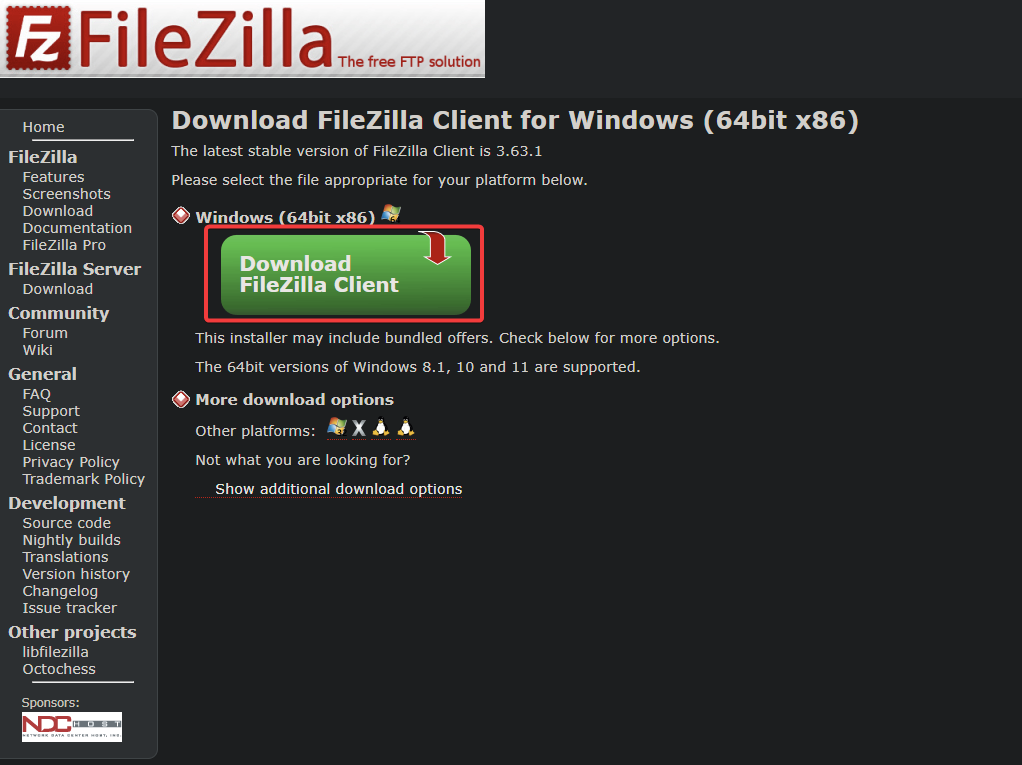
1. Open your favorite web browser, and visit the official FileZilla website.
2. Next, click on the Download FileZilla Client button under Windows (64bit x86) to download the installer.
💡 You can also pick other versions since the website provides various software versions for Windows, Linux, and macOS.
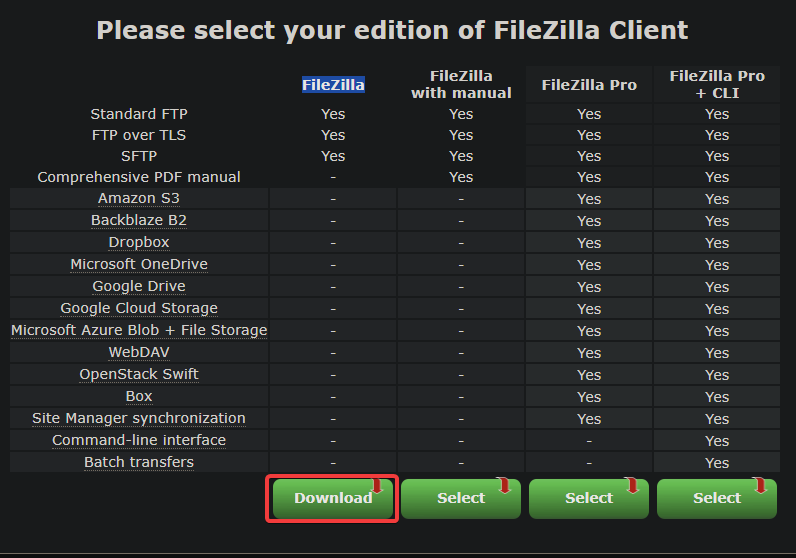
3. Select the appropriate version of FileZilla, and click Download to start the download process. The free version is sufficient for most users.
Installing the FileZilla Client on Windows
Now that you have downloaded the appropriate version of FileZilla for Windows, you are almost ready to transfer your files to your server securely. FileZilla is an exceptionally Secure FTP (SFTP) client which employs an impenetrable version of the FTP protocol known as Secure Shell (SSH) to transfer files.
To install FileZilla on Windows, follow these steps:
1. Navigate to the FileZilla setup file you downloaded, and double-click the file to begin the installation process.

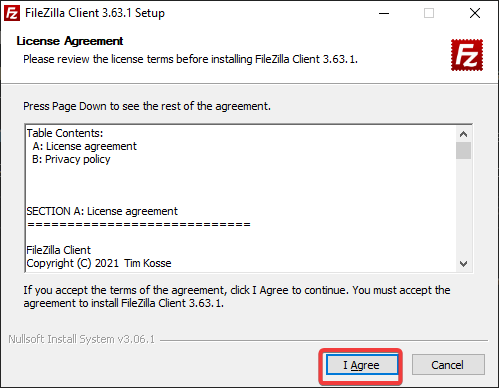
2. Next, click I Agree on the initial page of the setup window to accept the license agreement.
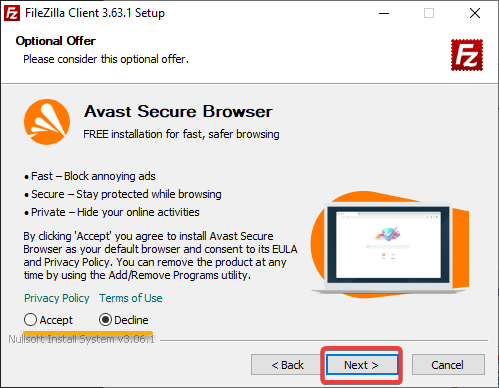
3. Select Accept to install additional features, such as Avast Virus Protection, or select Decline and click Next to continue with the installation.
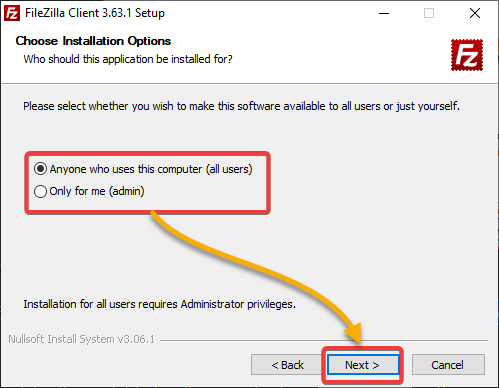
4. Now, select the option to install FileZilla for all users on the computer or only for me, and click Next.
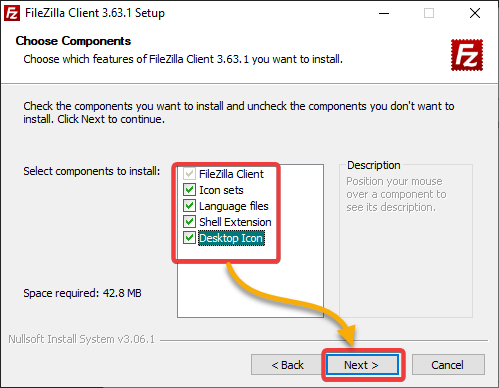
5. On the next page, tick all the checkboxes to select each component, and click Next to continue. Doing so ensures all necessary components are installed for FileZilla to function correctly.
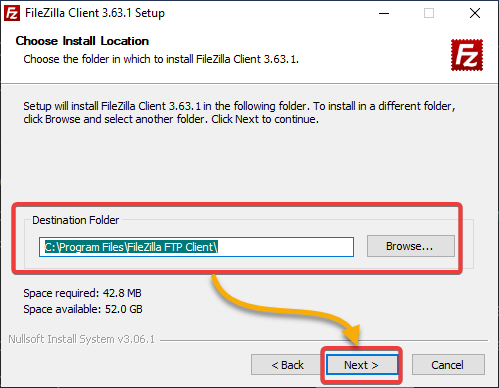
6. Select a destination folder for FileZilla to be installed, and click Next to continue.
Ensure you choose a location with enough free space to accommodate the software and future updates.
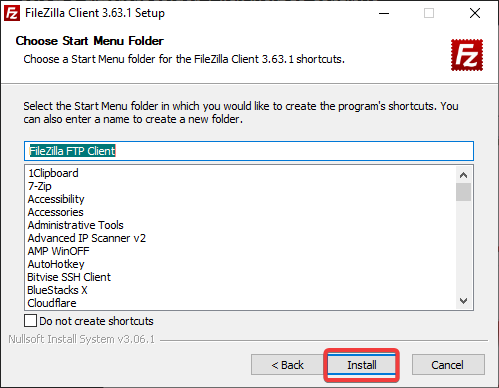
7. Now, click the Install button to begin the installation process.
8. Once installed, click Finish to close the installation wizard and launch the client.
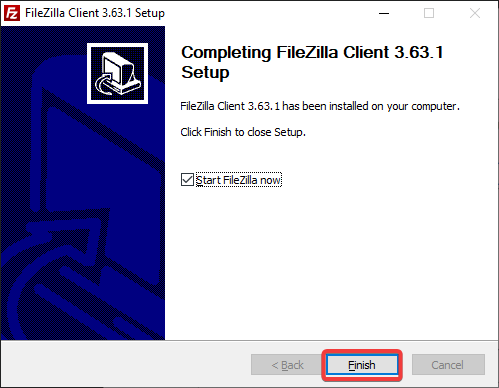
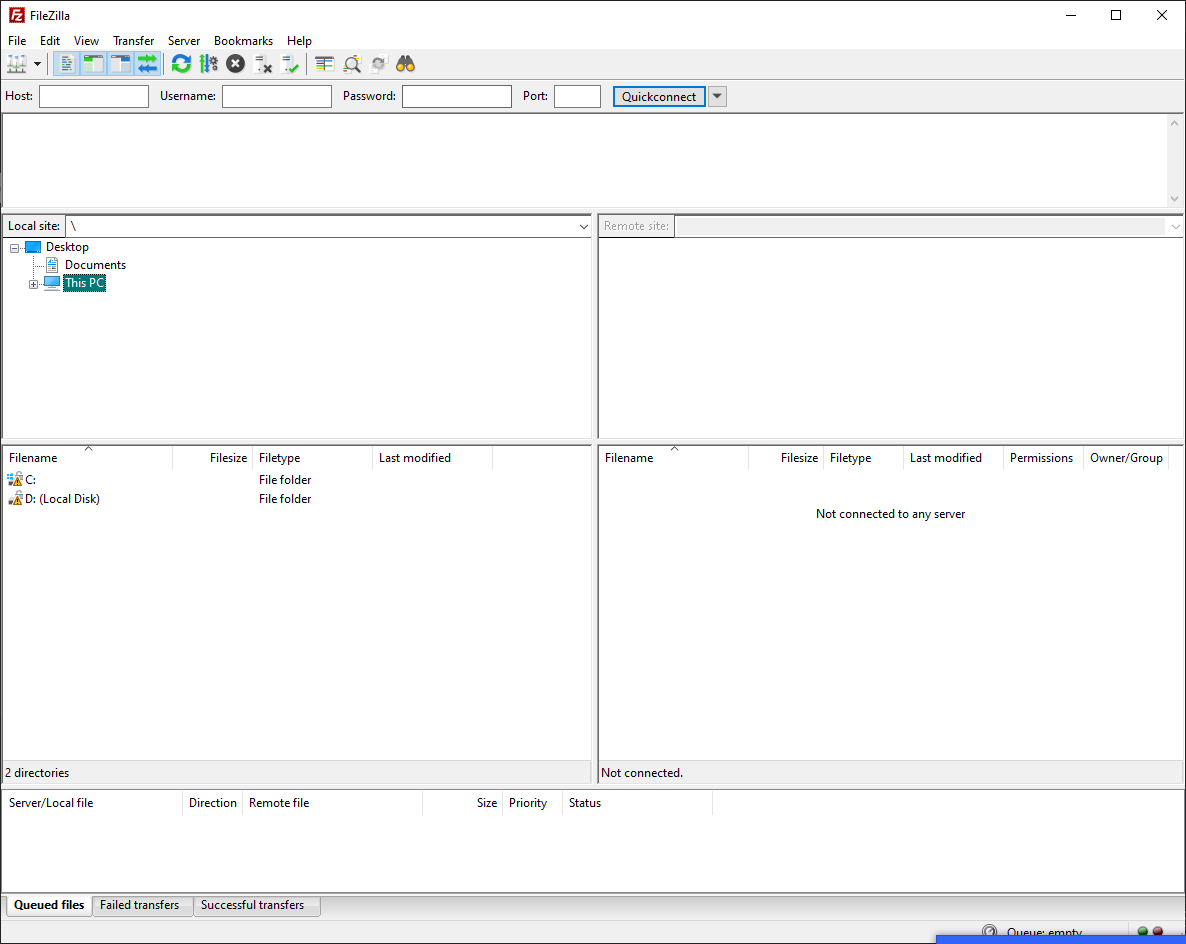
FileZilla’s main window appears, as shown below, and you are now ready to transfer your files.
Connecting to an SFTP Server Remotely to Transfer Files
You have successfully installed FileZilla and are ready to connect to a remote SFTP server. You will later transfer files securely to your server with FileZilla.
To connect to your remote SFTP server and transfer files, follow these steps:
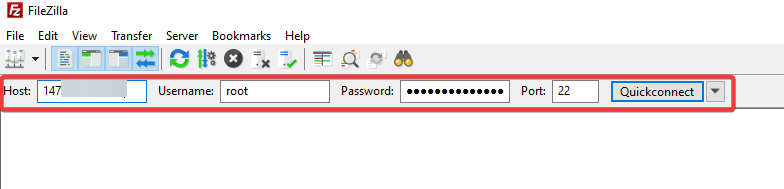
1. On the main FileZilla window, configure the following: Field Value Host Enter the IP address or domain name of your SFTP server, which can be an IP address (e.g., 123.45.67.89) or a domain name (e.g., sftp.example.com). Username and Password Enter your SFTP server username and password. Depending on the server’s settings, you may need to create a separate SFTP account to access the server. Port Enter the port number for your SFTP server. The default port number for SFTP is 22, but your SFTP server may use a different port.
| Field | Value |
| Host | Enter the IP address or domain name of your SFTP server, which can be an IP address (e.g., 123.45.67.89) or a domain name (e.g., sftp.example.com). |
| Username and Password | Enter your SFTP server username and password. Depending on the server’s settings, you may need to create a separate SFTP account to access the server. |
| Port | Enter the port number for your SFTP server. The default port number for SFTP is 22, but your SFTP server may use a different port. |
Once configured, click the Quickconnect button to connect to your SFTP server.
The Quickconnect button in FileZilla is a convenient way to quickly connect to an SFTP server without setting up a site profile in the Site Manager.
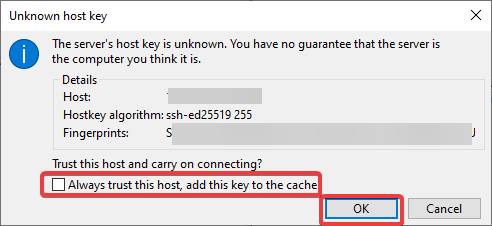
2. Next, click OK to accept the security warning, which adds the server’s host key to FileZilla’s cache once.
You can also tick the checkbox at the bottom if you want FileZilla to permanently add the server’s host key to its cache. Doing so lets FileZilla always accept the host key without prompting you.
You may receive a security warning, as shown below if you are connecting to your SFTP server for the first time. The reason is that FileZilla checks the server’s host key to verify its identity and ensure that the connection is secure.
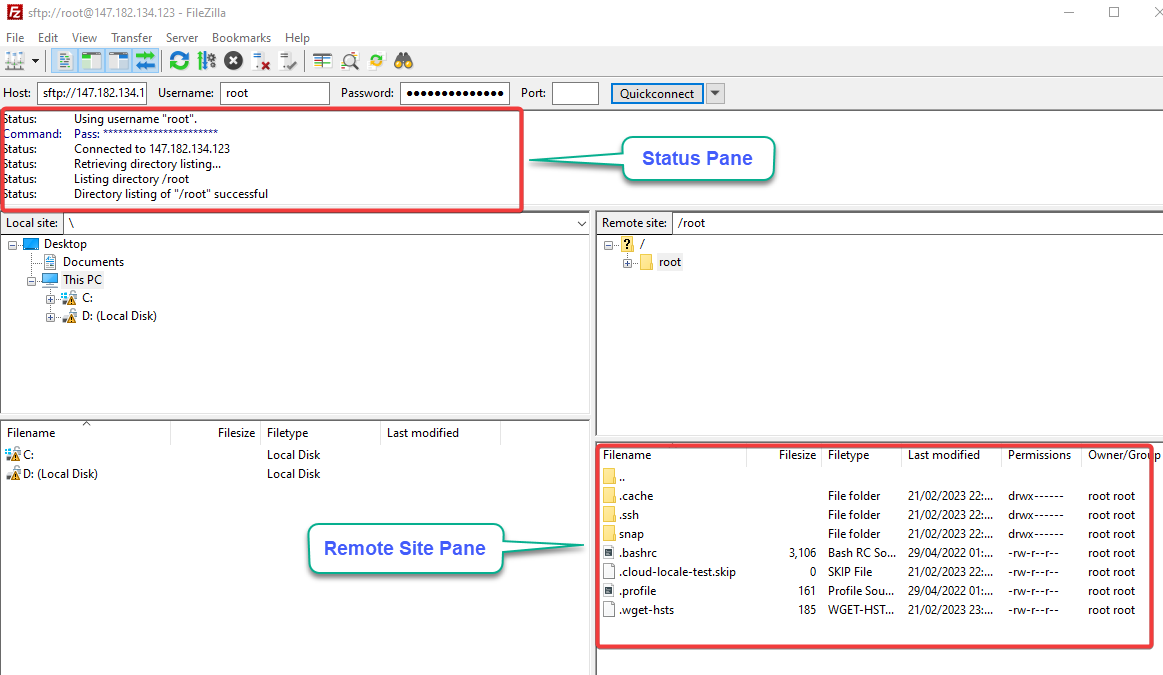
Once FileZilla has connected to your SFTP server, you will see logs in the status pane indicating that the connection was successful, as shown below.
In addition, you will also see the remote directories of the server in the remote site pane. The remote site pane displays the files and folders on the SFTP server. You can navigate through them as you would on your local computer.
3. Drag and drop files between your local and remote site pane since you now have an established secure connection to the SFTP server, as shown below.
Below, you can see the filezilla_demo.txt file is transferred to the root folder of the SFTP server (vice versa also works).
💡 Besides text files, you can transfer any file type, such as documents, images, audio, and video files, between your local computer and the SFTP server using FileZilla.
As you can see, the client quickly establishes a connection to the server and transfers the file in a few seconds.
4. Once the transfer completes, navigate to your remote SFTP server and run the below command to list (ls) all files (-a) in the working directory.
ls -aBelow, you can verify that the file has been successfully transferred to the SFTP server.

5. Finally, run the cat command below to view the content of the transferred file (filezilla_demo.txt). Doing so lets you verify you have transferred the correct file with the right content. cat filezilla_demo.txt
cat filezilla_demo.txt
Conclusion
Transferring files securely from your local computer to an FTP server is essential for many administrative tasks. FileZilla, with its user-friendly GUI, simplifies the job to accomplish. And in this tutorial, you have learned to download FileZilla for Windows, install it, connect to your SFTP server, and securely transfer a file.
By leveraging the security features of SFTP and the convenience of the FileZilla GUI, you can transfer files with the peace of mind.
Why not give the filename filters feature a try to refine your desired files for transfer? You will find this feature immensely useful!


