


Do you need to remotely access and test your devices? Telnet may be just what you need. Although not as popular as it once was, Telnet is still a helpful tool for many system administrators.
In this article, you will learn how to use Linux to install Telnet,, how to use it to connect to remote devices, and testing connectivity to see if it’s working properly.
Prerequisites
This tutorial will be a hands-on demonstration. If you’d like to follow along, be sure you have the following.
- A Linux system. This tutorial uses Ubuntu 20.04, but any modern Linux system should work.
- An account with sudo privileges. This tutorial uses a root account, but it would be more appropriate to use a non-root account with sudo privileges for security reasons.
- An SMTP mail server. Any SMTP mail server should work.
Using Linux to Install Telnet
The telnet client is not installed by default on most Linux distributions. You must install it before you can use it.
To install the telnet client on Ubuntu Linux, follow these steps:
1. Open a terminal window.
2. Update the apt package list to make sure you have the latest package versions:
Prepend the sudo command if you use a non-root account.
apt update -y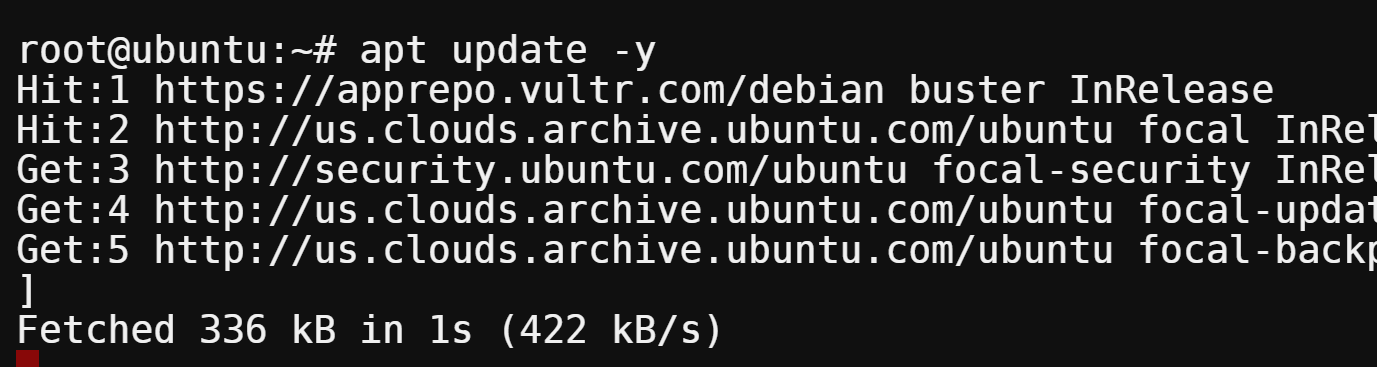
3. Run the below command to install the telnet client and daemon. You will not need the daemon in this tutorial, but it comes in the same package as the client.
apt install telnetd -y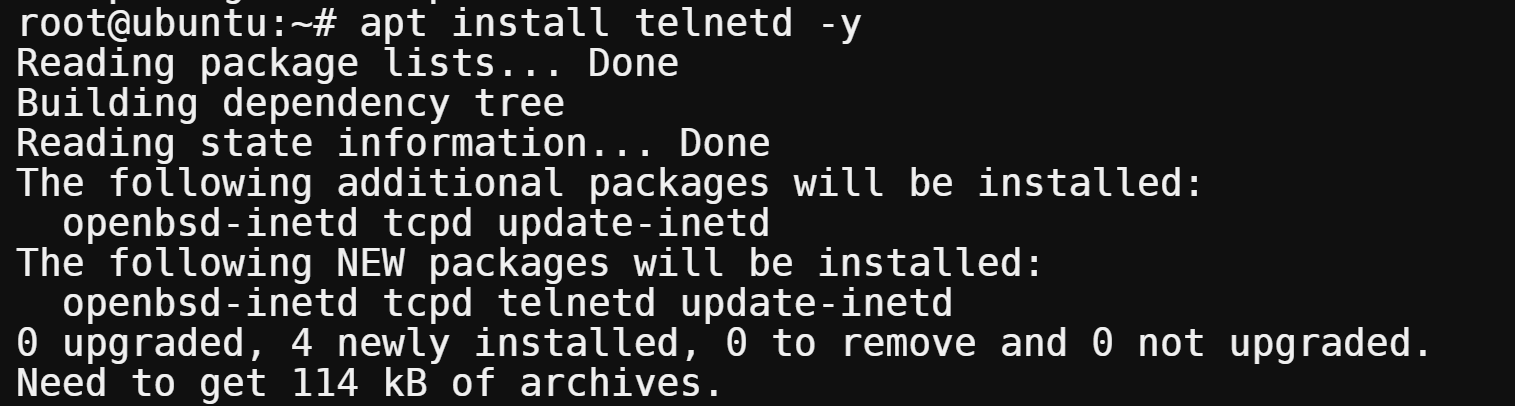
4. Verify that the telnet client version number with grep.
dpkg -l | grep telnetIf the telnet client is present on the system, you will see output similar to the following.

5. Run the grep command below to check if the telnet command is in the path environment variable. This command returns the below output, indicating that the telnet command is available.
which telnet
Opening the Local Firewall to Allow Telnet Access
The telnet client uses port 23 by default. If you have a firewall configured on your system, you must open port 23 to allow telnet traffic.
To open port 23 with UFW on Ubuntu, follow these steps:
1. Open a terminal window.
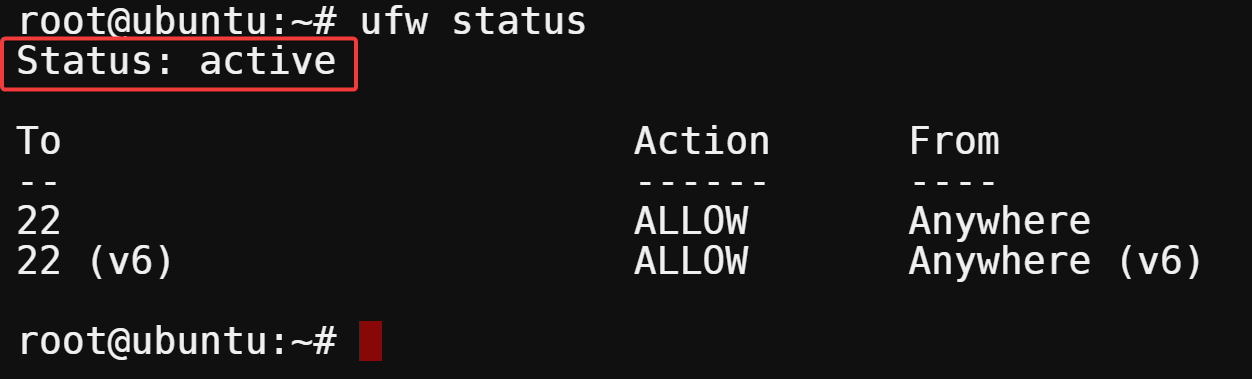
2. Check the status of the firewall to make sure it’s active.
ufw statusYou will see output similar to the following if the firewall is active. If the status is not active, you can skip this section since you don’t need to allow the port on a firewall that isn’t running.
3. To allow traffic on port 23, type the following command. This command opens port 23 for tcp traffic. By default, telnet uses a TCP port to establish a connection.
ufw allow 23/tcp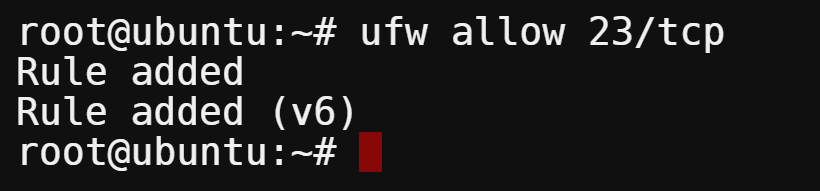
4. Verify that the port is open by typing the following command to display a list of firewall rules. As you can see in the output, tcp traffic on port 23 is now allowed from anywhere.
ufw status numbered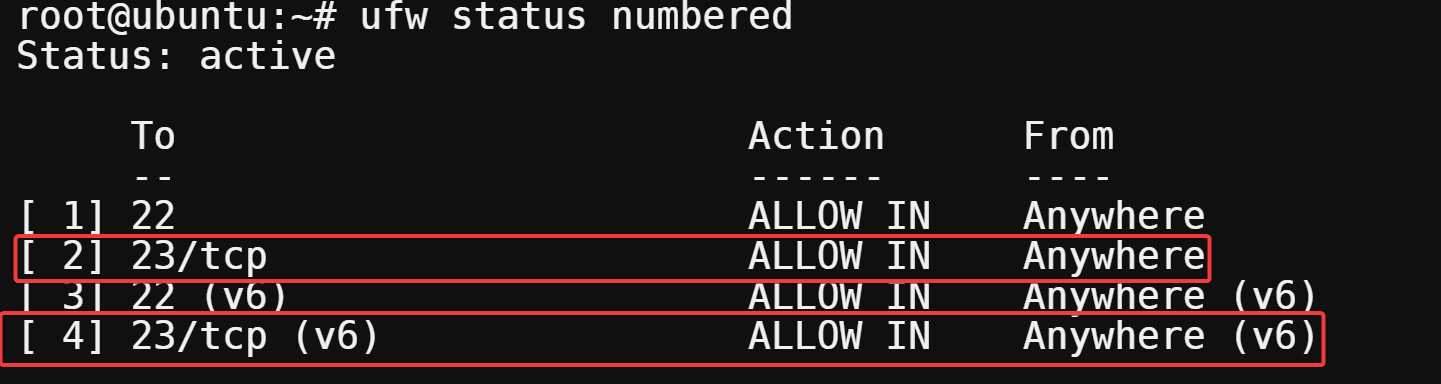
Checking for an Open Port Using Telnet
Now that you’ve installed the telnet client, you can start testing it out. In this section, you will use telnet to check if a port is open on a remote system.
Telnet provides a bidirectional interactive text-oriented communications facility using a virtual terminal connection. When you telnet to a remote machine, you are running the telnet program on your local machine and connecting to the remote machine’s telnet daemon.
The daemon allows you to log in and run commands on the remote machine as if sitting at the console.
Note: Telnet is an insecure protocol because the information exchange happens in plain text and is not encrypted, including passwords. Anyone who can sniff network traffic can capture sensitive information.
For this reason, it is generally advisable to use SSH instead of telnet whenever possible.
But there are still some uses for telnet—for example, troubleshooting network connectivity issues by checking for open ports. Also, to connect to legacy systems that do not support SSH.
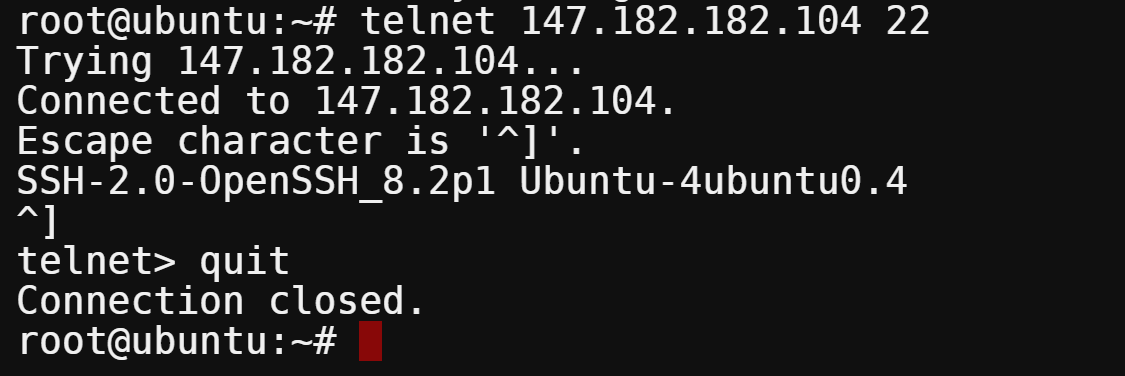
1. Suppose you want to check if the 22 port is open on a remote machine before you can SSH into it. Run the below command to telnet to the remote host’s port 22.
telnet 147.182.182.104 25If port 22 is open, you will see an output similar to the below screenshot. The Connected to 147.182.182.104 output indicates that you have successfully established a connection to the remote machine.

If the port is closed, you will see a Trying… message followed by a connection timed out error, as shown below. This output indicates that the port is closed or no daemon is listening on the remote host.

2. To exit the telnet session, press Ctrl+], type quit at the telnet> prompt, and press Enter.
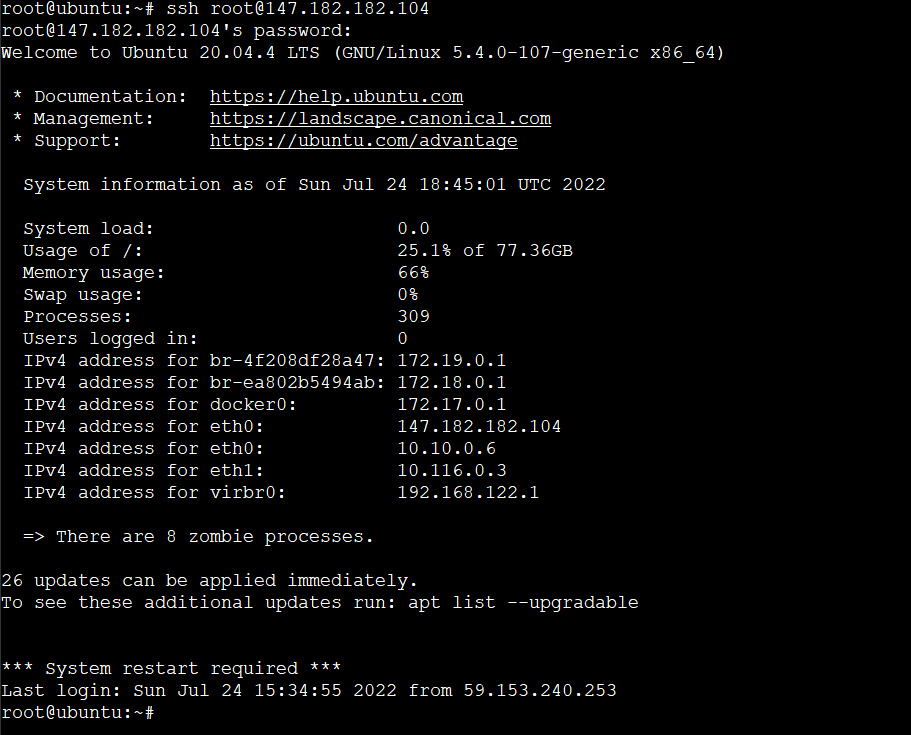
3. Now, SSH into the remote machine securely. Replace 147.182.182.104 with the IP address of the remote machine.
Enter your password at the prompt and press Enter. You are now logged into the remote machine using SSH.
Checking Port Connectivity to an SMTP Server
Finding the root cause of an issue on a mail server can be difficult. There are many configuration files and components involved in the mail delivery process. To troubleshoot mail server issues, you must check each component’s status in the mail delivery chain.
The most basic step is to use telnet to connect to each component and check if it is running correctly. In this section, you will learn how to use telnet to check the status of an SMTP mail server via port 2525.
In most cases, the standard ports for SMTP servers are 25, 465, 587, and 2525. You need to know its listening port to connect to the mail server. This example uses port 2525. Contact your mail server administrator to get this information.
1. To connect to the mail server using telnet, type the following command at the terminal. Replace smtp.example.com and 2525 with your SMTP mail server’s correct FQDN and port number.
telnet smtp.example.com 2525You will see an output similar to the following. The first line of output shows the IP address of the mail server (35.187… in this example). The second line indicates that the connection to the server was successful. The last line is the status code and message from the server.
In this case, code 220 indicates that the server is ready to receive mail.

2. Next, issue some commands to the server to check its status. Type EHLO and press Enter.
EHLOEHLO is short for HELO and HELLO, a command to identify the SMTP client to the server. This command opens the conversation from the client to the server. The server responds with a list of commands that it supports.
You will see an output similar to the following. The first line of the server response is the status code (250) and message. The remaining lines are a list of SMTP commands that the server supports.
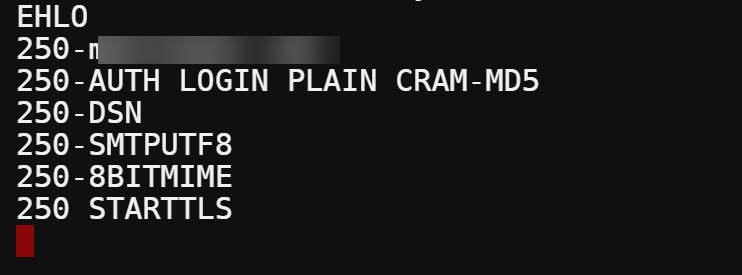
Depending on your mail server configuration, you will see many other available SMTP commands that the server supports.
3. Next, type mail from: [email protected] and press Enter to specify the sender’s email address. Replace [email protected] with your actual email address.
mail from: [email protected]The server responds with a status code 250 and an OK message, indicating the server is running correctly.

4. Now, type rcpt to: [email protected] and press Enter to specify the recipient’s email address. Replace [email protected] with the email address of the recipient. This command tells the SMTP server that you want to send an email to that recipient address.
rcpt to: [email protected]The server responds with a status code 250 and an OK message, indicating that the recipient’s email address is valid and the server is running correctly.

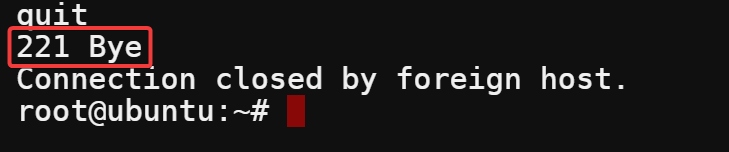
5. Finally, quit the telnet session by typing quit and pressing Enter.
quitThe server responds with a status code 221 and a goodbye message, which indicates that the server is running correctly.
Conclusion
In this article, you have learned how to install Telnet on Linux. You have also learned how to use Telnet to check for open ports, check the status of an SMTP server, and perform a simple conversation with an SMTP server. These skills will be helpful when you are troubleshooting server connectivity.
Due to its nature, you should not have Telnet running on your production servers. Telnet is ancient, so to speak, and is now equivalent to a security risk. Telnet does not offer any encryption or authentication. Use Telnet for testing and troubleshooting only.
Telnet has better and more secure alternatives, such as SSH for managing servers remotely or netcat for testing network connectivity. But, having Telnet under your belt is still a good idea, as it can be handy in certain situations.


