


As a Google Cloud Platform (GCP) user, you can manage your resources and applications via the web console. But what if you plan to automate tasks or manage Google Cloud from the command line? Worry not! The gcloud command-line interface (gcloud CLI) tool is what you need.
In this tutorial, you will learn how to install the gcloud CLI on your machine and start with some basic commands for managing GCP resources.
Stay tuned and up your GCP resource manage management!
Prerequisites
This tutorial will be a hands-on demonstration. To follow along, be sure you have the following:
A Google Cloud account with active billing – A free trial will suffice if you do not have one yet.
A Windows 10 machine with an internet connection. This tutorial uses the 21H2 version.
Docker installed on your machine.
Downloading and Installing the gcloud CLI
If you are a more CLI-inclined user, you can install the gcloud CLI using the Google Cloud SDK Installer. This cross-platform installer installs the gcloud CLI along with other Google Cloud SDK tools.
1. Open your favorite web browser, and download the installer from Google Cloud.
Alternatively, open PowerShell as administrator and run the below command to download the latest stable release of the gcloud CLI installer. This command does not provide output but automatically starts the Google Cloud CLI Setup wizard.
(New-Object Net.WebClient).DownloadFile("https://dl.google.com/dl/cloudsdk/channels/rapid/GoogleCloudSDKInstaller.exe", "$env:Temp\GoogleCloudSDKInstaller.exe")

& $env:Temp\GoogleCloudSDKInstaller.exe
2. Once downloaded, open the installer, which brings up the Google Cloud CLI Setup wizard (step three). If you fail to open the installer, run it as an administrator.
3. On the Google Cloud CLI Setup wizard, tick the first checkbox, as shown below, and click Next. This option lets you Turn on screen reader mode.
Enabling this option lets you use a screen reader to streamline your screen reader experience during the installation, like displaying a process bar.

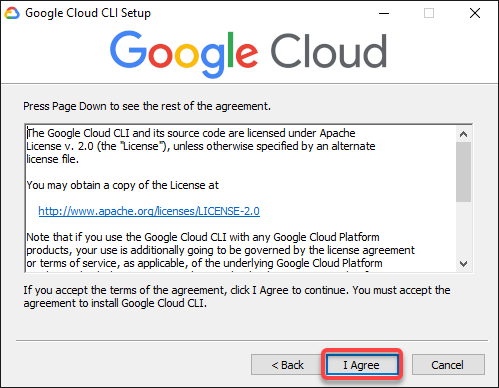
4. Now, read the license term and click IAgree to agree to the license agreement.
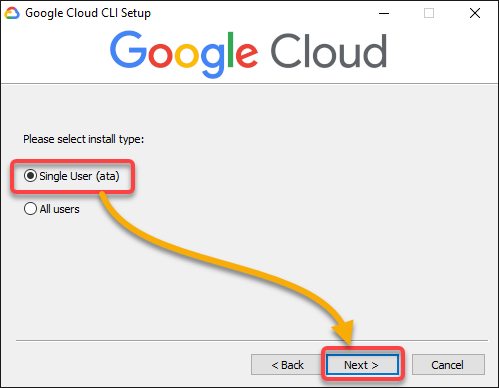
5. Once agreed, select the install type (Single User), and click Next.
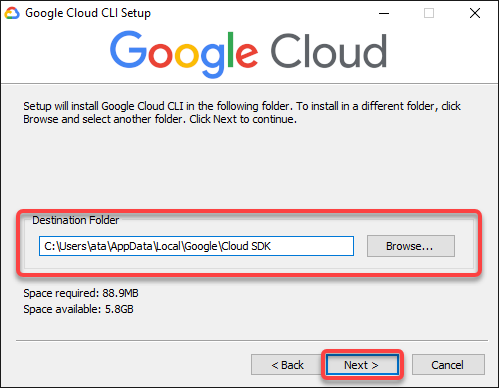
6. Next, select the location for the installation and click Next.
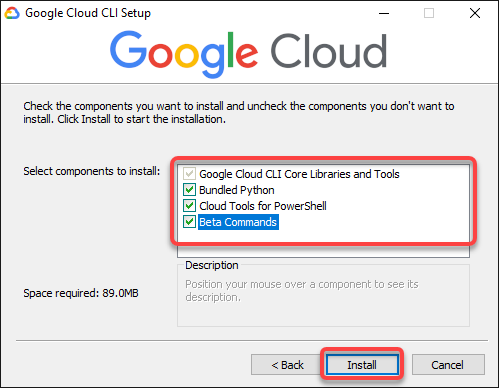
7. Tick all the checkboxes and click Install to install all the required dependencies, including Python v3 and the Cloud Tools for PowerShell.
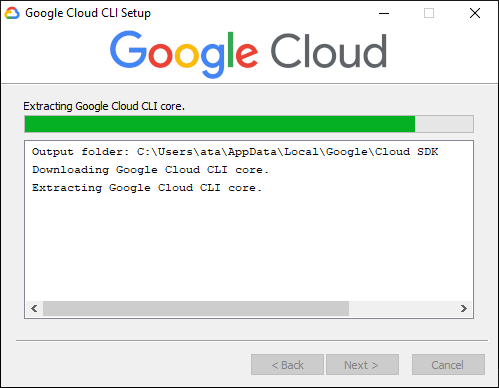
As you can see below, the installer downloads and installs all the required dependencies and the CLI core. This process might take a few minutes to complete.
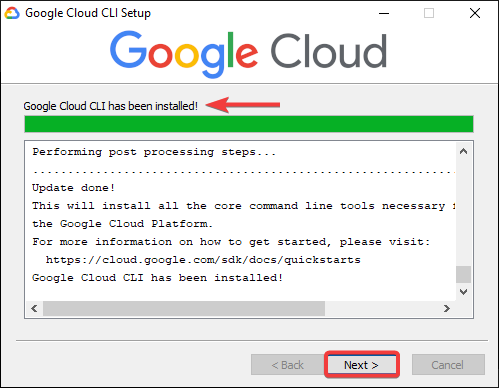
8. Once installed, click Next to continue.
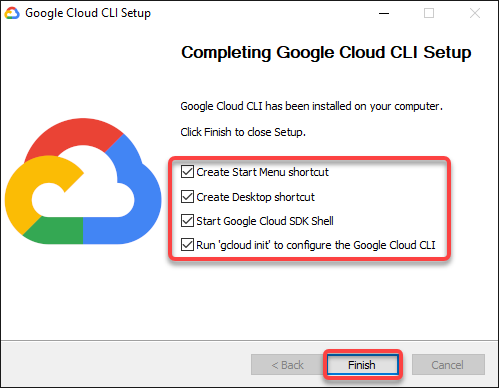
9. Finally, tick all the checkboxes below, and click Finish to complete the installation.
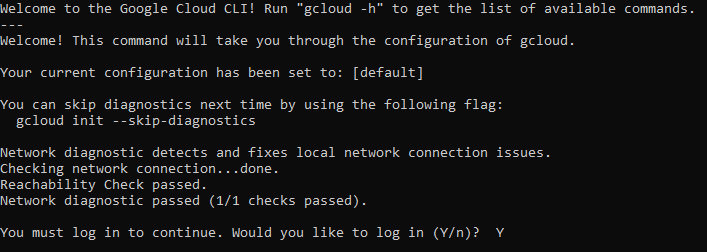
A command prompt window opens automatically after the installation, as shown below. This prompt is where you will later configure the gcloud CLI.
Configuring the gcloud CLI
After installing gcloud CLI, you still need to configure gcloud CLI to ensure it works correctly by initializing the SDK and setting up your credentials.
1. Type Y and press Enter on the command prompt window.
Accepting this prompt opens a new tab in your default web browser, asking you to log in to your Google account (step two).

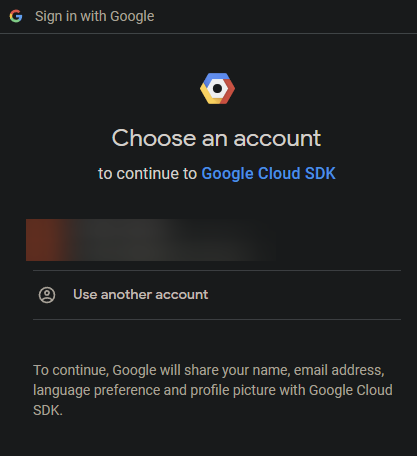
2. Log in to your Google account to continue.
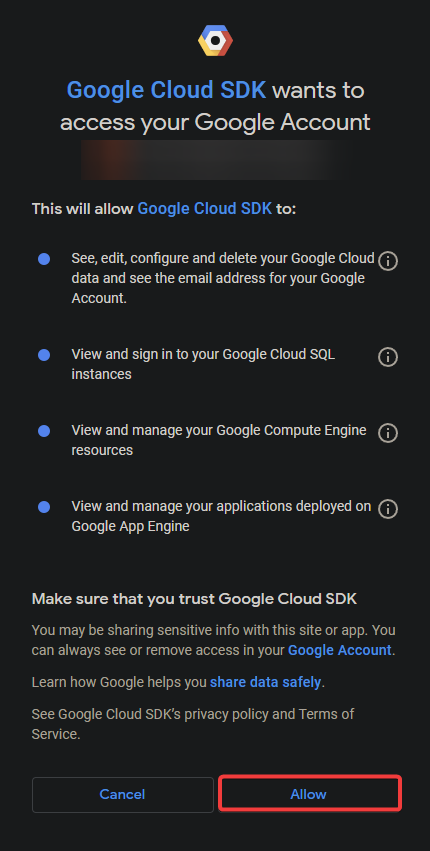
3. Click Allow to grant the Google Cloud SDK the required permissions.
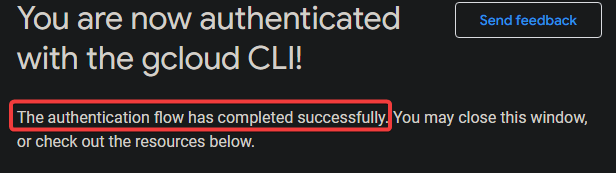
You will see a page similar to the one below in your web browser. This page confirms you have successfully logged in to your GCP account and authenticated to use the gcloud CLI.
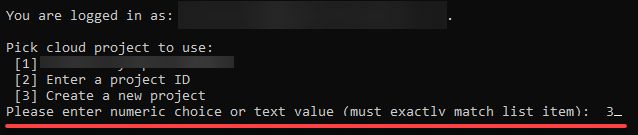
4. Now, type 3 in the command prompt window and press Enter to create a new project. This project will be used to host your GCP resources.
5. Enter a Project ID (unique across your GCP account) for your project and press Enter. This tutorial uses the Project ID called gcp-gcloud-cli-demo.
Note the Project ID must be six to 30 characters long and can contain lowercase letters, digits, and hyphens.

At this point, gcloud CLI is successfully installed on your machine and is ready to be used, as shown below. You can now use this tool to manage your GCP resources from the command line.

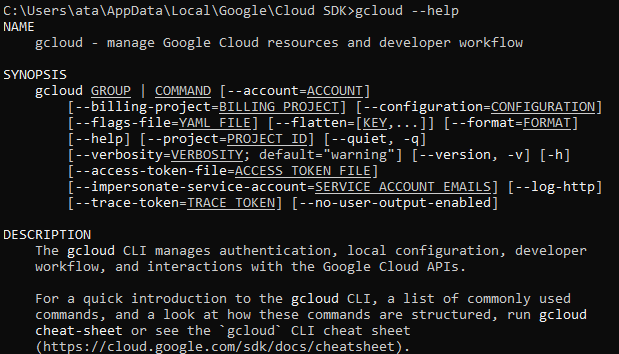
6. Next, run the below command to get –help using the gcloud CLI.
gcloud --helpIf all goes well, you will get the same output as below.
Installing the gcloud CLI via the Versioned Archives
If you prefer to install a specific version of the gcloud CLI, you can use versioned archives. This method helps install an older version of the CLI or if you wish to use gcloud CLI with a script in your CI/CD pipeline.
Versioned archives are like a portable version of the gcloud CLI. You can download these archives and extract them to any location on your machine. As these archives are self-contained, they do not require any additional dependencies.
A list of versioned archives of the gcloud CLI is available for Linux, macOS, and Windows.
To install gcloud CLI using a versioned archive, follow the steps below:
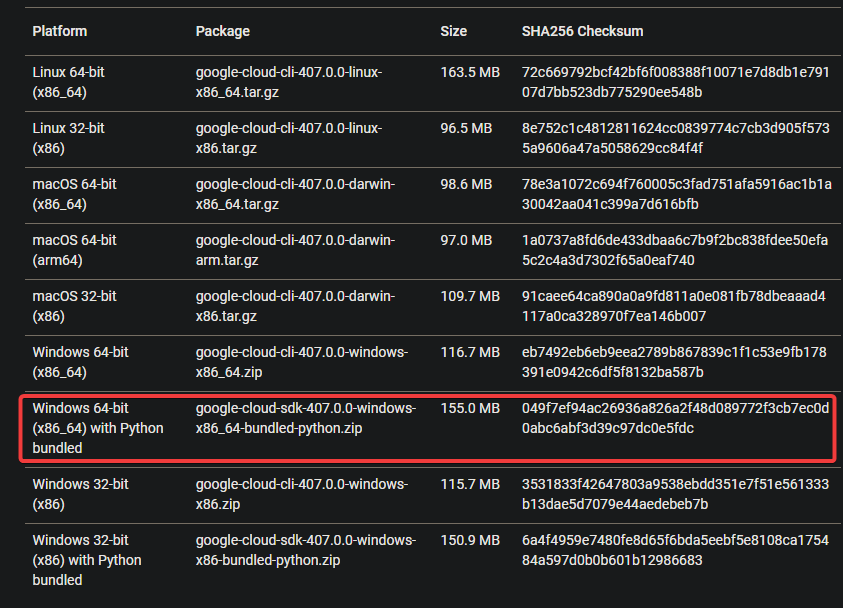
1. Navigate to the official page list of gcloud CLI versioned archives.
2. Download a compatible version archive of the gcloud CLI. You can choose any other archive based on your operating system and architecture. But this tutorial’s choice is the Windows 64-bit (x86_64) with Python bundled archive.
3. Once the download completes, extract the zip archive to any location on your machine.
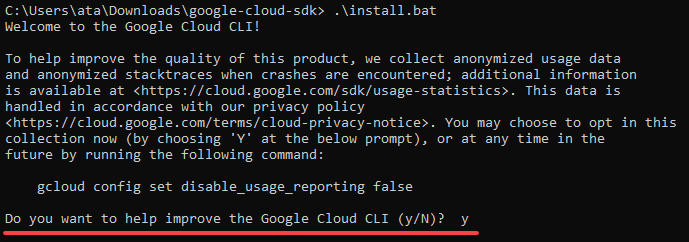
Open a command prompt window, navigate to where you extracted the archive, and run the below command to install gcloud CLI.
.\install.batType Y and press Enter to help Google improve this tool, or type N and press Enter to skip this prompt.
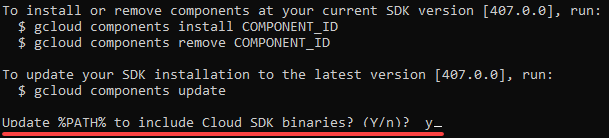
5. Now, input Y and press Enter to make the gcloud CLI available in all your command prompt windows. Or input N and press Enter to use this tool only in the current command prompt window.
Regardless of your choice, restarting your shell may be required.
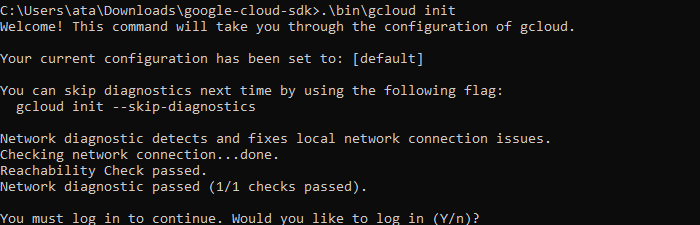
Finally, run the below command to initialize (gcloud init) the SDK and configure your credentials.
Repeat steps three to five of the “Configuring the gcloud CLI” section to complete configuring your credentials.
.\bin\gcloud initAt this point, you have now successfully installed the gcloud CLI on your machine.
Installing gcloud CLI Using Docker
Docker is a containerization platform that can package and deploy applications. Docker is an excellent tool for developers who want to try out new technologies without impacting their local development environment.
Google provides a Docker image that contains the gcloud CLI, updated weekly with the latest version of the gcloud CLI.
To install gcloud CLI using Docker:
1. Run the below docker pull command in PowerShell to pull and install the latest version of the gcloud CLI Docker image.
docker pull gcr.io/google.com/cloudsdktool/google-cloud-cli:latest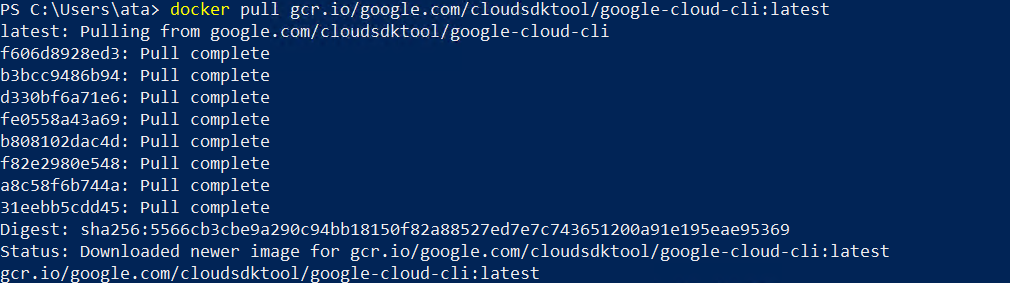
Alternatively, check the list of available gcloud CLI Docker images, and run the below commands to pull the corresponding image from GCR. In this example, the below command installs the gcloud CLI version 370.0.0.
docker pull gcr.io/google.com/cloudsdktool/google-cloud-cli:370.0.0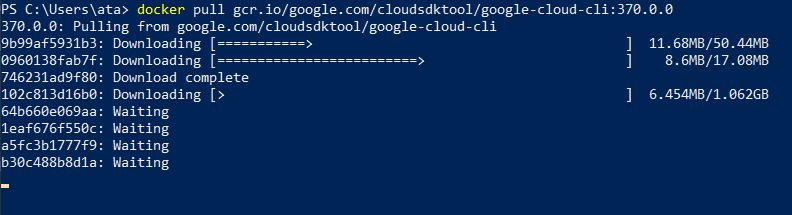
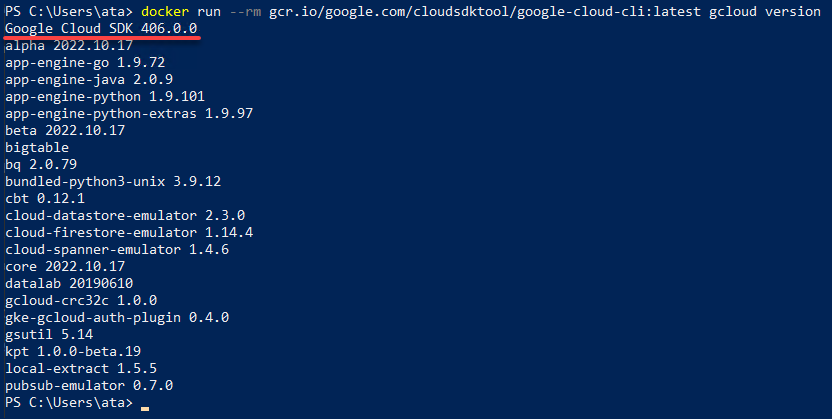
2. Next, run the following docker run command to verify the gcloud CLI installation. This command runs a container using the gcloud CLI Docker image and prints the version of the gcloud CLI inside the container.
Perhaps you installed a specific version of gcloud CLI. In that case, run the same command below but ensure you change the latest tag to the actual version of the gcloud CLI you installed (i.e., 370.0.0).
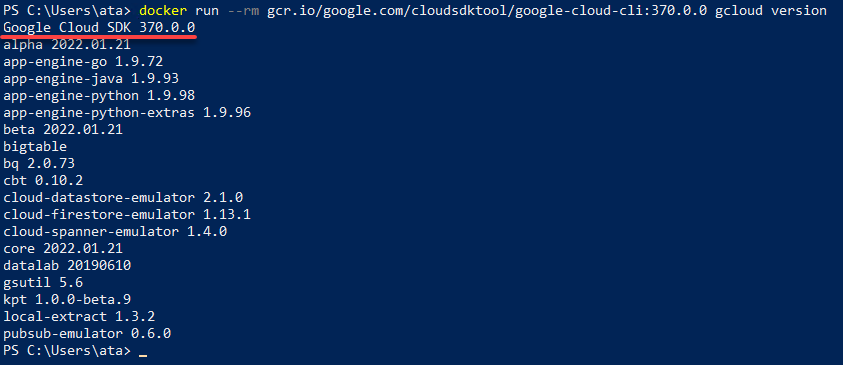
docker run --rm gcr.io/google.com/cloudsdktool/google-cloud-cli:latest gcloud versionAs you can see below, the latest version of the gcloud SDK and CLI is printed. But note that your version may be different as the image updates.
Below, you can confirm the installed specific version of gcloud CLI.
3. Run the below command to initialize the SDK and configure your credentials.
Your credentials will be saved in the gcloud-config container, which you can use in future sessions.
docker run -ti --name gcloud-config gcr.io/google.com/cloudsdktool/google-cloud-cli gcloud auth login4. Lastly, follow the steps of the “Configuring the gcloud CLI” section to configure your credentials.
Managing gcloud Components
Now you have the gcloud CLI installed on your machine, explore some examples of using this tool and managing your Google Cloud.
One of the essential features of the gcloud CLI is the ability to manage Cloud SDK components. These components are individual tools and libraries that make up the Cloud SDK.
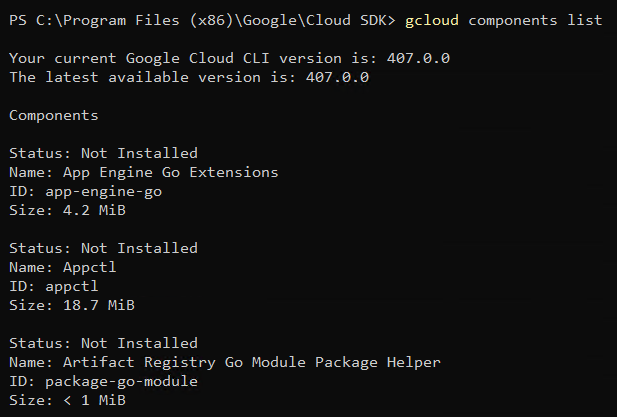
1. Run the below gcloud command in the command prompt window to list all available components and their version numbers.
gcloud components listPick an ID of the component you want to install.
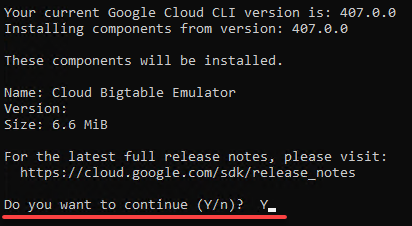
2. Next, run the below command to download and install a new component. This tutorial’s choice is the Cloud Bigtable Emulator with the component ID bigtable.
gcloud components install bigtableInput Y and hit Enter to continue.
3. Once installed, run the following command to update all installed components to their latest version.
gcloud components update
4. Now, run the below command to remove an unneeded component. In this example, the below command removes the Google Cloud CRC32C Hash Tool component (gcloud-crc32c).
gcloud components remove gcloud-crc32c
Creating a Virtual Machine Instance with gcloud CLI
Whether you wish to make a simple test environment to avoid causing harm to your computer or set up your own server, a virtual machine (VM) will do the trick. Luckily, one of the most important tasks you can do with the gcloud CLI is to create a new VM instance.
To create a VM with gcloud CLI:
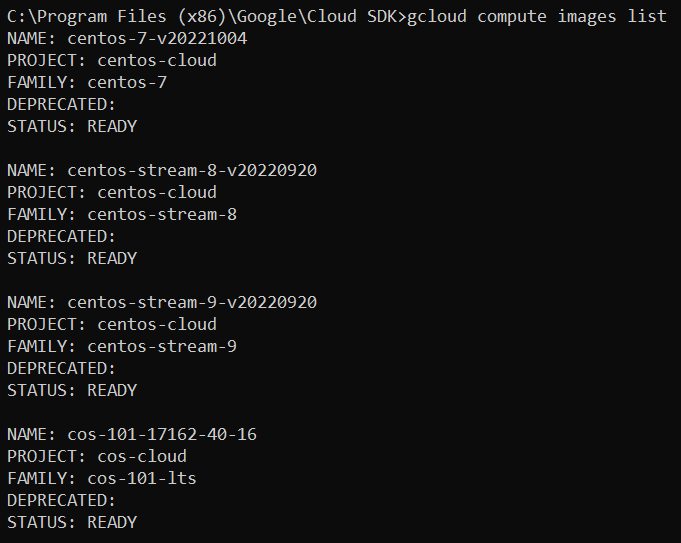
1. Run the below command to list all public compute images available.
gcloud compute images listNote the image family and project for the image you want to use.
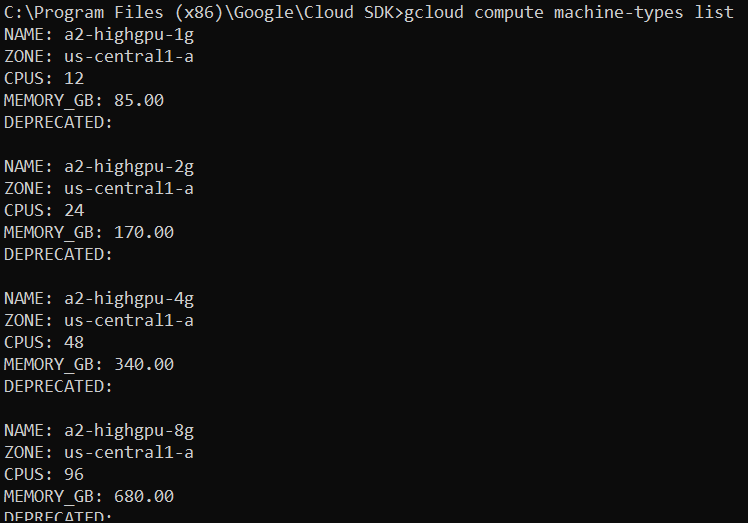
2. Next, run the below command to list all machine types available in your region and the number of CPUs and memory for each type.
gcloud compute machine-types listTake note of the machine type’s name you want to use.
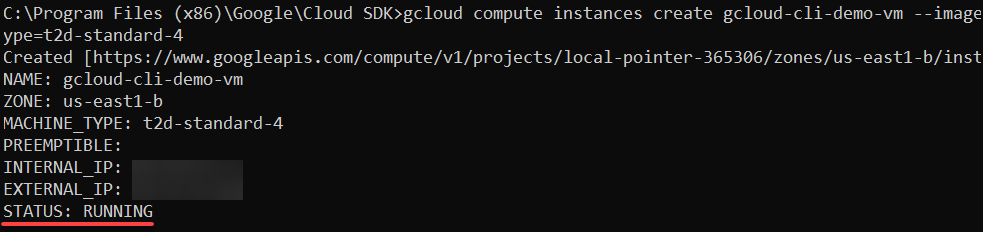
3. Now, run the following command below to create a new VM instance (compute instance) called gcloud-cli-demo-vm against the details you noted in steps one and two.
| Image Family | –image-family=centos-7 |
| Image Project | –image-project=centos-cloud |
| Machine Type | –machine-type=t2d-standard-4 |
gcloud compute instances create gcloud-cli-demo-vm --image-family=centos-7 --image-project=centos-cloud --machine-type=t2d-standard-4The VM instance creation takes a few minutes to complete. Once created, you can see the instance’s status (running), as shown below.
4. Now, run the below gcloud compute command to describe the VM instance (gcloud-cli-demo-vm) in more detail.
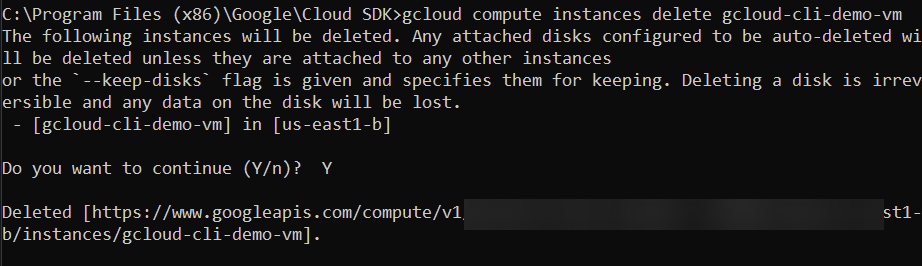
gcloud compute instances describe gcloud-cli-demo-vmFinally, run the following command to delete the VM instance (gcloud-cli-demo-vm).
gcloud compute instances delete gcloud-cli-demo-vmInput Y and hit Enter to confirm deleting the specified VM instance.
Conclusion
Managing Google Cloud resources can be challenging, especially when you have too many. The good thing is that, in this tutorial, you learned how powerful gcloud CLI is in managing your resources. You learned how to install and configure the gcloud CLI and use it to manage components and create VM instances in Google Cloud.
This tutorial only covered the tip of the iceberg. The gcloud CLI comes with many more features. With this newfound knowledge, why not up the ante and explore some of these features on your own? Perhaps use the gcloud CLI to manage storage buckets, set IAM roles for users, and even deploy applications? The sky is the limit!


