


In the vast expanse of the internet, your data is the treasure that pirates are ceaselessly seeking. With every click and keystroke, you walk the plank over treacherous waters, where one slip-up could send your private information plummeting into the wrong hands. Well, not when you have the Bitwarden password manager—the stalwart guardian of your digital life.
This tutorial will guide you through the Bitwarden password manager installation process on Ubuntu Linux. By the end of this tutorial, you’ll have a reliable and secure tool to manage all your login credentials, passwords, credit card information, and other sensitive data.
Set sail on this cybersecurity journey and anchor your data in the safe harbor of Bitwarden!
Prerequisites
Before you experience the power and convenience of the Bitwarden password manager, ensure you have the following in place:
- An Ubuntu server (version 20.04 or newer) – This tutorial uses Ubuntu 22.04, but the steps should be similar for other versions.
- A fully qualified domain name (FQDN) – Your server’s public IP address must be pointed to your FQDN to establish a secure HTTPS connection to Bitwarden.
- Docker and Docker-Compose since you’ll install Bitwarden as a Docker container.
Creating a Dedicated User Account for Bitwarden
Venturing into the world of digital security with Bitwarden is comparable to navigating the vast and unpredictable ocean waters. Just as a sailor wouldn’t set sail without confirming their ship is thoroughly secured, one must approach cybersecurity with equal vigilance.
Establishing a dedicated user account specifically for Bitwarden on an Ubuntu system is a strategic move. This step is wise and crucial for safeguarding your digital treasures.
To create a dedicated user for Bitwarden, follow these steps:
1. Open a terminal and execute the useradd command below to create a user account with the necessary permissions to interact with Docker as follows:
-G docker,sudo– Adds the user account (bitwarden) to two secondary groups:dockerandsudo.s /bin/bash– Sets/bin/bashas the default shell for the new user account.-m -d /opt/bitwarden bitwarden– Sets the home directory for the new user to/opt/bitwarden.
useradd -G docker,sudo -s /bin/bash -m -d /opt/bitwarden bitwardenBy assigning only the necessary permissions to the dedicated user, you ensure that Bitwarden operates within a confined environment. If Bitwarden is compromised, the attacker will only have limited access to the Bitwarden user’s scope rather than complete system access.
2. Next, run the following passwd command to set a password for the bitwarden user.
passwd bitwarden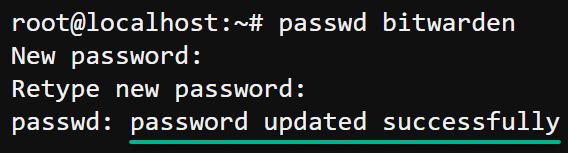
3. Once the user is created, run the below chown command (has no output) to give the bitwarden user ownership of the /opt/bitwarden directory.
chown -R bitwarden: /opt/bitwarden4. Lastly, run each command below to verify the user account (bitwarden) has been created successfully.
# Displays the user ID (UID), group ID (GID), and the groups the user is a part of.
id bitwarden
# Verifies the user's home directory (/opt/bitwarden) and default shell (/bin/bash).
grep bitwarden /etc/passwd
Requesting a Self-Hosted Bitwarden Installation ID and Key
With a dedicated Bitwarden user account created, you must acquire the unique identifiers—a self-hosted Bitwarden installation ID and key. These identifiers are required to initiate your self-hosted Bitwarden instance, so keep them safe.
To request your self-hosted ID and key, carry out the following:
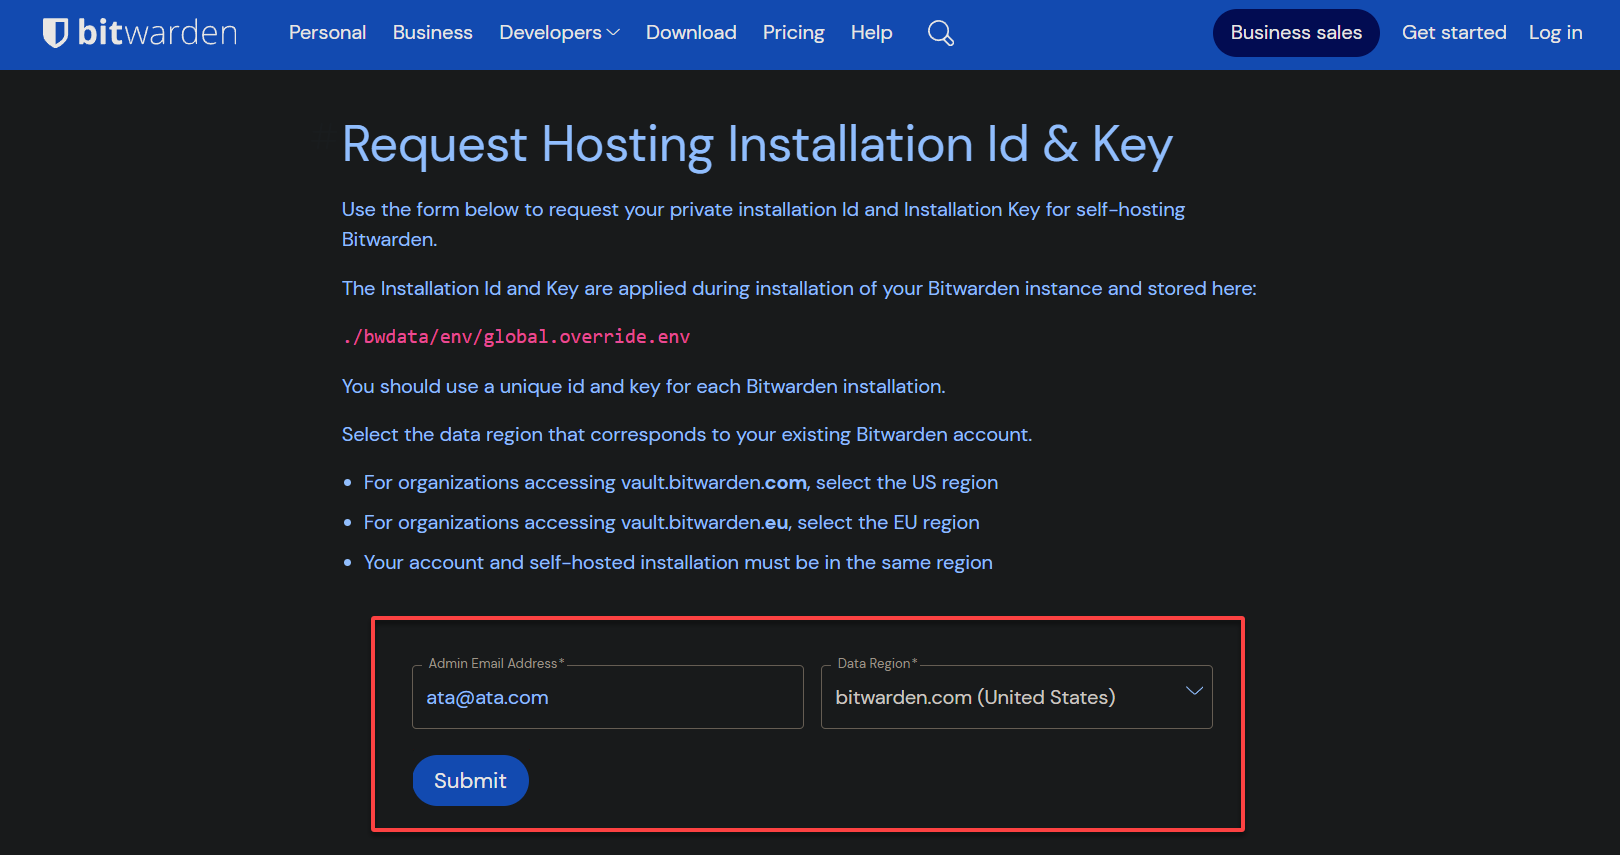
1. Open your favorite web browser and visit the official Bitwarden request form.
2. On the request form, provide your email address, select a region from the dropdown field, and click Submit.
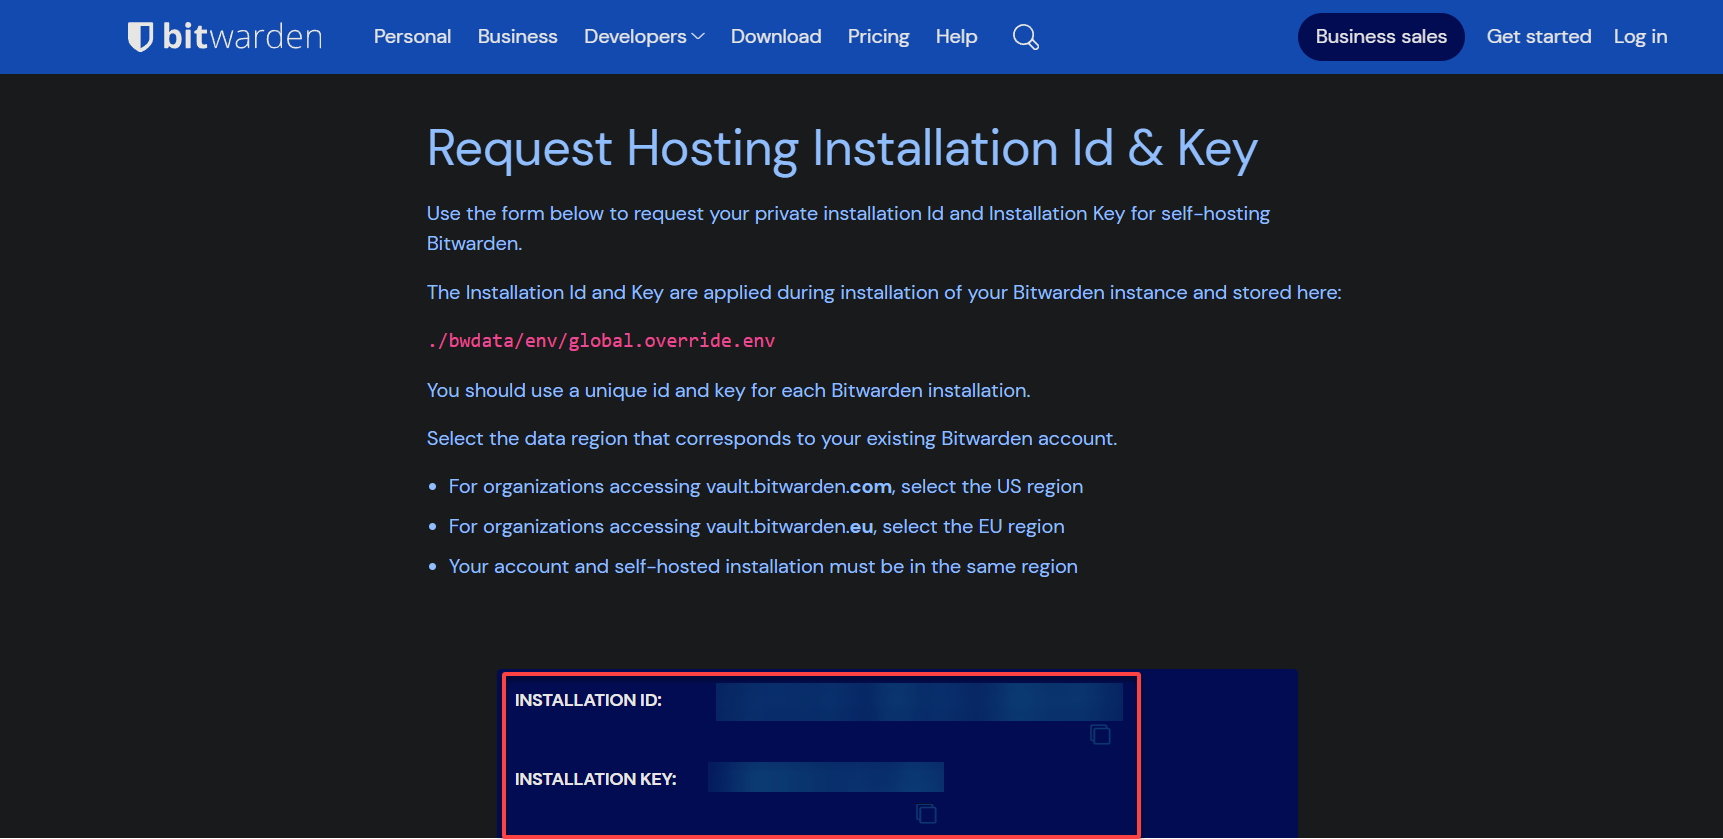
3. Now, copy the INSTALLATION ID and KEY that appears on the next page, as shown below.
Save these values in a safe place, as you’ll need these values in the later steps.
Installing the Bitwarden Password Manager via Shell Script
Having secured your self-hosted Bitwarden installation ID and key, it’s time to fortify your Linux password management system. You’ll install the Bitwarden password manager on your system via the bitwarden.sh shell script. Think of this script as a friendly guide leading you through the rigors of installation.
To install the Bitwarden password manager, perform the following:
1. Run the following command to switch (su) to the dedicated user account (bitwarden) you created for Bitwarden.
su - bitwarden
2. Next, navigate to the official Bitwarden GitHub release page and copy the latest bitwarden.sh download link. At the time of this writing, the latest version is 2024.1.1.
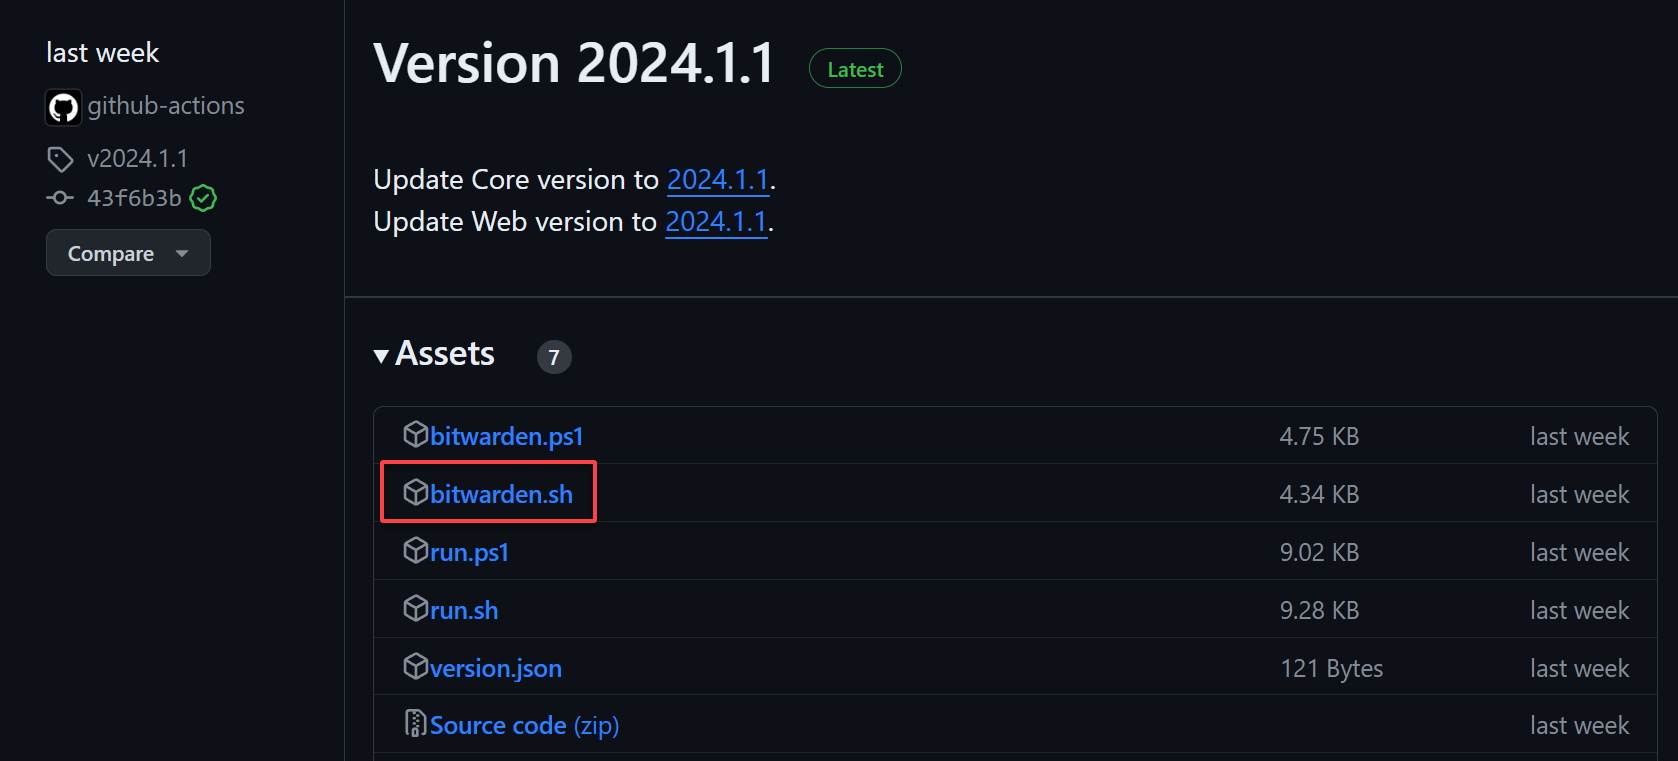
3. Execute the curl command below to download the bitwarden.sh script with its name intact.
Ensure you substitute the version (v2024.1.1) in the URL with the latest one.
curl -Lo bitwarden.sh https://github.com/bitwarden/self-host/releases/download/v2024.1.1/bitwarden.sh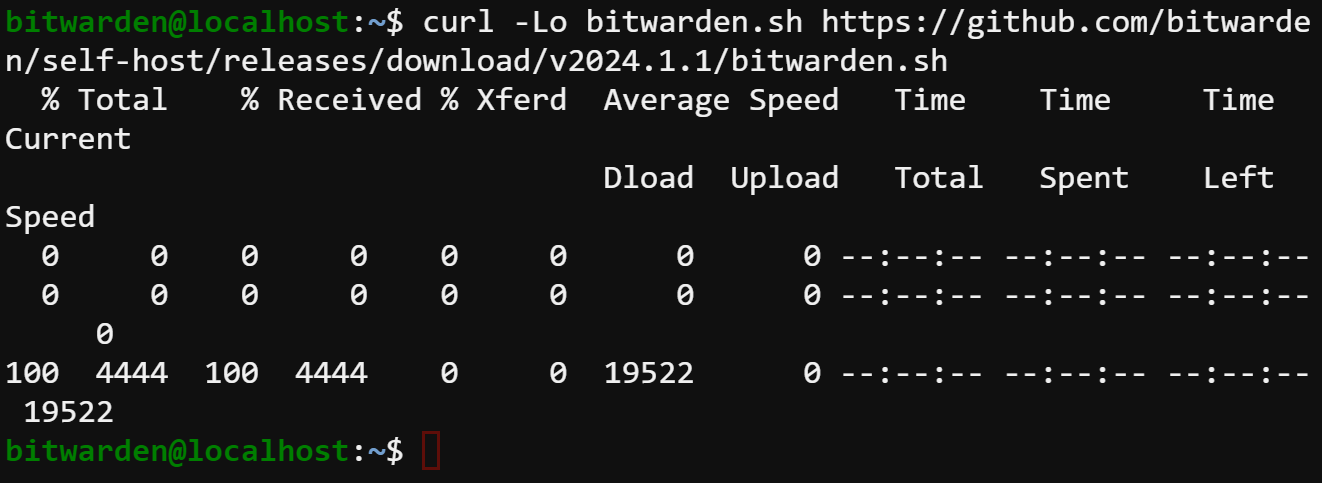
4. Once downloaded, run the below chmod command, which produces no output but makes the bitwarden.sh script executable.
curl -Lo bitwarden.sh https://github.com/bitwarden/self-host/releases/download/v2024.1.1/bitwarden.sh5. Now, execute the following command to run the bitwarden.sh script with the install option to kickstart the installation process.
sudo ./bitwarden.sh install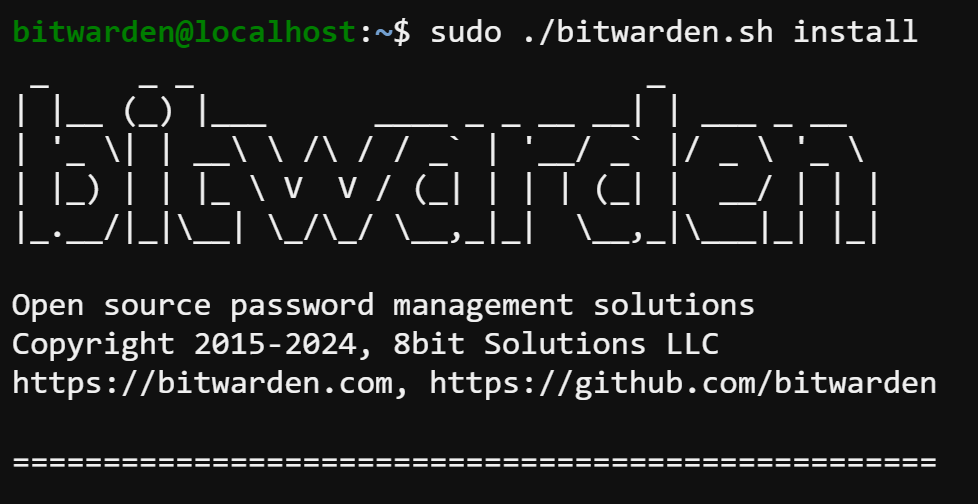
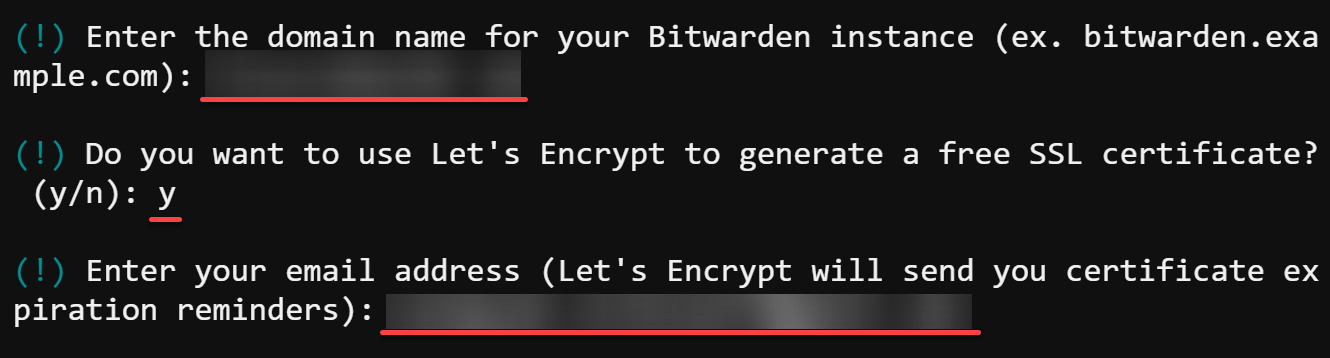
6. Respond to the prompts accordingly to configure your Bitwarden installation:
- Enter your FQDN (domain name) to ensure secure access to Bitwarden (i.e., bitwarden.example.com).
- Input y to use Let’s Encrypt for a complimentary SSL certificate, fortifying your Bitwarden instance with HTTPS.
- Email your email address to associate with your Let’s Encrypt SSL certificate.
- Press Enter to select the default name (vault) for your Bitwarden database.

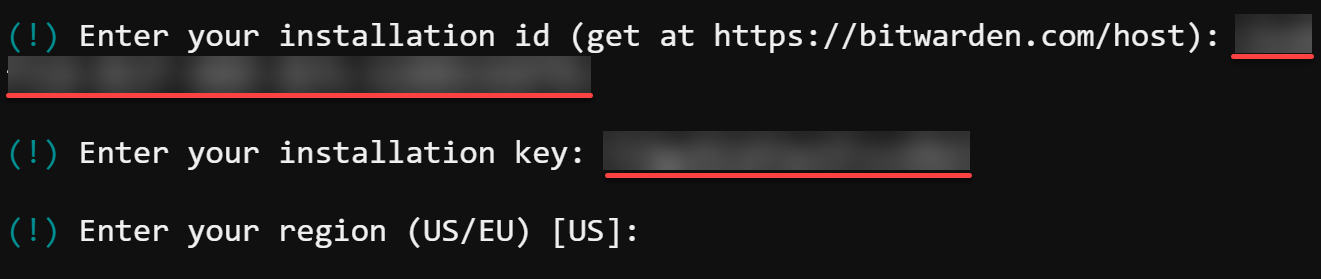
- Input both the self-hosted Bitwarden installation ID and key you previously requested.
- Hit Enter to accept the default region (US).
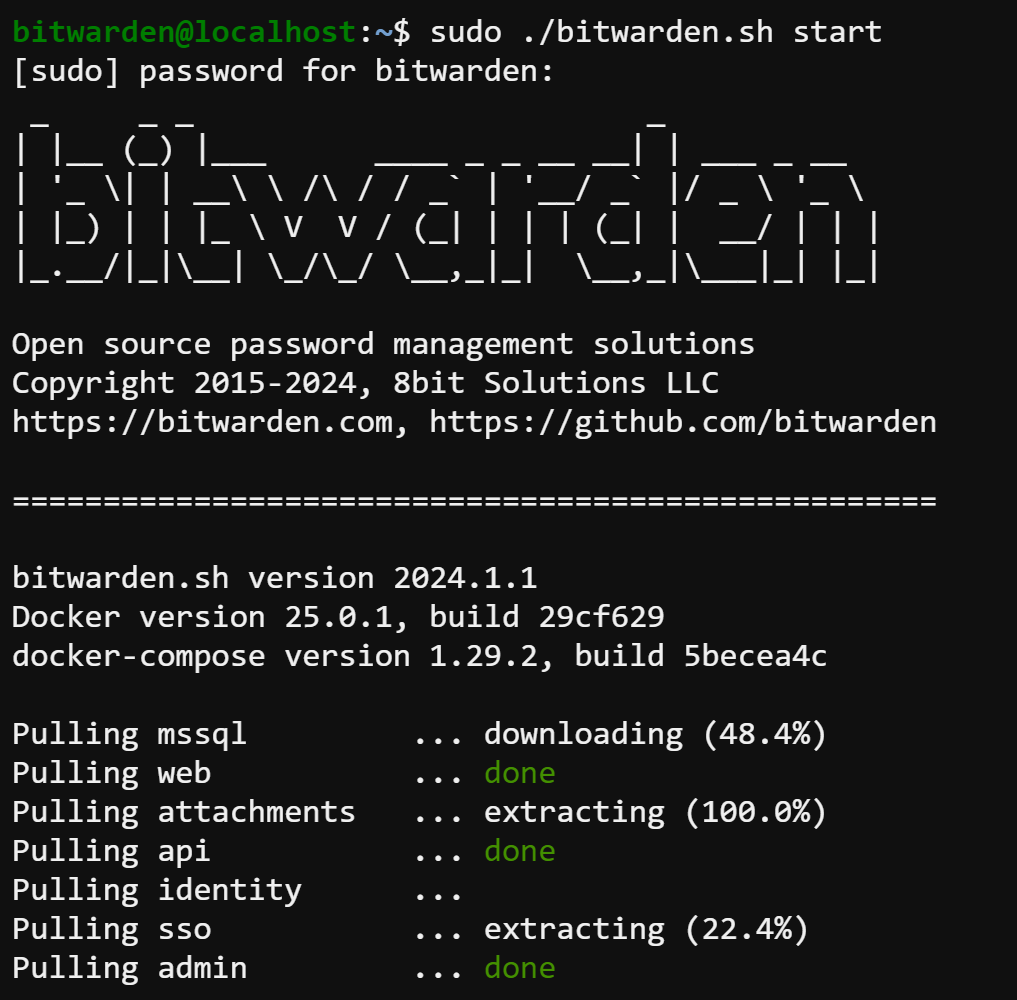
7. Once you’ve configured Bitwarden, run the below command to initiate the Bitwarden server by executing (start) the bitwarden.sh script.
The start argument tells the script to boot up all Docker containers that comprise the Bitwarden service.
sudo ./bitwarden.sh startProvide the user password when prompted to continue executing the bitwarden.sh script.
8. Lastly, run the following docker ps command to verify all Bitwarden containers are running.
sudo docker ps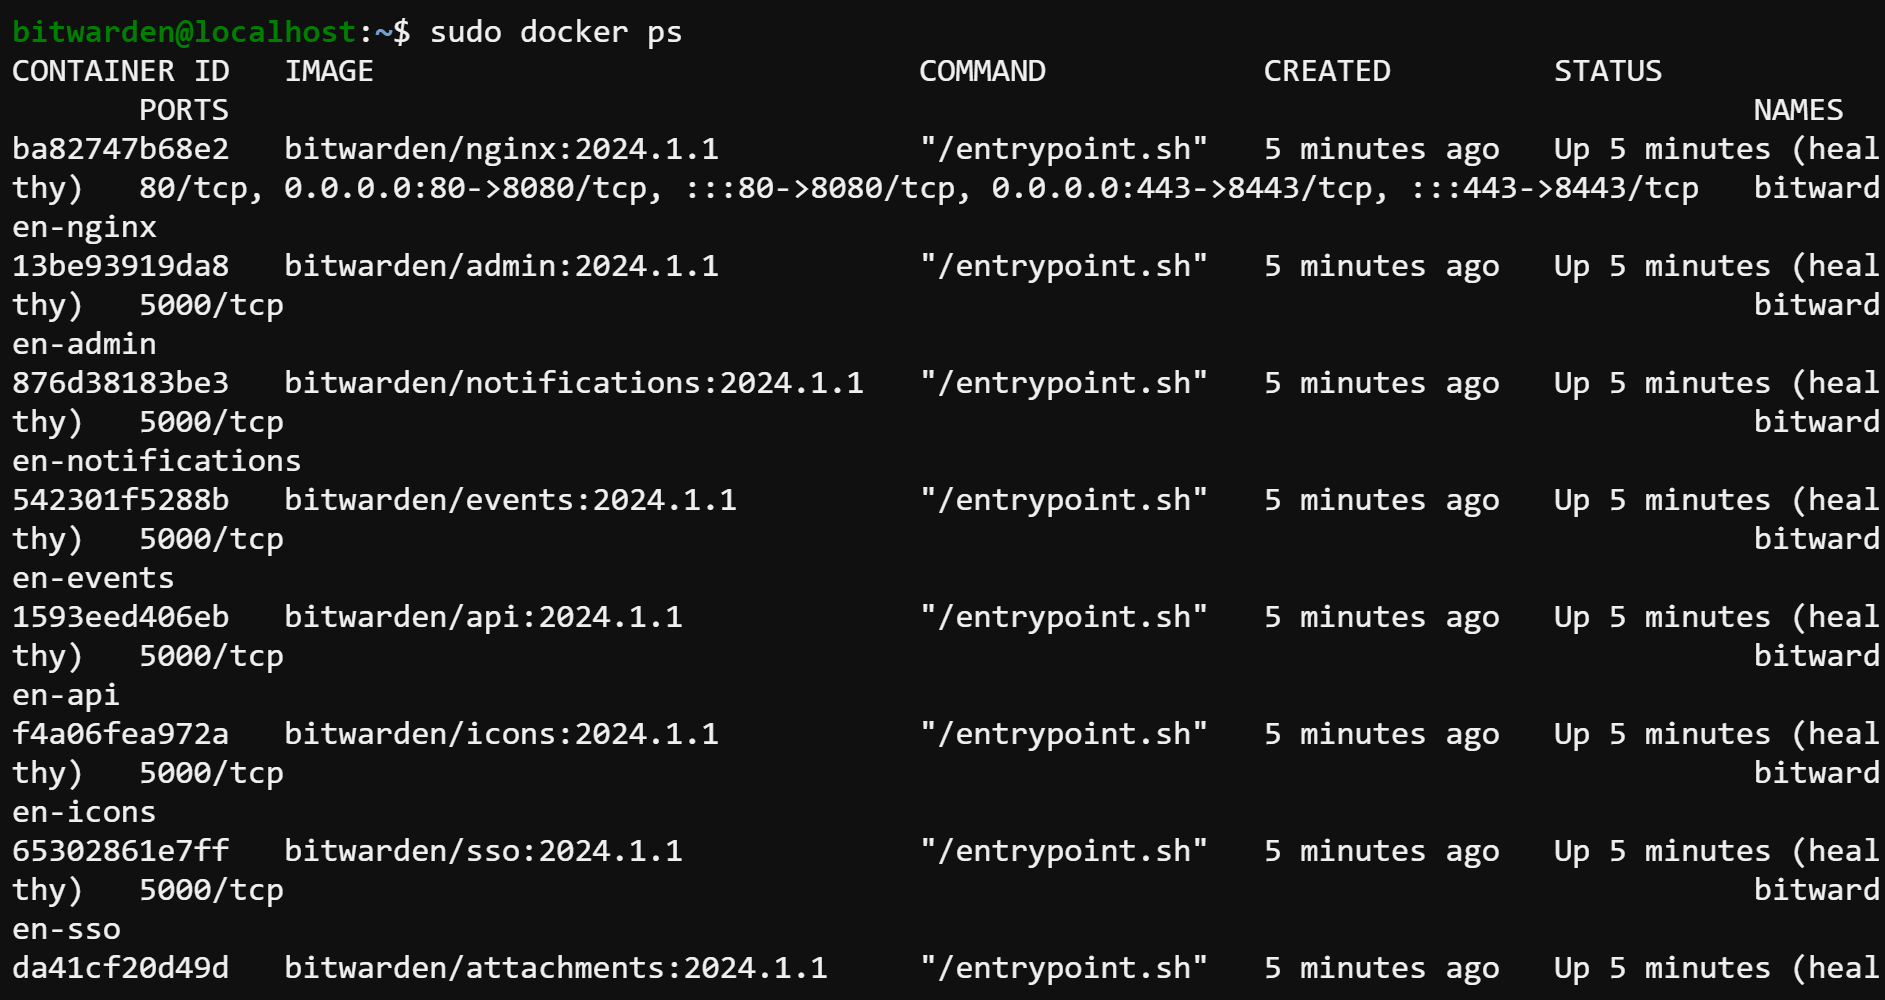
Accessing Bitwarden’s Web User Interface
As you approach the final stretch of the installation journey, envision the Bitwarden web user interface (UI) as a pristine island waiting to be explored. Witness firsthand the culmination of your installation efforts by accessing Bitwarden’s web interface.
To access the Bitwarden web UI, proceed with these steps:
1. On a new browser tab, navigate to the domain name you chose during installation (i.e., bitwarden.example.com).
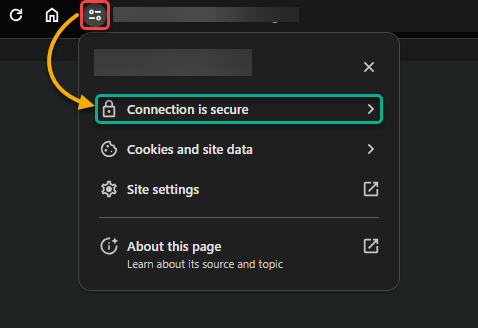
2. Next, click the view site information (or padlock) icon on the address bar to confirm your connection is encrypted and secure, as indicated below.
Imagine the peace of mind knowing your sensitive information remains private.
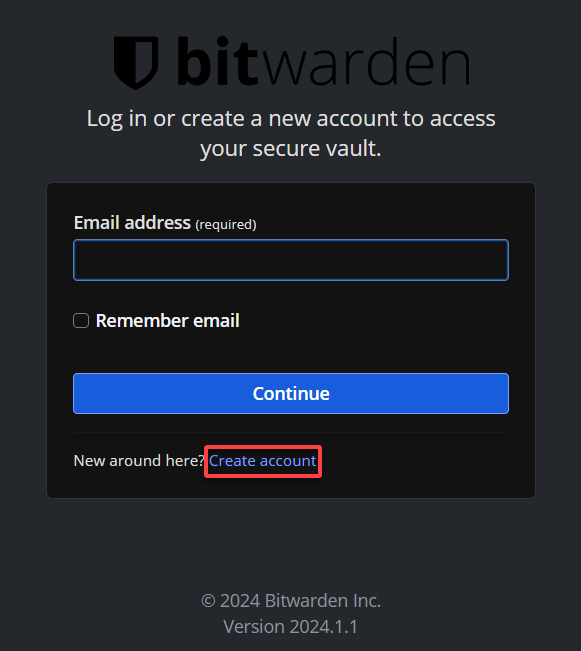
3. On the login page, click Create Account, register for a new Bitwarden account with your chosen email address and a master password, and log in.
Choose a robust but memorable password and keep it in a safe place. Forget this master password, and you’ll permanently lose access to your vault.
💡 Important: Your master password is the keystone of your Bitwarden vault’s security, the sole key to decrypting your stored data.
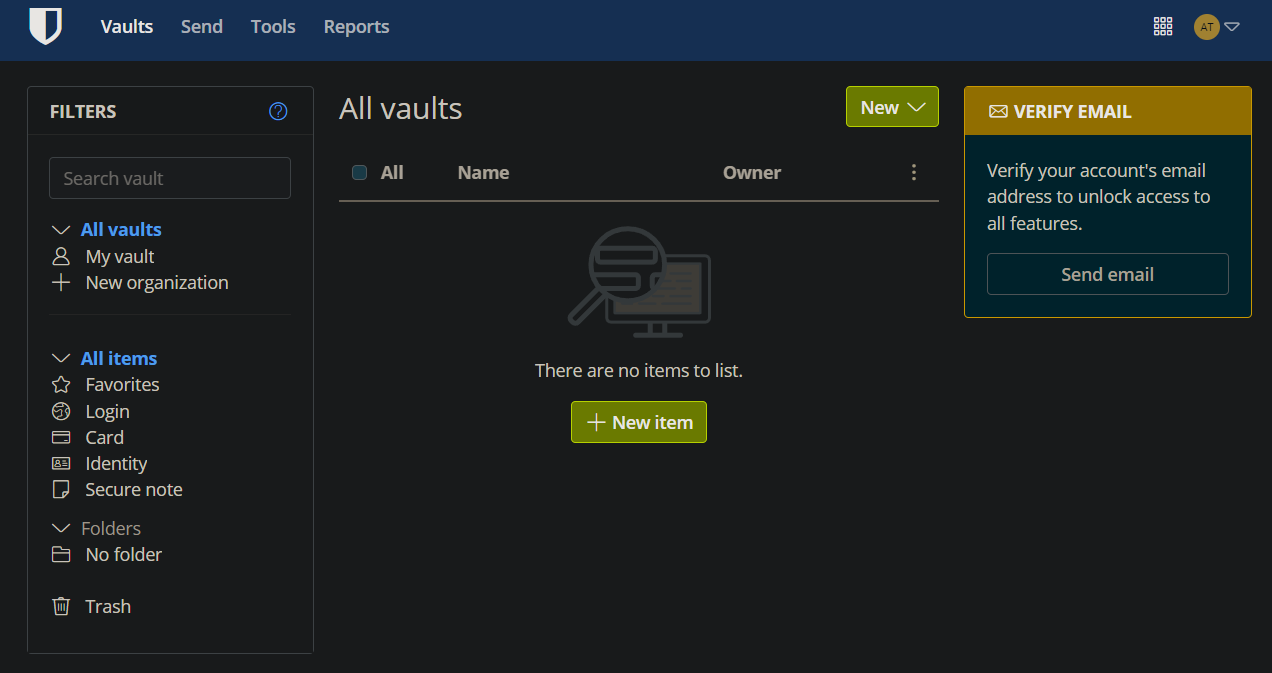
The Bitwarden web interface welcomes you aboard upon successful login, as shown below.
Now, you’re ready to begin the rewarding task of managing your passwords and sensitive information with ease and security.
Storing Digital Riches in Your Bitwarden Vault
Now that you’ve entered your Bitwarden vault, you’re set to securely store your digital valuables. Passwords, credit card details, secure notes, or sensitive data—all find a haven within.
To store data securely in your Bitwarden vault, proceed with the following:
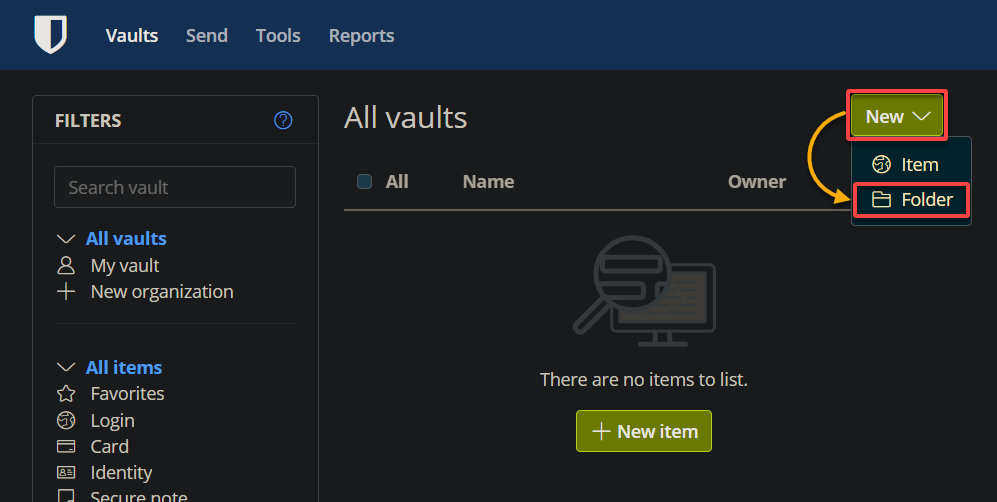
1. On the Vaults page, click the New dropdown and choose Folder to create a compartment within your vault for better organization.
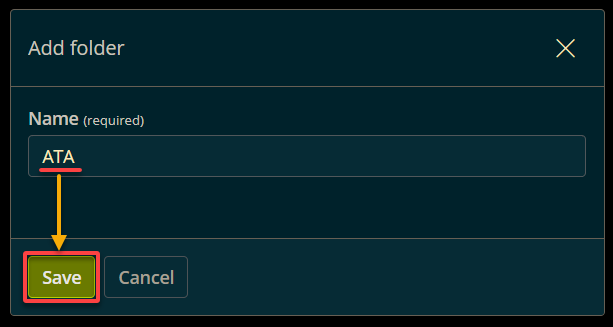
2. Next, assign a meaningful name to your folder (i.e., ATA) and click Save to confirm.
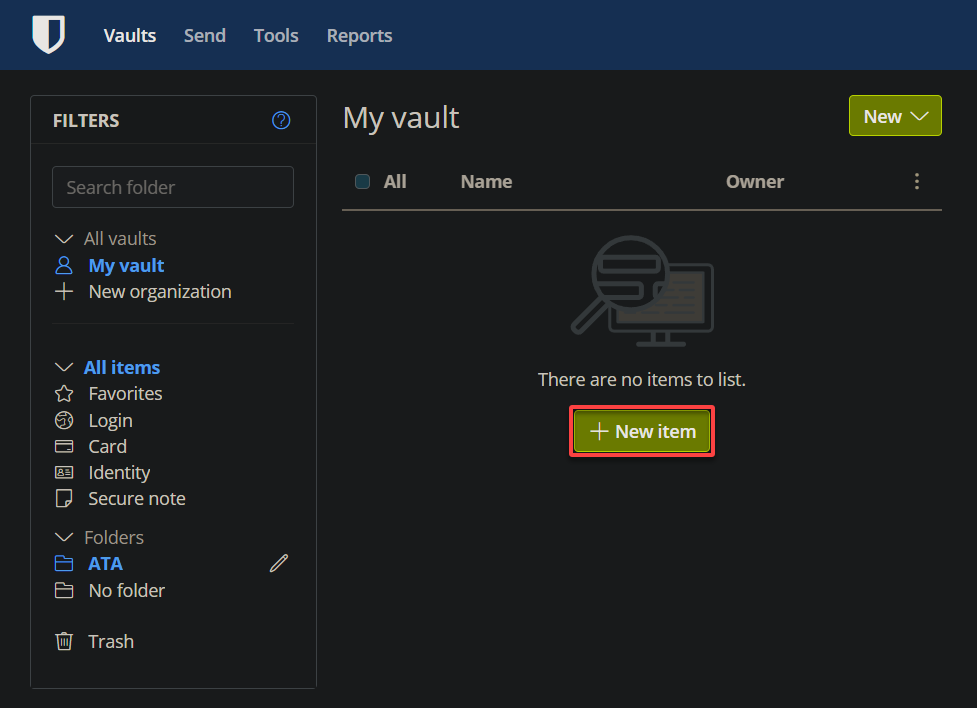
3. Within the new folder (ATA), click the New item button at the center to initiate adding a new item.
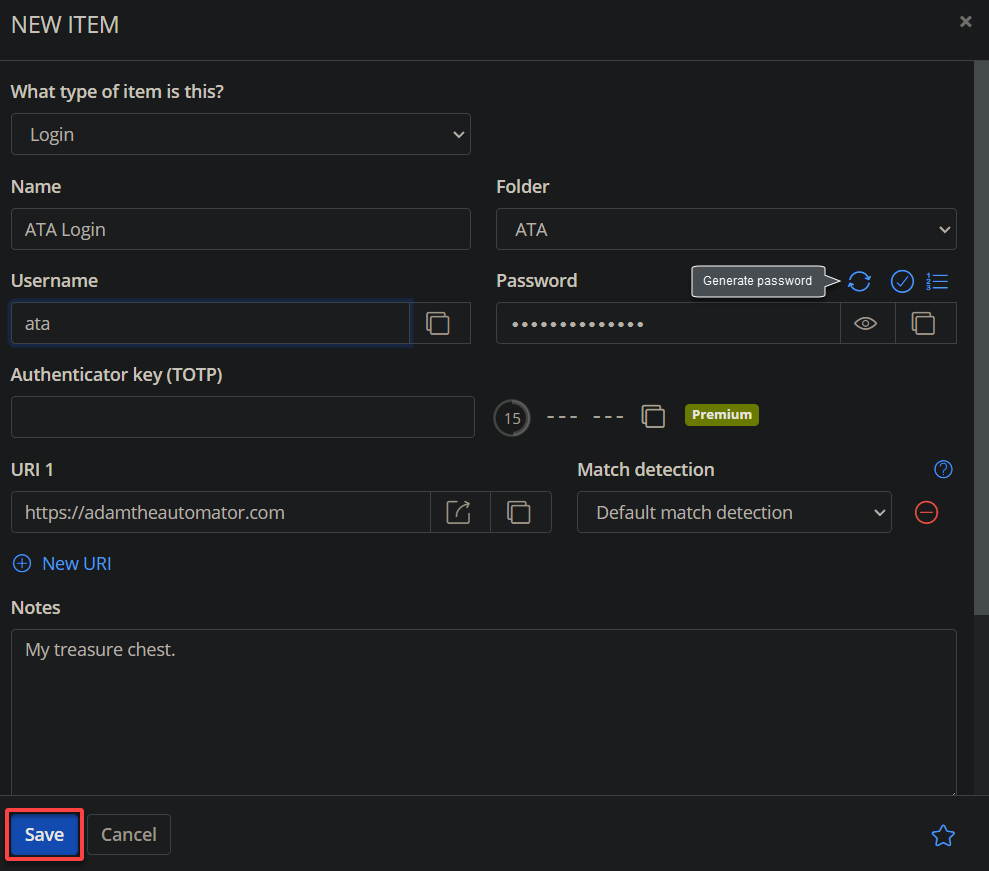
4. Now, fill in the details of your new item as follows:
- What type of item is this? – Select an item type from the following as you prefer:
| Item Type | Purpose |
|---|---|
| Login | Represents a set of credentials used to access a website or online service. This feature spares users the need to input or remember them for each login manually. |
| Card | Lets you store credit or debit card information securely for online purchases or form filling. |
| Identity | An identity item contains personal information and other details. Bitwarden lets you add multiple identity items for quick form auto-filling. |
| Secure note | Secure notes store confidential or sensitive information not fitting into other categories. Encrypted, they offer organized management of sensitive data. |
But this tutorial’s choice is adding a Login item for quick account access.
- Name – Provide the item with a label (e.g., ATA Login).
- Username and Password – Input the username or email with this login and a strong password (or click the generate password icon).
- Folder – Confirm the folder (e.g., ATA) where this item will reside.
- URI – Enter the website’s URL (e.g., https://adamtheautomator.com) associated with the login credentials you’re storing.
- Notes – Jot down any auxiliary information, like security questions and their answers.
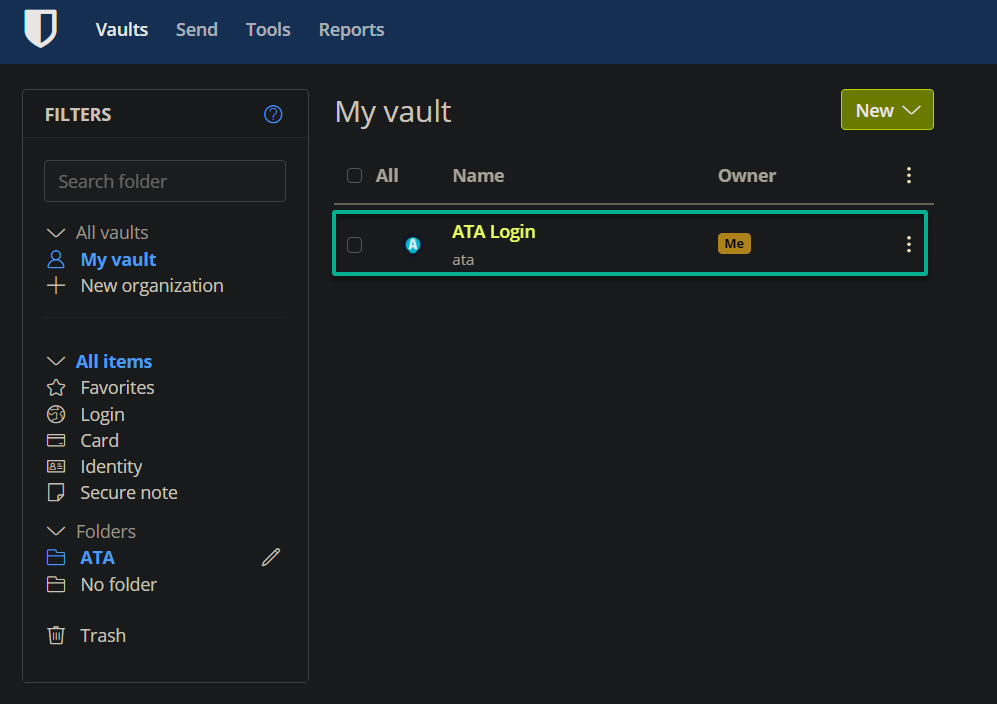
Keep other settings as is and click Save to save your changes.
Your login details are now securely lodged within your Bitwarden vault.
Conclusion
As the captain of your digital ship, you are now well-equipped to navigate the treacherous waters of online security. You’ve installed Bitwarden, ensuring all your passwords and sensitive information are secure against cyber threats. This journey may be never-ending, but with Bitwarden as your trusted ally, there’s no treasure too valuable to secure.
As you chart your course forward, delve into the additional capabilities that Bitwarden offers. Embrace the convenience of securely sharing credentials with trusted members or team collaborators.
Moreover, why not revel in the freedom to access your vault from anywhere with the Bitwarden mobile app? Set sail with confidence, knowing your cybersecurity is shipshape!


