

Are you looking to get the most out of your Raspberry Pi? Dual-booting is a great way to run multiple operating systems on your device without sacrificing storage space or performance. But how exactly? With the help of BerryBoot, the dual-booting process has never been easier!
This tutorial will walk you through the steps to set up dual-booting on your Raspberry Pi. Let BerryBoot be the solution, whether for compatibility purposes, or you simply want to have fun and experiment with different OSes.
Stay tuned and have the freedom to switch between different OSes!
Prerequisites
This tutorial comprises hands-on demonstrations. To follow along, be sure you have the following:
- A Raspberry Pi 3, 4, or Raspberry Pi 400 with at least 4GB of RAM available – This tutorial uses Raspberry Pi 4.
At this time, BerryBoot may not be compatible with Raspberry Pi 4B.
- An SD card or SSD USB (formatted as FAT32) with at least 8GB of free space.
The more space you have available, the more operating systems you can install. But remember, Raspberry Pi will not recognize other file systems like NTFS or exFAT.
- A local Windows 10 machine or later to prepare your SD card.
- A stable internet connection.
Downloading and Extracting BerryBoot
Running multiple OSes on the same machine carries many advantages, like being able to run an older OS for software compatibility issues. It helps you manage multiple OSes in your Raspberry Pi.
But first, you must download and extract BerryBoot onto your SD card or SSD USB. Raspberry Pi uses these storage devices as its primary means of booting and running your desired OS.
To download and extract, follow the steps:
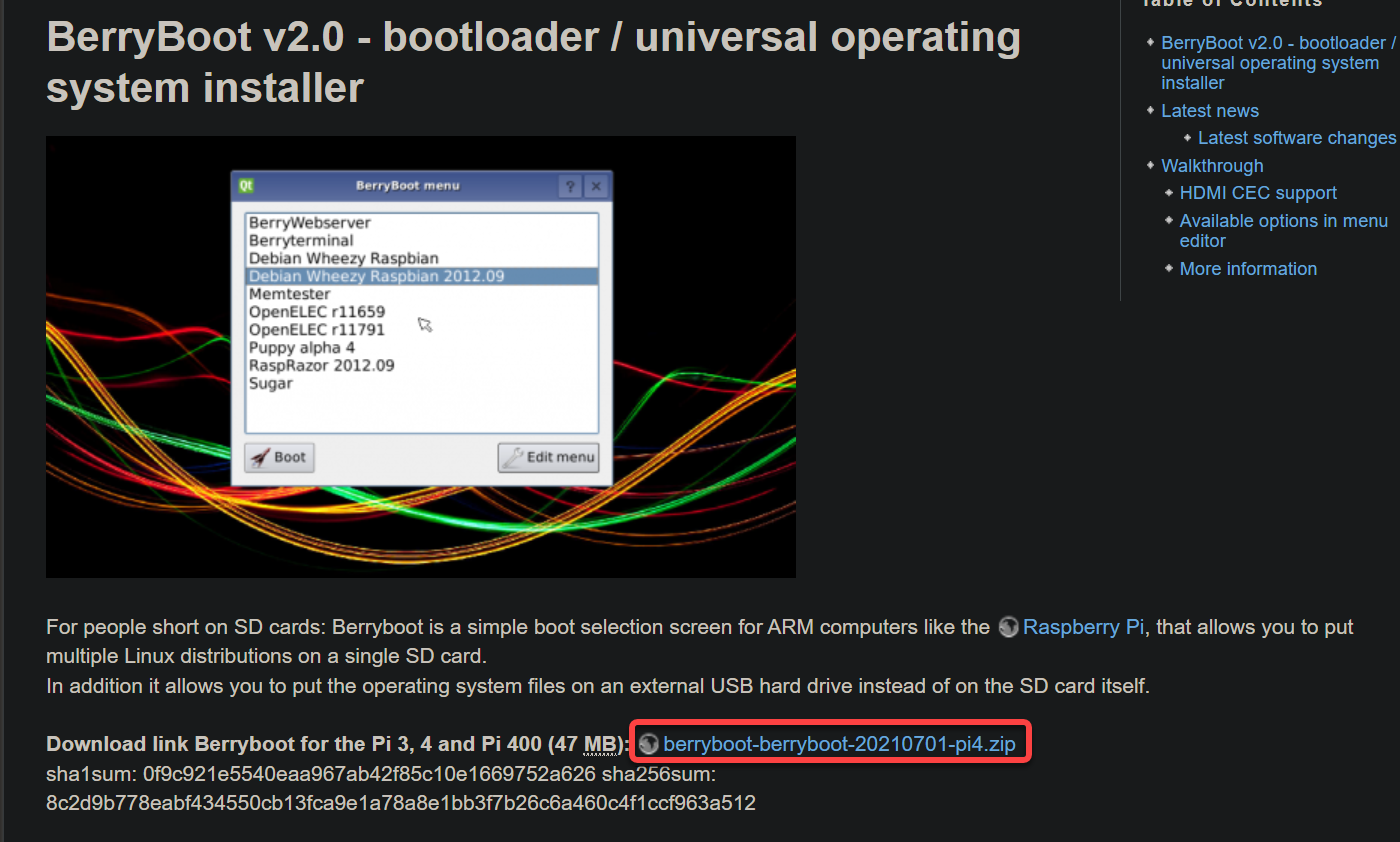
1. Open your f1vorite web browser, and navigate to the official BerryBoot download page
2. Next, click on the download link, as highlighted below, to download the zip file to your local machine.
3. Once the download completes, open PowerShell as administrator and navigate to the folder where you downloaded the ZIP file.
4. Now, run the following Get-FileHash command to get the ZIP file’s hash. Replace berryboot-20210701-pi4.zip with your actual ZIP file’s name.
This command generates a unique sha256sum hash value for the downloaded file, which you can use to verify the file’s integrity.
Get-FileHash berryboot-20210701-pi4.zip | Format-ListNote down the hash from the output, as shown below.

5. Return to its download page, and compare the hash value below to the one you copied in step four. Doing so ensures the authenticity and integrity of the software you downloaded.
If the two hash values match, you can proceed with the installation process. Otherwise, delete the downloaded ZIP file and download it again from the official download page.

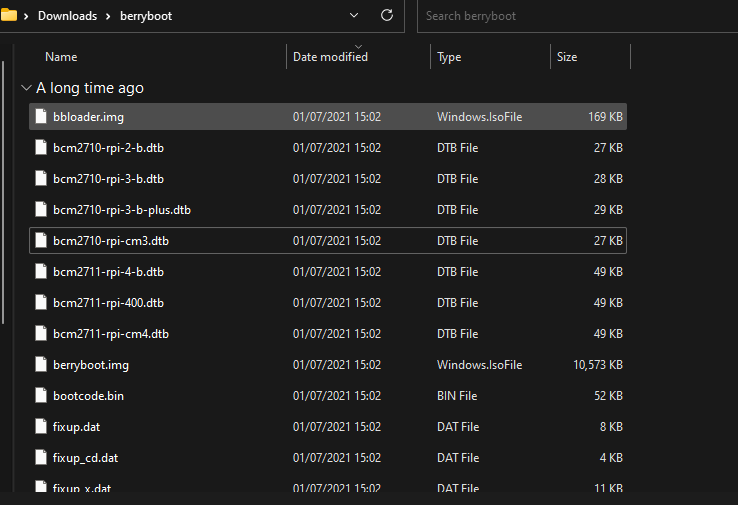
6. Once the hash values are matched, use a tool like 7-Zip or WinZip to extract the files to a folder named berryboot to keep things organized. This folder contains the necessary files for installing and using BerryBoot on your Raspberry Pi.
7. Lastly, copy all the files in the extracted berryboot folder into the root folder of your SD card or SSD.
BerryBoot requires all its necessary files to be located in the root folder to boot up correctly on your Raspberry Pi. If not, or if you copy them to a different location on your storage device, BerryBoot may fail to locate them during the boot process.
Configuring BerryBoot’s Settings
Extracting BerryBoot’s resource files is just the first step before you can set up dual-booting on your system. Configuring BerryBoot is crucial to ensure it works properly on your Raspberry Pi.
To configure BerryBoot on your system:
1. Insert the SD card or SSD USB with BerryBoot into your Raspberry Pi, power on your Raspberry Pi, and wait for the BerryBoot interface to load, which may take a few moments.
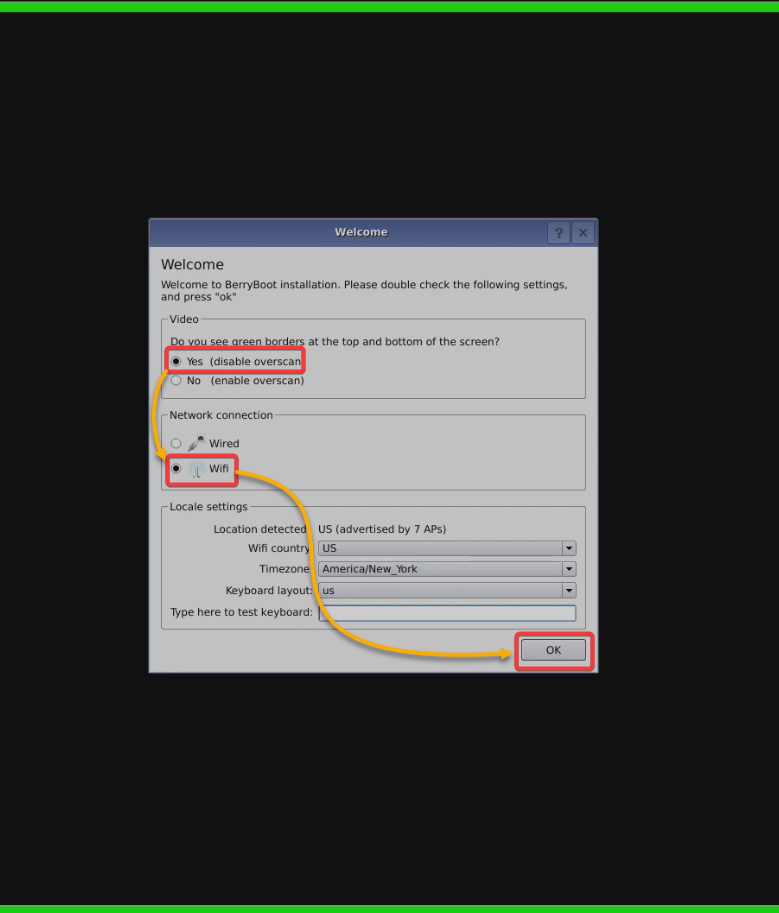
2. Configure the following settings in the Welcome screen that loads up:
- Video – If you can see green borders at the top and bottom of the screen, as shown below, select Yes to disable overscan. Otherwise, choose No.
Disabling overscan ensures your entire screen is displayed properly. Leaving the overscan option enabled, on the other hand, may crop the edges of your screen, which is common on older TVs, - Network connection – Select the Wired option if your Raspberry Pi is connected to the internet via an Ethernet cable. This option automatically configures your network connection. But if you are using Wi-Fi, select the Wifi option instead.
Keep other settings as is, and click OK to continue.
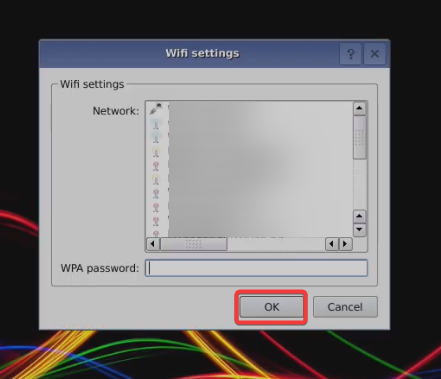
3. If you selected the Wifi option, select the network you want to connect to from the list that appears and click OK. But if you set the Wired option, jump to step four instead.
Remember to select a Wi-Fi network with a high data transfer rate. BerryBoot requires an active internet connection to download various OSes available for installation on your Raspberry Pi.
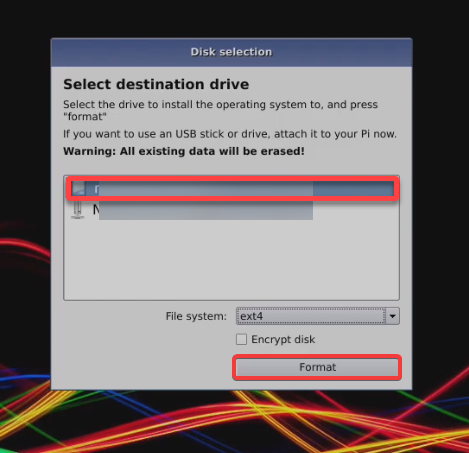
4. Now, select the disk where you want to install your OS, keep other settings as is, and click Format.
Make sure to choose the correct disk, as installing an OS on the wrong disk results in data loss.
5. Select an OS you wish to install from the list that appears and click OK to download and install the selected OS on your newly-formatted disk.
At the moment, you can only select one OS. But fear not, as you can choose more later.

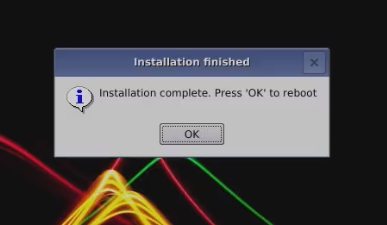
6. Now, click OK to reboot your Raspberry Pi once the installation completes.
Adding More Operating Systems
After booting up BerryBoot, rest assured you already have one OS installed. But since the goal is setting up dual-booting, how do you add more?
To add more OSes, follow these steps:
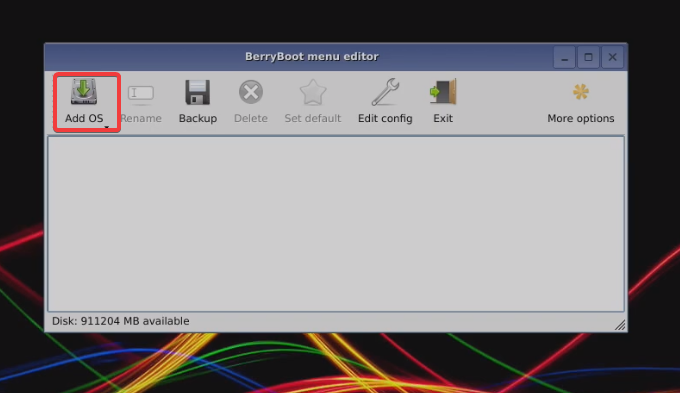
On the BerryBoot menu, click Edit menu to access the BerryBoot menu editor, where you can add, delete, and manage OSes (step two).
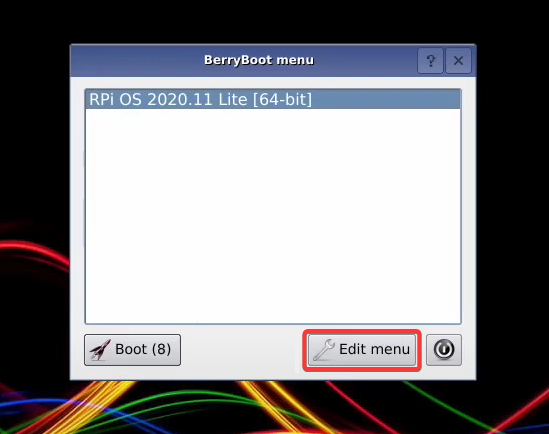
Now, click Add OS to add more OSes as you did in step five of the “Configuring BerryBoot’s Settings” section. This time, select as many OSes as you like.
Setting the Default Operating System
Typically, you would not want to boot into different OSes each time your Raspberry Pi boots up. No worries, though. At this point, you will be presented with a boot screen, which allows you to choose which OS to boot into.
But suppose you have an OS you mostly work in. If so, you can set a default OS to boot automatically within 10 seconds.
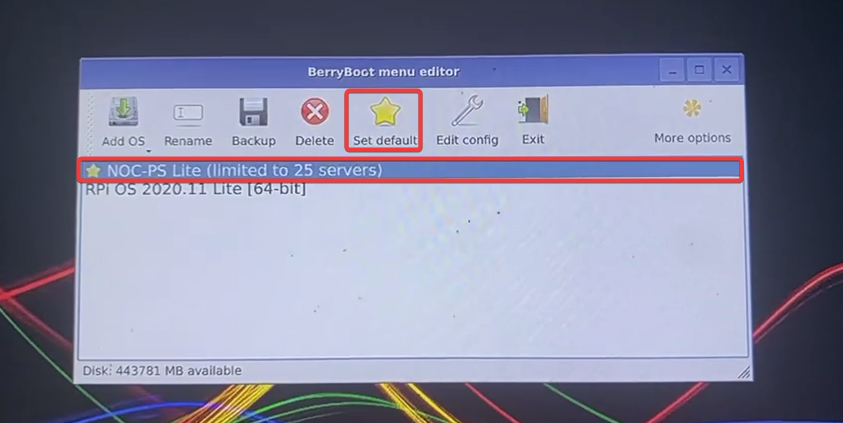
On the BerryBoot menu editor, select your preferred OS, and click Set default to set it as your default OS.
The image below shows that the NOC PS Lite has been set as the default OS. With this setting, each time your Raspberry Pi boots up, the NOC PS Lite OS loads automatically unless you boot into a different OS.
Conclusion
Setting up a dual boot with BerryBoot is a fantastic way to explore and experiment with different OSes on a single device, eliminating the hassle of swapping cards. And in this tutorial, you have learned to set up a dual boot on your Raspberry PI. But certainly, you can add more OSes, given that you have more space on your disk.
But at this point, you can now quickly switch between different OSs and enjoy the unique benefits of each. Now, why not take a step further and learn how to add your custom OSes to the BerryBoot menu for even more OS options?


