


Are you tired of slow, insecure VPNs in your Raspberry PI that take forever to set up and leave your data exposed? Look no further, and start setting up WireGuard Raspberry Pi!
In this tutorial, you will learn how to set up a high-speed, secure WireGuard VPN server on your Raspberry Pi with no complex stuff.
Read on and say hello to lightning-fast, secure browsing on your devices!
Prerequisites
Before you begin this tutorial, you will need to have the following items at hand:
- A Raspberry Pi with an operating system (OS) installed – This tutorial uses Raspberry Pi 4 with Raspian Buster installed.
- A power supply for your Raspberry Pi.
- An ethernet cable – The VPN server needs a stable internet connection to function properly.
- A computer to access the Raspberry Pi remotely – This tutorial uses Windows with SSH installed.
- A client device with WireGuard client installed – This tutorial uses a Windows 10 client.
Installing WireGuard on Raspberry Pi
Utilizing state-of-the-art cryptography, WireGuard is defined as a fast and modern VPN. But even though, WireGuard is cross-platform, it does not come preinstalled with your Raspberry Pi.
You will need to first download and install the WireGuard package on your Raspberry Pi via the PiVPN script. This script is an automated installation and configuration tool that makes setting up a WireGuard server on the Raspberry Pi incredibly handy.
To install WireGuard on your Raspberry Pi using the PiVPN script, follow these steps:
1. Plug your Raspberry Pi into the power supply and connect it to the internet via an ethernet cable.
2. SSH into your Raspberry Pi, and run the following apt update command to update the package list. This command ensures access to the latest software packages and helps resolve dependency issues.
sudo apt update -y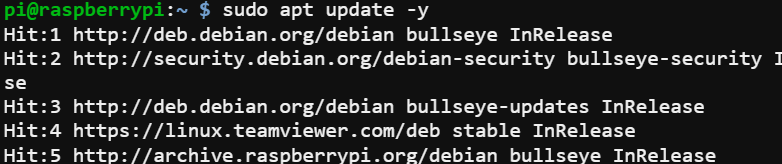
3. Next, run the below curl command to view (cat) the script’s source code before you run it on your Raspberry Pi. Doing so ensures the script is secure and contains no malicious code.
curl -L https://install.pivpn.io | cat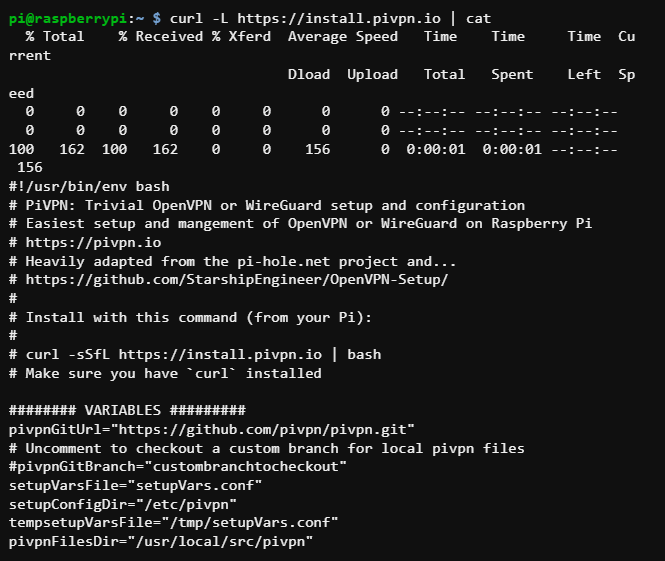
4. Now, run the following curl command to download and execute (bash) the latest version of the PiVPN script on your Raspberry Pi.
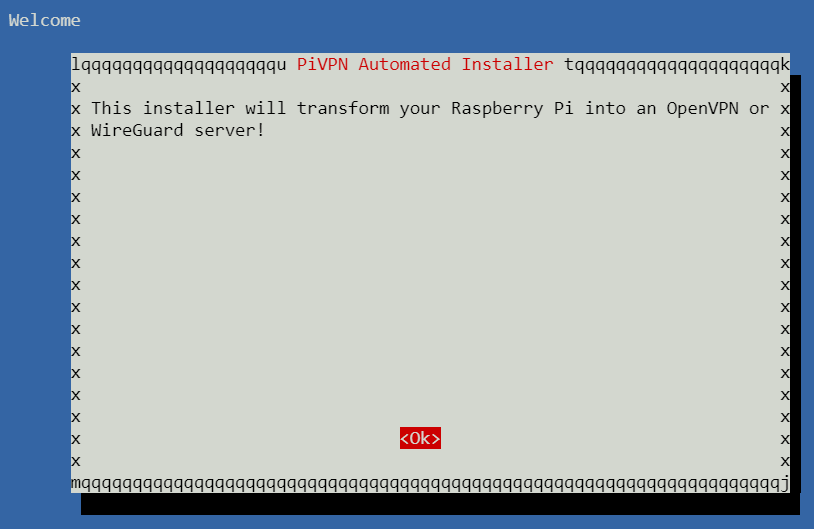
The PiVPN Automated Installer pops up, where you will be asked questions regarding the setup of your WireGuard server (step five). No need to manually edit cumbersome configuration files.
curl -L https://install.pivpn.io | bashHit the ENTER key to begin the installation process.
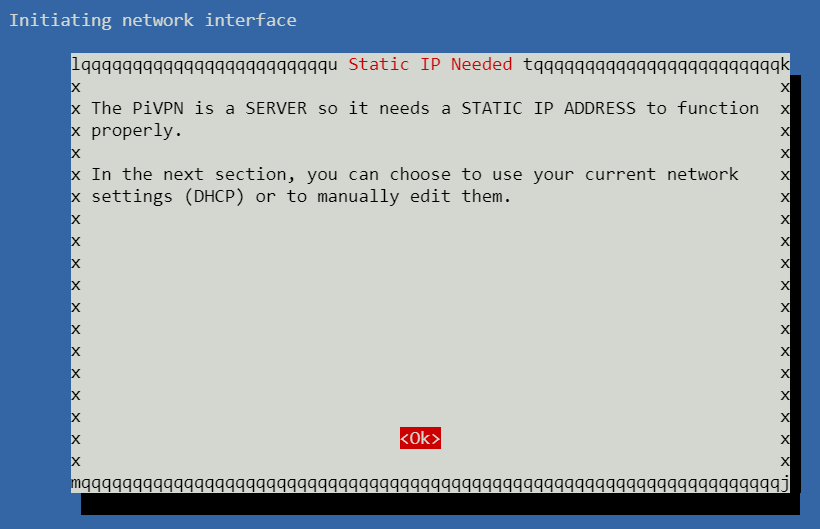
5. Hit ENTER to initiate the network interface.
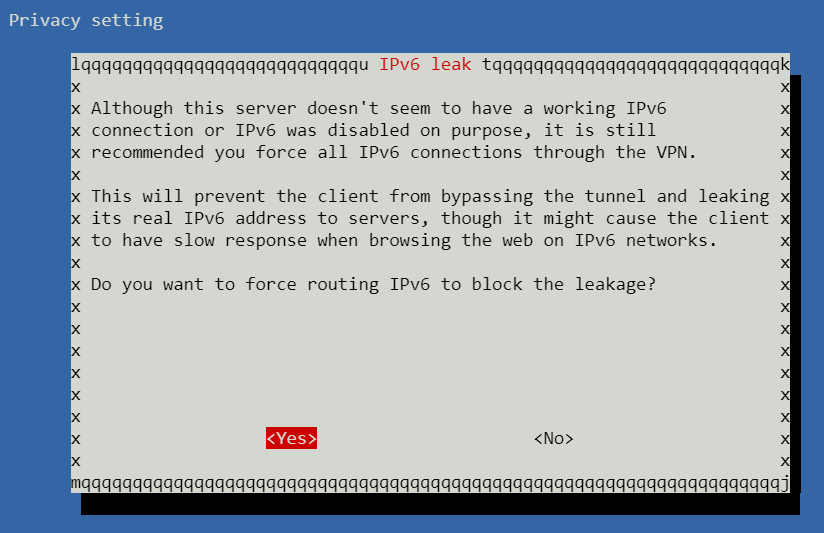
6. Next, select Yes and press ENTER to force all IPv6 connections through the VPN. Doing so prevents the client from bypassing the tunnel and leaking its real IPv6 address to servers.
This setting helps ensure all internet traffic, including IPv6 traffic, is securely transmitted through the VPN server rather than being sent directly to the internet.
7. After force routing IPv6, select No and press ENTER to choose setting up a static IP address.
This tutorial will not be using DHCP reservations for simplicity. But if you prefer using this feature, select Yes and enter the IP address to assign to the router.

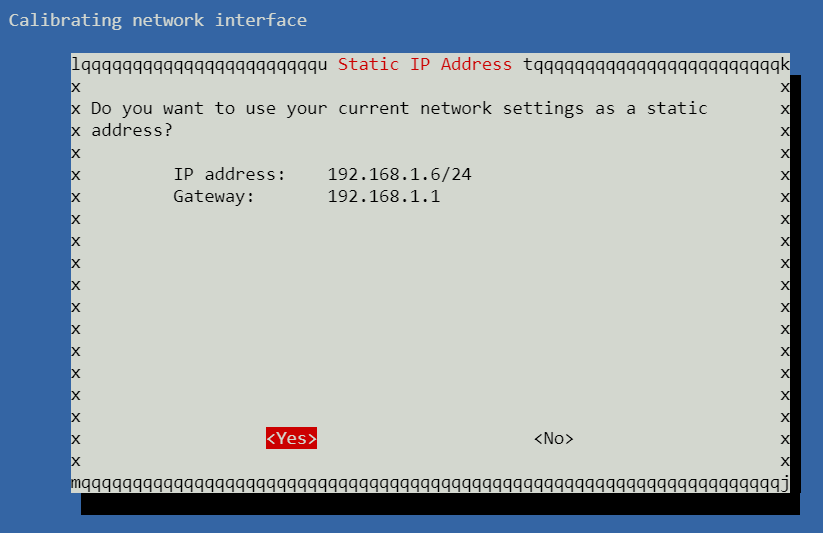
8. Next, choose Yes, and press ENTER to use your current network settings as a static address for your WireGuard server.
9. Hit ENTER to acknowledge the IP conflict warning.

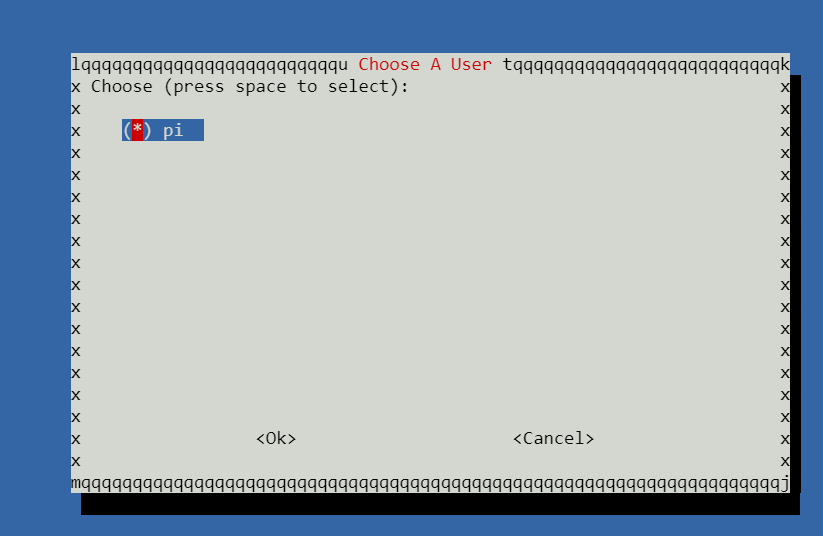
10. Now, hit the ENTER key again to parse the local users’ list.

11. Select a user from the list, and press ENTER to allow the selected user of the following:
- Use the OpenVPN client to connect to the VPN server.Access the network and internet through the VPN connection.
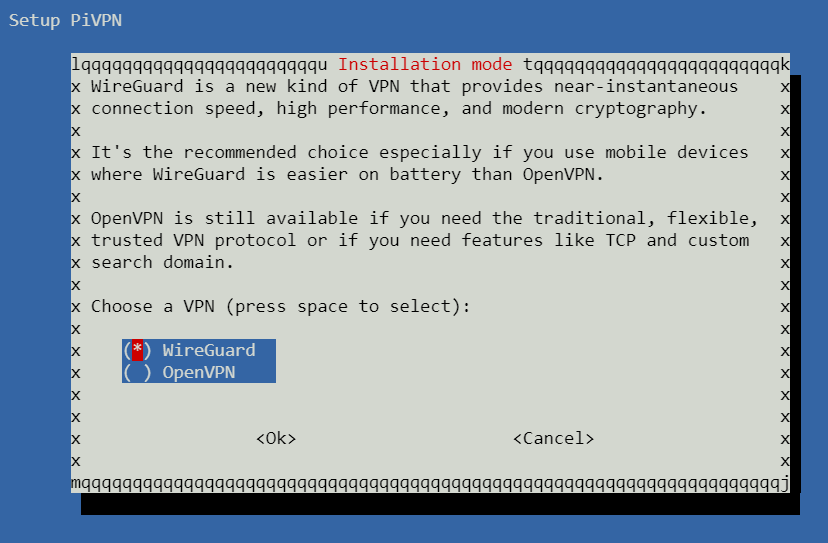
12. Select WireGuard, and press ENTER to configure your Raspberry Pi to use WireGuard as the VPN protocol.
With this option, Raspberry Pi will use the WireGuard protocol to establish and maintain client VPN connections.
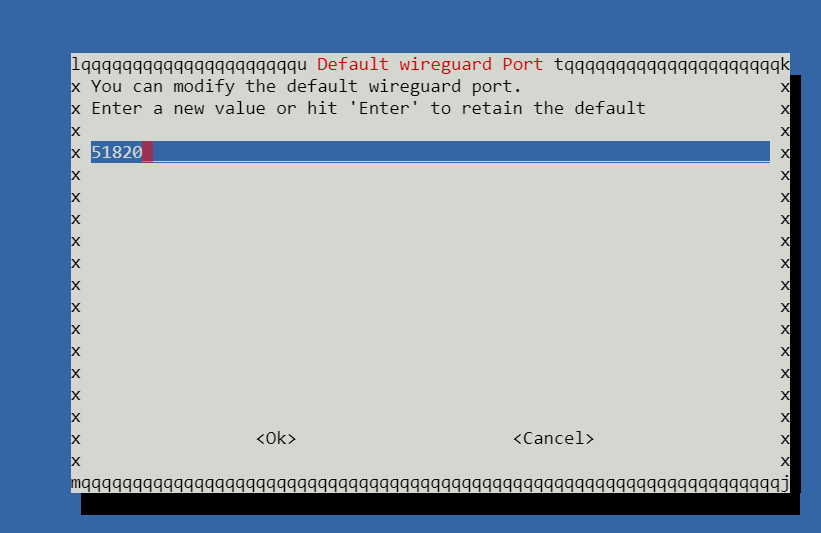
13. Keep the default port set to 51820, and press ENTER. WireGuard uses this default port to establish VPN connections with clients. Doing so ensures your VPN server is compatible with most WireGuard clients configured to use port 51820 by default.
But if you need to use a different port, avoid using well-known ports such as 22 (SSH), 443 (HTTPS), etc., to prevent conflicts with other services.
14. Now, select Google, and press ENTER to configure your Raspberry Pi to use the popular Google DNS servers as the DNS server.
Google’s DNS service uses state-of-the-art technology and infrastructure to provide fast and secure DNS resolution.

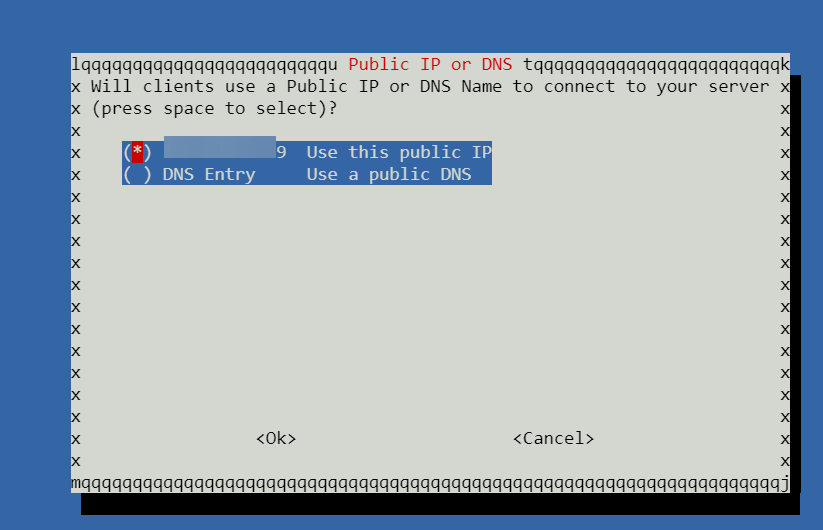
15. Keep the default option select, which is the public IP the clients will use to connect to your server, and press ENTER.
16. When prompted, as shown below, press ENTER to confirm generating the server keys.
WireGuard will use these cryptographic server keys to secure the VPN connection between the server and the clients.

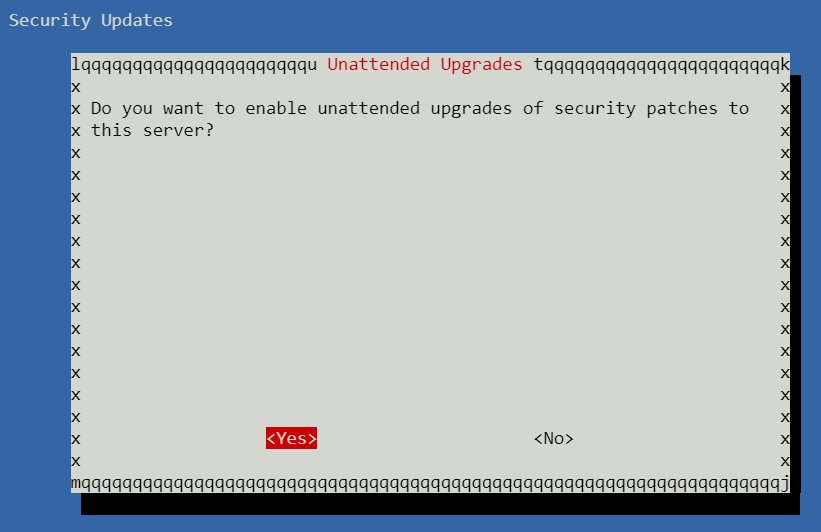
17. Press ENTER twice to enable the unattended-upgrades tool. This tool automatically installs security updates and other vital packages on a Linux system without user interaction.

18. Wait for the installation to finish and press ENTER twice when prompted to close the installer and reboot the WireGuard server.


19. SSH into the Pi again once it boots up, and run the command below to bring up the WireGuard interface. wg-quick up wg0
wg-quick up wg0
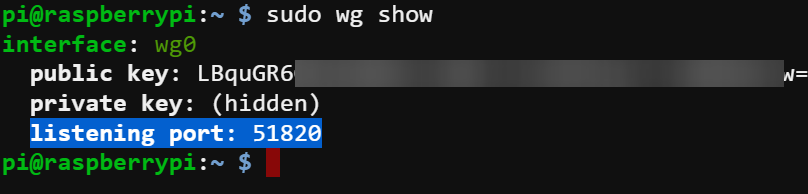
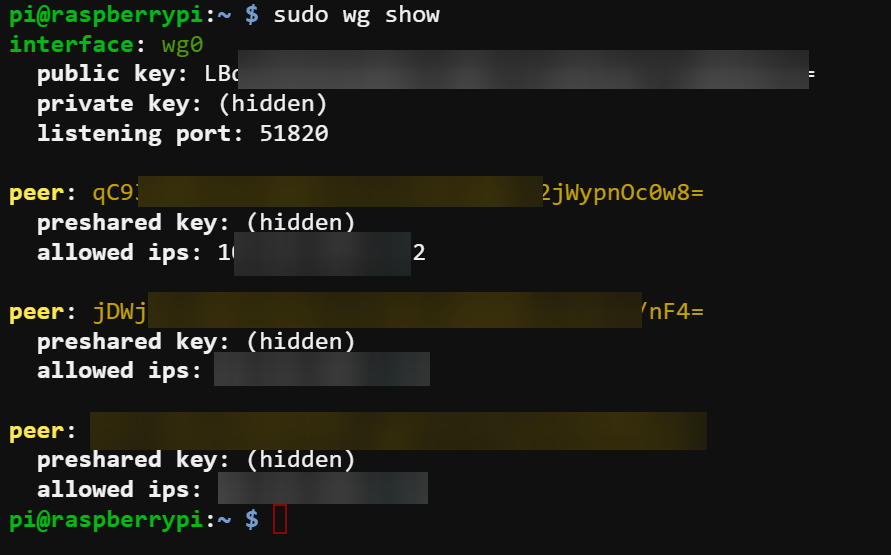
20. Finally, run the command below to verify that the WireGuard interface is running. sudo wg show
sudo wg showIf all goes well, you will get an output similar to the one below that shows the current state of the WireGuard interface. The output includes information about the listening port and the public and private keys.
Typically, you will also see a list of peers of active connections. But since there are none, you will see an empty peer list.
Configuring a WireGuard Client Profile
You have just verified your WireGuard server is running. But you still need a way to manage it. How? By configuring a client profile to connect to your server. Client profiles are specific configurations used to connect to the WireGuard server.
Each profile contains information, such as the server’s IP address, private keys for the client, and other settings, such as allowed IPs, DNS servers, etc.
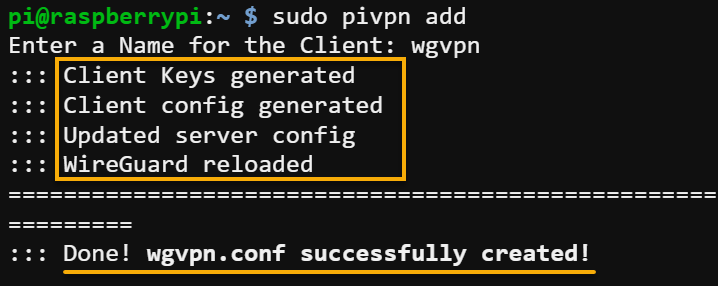
Run the following pivpn command to add a new client profile.
sudo pivpn addWhen prompted, provide a name for the profile (i.e., wgvpn) and press ENTER.
The PiVPN script will automatically generate the private key, configure the client config for the profile, and add the profile to the server configuration. If successful, you will see a success message, as shown below.
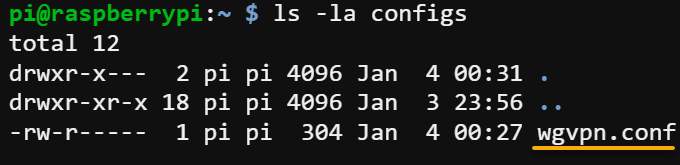
Now, run the below ls command to list the client profiles.
ls -la configsBelow, you can see the newly-added profile in the list.
Connecting to the WireGuard Server
After configuring your client profile, you can connect to your Raspberry Pi’s WireGuard server. But first, you will have to import your profile to the WireGuard client.
To connect to your WireGuard server:
1. Connect to your Raspberry Pi using SFTP via an FTP client like FileZilla.
2. Once connected, navigate to your client profile (wgvpn) in your Raspberry Pi, and transfer the client profile to your Windows 10 computer.
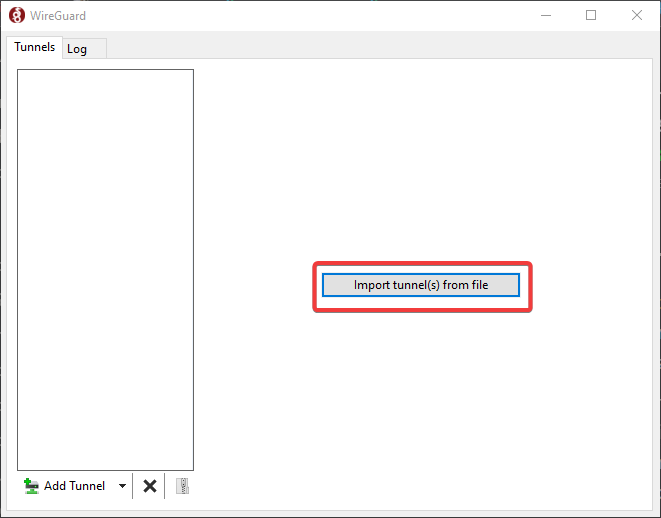
3. Launch your WireGuard client, click Import tunnel(s) from file, and locate the client profile on your Windows 10 computer to import.
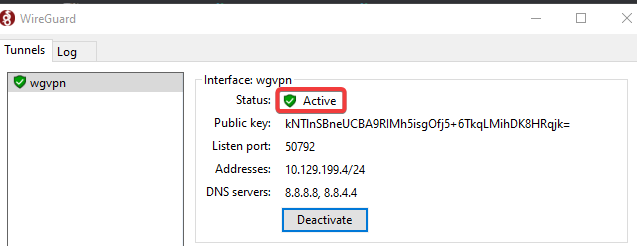
4. Now, click Activate to initiate the VPN connection. The WireGuard client will establish a secure VPN connection to your WireGuard server running on your Raspberry Pi.
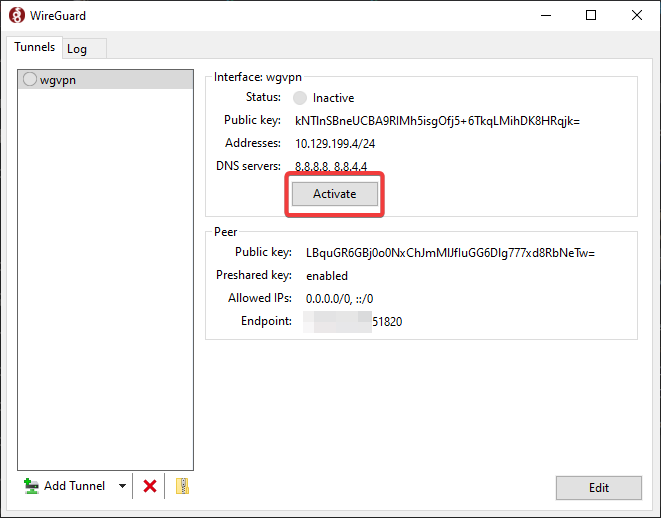
With an established connection, you will see an Active status, as shown below. You can now use the WireGuard client app to securely connect to your Raspberry Pi over the internet and enjoy secure private access to the VPN network.
When you click the close button (top-right), the WireGuard client is minimized to the system tray to keep it running in the background.
If you are having trouble connecting to the WireGuard server, the cause is often related to your router’s port forwarding settings.
Below are a few things you can check to troubleshoot connection issues:
| Troubleshooting | Fix |
| Check your router’s port forwarding settings | If you changed WireGuard’s default port (51820), configure the router’s port forwarding to allow traffic on the appropriate port. Ensure the port forwarding rule is configured correctly and is pointing to the correct IP address and port number for the WireGuard server. |
| Check your router firewall | Ensure the router’s firewall is not blocking the VPN connection. You may need to add an exception or rule to allow VPN traffic through the firewall. |
There are no one-size-fits-all solutions for troubleshooting connection issues, as each router is unique and may have different settings and configurations. A Google search for “port-forwarding” and the model of your router can often yield helpful results.
5. Lastly, run the below command to check the list of peers.
sudo wg showThis time, you will see the newly-connected client in the list, as shown below.
Conclusion
Congratulations! You are now the proud owner of your own WireGuard Raspberry Pi VPN server! In this tutorial, you have realized that with just a few steps, you can set up a secure and private connection to the internet.
At this point, protecting your online activity from prying eyes while gaining access to content that might be blocked in your region is within your reach.
Continue exploring the possibilities of WireGuard on your Raspberry Pi! Why not use a dynamic DNS service to give your Raspberry Pi a fixed domain name? Doing so helps if you do not have a static IP address and your IP address changes frequently. Make connecting to your WireGuard server easier from anywhere using a fixed domain name!


