

Do you have a headless Raspberry PI device and need to make minor changes? What if do not have the time to connect a monitor and a keyboard? No worries! Learning how to remotely access Raspberry PI devices will do you a favor.
In this tutorial, you will walk through the steps to install SSH and enable SSH on your Raspberry PI to remotely control your device.
Ready? Read on and start remotely controlling your Raspberry PI devices!
Prerequisites
This tutorial comprises hands-on demonstrations of remotely accessing Raspberry PI devices. To follow along, be sure you have the following in place:
- At least one Raspberry PI device – This tutorial uses Raspberry PI 4, but the steps are applicable to all versions of Raspberry PI devices.
- A computer (Windows, Mac, or Linux) – This tutorial uses Windows 10 to access Raspberry PI remotely.
Installing SSH on a Raspberry PI Device
As you set up SSH on your Raspberry PI device, ensuring the SSH daemon is installed and running is crucial. The SSH daemon is the background process that allows you to remotely access your Raspberry PI device.
SSH daemon should be installed by default on your Raspberry PI device, but double-checking would not hurt.
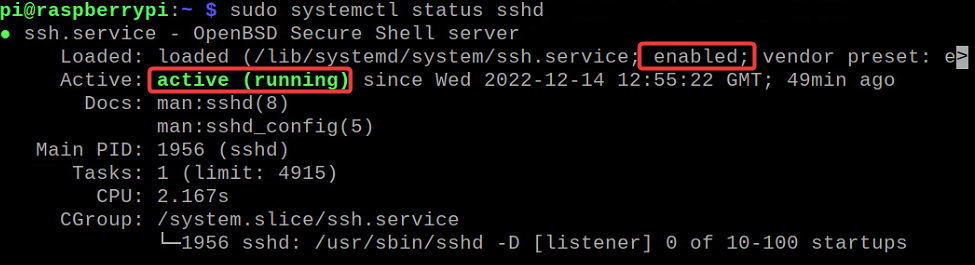
1. Open a terminal in your Raspberry PI device, and run the systemctl command below to check if the SSH daemon is installed.
sudo systemctl status sshdIf the SSH daemon is installed and running properly, you will see a message similar to the one below.
2. If the SSH daemon is not installed, run the below apt commands to update your system package index and install the SSH daemon.
sudo apt update && sudo apt install openssh-server -y
3. Once the installation completes, run the following commands to start and enable the SSH daemon (sshd) to start automatically at system boot.
# Starts the SSH daemon
sudo systemctl start sshd
# Enables the SSH daemon to start automatically at system boot
sudo systemctl enable sshd
💡 If you are having trouble enabling the SSH daemon, jump to the following “Enabling SSH via the
raspi-configCommand” section
4. Finally, check the status again to ensure that the SSH daemon is running properly. sudo systemctl status sshd
sudo systemctl status sshd
Enabling SSH via the raspi-config Utility
If you have successfully enabled the SSH daemon, you are in luck. But if you got the “timeout” or “Failed to start service” error, you need an alternative.
Using the systemctl enable command tends to lead to errors. But fortunately, an alternate method or utility for enabling SSH on your Raspberry PI device called raspi-config exists. The utility allows you to configure and manage various settings on your device, including enabling SSH.
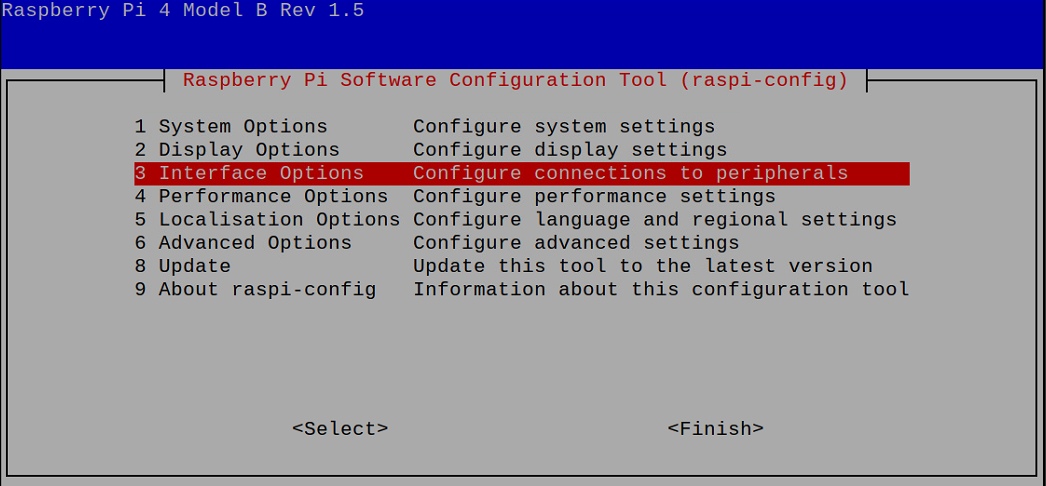
1. Run the below command to launch the raspi-config utility, which will present you with a menu of options, as shown below.
sudo raspi-configUse the arrow keys on your keyboard to navigate through the menu and press Enter to select the option labeled Interfacing Options. This option lets you enable various interfaces on your Raspberry PI device, such as SSH.
2. Next, select the SSH option and press Enter, which opens a new window where you can enable SSH.
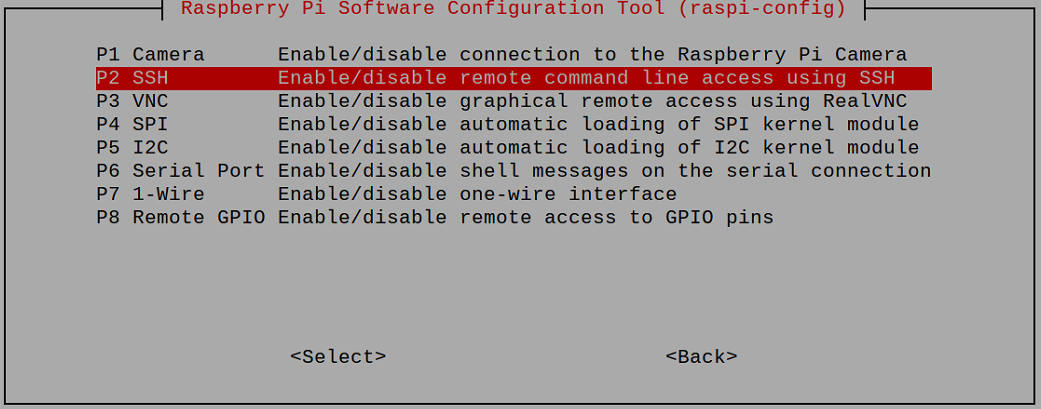
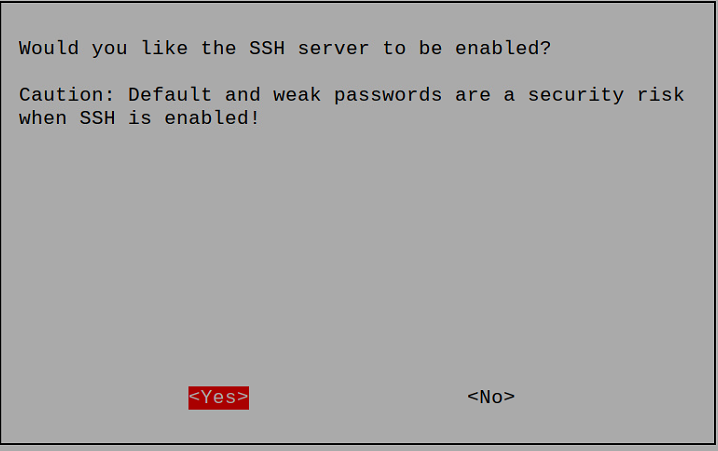
3. Now, press the Tab key to move the cursor to Yes, and press Enter to enable SSH on your Raspberry PI device.
Ignore the cautionary message that appears since You will change the default password in the following section. Press Enter twice to exit the raspi-config utility.
Changing the Default SSH Password
You have successfully enabled SSH on your Raspberry PI device, but you must still ensure your device will not become compromised. How? By changing your default SSH password.
The default password for the ‘pi’ user on Raspberry PI devices is ‘raspberry’. While the default password may be convenient, it poses a security risk.
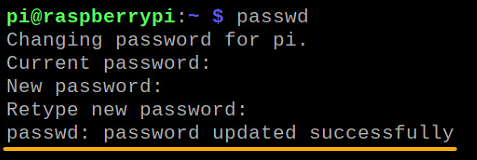
Run the following passwd command to initiate changing your default SSH password.
passwdWhen prompted, provide the current default password, and enter and confirm a new password twice. Make sure to choose a strong, unique password to avoid getting your device getting compromised.
At this point, your Raspberry PI device is more secure. But how do you connect to your Raspberry PI device remotely? You will first need to get your Raspberry PI device’s local IP address in the following step.
Now, run the below hostname command to get your Raspberry PI device IP address (-I).
hostname -ITake note of the IP address, as shown below, as you will use it to remotely access your device over the internet on the same network.

Connecting to the Raspberry PI Device Remotely
Now all the hard work is done, and you can finally connect to your raspberry PI device remotely. But first, you will need an SSH client.
If you are using Windows, KiTTY is a popular choice. For macOS and Linux users, the built-in terminal works fine, but this tutorial uses Kitty for demonstrations.
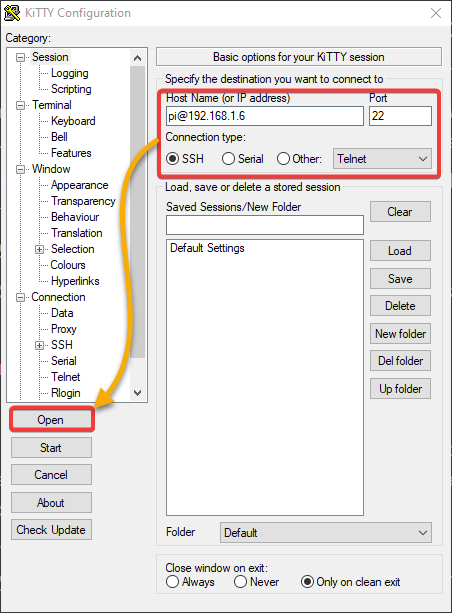
Open KiTTY, and configure the destination to connect to and the connection type with the following:
- Enter your Raspberry PI device’s local IP address in the Host Name field (i.e., [email protected]).
- Enter 22 for the Port number.
- Select SSH as the Connection type.
Keep other settings as is, and click Open to connect to your Raspberry PI device remotely.
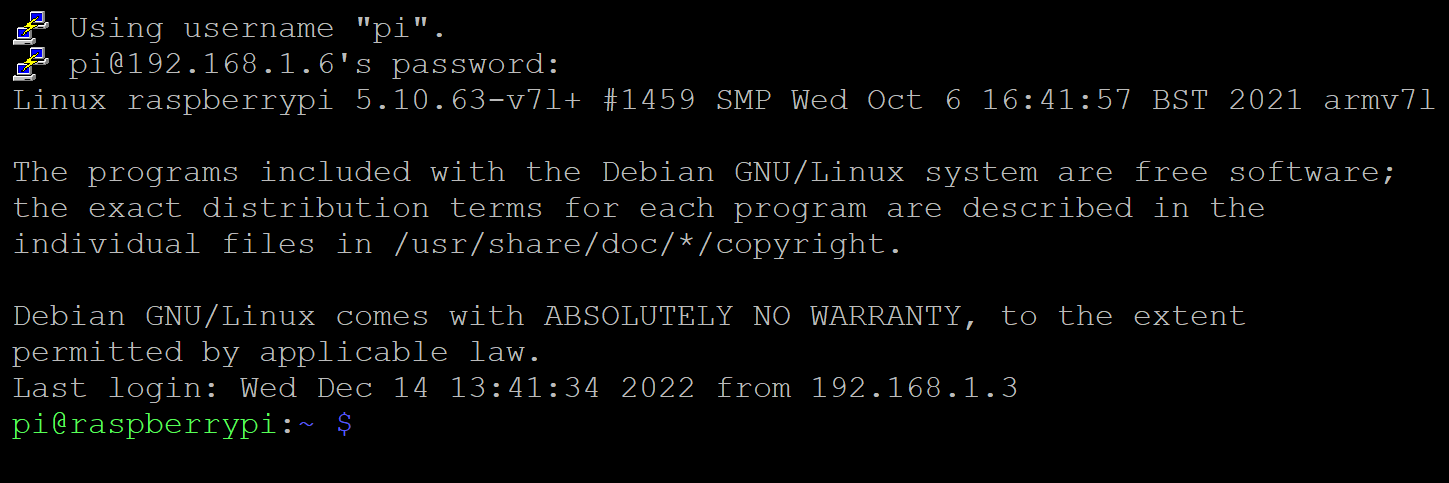
Now, enter the new password you set for the ‘pi’ user in the “Changing the Default SSH Password” section.
If successful, you will be logged in to your Raspberry PI device, as shown below. And that is it! You can now manage your Raspberry PI device remotely to your heart’s content.
Conclusion
Remotely accessing your Raspberry PI device is a great way to get things done faster without sacrificing security. There are a few steps involved to ensure everything is set up correctly and securely. But you will surely get the hang of remotely accessing your Raspberry PI devices.
With your SSH configuration setup, enjoy all the amazing projects you can create with your Raspberry PI device!


