


Are you looking for a fast and practical SSH client? Say hello to the KiTTY SSH client! KiTTY lets you conveniently log in to your remote hosts and automatically set up an environment like your local shell.
In this tutorial, you will learn how to install and use the KiTTY SSH client. You will also look at some of its features that will make your life easier.
Stay tuned and get connected to your server with a few clicks!
Prerequisites
This tutorial will be a hands-on demonstration. To follow along, be sure you have the following:
- A Windows computer – This tutorial uses a Windows 10 21H2.
- A Linux server with SSH enabled – This tutorial uses an Ubuntu 20.04 server.
Installing Kitty SSH Client Using Scoop
Scoop is a command-line installer for Windows. Like APT and YUM in Linux, Scoop helps you easily install, update, and manage your applications. But first, you will have to install Scoop on your system.
1. Open PowerShell as an administrator on your Windows computer.
2. Next, run the following Invoke-RestMethod command to retrieve Scoop’s installer script, and run (.\) the script (install.ps1) to install Scoop on your computer.
# Retreives Scoop's installer script
Invoke-RestMethod get.scoop.sh -outfile 'install.ps1'
# Runs the installer script as administrator
.\install.ps1 -RunAsAdmin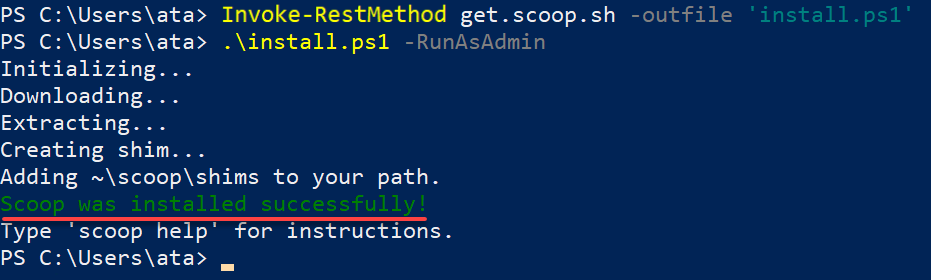
3. Once installed, run the scoop bucket command below to add Scoop’s extra bucket. The extra bucket contains many useful applications, one of which is KiTTY.
scoop bucket add extras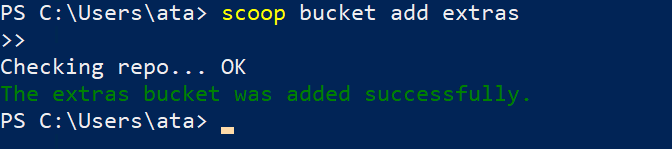
4. Now, run the below command to install KiTTY.
scoop install kitty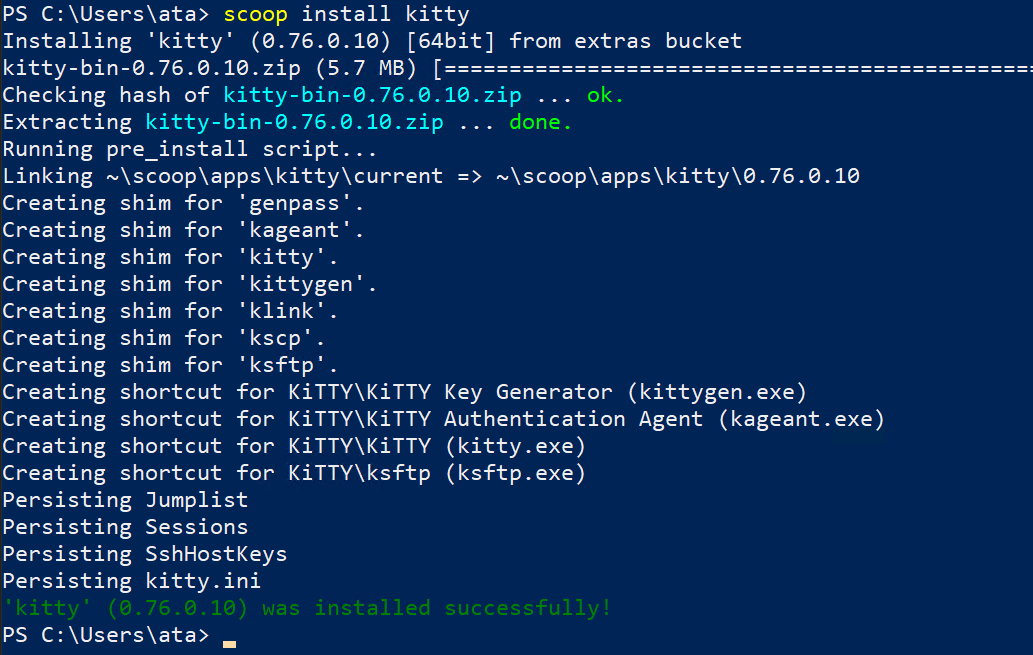
5. Finally, run the kitty command, which does not provide output but launches the KiTTY SSH client.
kittyBelow, you can see the KiTTY SSH client’s window. Looks familiar? KiTTY
is a fork from version 0.76 of PuTTY and is only designed for the Microsoft Windows platform.
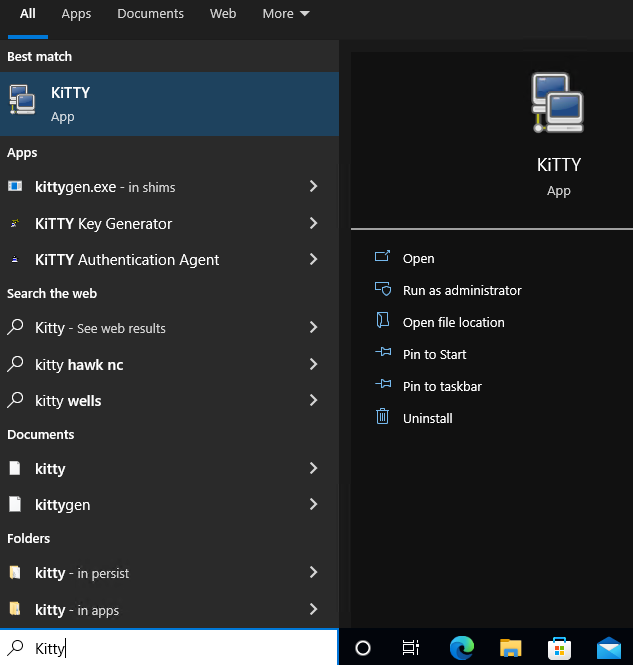
Alternatively, you can find and open KiTTY from your start menu.
Installing the KiTTY SSH Client Using Chocolatey
If you are unfamiliar with Scoop, another command-line installer for Windows is Chocolatey, which you can use to install KiTTY. Chocolatey is similar to Scoop but has a more extensive selection of applications. But like Scoop, you first have to install Chocolatey on your computer.
1. Run the following command to install Chocolatey on your computer without blocks (Set-ExecutionPolicy Bypass) and prompts (-Force).
Set-ExecutionPolicy Bypass -Scope Process -Force; Invoke-WebRequest https://community.chocolatey.org/install.ps1 -UseBasicParsing | Invoke-Expression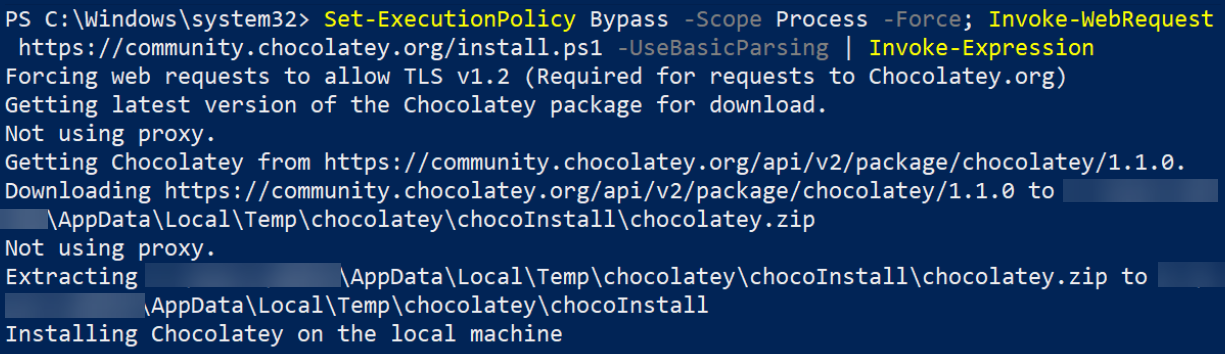
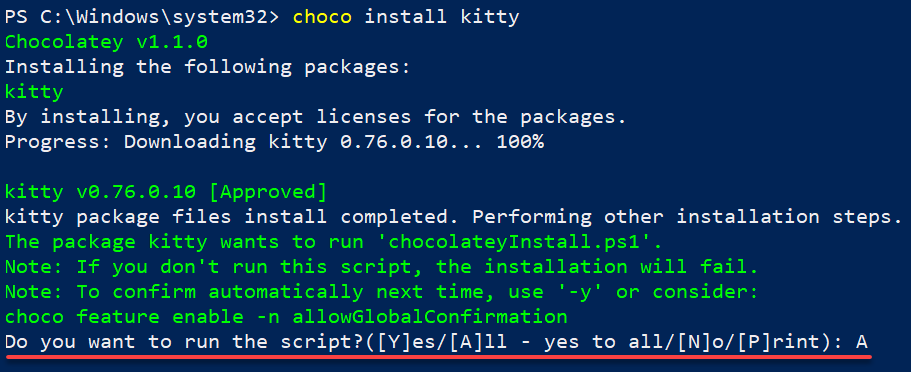
2. After installing Chocolatey, run the choco command below to install KiTTY.
choco install kittyWhen prompted, type A and press Enter to confirm the installation.
3. Lastly, run the kitty command to launch the KiTTY SSH client like in the last step of the “Installing Kitty SSH Client Using Scoop” section.
kittyDownloading KiTTY SSH Client’s Portable Version
If you do not feel comfortable installing the KiTTY SSH client to your computer, a portable version is also up for grabs. The portable version is self-contained and does not require installation.
Why use the portable version? There are a few reasons:
- Perhaps you are using a public computer and do not want to leave any traces of your activities.
- Or, you may not have administrative privileges on your computer, so you cannot install applications.
Whatever the reason, the KiTTY’s portable version comes in handy. KiTTY solves one of the most significant problems with PuTTY — portability.
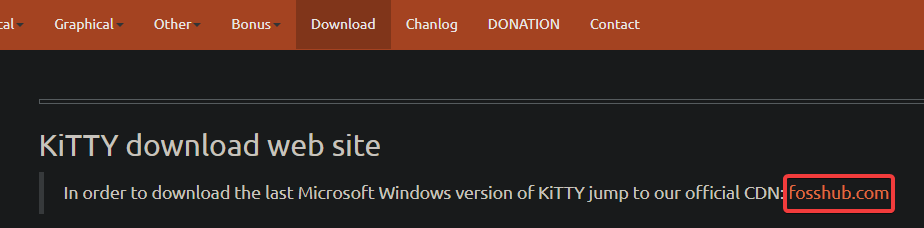
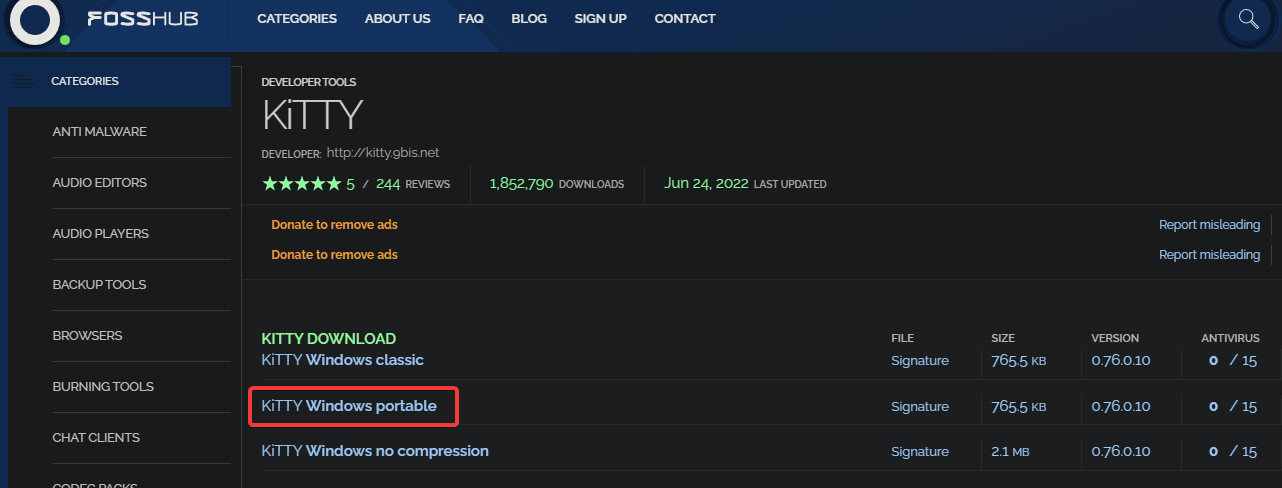
1. Open your favorite web browser, navigate to KiTTY’s official website, and click the fosshub.com link to access the download page.
2. Next, click the KiTTY Windows portable link to download KiTTY’s portable version.
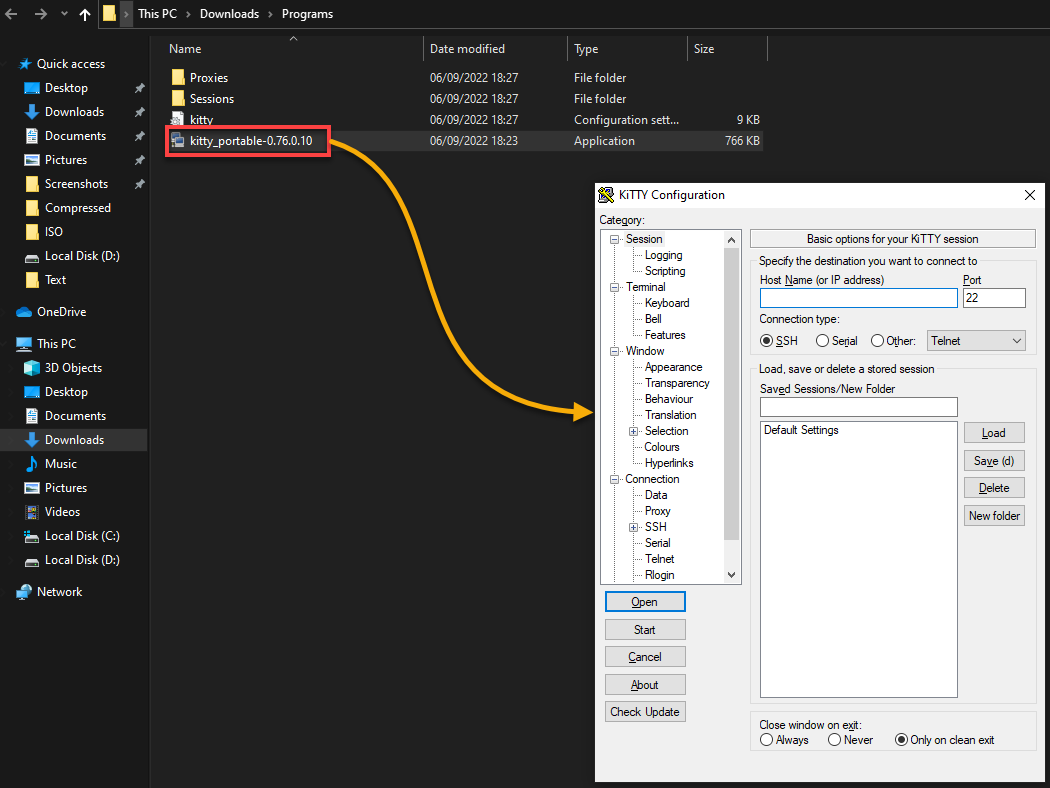
3. Once downloaded, open the exe file, as shown below, to launch KiTTY.
At this point, you can copy portable KiTTY’s entire folder to a USB drive and use KiTTY on other computers.
Connecting to a Server Using the KiTTY SSH Client
Regardless of which method you used to install KiTTY on your computer, you still have to test if KiTTY is actually working. How? You will connect to a remote server using KiTTY for the first time.
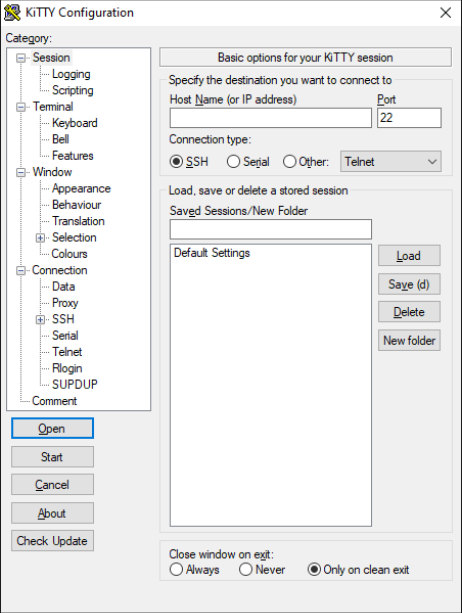
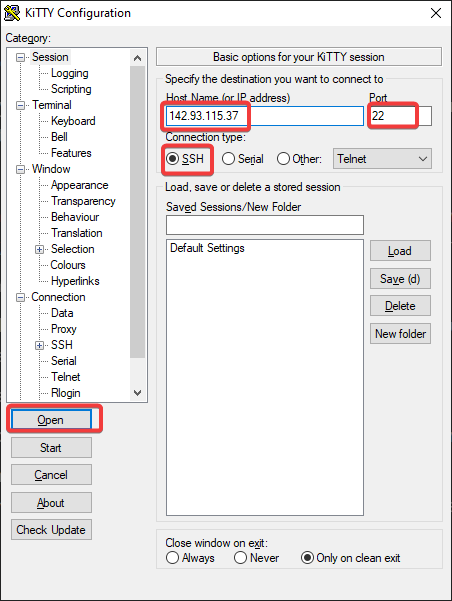
1. Open KiTTY, and enter the following information under the Session category:
- Hostname or IP address – Enter your server’s IP address or domain name. If you do not have a server, use any SSH-enabled server. This tutorial uses an Ubuntu 20.04 server.
- Port – The default port for SSH is 22, as shown below. You can leave the port’s value on default unless your Linux server uses a different port.
- Connection type – Select the SSH radio button since you use KiTTY to SSH to your server.
- Keep other settings as is, and click on the Open button (lower-left) to connect to your server.
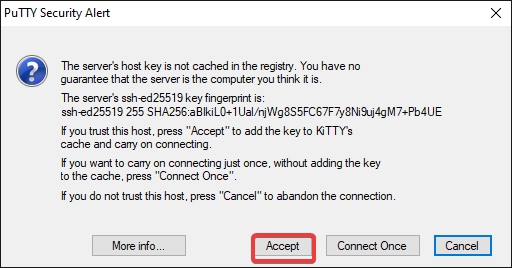
2. Next, click Accept on the new window to continue connecting to your server. Once connected, KiTTY’s terminal opens, where you can run commands (step three).
Getting this message about the server’s host key is normal the first time you connect to a server.
3. Lastly, provide the username and password for your server on KiTTY’s terminal.
Note that the password does not appear on the screen as you type it for security reasons.

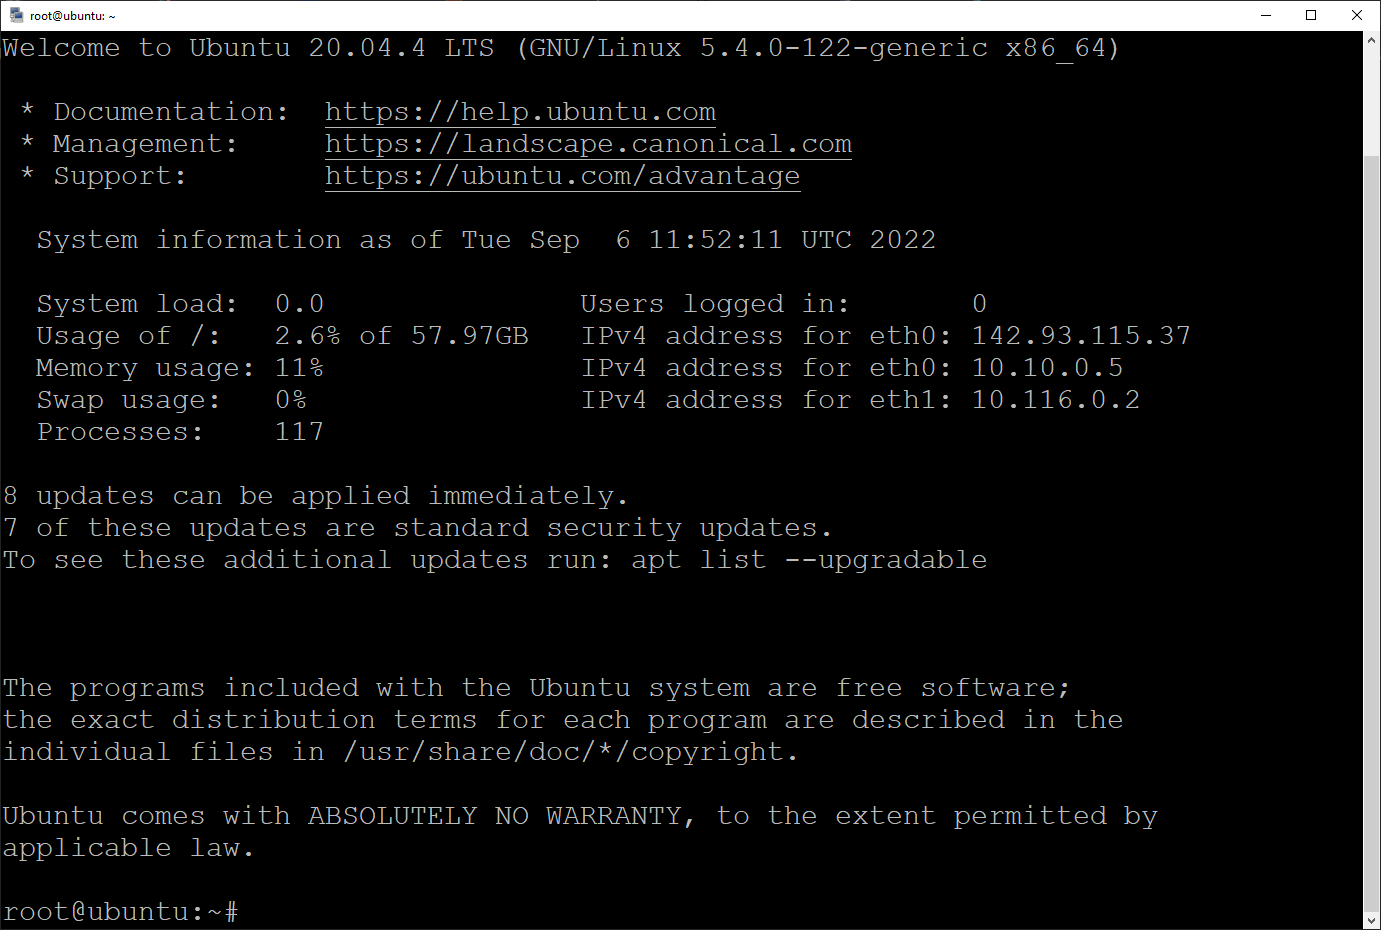
After providing your credentials, KiTTY connects to your server and you will see the familiar command prompt with a welcome message, as shown below.
You are now logged into your server and can run commands.
When you are done working on your server, run the exit command and press Enter to disconnect from the server.
Managing SSH Sessions
Like PuTTY, KiTTY also lets you open multiple SSH sessions. But how to manage them? KiTTY enables you to manage your SSH sessions in different ways. One example is you can save your sessions and load them later.
This feature eliminates the tedious process of configuring your session each time you connect to your server. Instead, you can load a saved session and connect to the server with a single click.
Configure the SSH session, as you did in step one of the “Connecting to a Server Using Kitty SSH Client” section. But this time, instead of opening the session, provide a descriptive session name first under the Save Sessions/New Folder field and click the Save button to save the session.
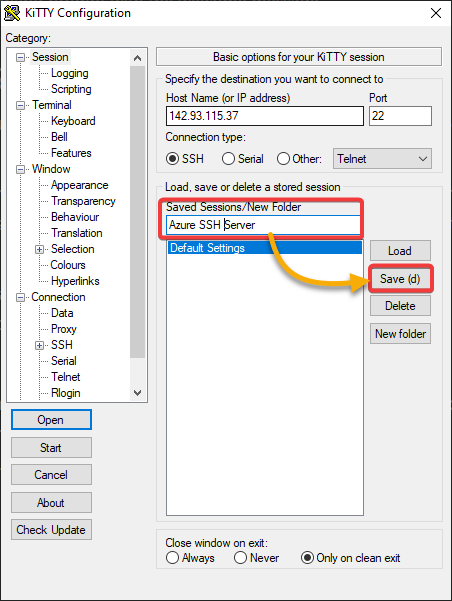
The newly-saved session appears in the list, as shown below.

Now, select the session from the list, click on the Load button to load the session’s configuration, and click on Open to launch the session.
As you can see below, connecting to your server gets faster using a saved session.

Routing Traffic With an SSH Proxy Tunnel
When you plan to route traffic from your local computer through a remote server, KiTTY also comes in handy. Doing so secures the traffic, encrypted end-to-end.
Suppose you want to access a website that is only available on the server. In that case, you can use an SSH tunnel to forward traffic from your local computer to the server and then back. With this setup, you can access the website as if you were on the server.
To set up an SSH tunnel:
1. Load a saved SSH session for your server or manually fill in the connection information.
2. Expand the Connection category → SSH, and select Tunnels to access the port-forwarding configuration page.
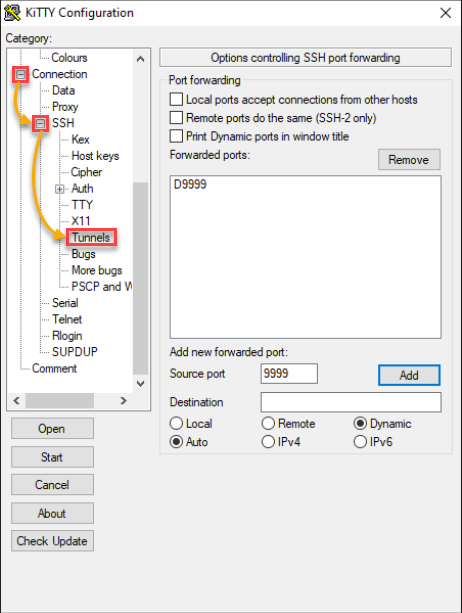
3. Configure a new port-forwarding with the following:
- Source port – Enter a port number on your local computer, but this tutorial uses port 9999.
- Select the Auto and Dynamic options under Destination. These options ensure the SSH tunnel is available only while the SSH session is active.
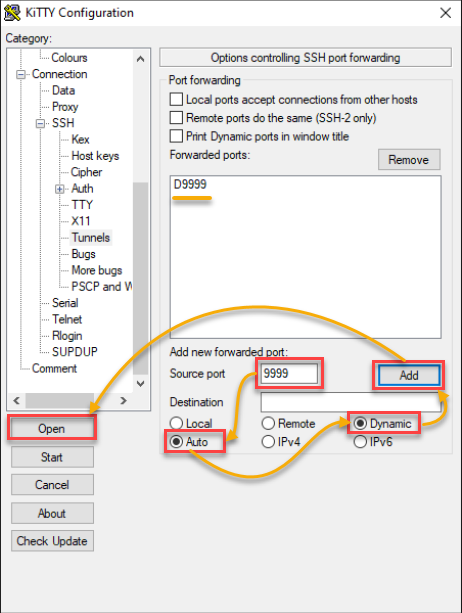
- Click Add to add the new tunnel, which appears in the list of active tunnels, as shown below (D9999).
- Click Open to connect to the server and activate the SSH tunnel.
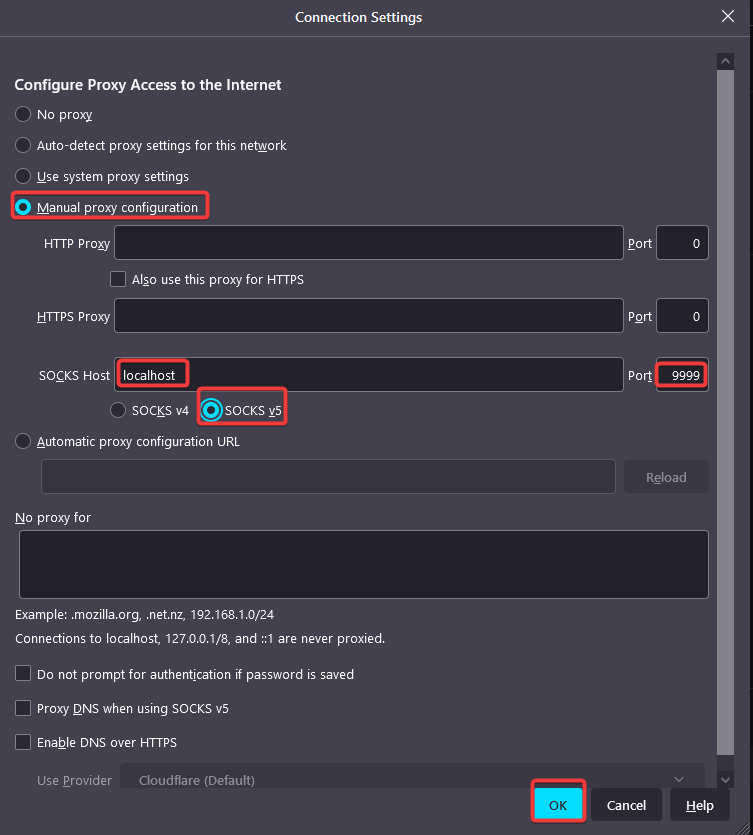
4. Now, open Firefox and navigate to about:preferences#general, scroll down, and click on Settings under Network Settings, which opens the Connection Settings window (step five).
You need to configure your applications to use the SSH tunnel. This tutorial uses Firefox as an example, but the steps are similar for other applications which support SOCKS5 proxies.

5. Select the Manual proxy configuration option, and configure the connection settings with the following:
- SOCKS Host and Port – Enter localhost and port 9999 (the same port you configured for the SSH tunnel).
- Select the SOCKS v5 option as the protocol to establish a relay connection between the internal and external networks.
- Click OK to save the changes.
Now, all the traffic from Firefox will go through the SSH tunnel and be encrypted.
6. Finally, find your IP address on google.com by searching my ip to verify that the tunnel is working.
As you can see below, the IP address has changed to the server’s IP address (142.93.115.37). This outcome signifies all traffic is routed through your server.
When you are not using the SSH tunnel anymore, close the SSH session, and the tunnel will be closed automatically.

Conclusion
In this tutorial, you have learned how to install the KiTTY SSH Client, connect to a server, and create an SSH tunnel to route traffic to your server.
You have seen how KiTTY lets you conveniently save and load SSH sessions. And at this point, you can now say goodbye to tedious session configurations each time you connect to your servers.
The KiTTY SSH client is a powerful tool that offers more than you have seen in this tutorial. So why not explore KiTTY’s other features? Perhaps transfer and edit files between your local computer and the server using SFTP?


