

Whether you want a fresh start with your Raspberry Pi or if you wish to install a specific OS, the Raspberry Pi Imager for Windows will do the trick.
Raspberry Pi Imager is a free and open-source tool but can be considered the ultimate tool for typical Raspberry Pi users. Even though writing images to SD cards can be a bit tricky, worry not. In this tutorial, you will learn how to install and write a bootable image to an SD card.
Experience different OSes by writing images with Raspberry Pi Imager!
Prerequisites
This tutorial comprises hands-on demonstrations. To follow along, you will need the following:
- A computer running Windows 10 (or later) – This tutorial uses Windows 10 21H2.
- An SD card with at least 8GB storage space – The more storage space, the better!
- A microSD card reader (or any SD card adapter compatible with your computer).
- A Raspberry Pi OS image file to install – This tutorial uses Raspberry Pi Desktop.
Downloading and Installing Raspberry Pi Imager for Windows
Created by the Raspberry Pi Foundation, the Raspberry Pi Imager is software that lets you write images onto storage devices, such as SD cards. For this tutorial, you will use the Raspberry Pi Imager for Windows to write a Raspberry Pi image onto your SD card.
But first, you will need to download and install the Raspberry Pi Imager for Windows:
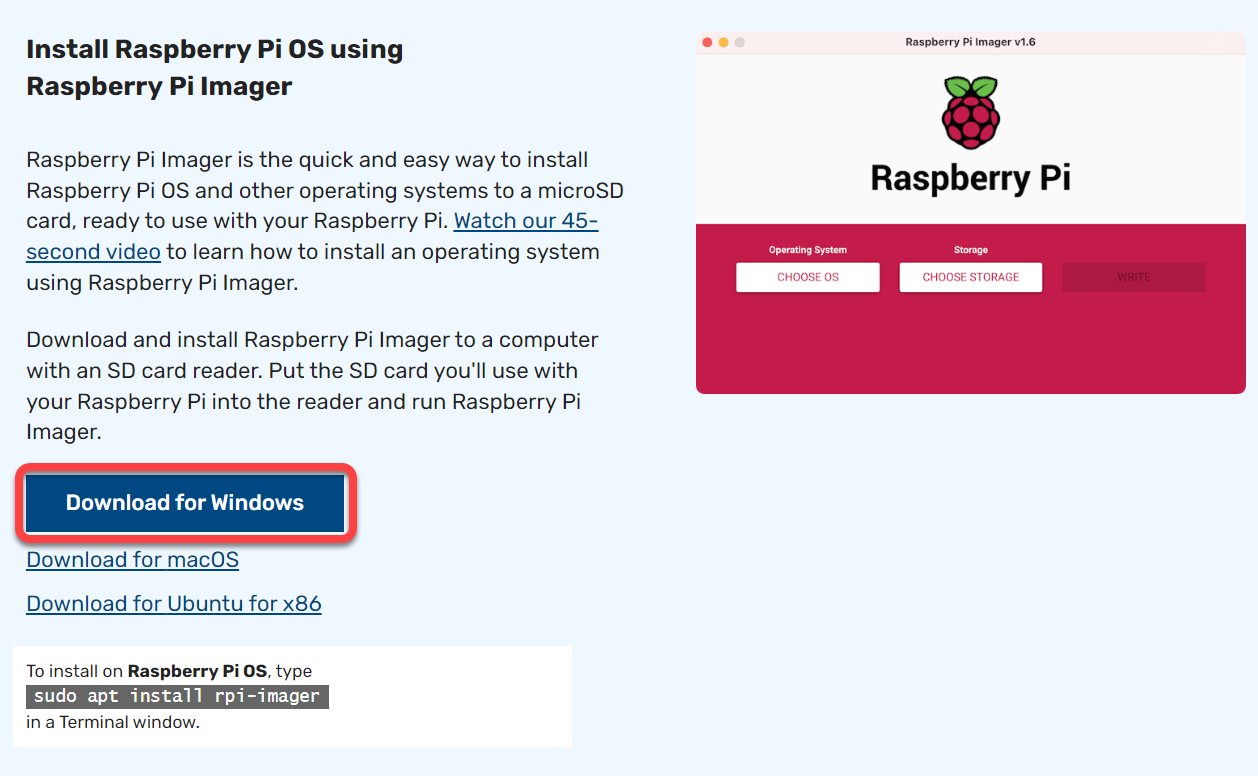
1. Open your web browser, and head to the official Raspberry Pi website.
2. Next, click Downloads for Windows to download the Raspberry Pi Imager installer.
2. Once downloaded, double-click on the installer to launch the setup wizard.

3. Now, click the Install button to install Raspberry Pi Imager on your computer.

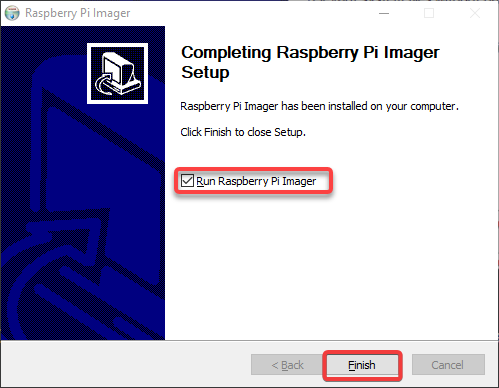
5. Lastly, tick the checkbox below, click Finish to close the wizard, and run Raspberry Pi Imager.
Writing an Image to Your SD Card
Now that you have installed Raspberry Pi Imager for Windows, it is time to write an image to your SD card, also known as “imaging” or “flashing.”
Once the image is written, you can boot your Raspberry Pi from the SD card and use it like any other computer.
Note that writing an image erases all of the data on your SD card. So be sure to back up any important files before proceeding.
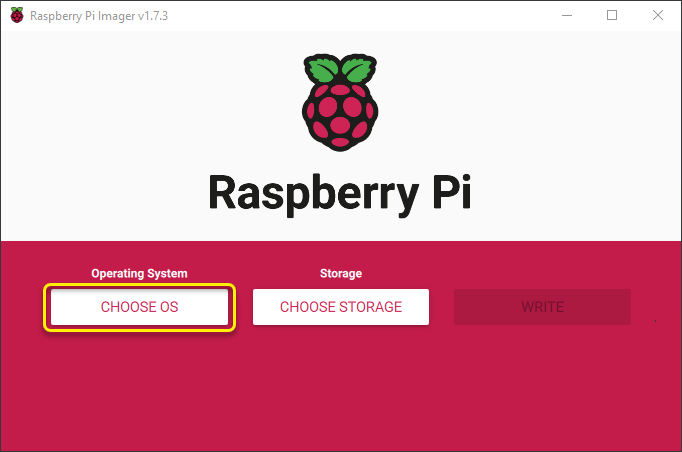
1. On the main screen of the Raspberry Pi Imager, click the CHOOSE OS button to select the OS you want to install.
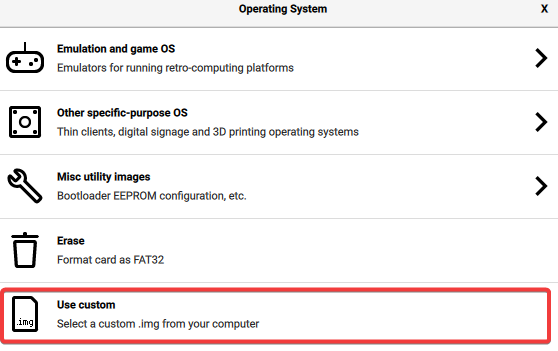
2. Next, choose an OS from the options shown below. Many options are available, but for this tutorial, scroll down and select the Use custom option at the bottom.
This option lets you choose an image file from your computer from a dialog box, so you are not limited to the OS list.
💡 Some of the most popular distributions, like Kali Linux, Fedora, DietPi, or Chromium OS, are not on the list. But the Use custom option lets you use them to create your image.
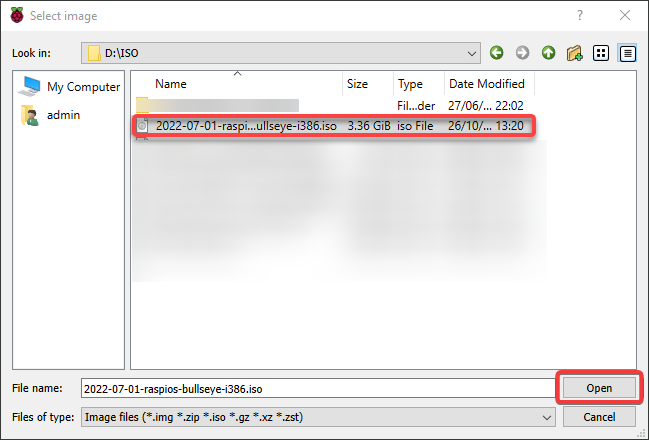
3. Locate the Raspberry Pi image file on your computer, and click Open.
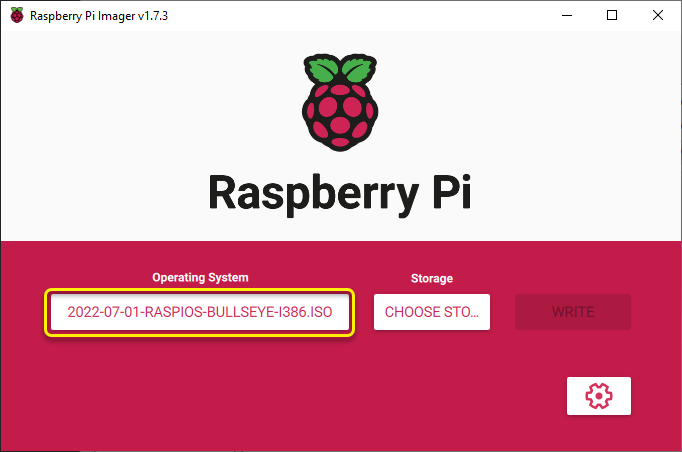
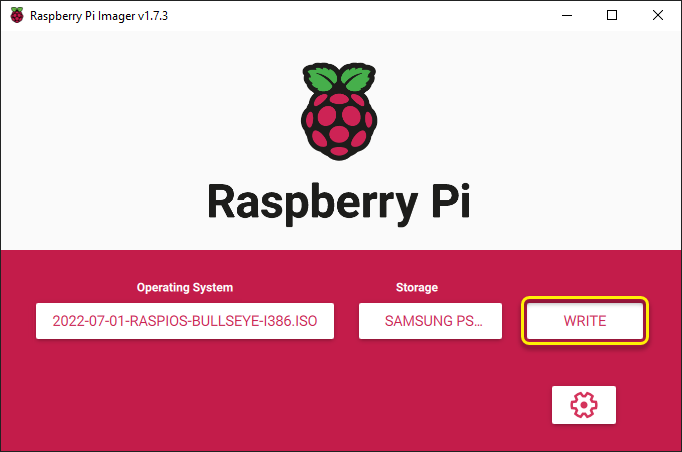
The OS you chose is now displayed in the Operating System box, as shown below.
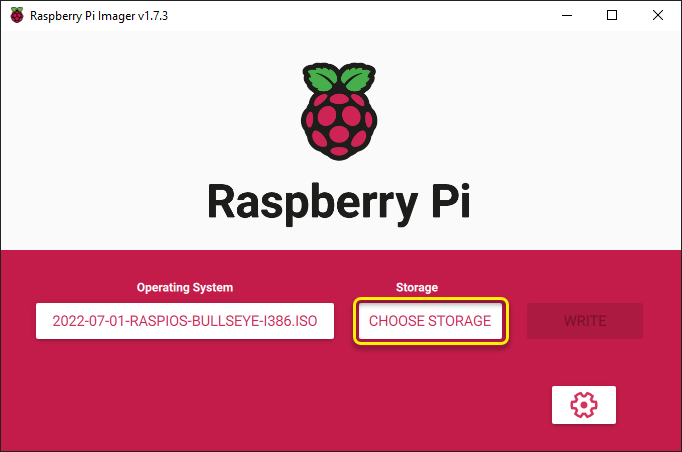
4. Now, insert your SD card into your computer.
5. Once inserted, click the CHOOSE STORAGE button to locate the SD card.
6. Select the SD card you inserted from the list of storage devices connected to your computer.

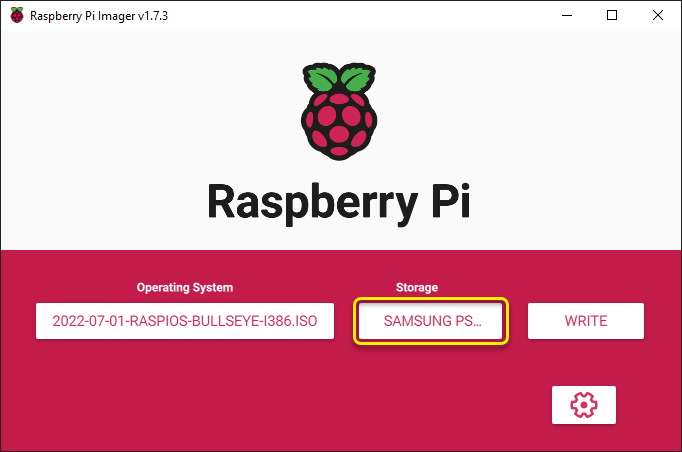
Below, you can see the selected SD card is now displayed in the Storage box.
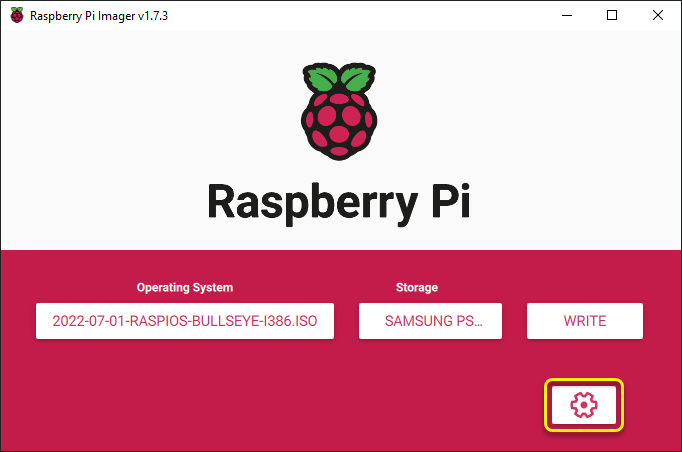
7. Next, click the settings icon to access the advanced options.
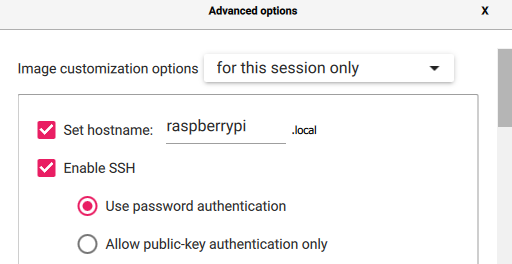
8. Configure the hostname and SSH settings on the Advanced options window with the following:
- Tick the Set hostname checkbox and provide a hostname for your Raspberry Pi to uniquely identify your computer on a network.Tick the Enable SSH checkbox to enable Secure Shell (SSH) access to your Raspberry Pi. SSH allows you to access your Raspberry Pi from another computer remotely.
- Select the Use password authentication option to require a password when you SSH to your Raspberry Pi.
9. Now, tick the Set username and password checkbox and enter a username and a strong password for your Raspberry Pi. You will use these credentials to SSH into your Raspberry Pi once it has been imaged.

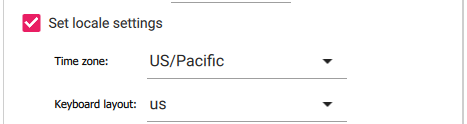
10. Tick the Set locale settings checkbox and select your preferred Time zone and Keyboard layout for your Raspberry Pi. Note that choosing your location from the list ensures the accurate time zone.
11. Under Persistent settings, enable the following:
- Eject media when finished – This setting helps to safely eject the SD card from your computer when the imaging process is complete.Enable telemetry – This setting helps the Raspberry Pi Foundation improve the Raspberry Pi Imager for Windows tool.
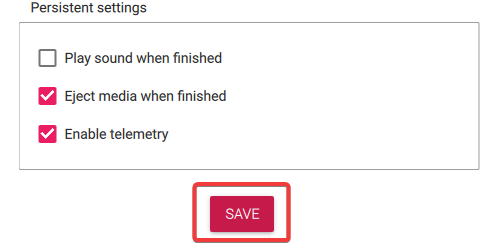
12. Once saved, click WRITE to begin writing the image against your selected settings to your SD card.
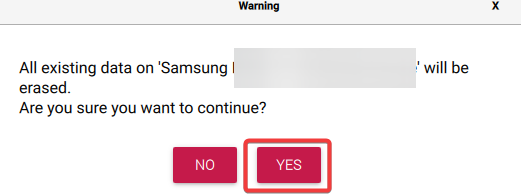
Click YES when prompted to confirm writing the image.
A new window opens, displaying the progress of the write operation. Depending on the image size and your SD card speed, this process can take a while.

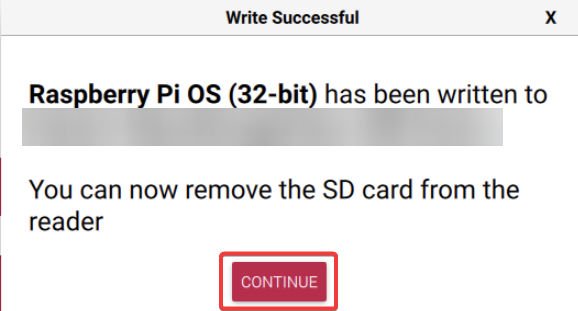
13. Finally, click CONTINUE to close the message box and return to the main screen once complete.
Booting Up Raspberry Pi via SD Card
You have successfully managed to write an image to your SD card. But to verify the image works, you will have to boot your Raspberry Pi from the image.
- Remove the SD card from your computer.
- Insert the SD card into your Raspberry Pi and connect the power supply. The green LED on your Raspberry Pi should start flashing, which indicates the Raspberry Pi is booting up.
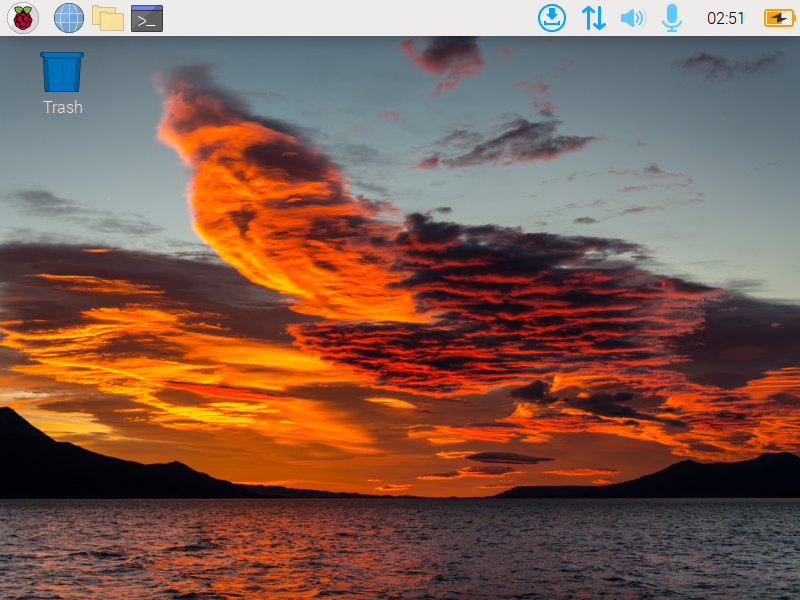
- Wait a minute or so for your Raspberry Pi to boot up. Once up, Raspberry Pi will be displayed on your screen, as shown below. The output below verifies Raspberry Pi is working and the image was successfully written to your SD card. Congratulations! You have now imaged your first SD card with the Raspberry Pi Imager for Windows tool.
Conclusion
The Raspberry Pi Imager for Windows provides a quick way to write OS images on your SD card. And in this tutorial, you have learned how to install Raspberry Pi Imager, write an image, and boot to your Raspberry Pi via SD card.
Experimenting with the Raspberry Pi can be fun. And since Raspberry Pi is a low-cost and low-power device, why not learn about building LAMP web servers and hosting your website? Keep Raspberry Pi running 24/7 without breaking the bank!


