


A wise man once said, “With great power comes great responsibility.” The same can be said about virtual machines (VMs). VMs are gaining popularity because they offer a lot of power and flexibility. But all this power can be confusing for newcomers. Well, unless you have VirtualBox on Ubuntu 20.04 machine.
In this tutorial, you’ll learn how to install VirtualBox and how you can take control of your VMs without losing yourself in the process.
Ready? Start managing your VMs like a pro with VirtualBox!
Prerequisites
This tutorial will be a hands-on demonstration. If you’d like to follow along, be sure you have the following:
- An Ubuntu 20.04 system.
- A user account with sudo privileges – This tutorial uses a root account, but you can also use a regular account with sudo privileges.
If you use a non-root user, prepend sudo on each command in this tutorial.
- An SSH client of your choice – This tutorial assumes that you’ve logged/SSH’d into your Ubuntu 20.04 system.
- A minimum of 4GB of RAM – VirtualBox recommends at least 16GB for optimal performance.
- A minimum of 20GB of free storage space – Each VM you create needs its own storage.
In real-world usage, the amount of memory and storage you need will depend on how many VMs you create and what you plan to do with them.
- An OS image file (ISO) – This tutorial uses an ISO image of Windows 10 (32-bit).
Installing VirtualBox on Ubuntu 20.04 via APT
The base repositories for Ubuntu 20.04 include VirtualBox, but it doesn’t come installed by default. The easiest way to install VirtualBox on Ubuntu is to use the APT package manager. This method works whether you’re using Ubuntu Desktop or Server.
Note that the version of VirtualBox in the repositories may not be the latest and greatest. But no worries. You can install the latest version using Oracle’s official repository, which you will learn about in the following section.
To install VirtualBox from the Ubuntu repositories using APT:
1. Run the apt update command below to update the list of available packages.
apt update -y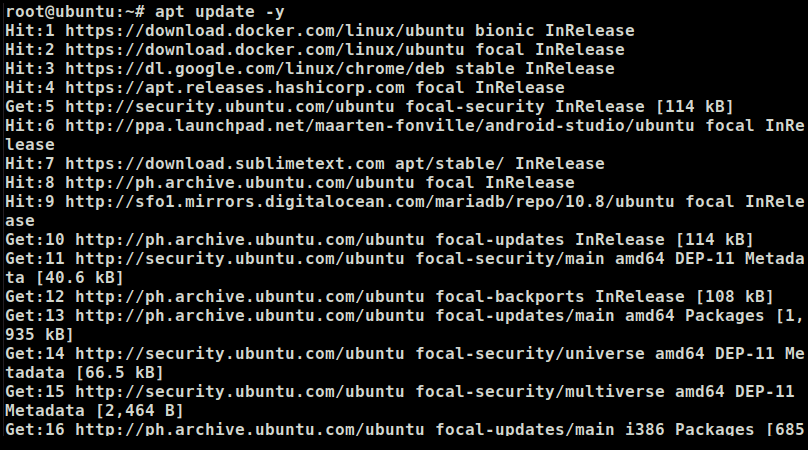
2. Next, run the below apt install command to install VirtualBox and the extended pack.
The extended pack is a set of additional features for VirtualBox that lets you use certain features, such as USB 2.0 and 3.0 support, Remote Desktop Protocol (RDP), etc.
apt install virtualbox virtualbox-ext-pack -y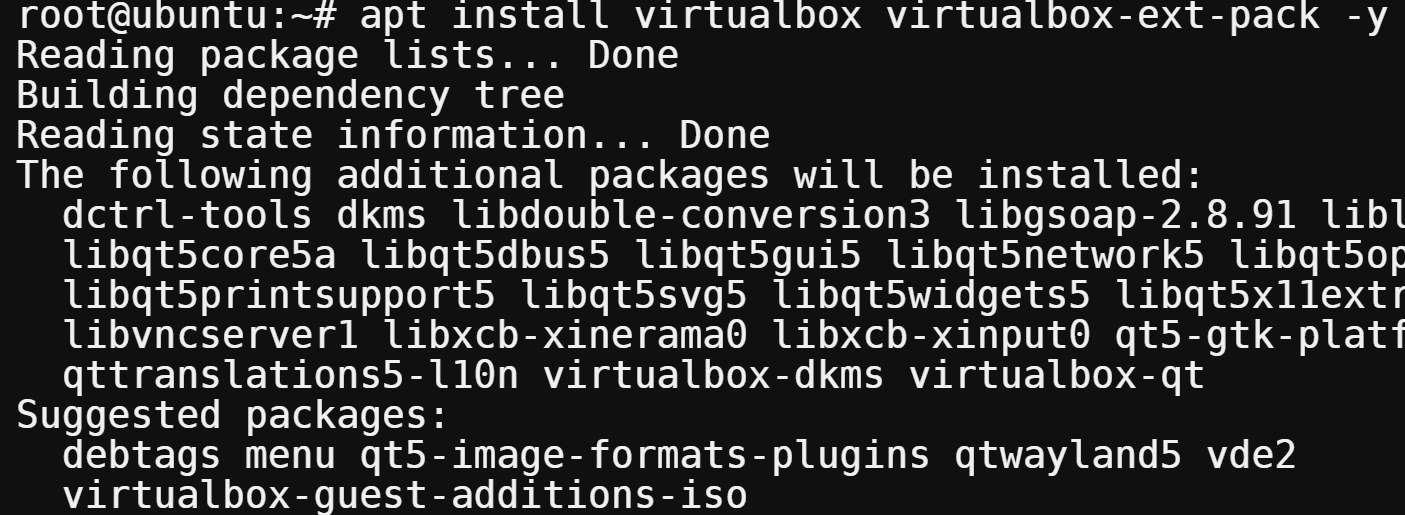
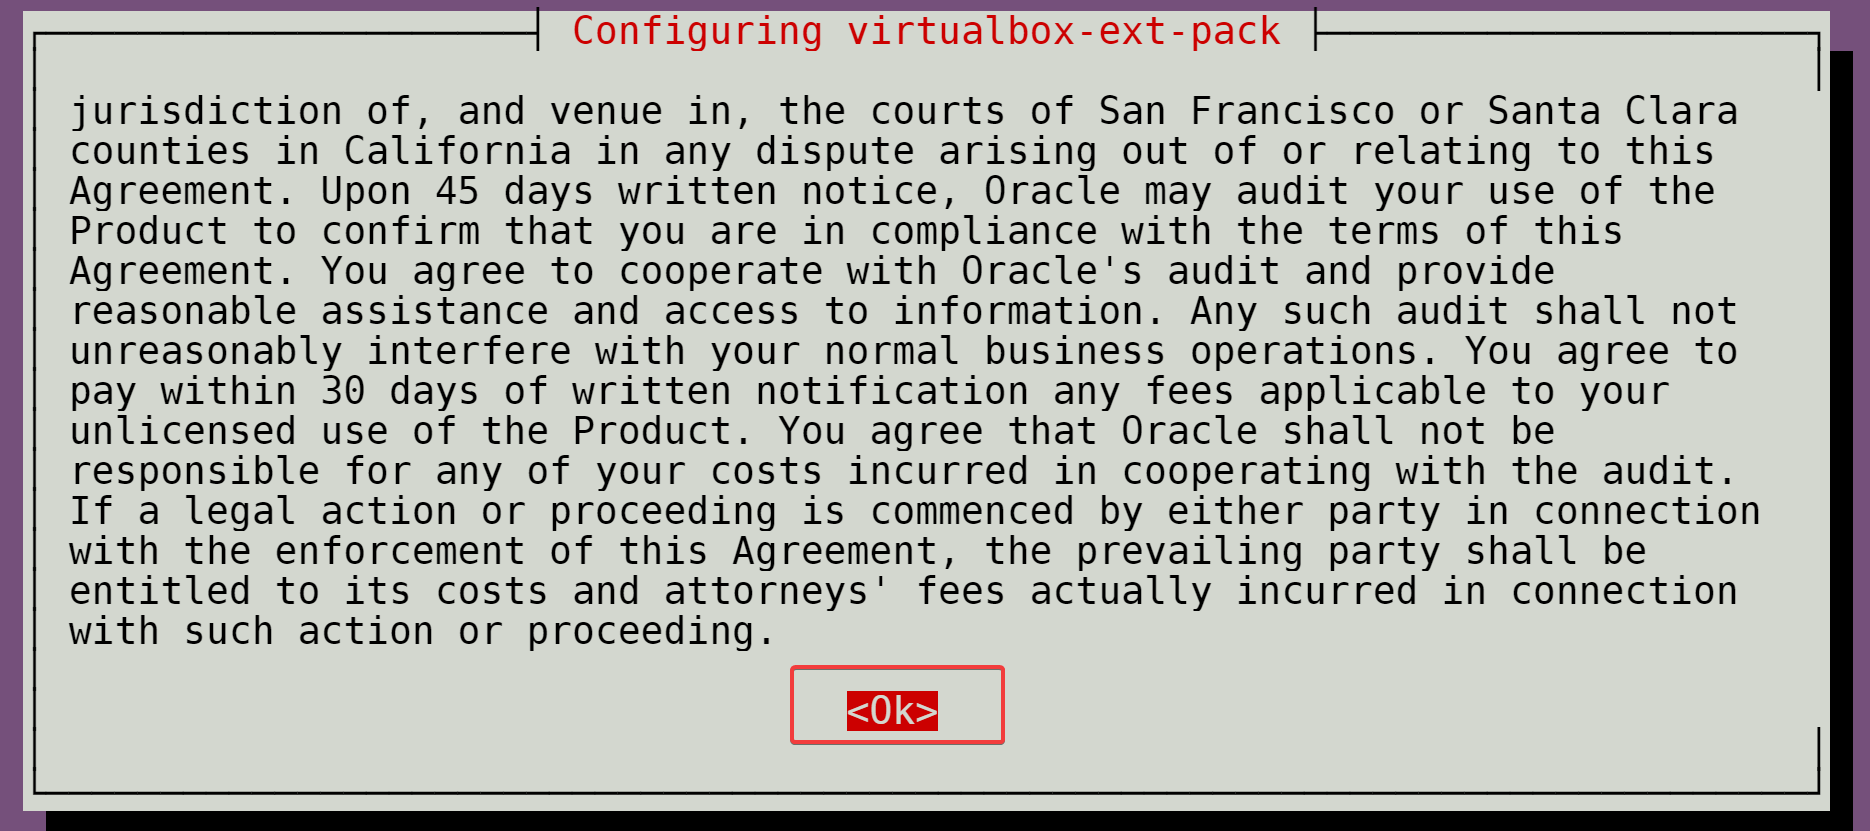
3. Select OK, and press Enter after reading the VirtualBox Extension Pack Personal Use and Evaluation License (PUEL) terms.
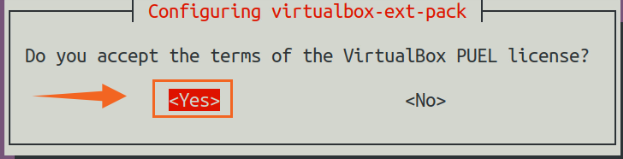
4. Now, select Yes, and press Enter to accept the Oracle Binary Code License Agreement for the VirtualBox Extension Pack.
The installer will download and install all the necessary files, as shown below. Wait for the process to complete. That’s it! You’ve successfully installed VirtualBox on your machine using APT.

5. Finally, run the following command to start using VirtualBox or open it from the Applications menu.
This step applies when opening VirtualBox regardless of which method you used to install the application in this tutorial.
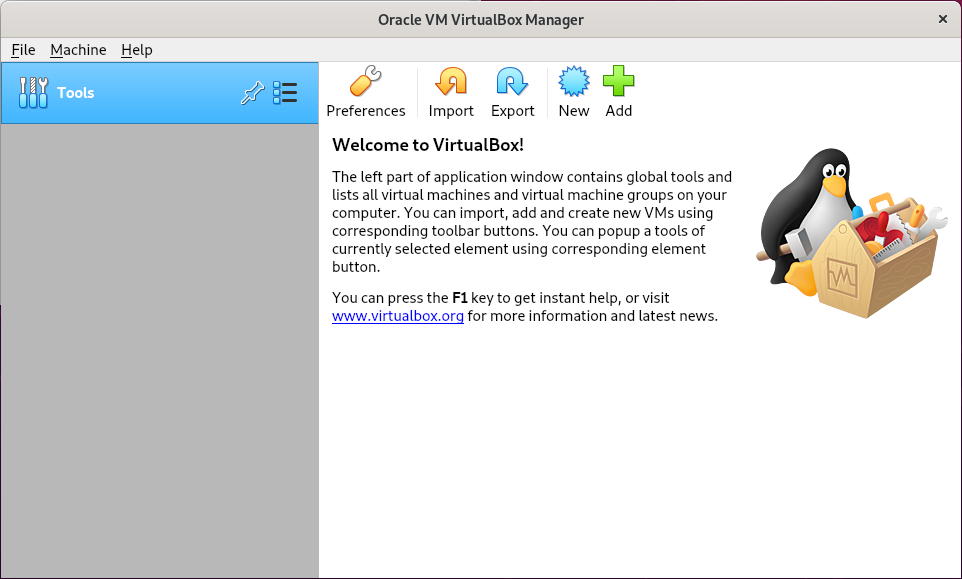
virtualboxThe main VirtualBox Manager window appears, as shown below, where you can manage your VMs.
Installing VirtualBox from Oracle’s Official Repository
You’ve learned to install VirtualBox using the APT package manager, a quick method. But that method has one major downside; you will not get the latest version of VirtualBox.
If you prefer to get the latest version of VirtualBox, you need to install it from Oracle’s official repository. Oracle releases new versions of VirtualBox frequently. Note that this method is a bit more complex than the previous one.
To install VirtualBox from Oracle’s official repository, you first need to add the Oracle repository key to your system:
1. Run the wget command below to download and add the Oracle repository key to your keyring. This key ensures that the packages you install using this repository are valid and come from a trusted source.
wget -q https://www.virtualbox.org/download/oracle_vbox_2016.asc -O- | sudo apt-key add -
2. Next, run the following add-apt-repository command to add the Oracle repository to your system. This repository contains the latest versions of VirtualBox for Ubuntu.
add-apt-repository "deb [arch=amd64] http://download.virtualbox.org/virtualbox/debian $(lsb_release -cs) contrib"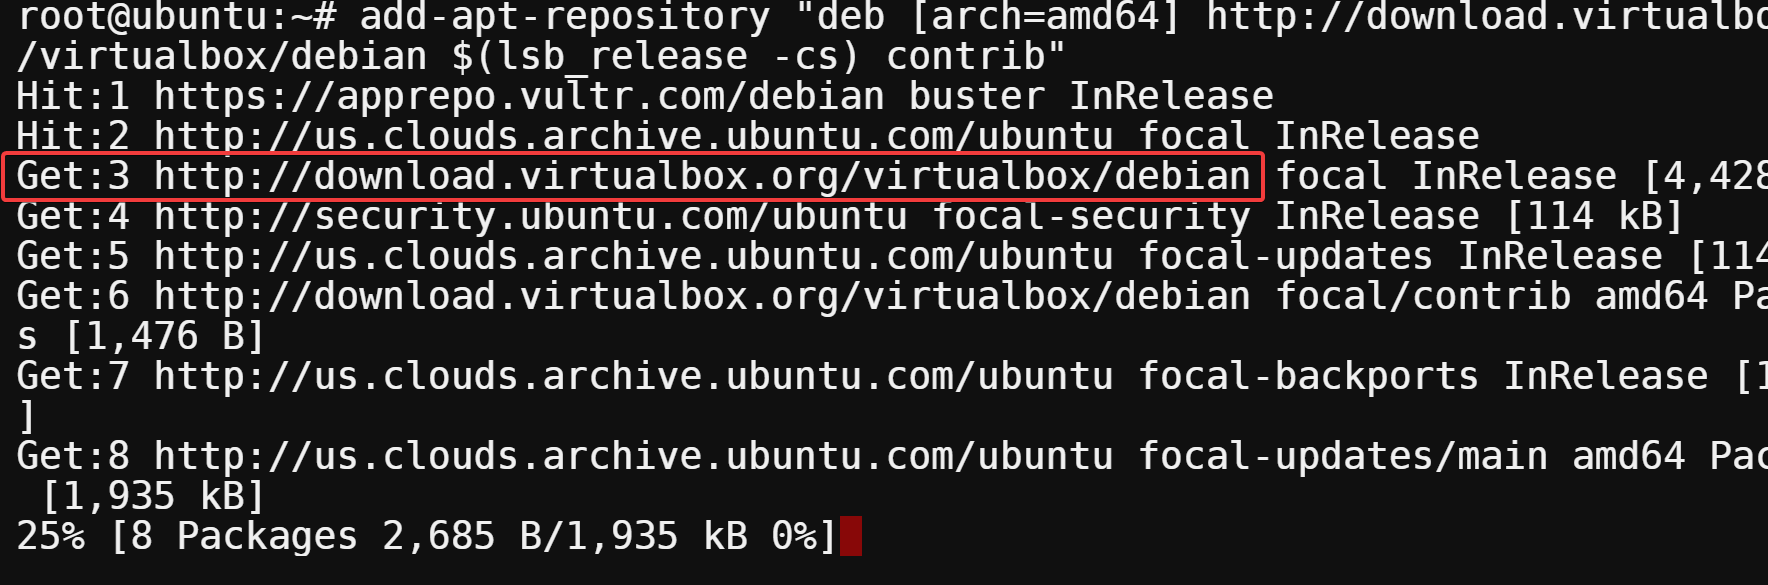
3. After adding the repository, run the below apt update command to update the APT cache and apply the new changes.
apt update -y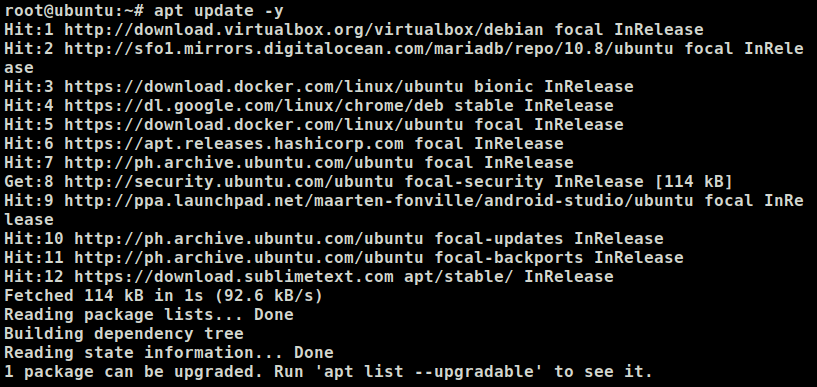
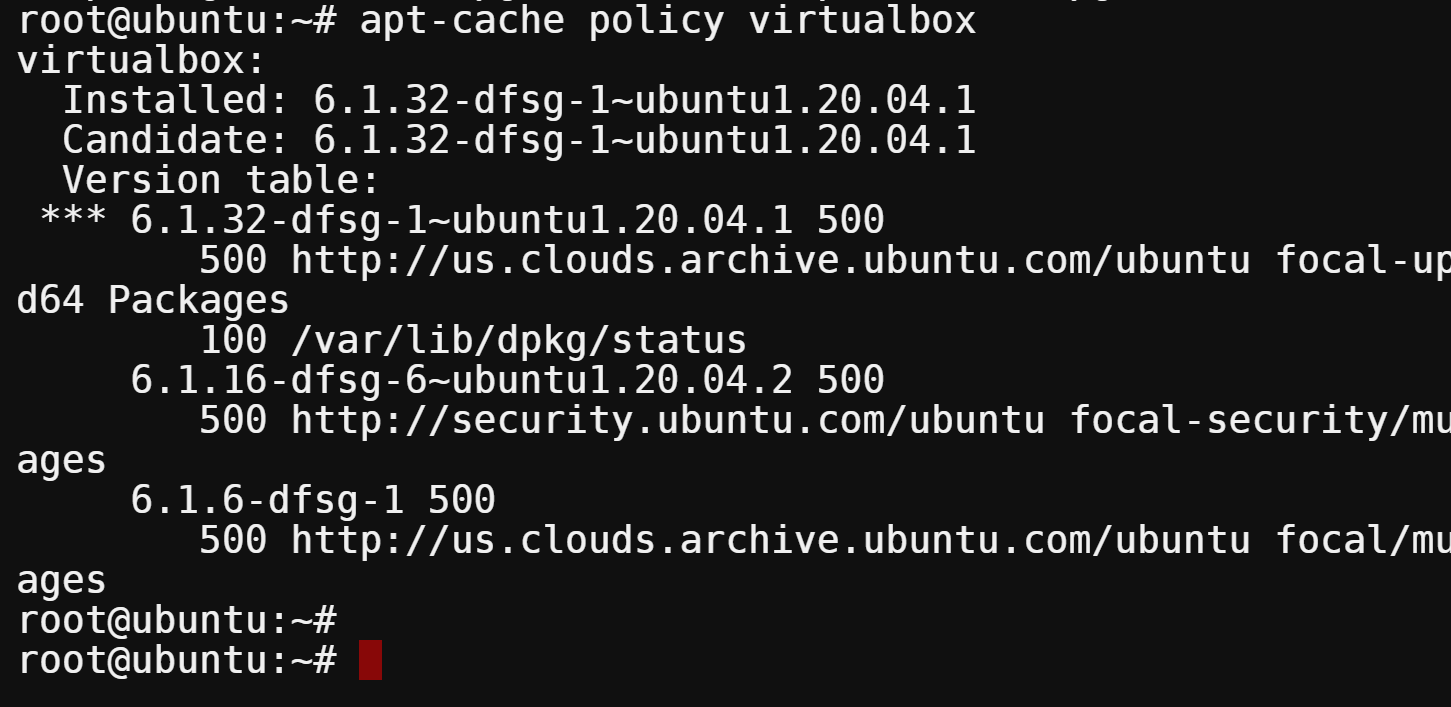
4. Run the apt cache command to check which version of VirtualBox is available in the official repositories.
apt-cache policy virtualboxPick the latest version of VirtualBox from the list to install.
5. Now, run the apt install command to install the latest VirtualBox version you picked from step four.
apt install virtualbox-6.1 -y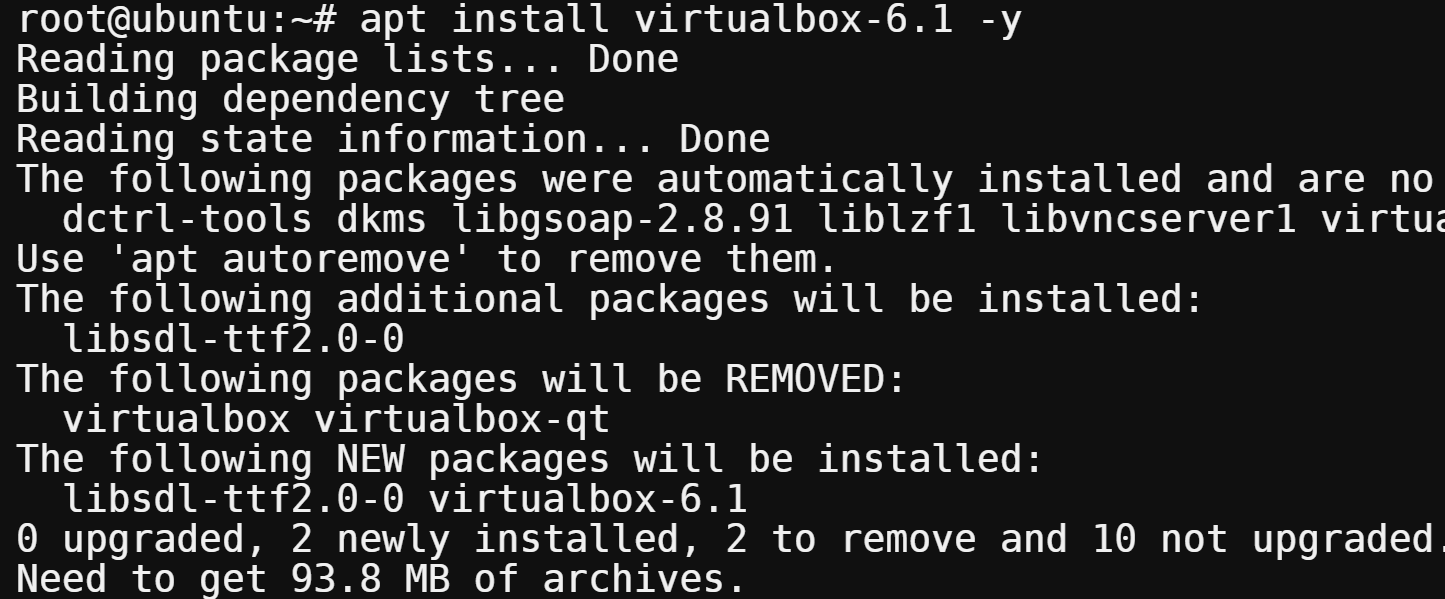
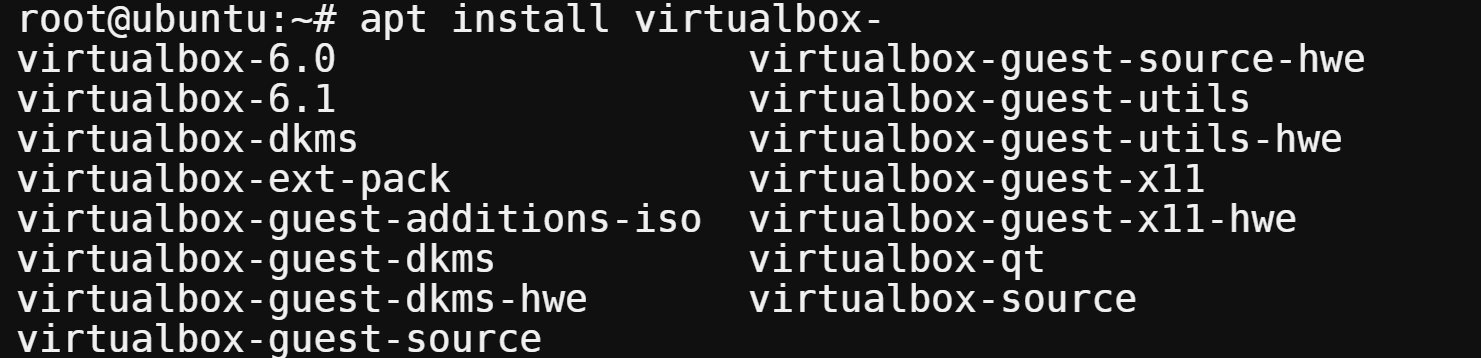
Alternatively, you can copy and paste the apt install virtualbox- command to your terminal and press Tab to autocomplete the version number.
All the versions currently available will be displayed, as shown below. Choose the newest one to install. This behavior works for any supported Ubuntu release and VirtualBox version combination.
6. Next, run the following command to download the VirtualBox Extension Pack. Ensure the version number of the extension pack matches the version of VirtualBox you just installed (6.1).
You can find the download link for the extension pack on the same page where you found the download link for VirtualBox.
wget https://download.virtualbox.org/virtualbox/6.1.26/Oracle_VM_VirtualBox_Extension_Pack-6.1.26.vbox-extpack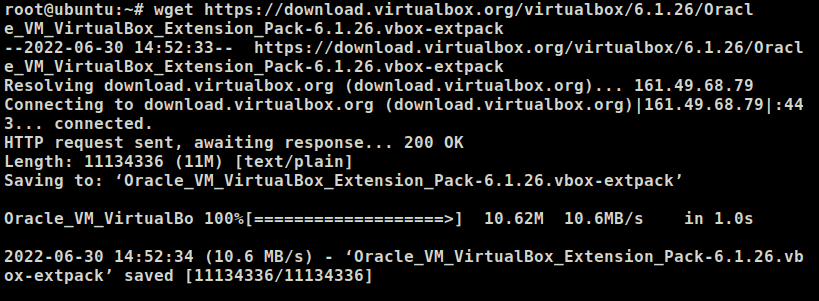
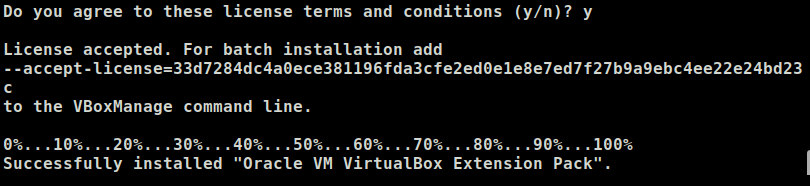
7. Lastly, run the VBoxManage command below to install the VirtualBox Extension Pack.
VBoxManage extpack install Oracle_VM_VirtualBox_Extension_Pack-6.1.26.vbox-extpackType y and press Enter when prompted to agree to the terms, as shown below.
Install VirtualBox using a Deb Package
If you’re not a fan of adding third-party repositories to your system, you can install VirtualBox using a deb package. You can download the deb package from Oracle and install it manually on your system.
To install VirtualBox from a .deb package:
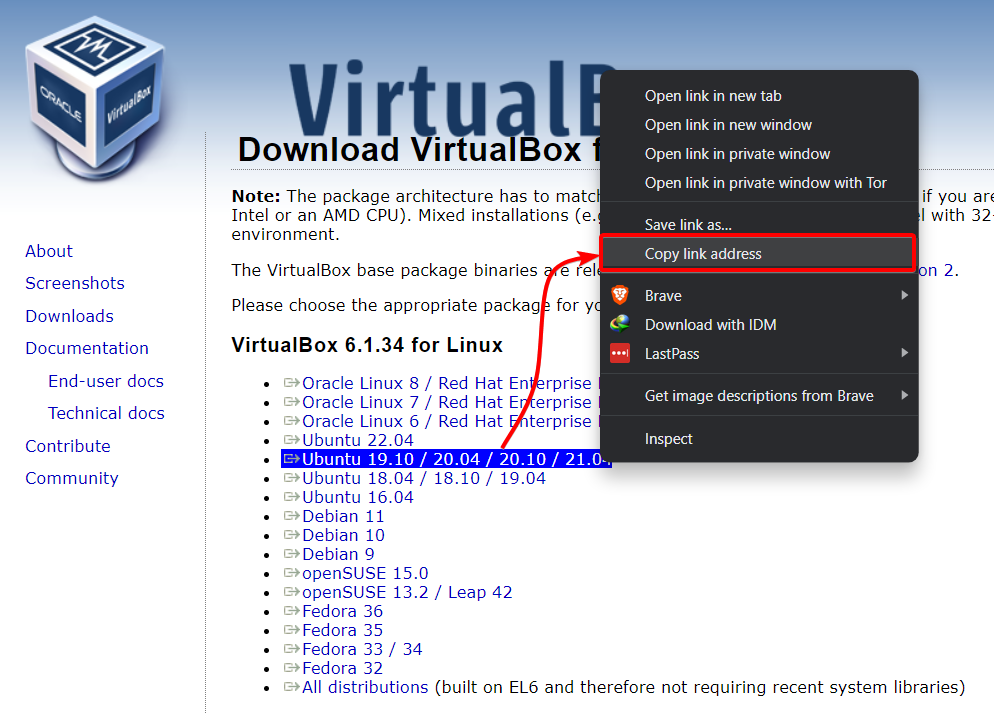
1. Open your favorite web browser, head to the VirtualBox Linux downloads page, and look for your Linux distribution. This tutorial goes for the VirtualBox 6.1.34 for Ubuntu 20.04.
Right click on the hyperlink, as shown below, and choose Copy link address to copy the download link.
2. Now run the wget command to download the .deb package. Replace the link below with the download link you copied in step one.
The -P option is used to specify the destination directory, which in this case is the Downloads folder.
wget https://download.virtualbox.org/virtualbox/6.1.34/virtualbox-6.1_6.1.34-150636.1~Ubuntu~eoan_amd64.deb -P Downloads
3. Now, run the following commands to switch to the Downloads directory and install VirtualBox.
cd Downloads
dpkg -i Downloads/virtualbox-6.1_6.1.34-150636.1~Ubuntu~eoan_amd64.deb
If you get an error saying that some dependencies are not satisfied, run the following command to fix them.
apt-get install -f
Creating Your First VM
You’ve successfully installed VirtualBox on your machine and are ready to create your first VM. This tutorial uses a Windows 10 image to create a VM, but you can choose any you prefer.
To create your first VM:
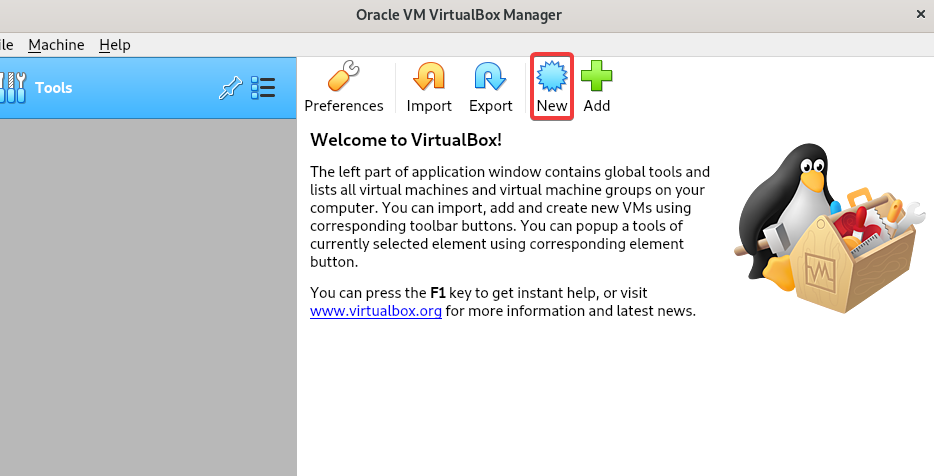
1. Launch VirtualBox if it’s not already open.
2. Click the New button on the toolbar to create a new VM.
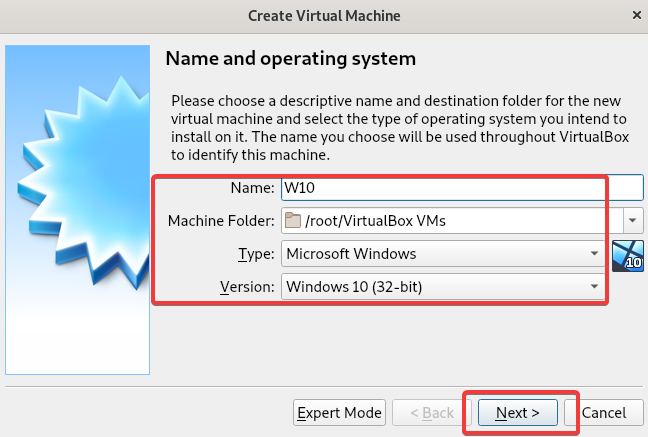
3. Configure the name and operating system (OS) for your VM with the following:
- Name – Provide a name for your VM. This tutorial’s choice is W10.
- Machine Folder – Choose the folder where you want your VM to reside.
By default, your VM files are stored in the home directory under the VirtualBox directory.
- Type – Select the type of OS for your VM. This tutorial’s choice is Windows 10 (32-bit).
- Click Next to continue.
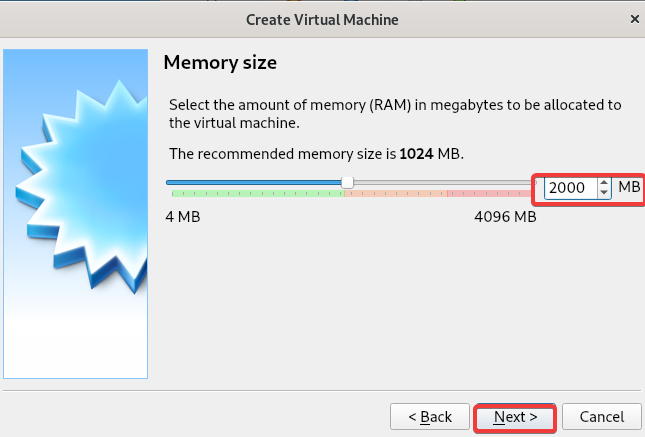
4. Now, specify how much memory (RAM in MB) you want to allocate for your VM, and click Next.
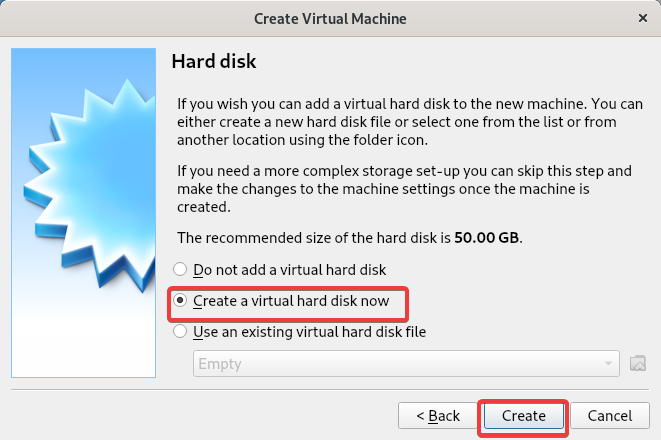
5. Select the Create a virtual hard disk now option on the next screen, and click Create.
This option lets you create a virtual hard disk (a file) that stores all the data for your VM, including the operating system, applications, and files.
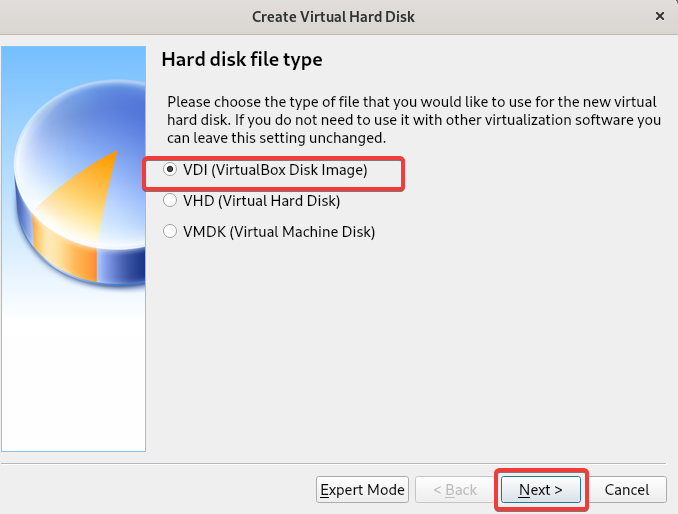
6. Next, choose the VDI (VirtualBox Disk Image) option, which is a good choice for most users, and click Next.
But if you’re running VirtualBox on an enterprise environment, choose one of the other two options instead.
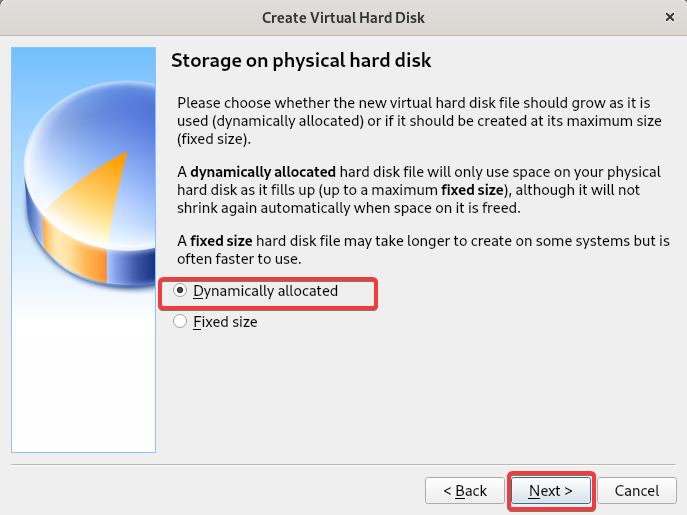
7. On the next screen, choose the storage type for your virtual hard disk. But for this tutorial, select the default option (Dynamically allocated) and click Next.
Why use dynamic allocation? This option is more efficient with storage space because it only allocates the amount of disk space the VM uses.
8. Choose a name for the virtual hard disk, allocate the storage space for your VM, and click Create. You can choose the storage size you prefer, but this tutorial’s choice is 20 GB.
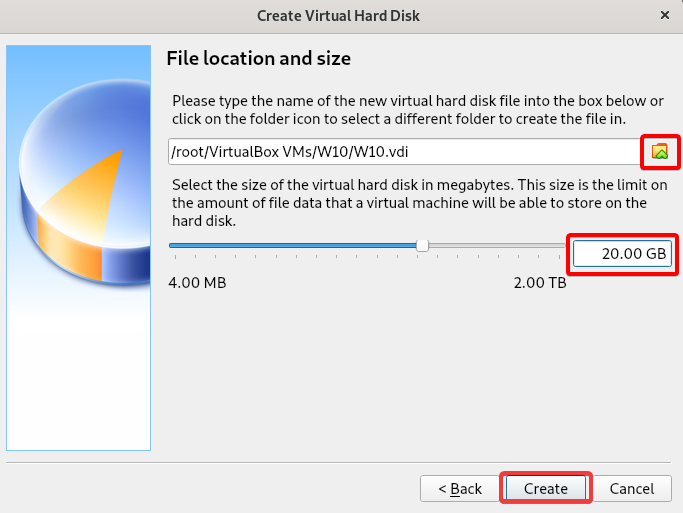
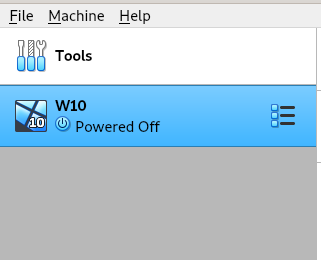
Once the VM is created, you’ll see the VM listed in the left pane of the VirtualBox window.
Attaching a Bootable Media
You’ve just created your first VM on VirtualBox. But right now, even if you start the VM, it won’t do anything since you haven’t attached any bootable media to the VM.
To attach a bootable media to your VM:
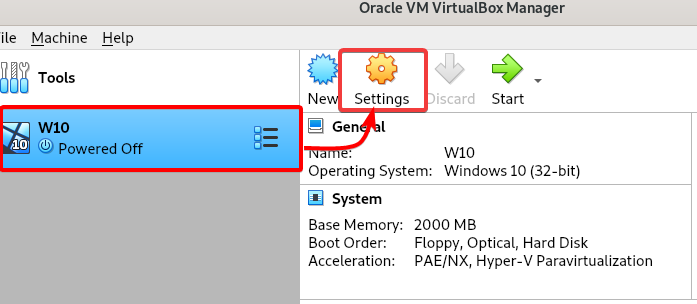
1. Click on your VM in the left pane, and click Settings from the toolbar to access your VM’s settings.
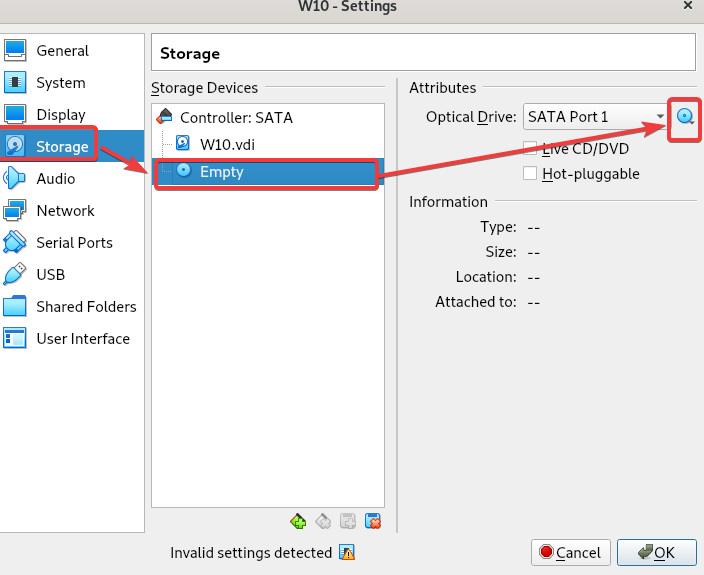
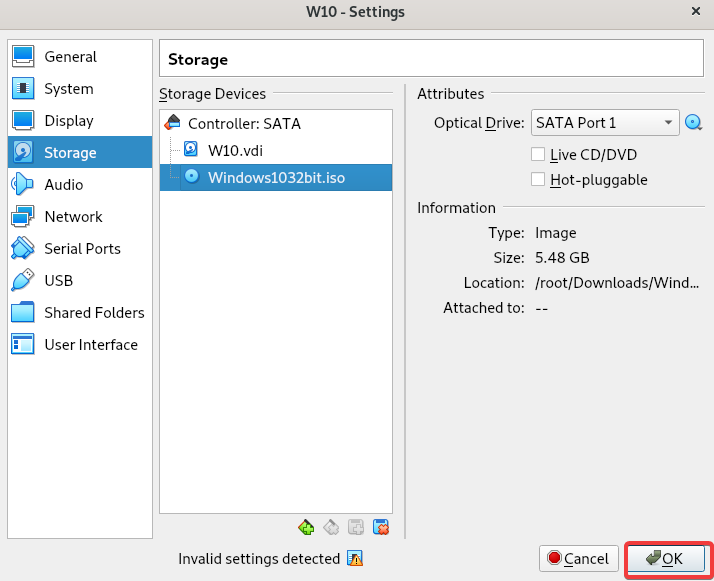
2. On the Settings window, click Storage in the left pane —> Empty drive under Storage Devices —> the disc icon under Attributes.
A context menu opens where you can choose how to attach a bootable media for the VM (step three).
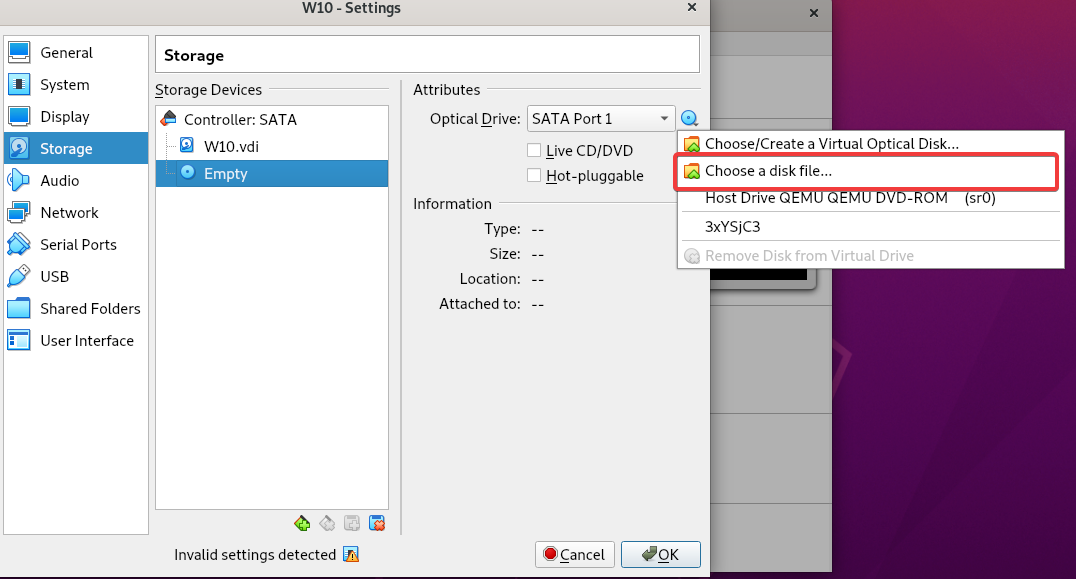
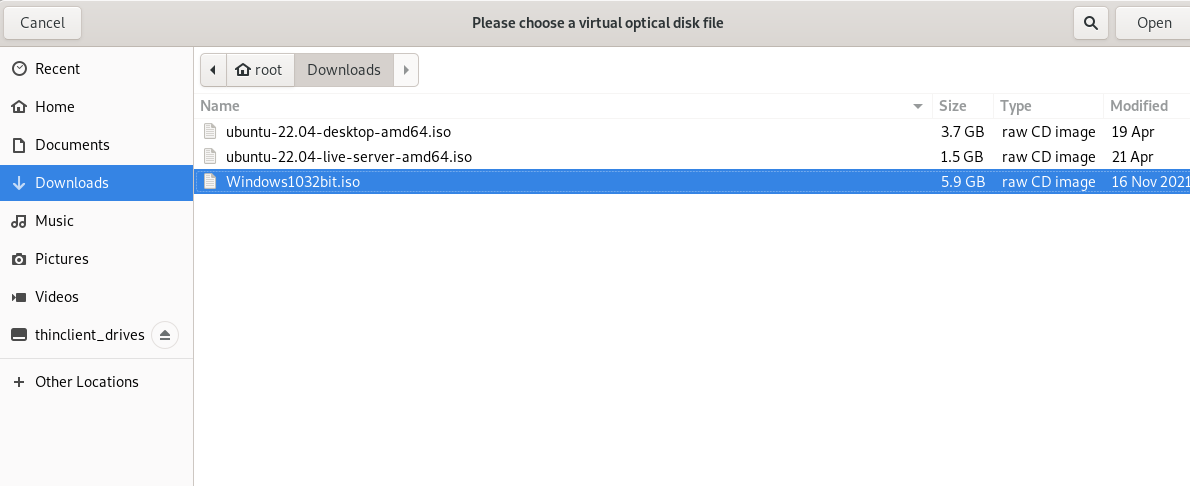
3. Select Choose disk file from the dropdown menu to look up your bootable media (ISO).
4. Now, locate and select your ISO image file.
5. Click OK to close the Settings window.
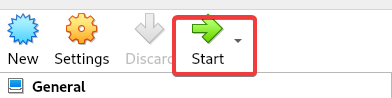
6. Lastly, click Start at the toolbar to start your new VM.
You’ll see a new window open with your VM booting up. At this point, you can install your OS (Windows 10) as you usually would on a local machine.
After installing the OS, you can boot up your VM and use it just like any other computer.

Increasing VM’s Video Memory (VRAM) to Improve Performance
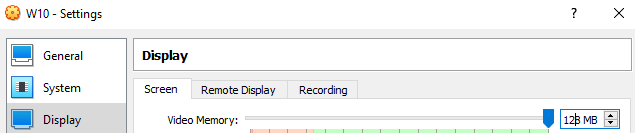
Did you notice slowness on your VM after setting up its OS? By default, the VRAM allocated to a VM is only 128 MB, which is also the max VRAM you can allocate, as shown below.
This amount of VRAM is fine if you have only one or two windows open. But, if you try to do anything graphics-intensive, like testing your video games on different OS, you’ll need more VRAM.
To increase the video memory for your VM:
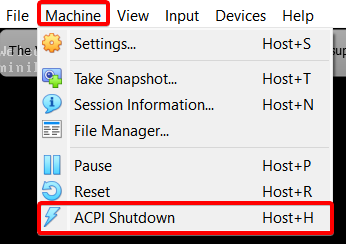
1. Click on the Machine menu —> ACPI Shutdown, as shown below, or press Host+H keys to shutdown your VM. The Host key is the right Ctrl key on your keyboard.
2. Next, run the below command to increase (modifyvm) your VM’s VRAM to 256. This command doesn’t provide output but sets your VM’s max VRAM to 256. Be sure to replace W10 with your VM’s name.
Note that 256MB is the maximum video memory you can allocate.
VBoxManage modifyvm "W10" --vram 2563. Start your VM again, and you’ll notice the difference in performance.
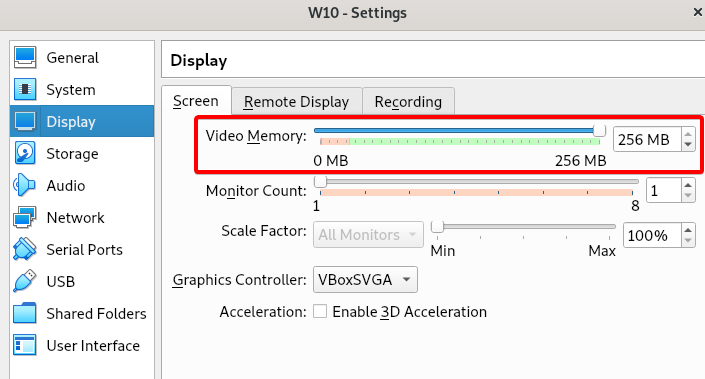
4. Finally, open VM’s settings, click on Display in the left pane and see the Video Memory is set to 256 MB, as shown below. This output indicates that your Windows 10 VM’s video adapter now uses 256 MB of video memory.
You can experiment with different amounts of video memory to find the sweet spot for your needs. But remember that you can’t allocate more than 256 MB of video memory to a VM.
Conclusion
In this tutorial, you’ve learned how to install VirtualBox on your Ubuntu 20.04 system and create your first VM. You’ve also improved performance by increasing your VM’s VRAM to your liking. With these skills, you can test different OSs and run multiple VMs simultaneously without any slowdown.
VirtualBox, no doubt, is one of the best virtualization software available. This software is free, open-source, and cross-platform.
Many system administrators and developers use VirtualBox with a local Kubernetes cluster for development and testing purposes. Would you do the same?


