

If managing and troubleshooting your VMs can be challenging enough, imagine being unable to connect to your VMs, to begin with. The good news is that Azure RDP is just around the corner to help you connect to your VMs.
This tutorial will walk you through different options for connecting to Azure VMs using RDP. At the same time, you’ll look at how to secure your VM’s connection.
Ready? Read on to find out the best way to connect to your VMs!
Prerequisites
This tutorial will be a hands-on demonstration. If you’d like to follow along, be sure you have the following.
- A Microsoft Azure Portal account with an active Azure subscription – You can create a free trial account if you don’t have one.
- An RDP client installed on your local computer – This tutorial uses the default Microsoft RDP client on Windows 10.
- A modern web browser that supports JavaScript and HTML5 (Microsoft Edge, Google Chrome, or Mozilla Firefox) – You’ll use the Azure Portal, a web-based interface, for managing your Azure resources.
Configuring and Deploying a VM to Azure
The most common way to connect to an Azure VM is via the traditional Remote Desktop Protocol (RDP). RDP is a proprietary protocol developed by Microsoft that provides a graphical way to connect to a remote computer.
To see how the traditional Azure RDP works, you’ll create a Windows VM that runs Windows 10 and connect to it via RDP.
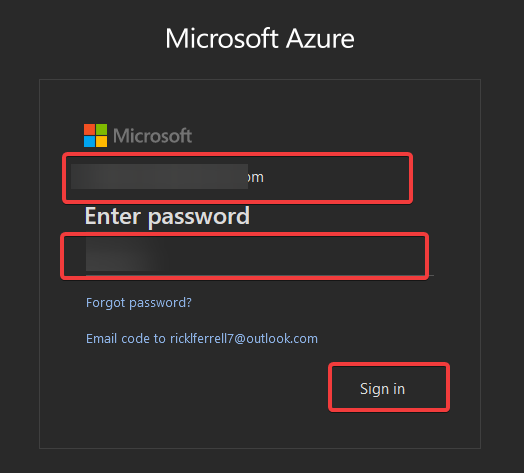
1. Open your favorite web browser, navigate to portal.azure.com and provide your Azure credentials to sign in.
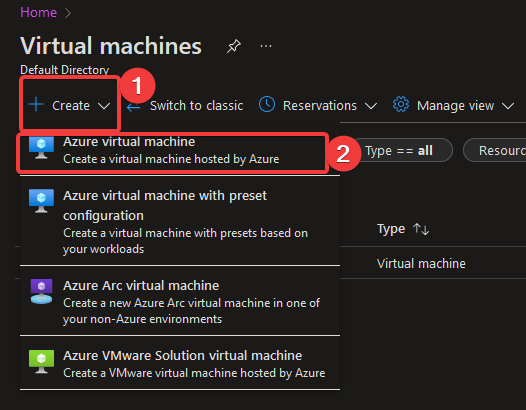
2. Next, click on Virtual machines on the Azure Portal’s home page to see the options for creating VMs.

3. On the Virtual machines page, click on the + Create button (top left) —> Azure virtual machine to create a new VM.
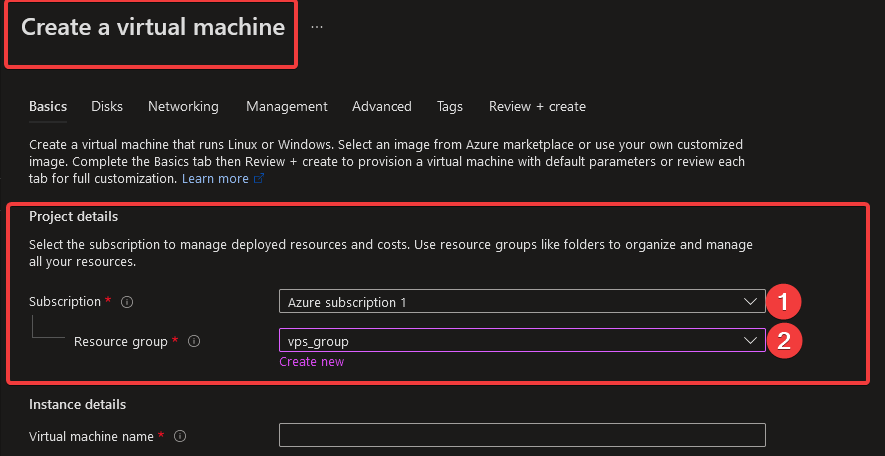
4. Now, configure the new VM’s project details with the following:
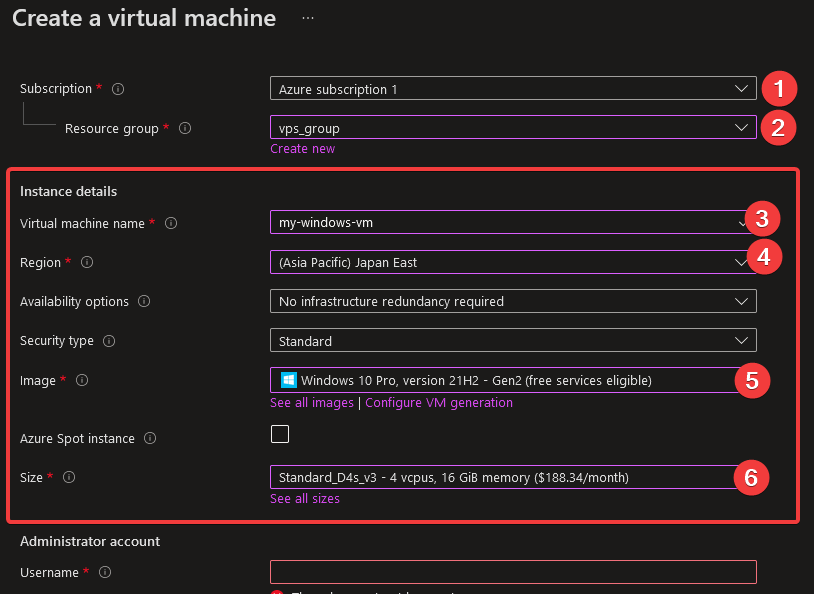
- Under the Basics tab inside the Project details section, ensure the correct Subscription is selected (Azure subscription 1). A subscription is required to create and use Azure resources.
- Click the Resources group dropdown list to select an existing one (vps_group), as shown below. Or click the Create new link to create a new resource group.
A resource group is a logical container used to group Azure resources such as VMs, storage accounts, and databases. A Resources group is helpful when you delete all resources in a resource group in one go, rather than deleting each resource individually.
5. Set up the instance details in the Instance details section with the following:
- Provide a descriptive VM name in the Virtual machine name field. This tutorial uses the VM name my-windows-vm.
- Click the Region drop-down list and select a region closest to you to minimize network latency when connecting to the VM. Azure is available in multiple regions around the world.
- Click the Image drop-down list and select an image (operating system). For this tutorial, choose Windows 10 Pro 21H2 – Gen2.
Windows is the most common OS used with RDP, and this image has the latest version of Windows. Keep other settings as is since the default values work fine in most cases.
- Select a size for the VM from the Size drop-down list, where you can choose the minimum Bs-series or Dv-series VM size with four cores and 8GB RAM for RDP.
For this tutorial, select the Standard_D4sv3 – 4 vcpus, 16GB RAM, as shown below. If you choose a lower configuration, you might get an error when trying to connect to the VM via RDP.
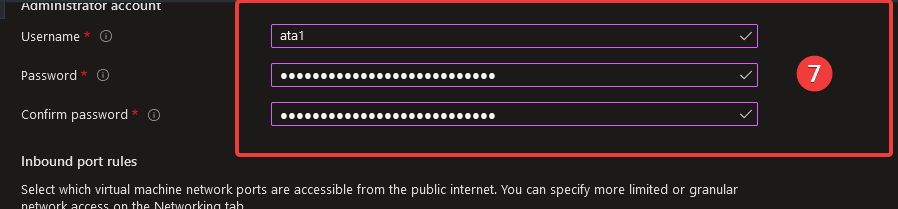
6. Next, scroll down to the Administrator account section and set a Username and Password. This tutorial uses the username ata1, but you can input any username you like and a strong password.
Use a complex password between 12 to 72 characters long and contains a mix of lowercase, uppercase letters, digits, and special characters.
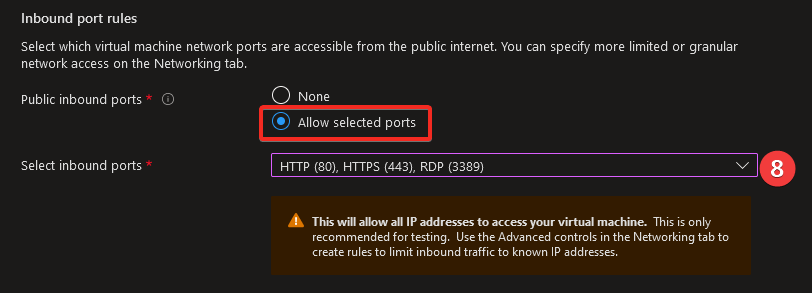
7. In the Inbound port rules section, select the Allow selected ports option beside Public inbound ports to set custom inbound ports.
Click on the Select inbound ports drop-down list, and select the ports below:
- RDP(3389) – Allows RDP traffic to connect to the VM using RDP.
- HTTPS(443) and HTTP(80) – Allow you to browse the internet from the VM.
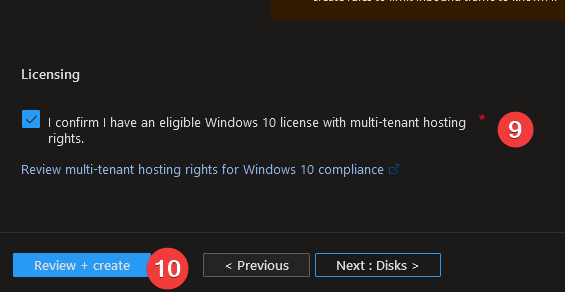
8. Under Licensing, tick the checkbox to confirm you have an eligible Windows 10 license, then the Review + create button appears.
Click on the Review + create button to validate your new VM’s configuration.
Keep other settings such as Disks, Networking, and Management since the default values work fine in most cases.
The Azure Portal will validate your input, which can take a few minutes to complete. Once the validation completes, you’ll see a message that says Validation passed, as shown below.
If you don’t see this message, ensure you’ve provided all the required input, including a username, password, and subscription.

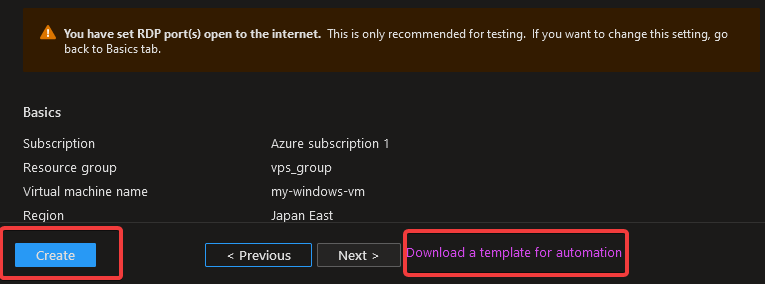
9. Lastly, click the Create button at the bottom to finalize creating the new VM and deploy that VM.
You can download a template for the VM you just created by clicking on Download a template for automation. The template contains all the settings and configurations for the VM, and you can use it to deploy similar VMs or automate your CI/CD process.
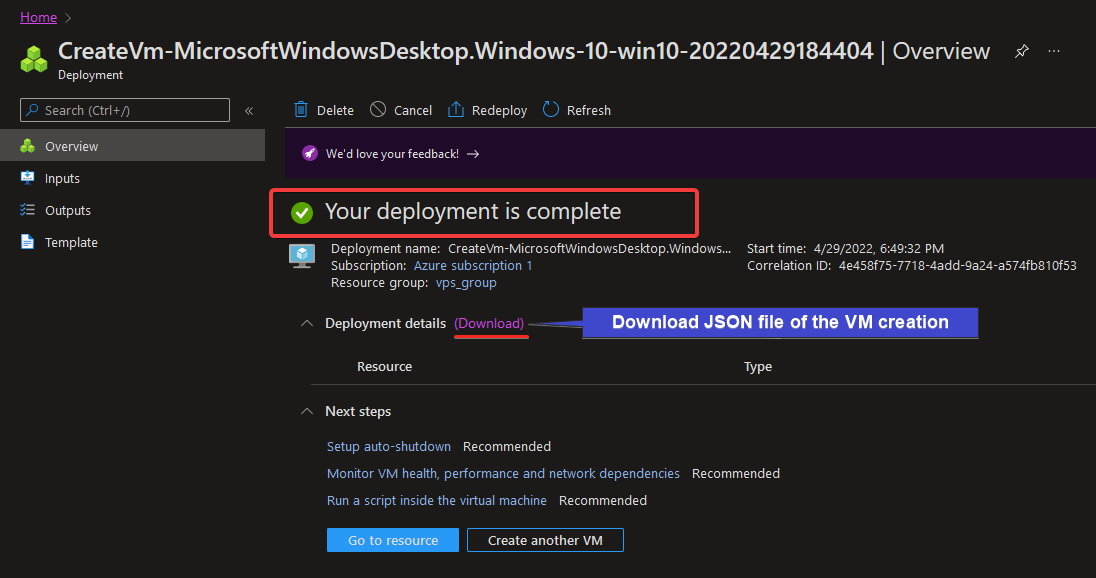
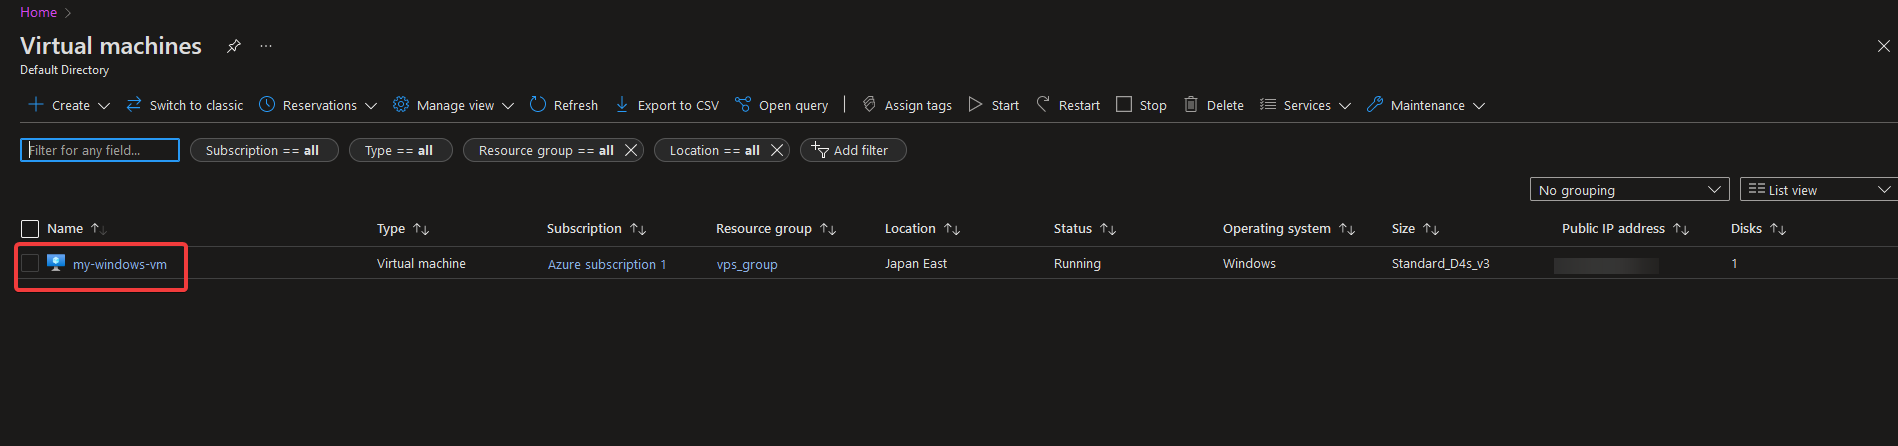
The deployment process can take a few minutes to complete. Once the new VM is deployed, you can see the VM listed below on the Virtual machines page.
For troubleshooting purposes, you can click on Download under Deployment detail to download a JSON file with all the details of the VM creation.
Connecting to a VM via Traditional Azure RDP
You’ve successfully deployed your VM, but you can’t use nor manage your VM unless you connect to it. You’ll directly download an RDP file you’ll use to connect to your VM through Azure’s Virtual machines page.
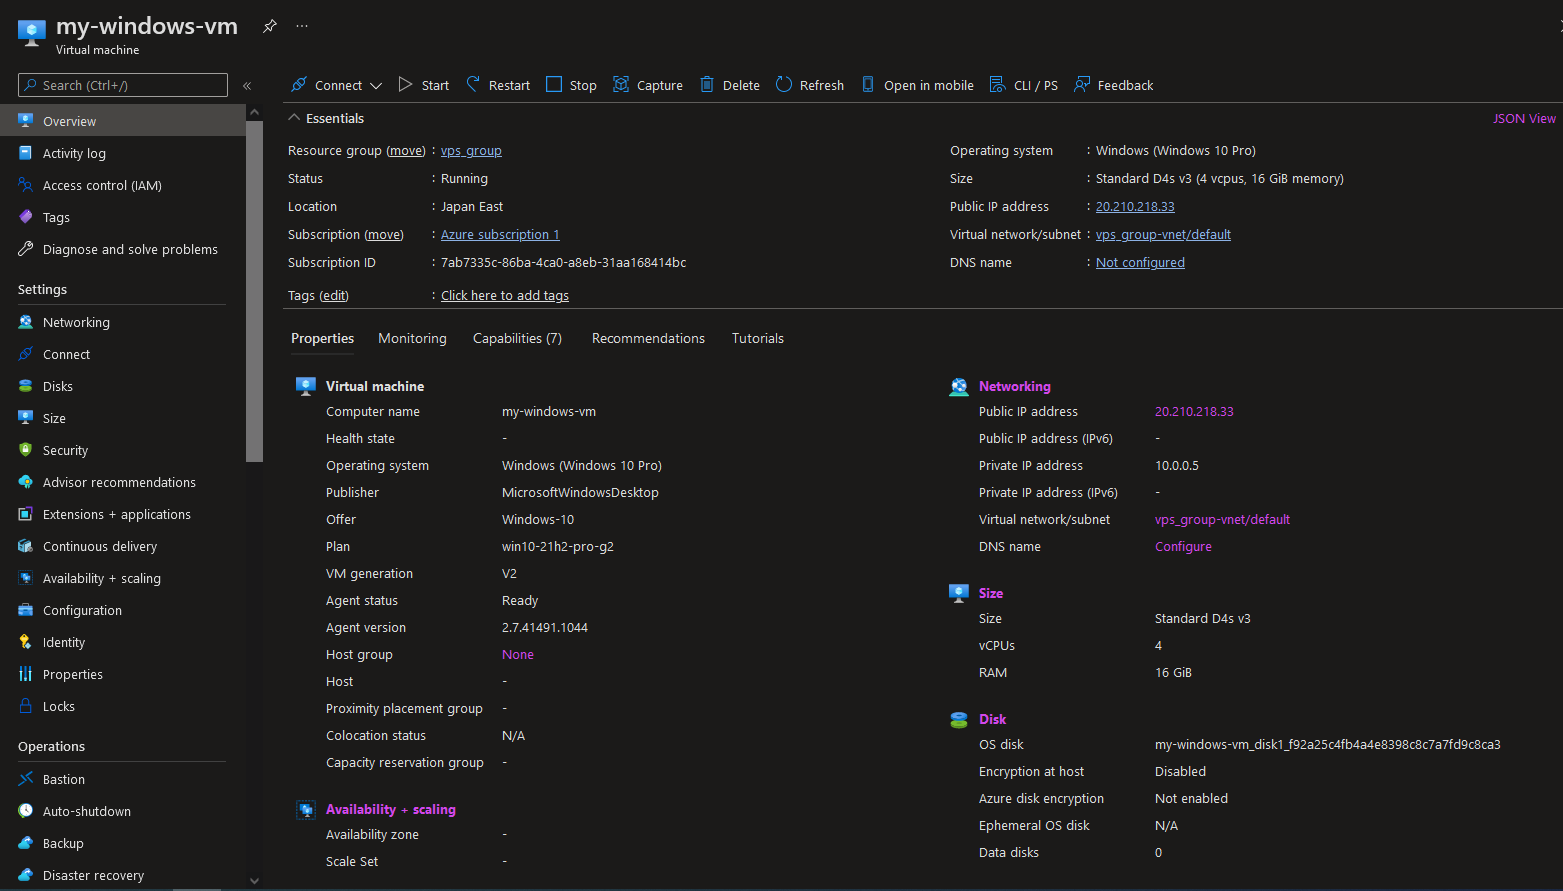
1. Navigate to your Virtual machines page, and click on your VM’s hyperlink (my-windows-vm) to open the VM’s overview page.
The VM’s overview page shows all information about your VM, such as CPU usage, disk usage, network usage, Resources group, etc.
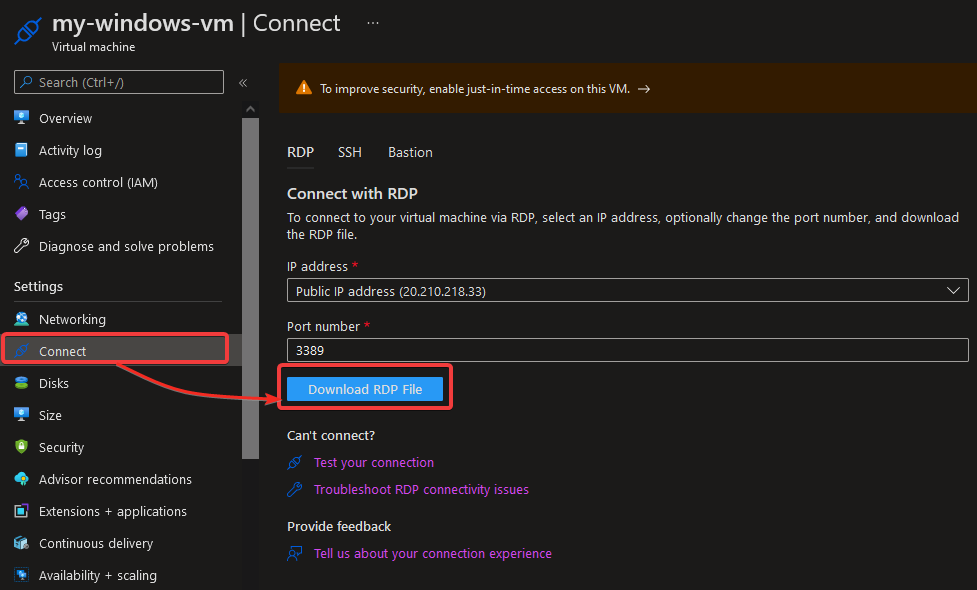
2. Next, click on the Connect button on the left pane. Your browser redirects the page to where you can choose different types of files to download for connecting to your VM.
Keep the default values, and click on the Download RDP File button to download an RDP file you’ll use to connect to your VM.
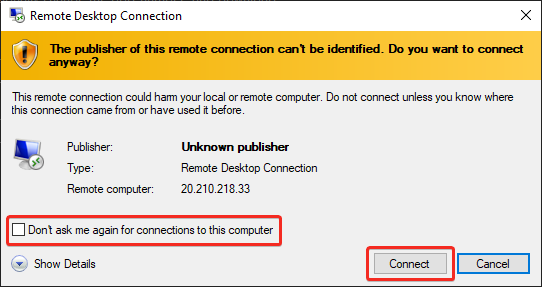
3. Once the RDP file is downloaded, double-click on the file to initialize connecting to your VM. Your RDP client opens, and you’ll see a security warning pop-up window, as shown below.
This warning tells you that the publisher of this remote connection can’t be identified, which you can safely ignore.
Click on the Connect button to connect to your VM.
Perhaps you like to skip this pop-up window in the future each time you connect to your VM. If so, enable the Don’t ask me again for connections to this computer option before you click on Connect.
4. Provide your username (ata1) and the password you set in step six of the “Configuring and Deploying a VM to Azure” section, and click OK.
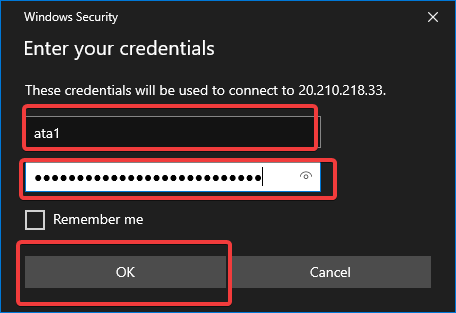
The RDP client will try to connect to the VM on the 3389 port.
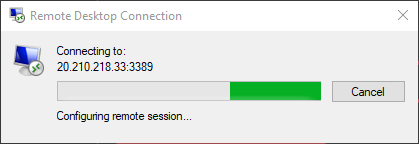
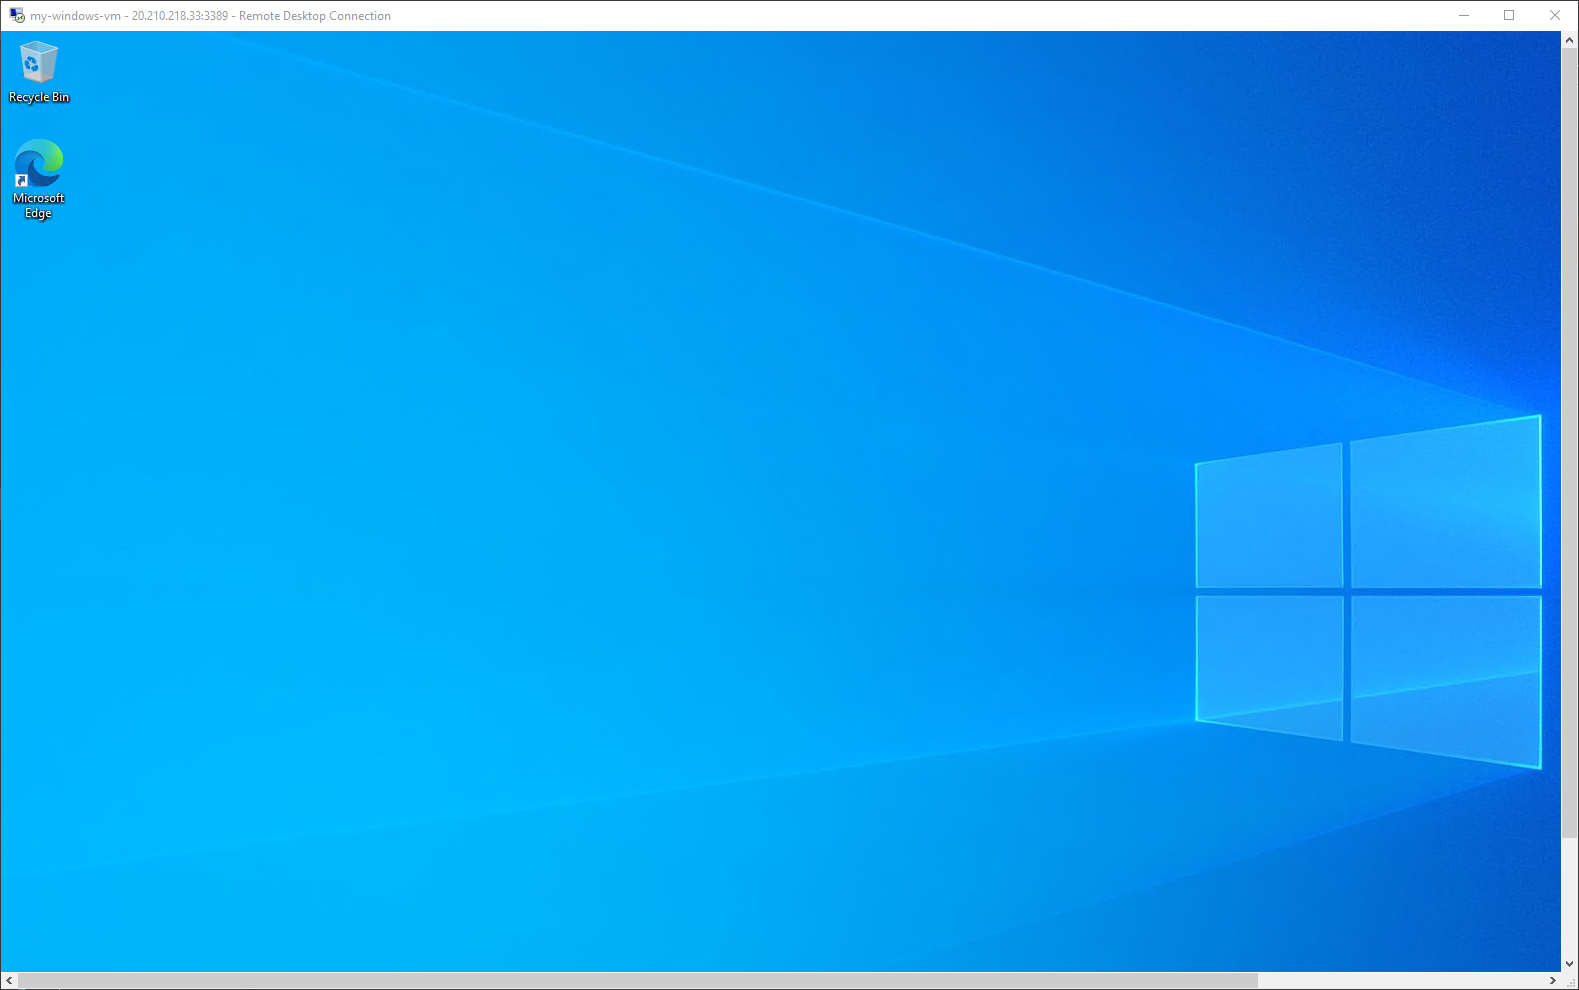
As shown below, you’ll get to your VM’s desktop if the connection is successful. At this point, you can now use your VM just like any other computer.
If the RDP connection fails, navigate back to the Connect window (step two) and select Test your connection and Troubleshoot RDP connectivity issues. The JSON file you downloaded in step two will come in handy to troubleshoot the problem.
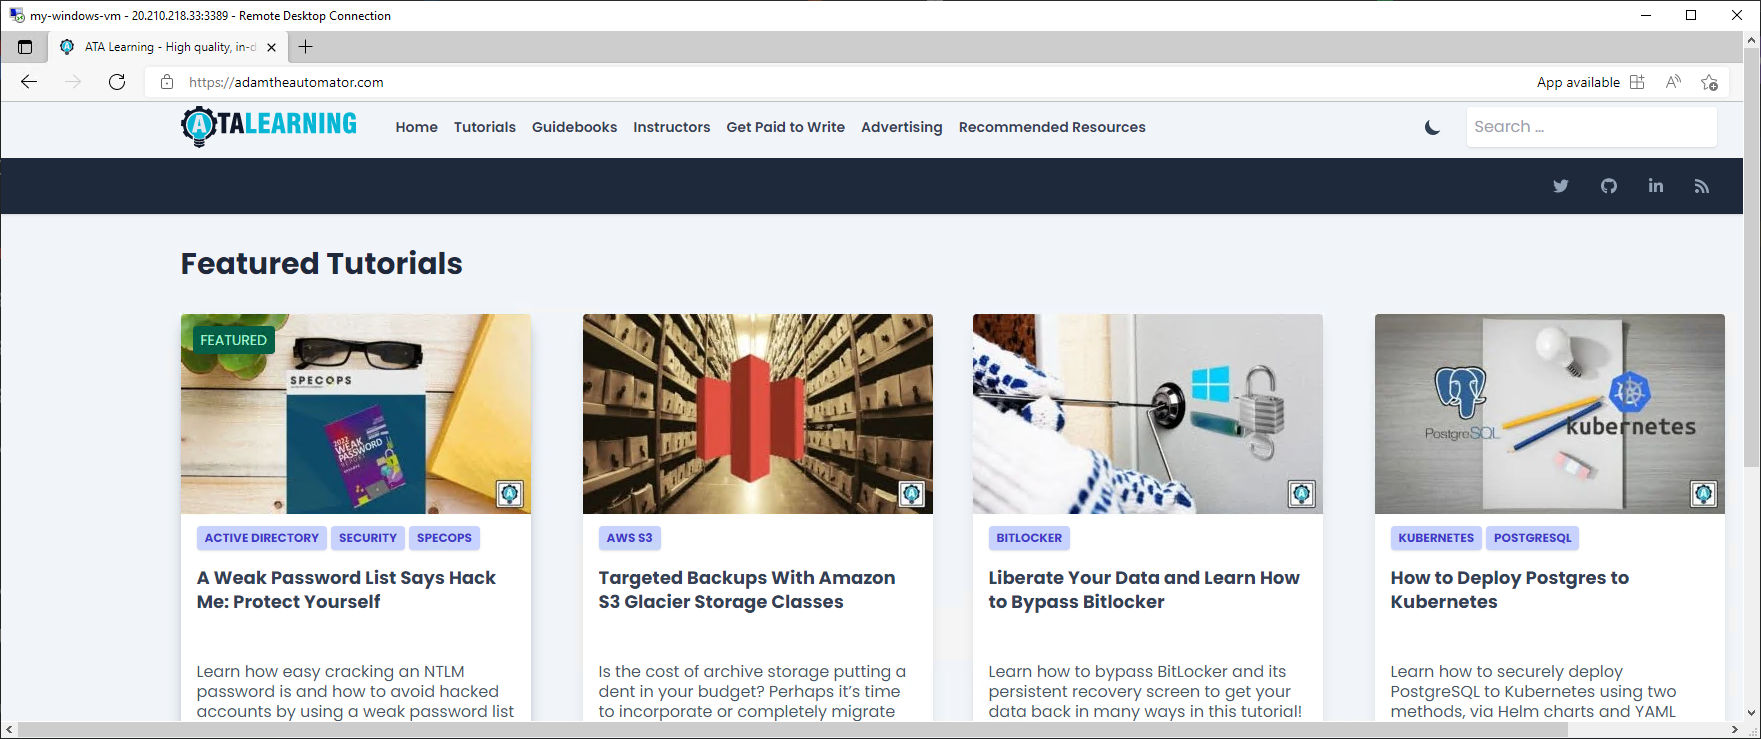
5. Lastly, open the default web browser on the VM and try to access any website.
You can now browse the internet, as shown below, just like you would on any other computer. This output confirms that your HTTP and HTTPS traffic is working as expected.
Connecting to VM with Azure Web Console/Bastion
So far, you’ve seen how to connect to a VM via RDP. But in many cases, you won’t want to use RDP because it’s not the most secure way to connect. Anyone with the RDP file can connect to your VM.
Instead, you can use the Azure web console or Bastion, a web-based interface, to connect to your VM without using an RDP client. By default, Azure Bastion uses SSL/TLS to connect you to your VM with a few clicks, so it’s more secure than using the traditional RDP client.
To see the Azure Bastion in action, you’ll create a basic Azure Bastion host and use that host to connect to a VM.
1. Navigate to the Bastion page with the following:
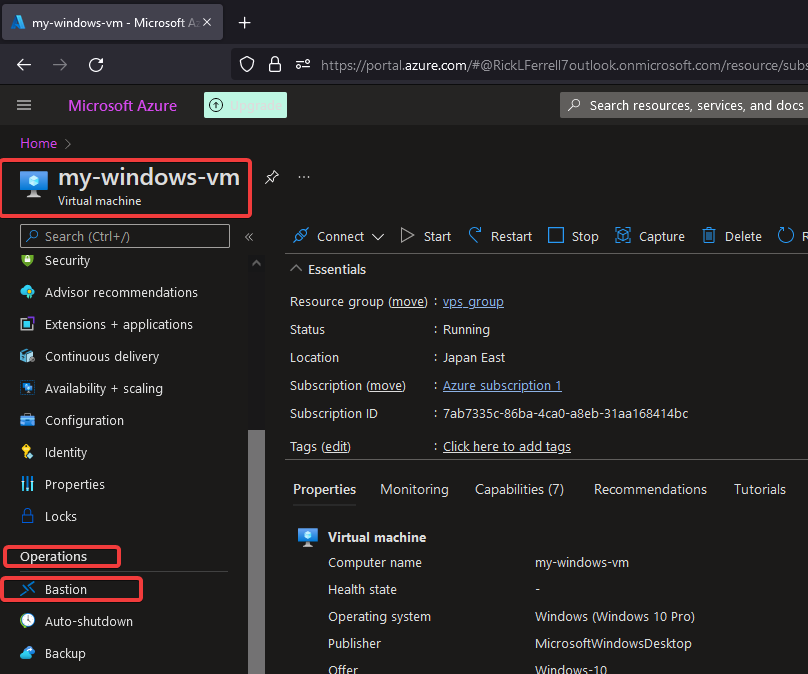
- Access the Overview page of the VM you want to connect to (my-windows-vm).
- Scroll down on the left pan until you see the Operation section.
- Click on the Bastion menu to access the Bastion page, where you can create an Azure Bastion.
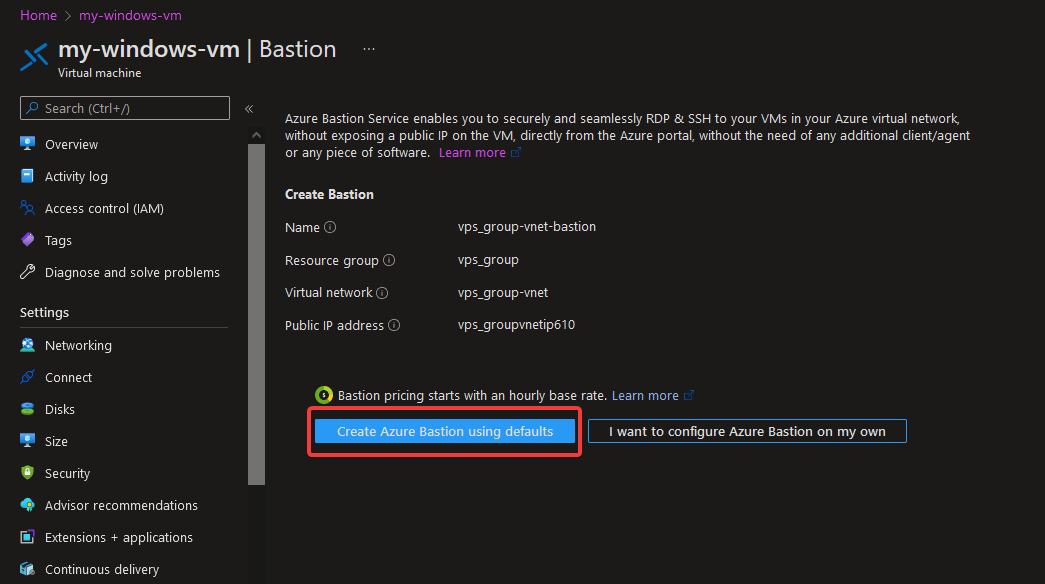
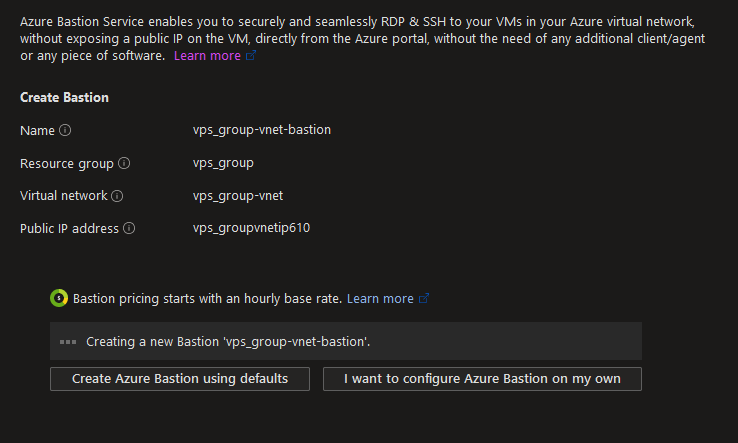
2. Next, click on the Create Azure Bastion using defaults button to create a basic Azure Bastion host in the same resource group as your VM.
To create more advanced configurations, refer to the Azure Bastion documentation and click on I want to create a Bastion on my own.
The creation process might take up to 20 minutes to finish.
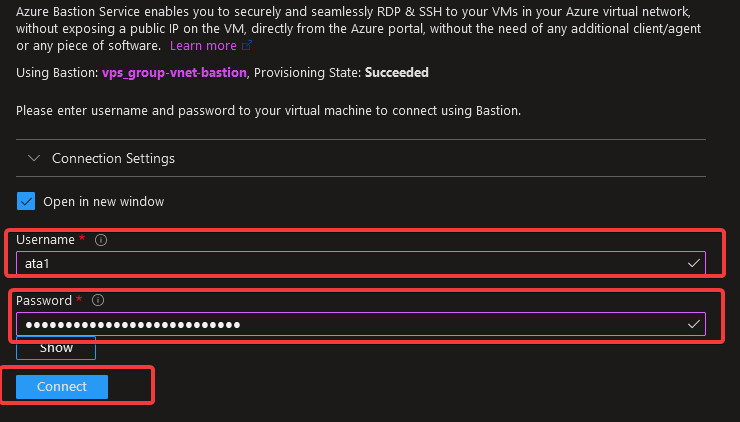
3. Once the creating process completes, provide your administrator username (ata1) and password, and click on the Connect button to connect to your VM.
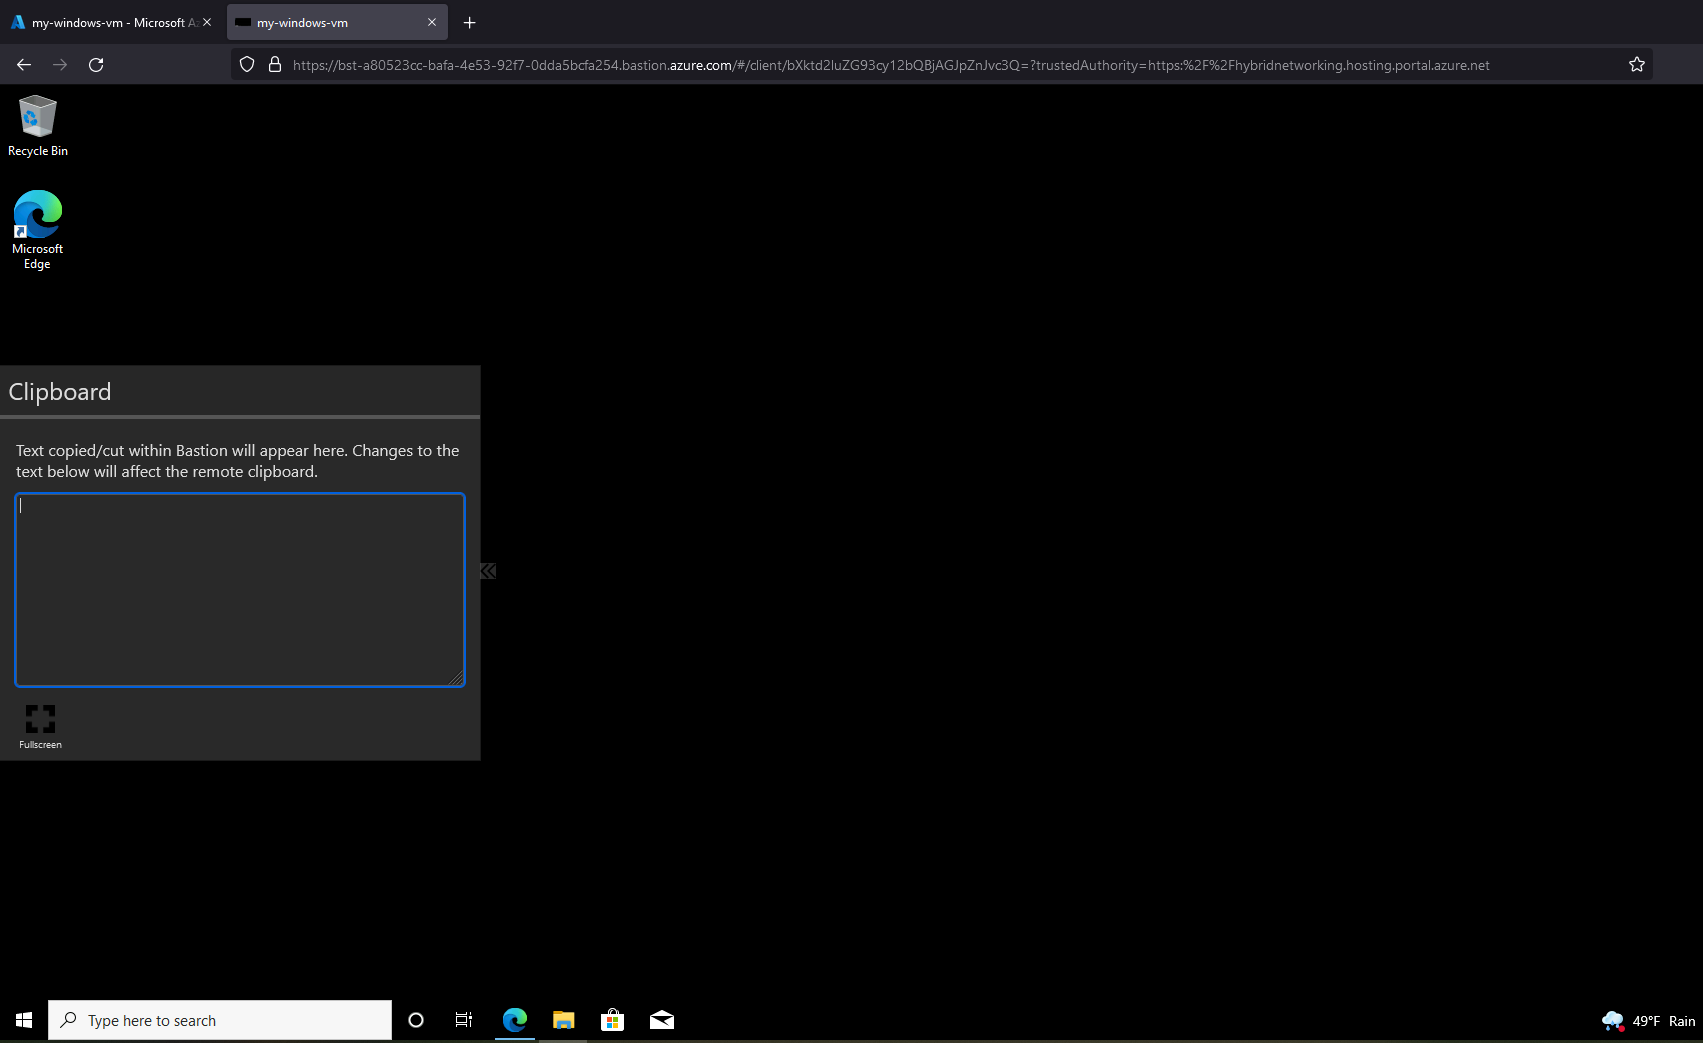
If you’re able to connect, you’ll see your VM’s desktop in the Azure Bastion web console. Like using an RDP client, you can now navigate around your VM’s desktop, only more secure.
Cleaning up Azure Resources
Suppose you’ve successfully connected to your VM, not just via RDP but also by using Azure Bastion. Still, don’t forget that Azure price depends on your resources. So be sure to clean up unused resources to avoid being charged.
To clean up your resources, you need to delete the resource group that contains all the resources you used.
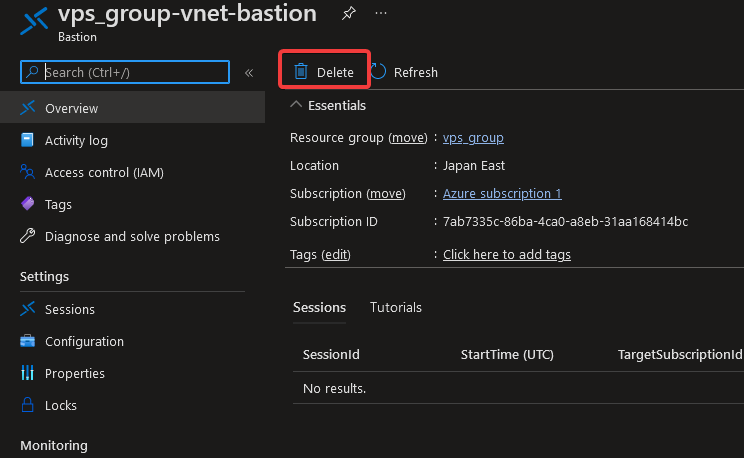
1. Navigate to your Bastion resource group page and click on the Delete, as shown below, to delete the resource group.
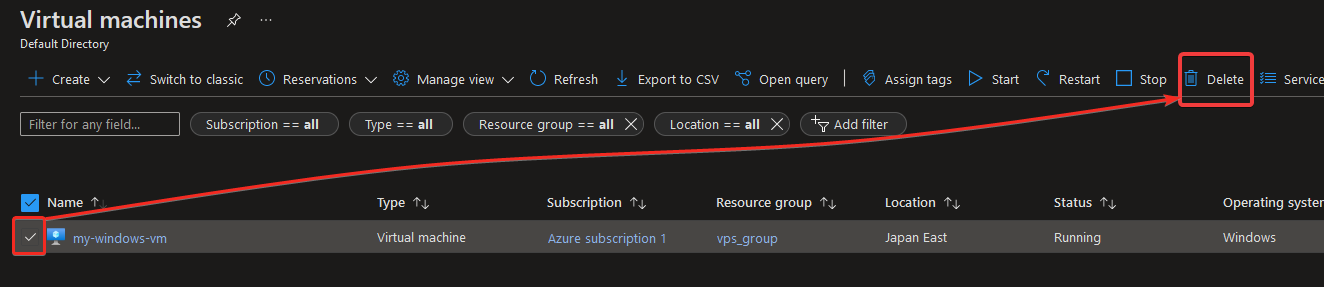
2. Now, navigate to your Virtual machines page, tick the checkbox next to your VM to select that VM, and click on the Delete button (top-right) to initialize deleting the VM you selected.
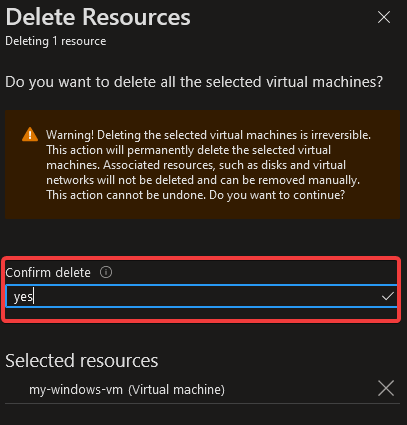
3. Lastly, type yes and press Enter in the pop-up window, as shown below, to confirm deleting your VM. Be sure to read the warning message as this action is irreversible.
At this point, you’ve deleted all resources used in this tutorial, and you will no longer be charged for these resources.
Conclusion
In this tutorial, you’ve learned how to connect to your VM using Azure RDP. You’ve connected to your VM via the traditional RDP client, which works perfectly fine. But you also realized that when connecting to your VM, Azure Bastion is a much more secure and better option.
Would you prefer using an RDP client over Azure Bastion or vice versa? Since both method works, so the choice is totally up to you. But to prepare for the worst, why not learn more about troubleshooting common VM issues?


