


In the fast-paced world of software development, efficiency efficiency reigns supreme. Rapid development, testing, and deployment cycles are critical to success, but juggling multiple environments and platforms bog down even the most proficient developers. Well, not when you have Vagrant on Windows for consistent development environments!
This tutorial will walk you through installing and starting with Vagrant on a Windows machine for your development needs.
Read on to supercharge your development process with Vagrant!
Prerequisites
Ahead of creating a development environment, ensure you have the following in place to follow along in this tutorial:
- A Windows machine – This tutorial uses a Windows 10 system.
- Virtualization software, like VirtualBox, Hyper-V, and VMware products (Workstation, Player, or Fusion) – This tutorial uses VirtualBox (free and recommended for most users).
Downloading the Vagrant Installer Package
Vagrant allows developers like yourself to work in isolated, reproducible environments regardless of their underlying host system. But, embarking on this journey of creating a virtual development environment involves setting up Vagrant first.
To seamlessly integrate this powerful tool into your Windows setup, carry out the following:
1. Launch your preferred web browser and visit the official Vagrant download page.
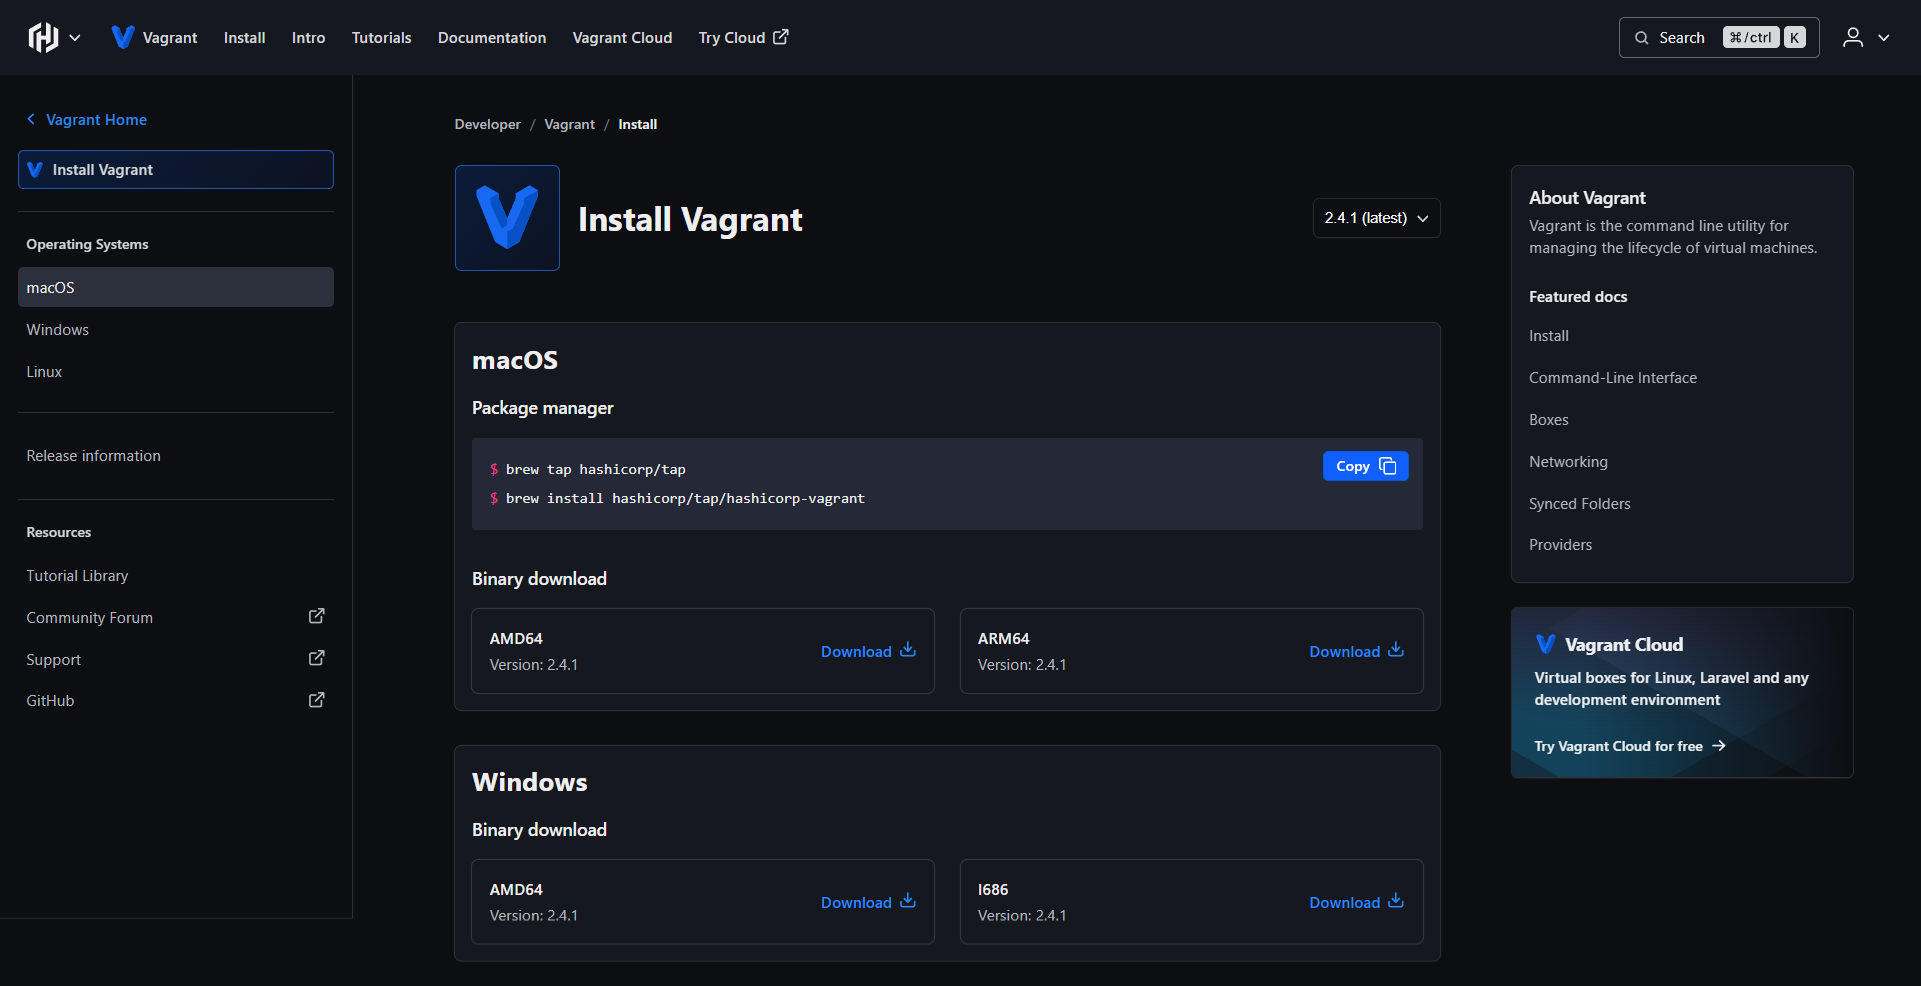
2. Identify the most recent Vagrant release and select it from the version dropdown menu—currently, version 2.4.1 is the latest.
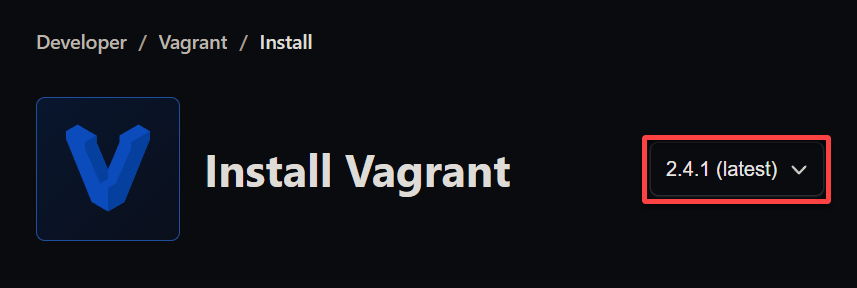
3. Now, scroll down to the Windows section and click the Download link based on your system’s architecture to download the installer (i.e., vagrant_2.4.1_windows_amd64).
Below, you have two options as follows:
- i686 – For Windows, running a 32-bit version.
- AMD64 – For Windows, running a 64-bit architecture.
4. Once downloaded, open PowerShell as administrator, navigate to the Vagrant installer’s location (i.e., ~/Downloads), and run the following code.
This code verifies your Vagrant installer’s checksum. Doing so guarantees the Vagrant installer’s authenticity and confirms it remains unaltered during the download process.
# Define the expected SHA256 hash value for the Vagrant installer
$expectedHash = 'fc3806e071b7af2067eec5e8dfbe9f2dfe2c46139c5d682bb7defd7a2f9083e9'

# Calculate the actual SHA256 hash value of the downloaded file
$fileHash = (Get-FileHash -Path .\\vagrant_2.4.1_windows_amd64.msi -Algorithm SHA256).Hash

# Compare the expected hash value with the actual hash value
if ($fileHash -eq $expectedHash) {
    # If the hash values match, output a validation message
    Write-Host "The hash matches, the file is valid."
} else {
    # If the hash values do not match, output a warning message
    Write-Host "The hash does not match, the file may be corrupted or tampered with."
}
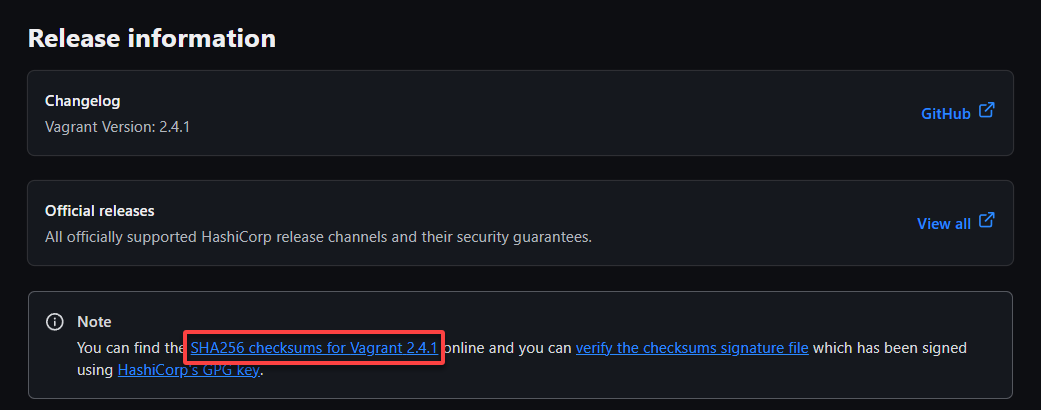
💡 If your Vagrant version differs from 2.4.1, scroll down to the Release information section and click the provided hyperlink. This action downloads a .1_SHA256SUMS file containing checksums for various OS and architectures corresponding to your Vagrant version
Installing Vagrant on Windows
You have downloaded and verified your Vagrant installer, but without a proper installation, your tools remain dormant, unable to aid your endeavors.
After downloading and verifying your Vagrant installer, the next crucial step is to ensure your tools can support your endeavors—a proper Vagrant installation.
To install Vagrant on your Windows system, follow these steps:
1. Double-click the Vagrant installer you downloaded to initiate the installation, launching the Vagrant Setup wizard.
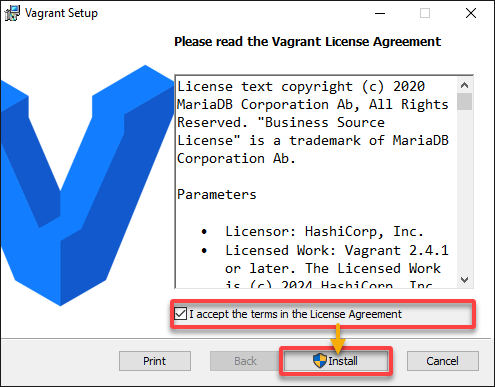
2. Next, tick the checkbox at the bottom and click Install to accept the license agreement and proceed with the installation.
Wait for the installation to complete without interrupting the process.
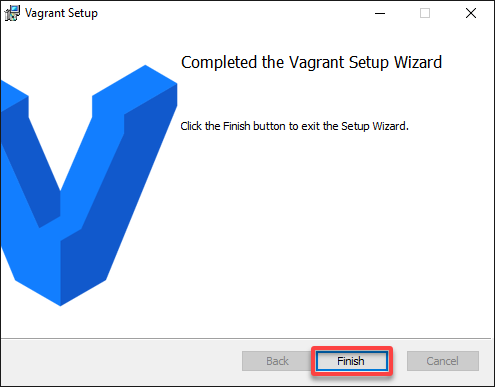
3. Once the installation is complete, click Finish to close the setup wizard, and restart your system when prompted.
4. Lastly, execute the following command to check the Vagrant --version to verify the installation.
vagrant --version
Leveraging Vagrant on Windows for Development
With Vagrant installed on your Windows system, you are now ready to ensure that software runs consistently across all environments—enhancing your development workflow. This consistency is one of the biggest challenges in software development.
Luckily, Vagrant allows developers to create a development environment that closely mirrors the production environment. With Vagrant, you can create a Linux-based development environment that eliminates the “works on my machine” problem.
To set up a basic development environment using Vagrant, proceed with these steps:
1. Execute the following commands on PowerShell to create (mkdir) and navigate (cd) to a new project directory called vagrant_windows (arbitrary).
mkdir ~/vagrant_windows
cd vagrant_windows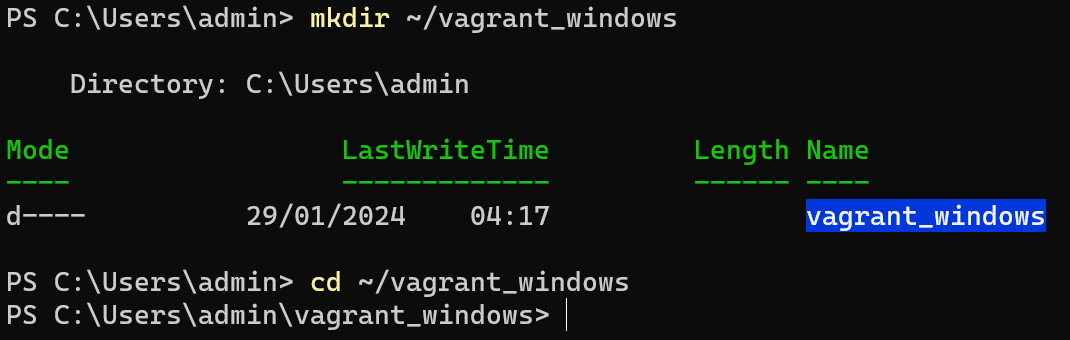
2. Next, run the vagrant command below to initiate (init) a new Vagrant environment, which generates a Vagrantfile in your project directory.
This Vagrantfile is crucial for environment configuration. How? When new team members join a project, they often spend significant time setting up their development environment. Vagrant simplifies this process.
With a pre-configured Vagrantfile, a new developer can get their development environment running with a few commands. This capability applies regardless of whether they use Windows, macOS, or a Linux distribution.
vagrant init
3. Open the Vagrantfile with your preferred text editor, insert the following configuration, and save and close the file. This configuration sets up an Ubuntu 20.04 LTS (Focal Fossa) virtual machine (VM) and installs NGINX.
Vagrant uses the Vagrantfile, a declarative configuration file, to define the type of machine required for a project. Moreover, Vagrant can automatically download the necessary box (a package format for Vagrant environments) to get started.
Vagrant.configure("2") do |config|
  # Use Ubuntu 20.04 LTS (Focal Fossa) as the base box
  config.vm.box = "ubuntu/focal64"

  # Automatically update the package list, upgrade packages, and install NGINX
  config.vm.provision "shell", inline: <<-SHELL
    echo "Updating package lists..."
    sudo apt-get update
    echo "Installing Nginx..."
    sudo apt-get install -y nginx
    echo "Ensuring Nginx is started..."
    sudo systemctl start nginx
  SHELL
end4. Now, run the following vagrant up command to boot up the VM.
Vagrant downloads the Ubuntu box (if not already downloaded) and starts up a VM based on that box.
vagrant up
5. After the setup, execute the below vagrant command to access your VM’s command line via SSH.
vagrant ssh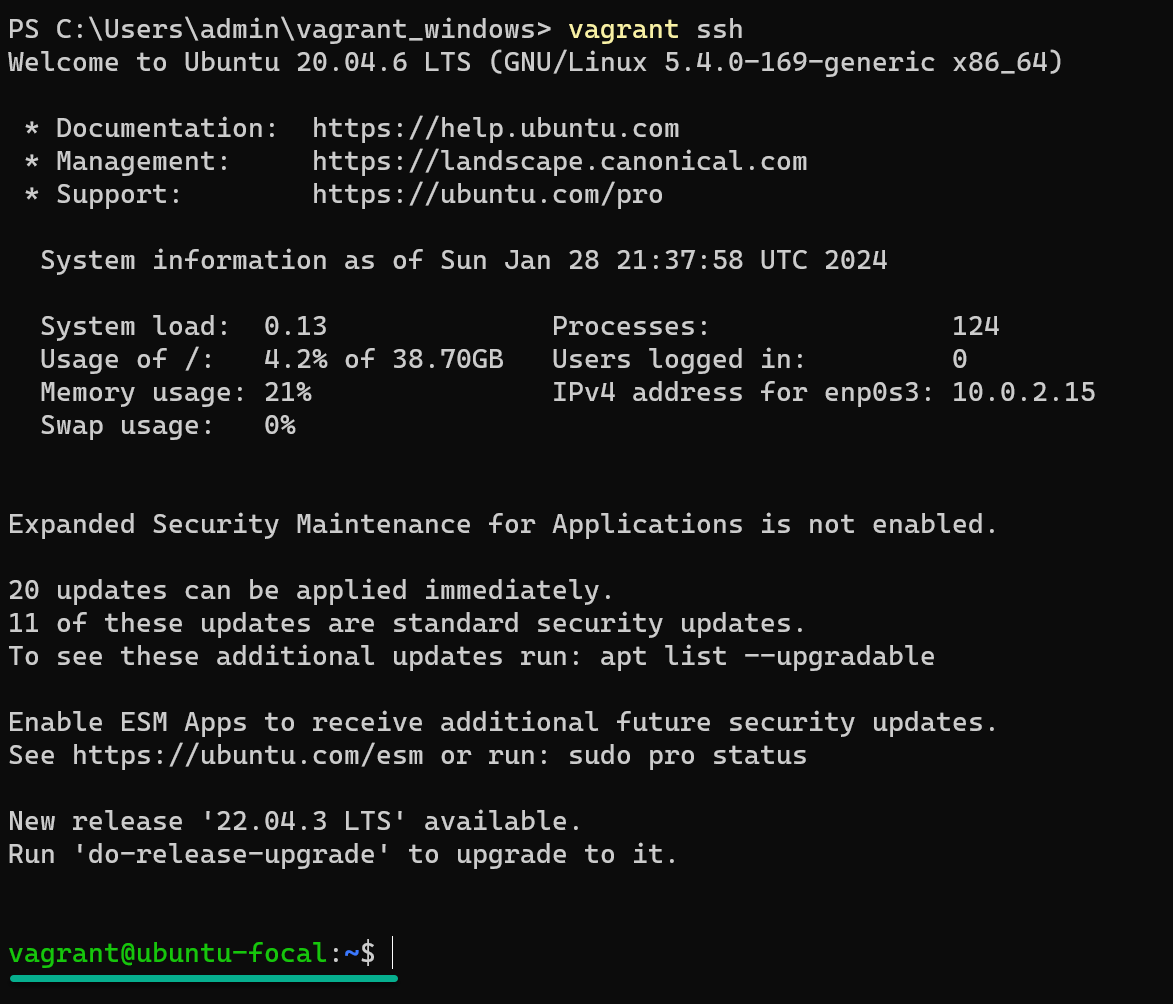
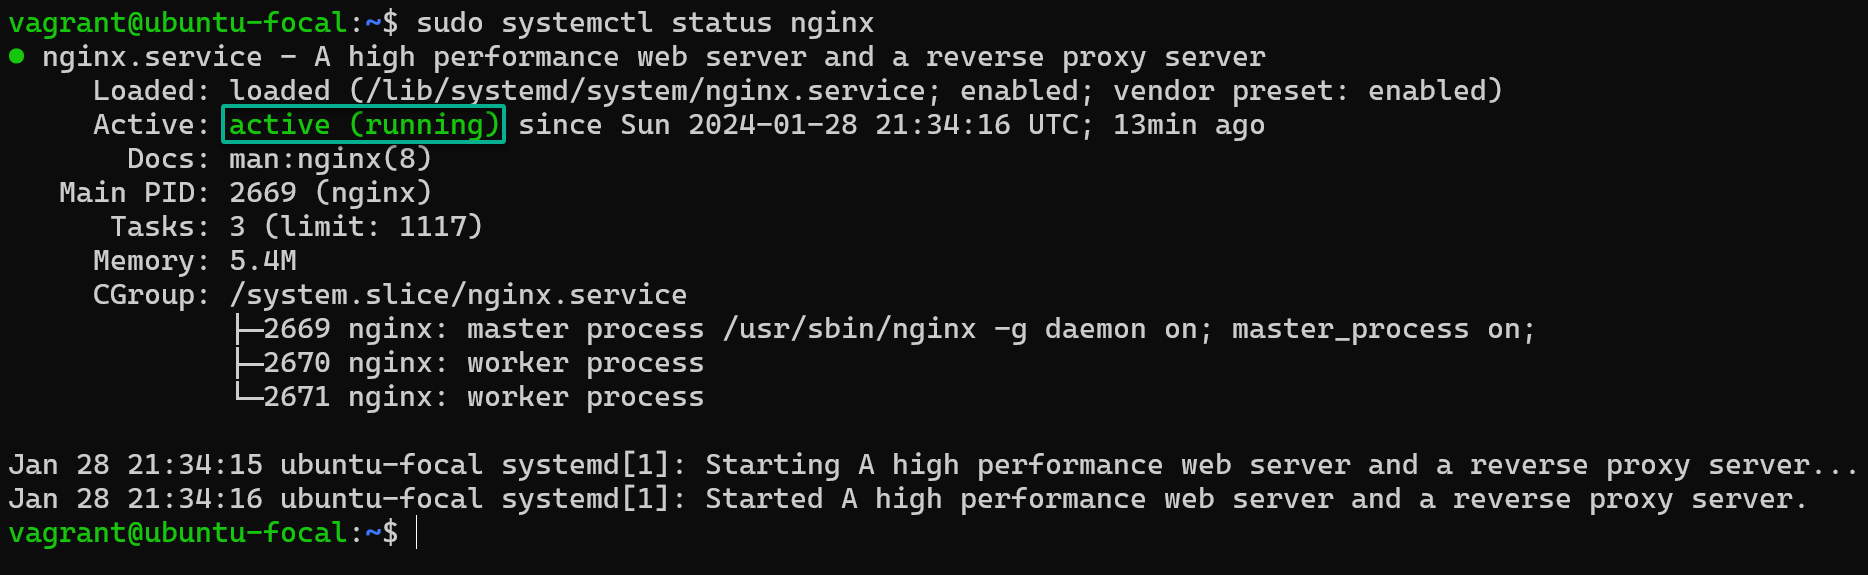
6. Finally, run the systemctl command below to check the status of the NGINX service.
sudo systemctl status nginxIf everything is working as expected, you will see an output indicating NGINX is active and running, as shown below.
Congratulations! You now have a virtualized Ubuntu Linux server running on your Windows machine, streamlined for development purposes with Vagrant.
Conclusion
Throughout this tutorial, you have installed Vagrant on Windows and created a reproducible development environment to enhance your development workflow significantly.
Whether you are working independently or collaboratively, Vagrant provides the infrastructure to ensure that your projects are developed in a controlled, consistent manner. This infrastructure leads to more predictable and reliable outcomes.
Now, delve into Vagrant’s advanced features, like creating custom boxes for your specific project needs! Or leverage provisioners to automate software installation and configuration? And integrate with other tools like Docker for a more robust development environment?
By abstracting away the complexities of virtualization software, Vagrant allows you to spin up a consistent and portable development environment with a few commands. Start harnessing Vagrant’s full potential today!


