


Managing Proxies and Virtual Hosts (VHosts) through NGINX configuration files can get tedious as the number of virtual hosts and web services increases. How can you simplify the process? The NGINX Proxy Manager (NPM).
Read on and learn to create, manage, and secure virtual hosts with the NGINX Proxy Manager web console.
Prerequisites
This tutorial will be a hands-on demonstration. If you’d like to follow along, be sure you have the following:
- A Linux machine to host NGINX Proxy Manager and the proxied webserver- This tutorial uses Fedora 35.
- Docker to run the containers – This tutorial uses Docker v20.10.12. Install Docker with this tutorial if you do not already have any of the alternatives installed.
- Docker Compose to set up the Proxy Manager and its requirements automatically. This tutorial uses version 1.29.2. Install Docker Compose to proceed with the rest of the article.
- The domain name serves as a virtual host endpoint. This tutorial uses a private domain name, testweb.com. Ensure the domain name points to the Linux Host machine. You can also use a publicly registered domain name.
- You must have an SSL certificate and certificate key for securing virtual hosts. Create a certificate and its associated key file first if you do not have one yet.
Setting Up NGINX Proxy Manager
The NGINX Proxy Manager is not a package that you install on your operating system. Instead, NPM is an app that you deploy in Docker—which is why Docker and Docker Compose are the primary requirements.
Follow the below steps to begin setting up your NGINX Proxy Manager.
1. Log in to your Linux server via SSH or the desktop environment if present.
2. Create and open a YAML file called docker-compose.yml using your preferred text editor, here vi is used.
vi docker-compose.yml3. Copy and paste the following code into the editor. This code contains the directives to download and set up the latest nginx-proxy-manager image. Save and close the file to return to the command line.
version: '3'
services:
  app:
    image: 'jc21/nginx-proxy-manager:latest'
    restart: unless-stopped #Ensure proxy manager survives crashes
    ports:
      #Allow the respective container ports to be accessible from the host machine
      - '80:80'
      - '81:81' #Port for the Admin Panel
      - '443:443'
    volumes:
      #Map the following container directories to corresponding directories on the host
      - ./data:/data
      - ./letsencrypt:/etc/letsencrypt
4. Run docker-compose to bring up the container in the background (-d) according to the specified directives.
docker-compose up -d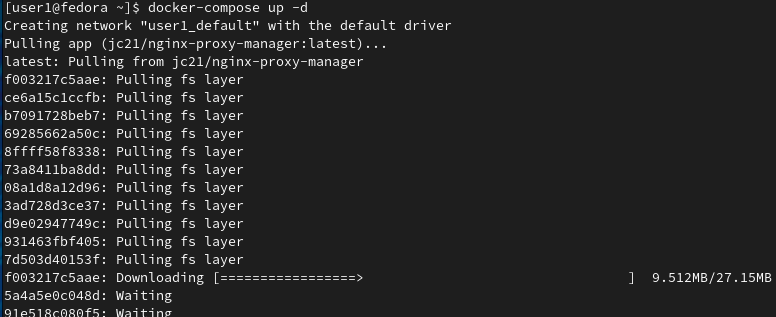
5. Execute the following command to ensure the container is running.
docker psYou should see a running process corresponding to the proxy manager container as in the screenshot below if all is well.

Accessing the Administrative Panel
The NGINX Proxy Manager should now be running. You can now access the NPM admin panel to perform the initial admin user setup.
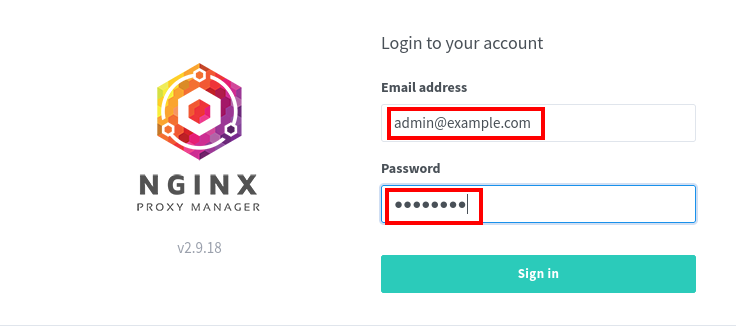
1. Open your browser window and navigate to http://<host_ip>:admin-ui-port>. For convenience, this tutorial uses the implicit localhost instead of an IP address, that is, http://localhost:81, to launch the admin panel.
2. Log in with the initial default credentials of the email address [email protected] and password of changeme.
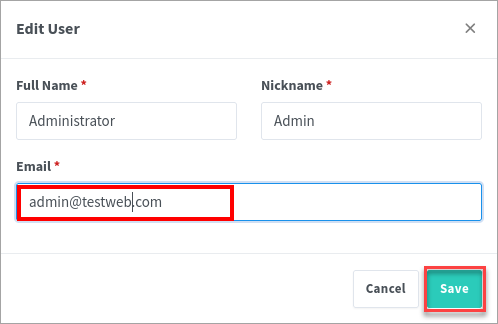
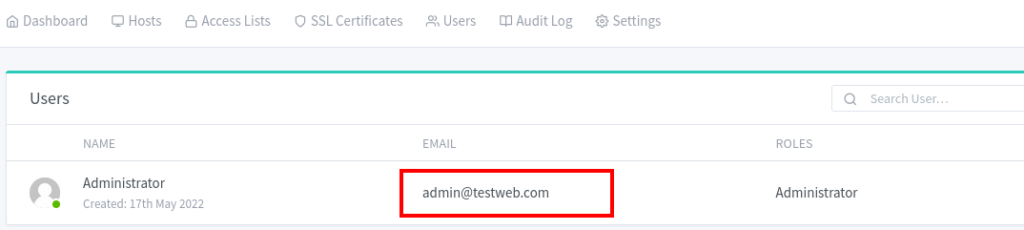
3. Modify the default user account as you wish. This tutorial retains the Full Name and Nickname and only changes the Email to [email protected]. Click Save to save the user details.
4. Type a new password for the user in the Change Password as shown below. Type in a password eight or more characters long, and click Save.
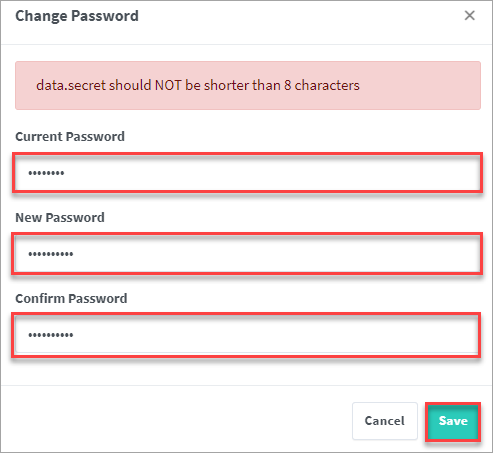
You should see the changes you made to the user account below.
Deploying the Web Server
Now that you’ve performed the initial setup, your next step is to start a webserver for your virtual host. Follow the steps in this section to quickly start an Apache web service container using Docker Compose.
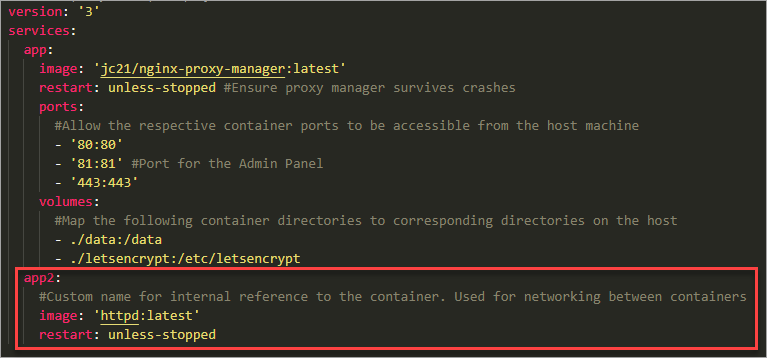
Open the docker-compose.yml file you created previously in your text editor. Append the following piece of code to the docker-compose.yml file
The advantage of using the same file is you modify the existing container network by adding an httpd-based container registered under the name app2 instead of in a separate network.
app2:
    #Custom name for internal reference to the container. Used for networking between containers
    image: 'httpd:latest'
    restart: unless-stopped
The contents of the file should look like the screenshot below. Save the file and exit the editor.
Run docker-compose to bring up the container in the background (-d).
docker-compose up -d
You should receive feedback similar to the screenshot below, confirming the creation of the second container.

Creating a New Virtual Host
You now have a running web service. This section aims to enable access to the webserver through the published ports of the NGINX Proxy Manager.
1. Log in to the NGINX Proxy Manager’s admin panel.
2. Click Hosts —> Proxy Hosts.
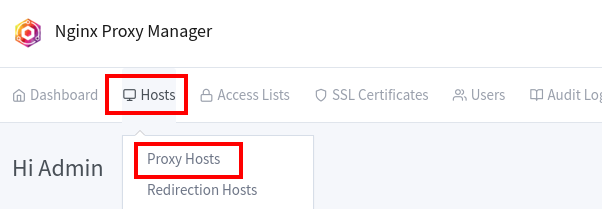
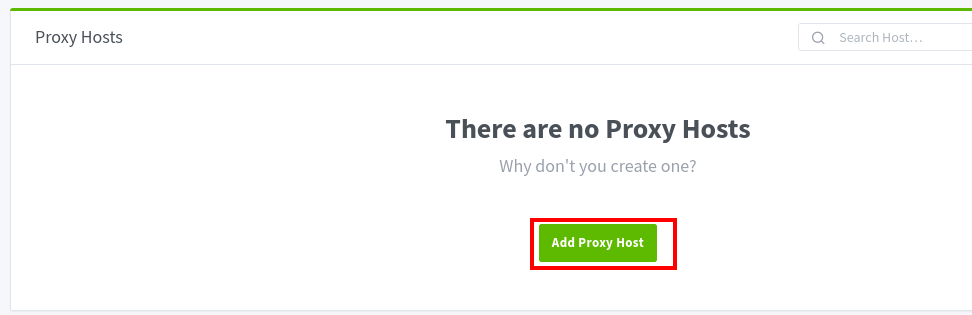
3. Click Add Proxy Host to initiate the creation of a virtual host for the webserver
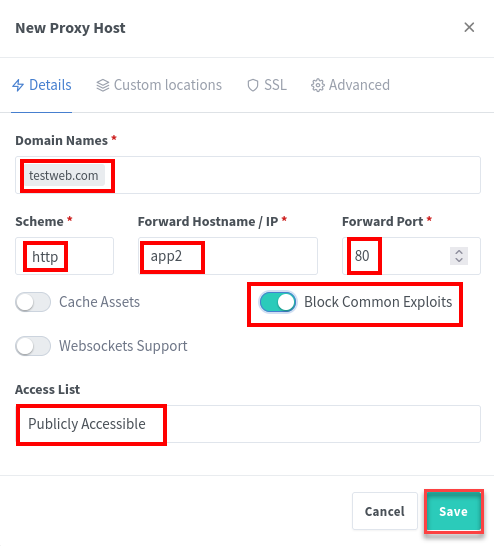
4. Fill out the New Proxy Host form with the following details to set up the virtual host.
- Domain Names: The domain names where your webserver will be accessible. This example uses the testweb.com domain.
- Scheme: The protocol to use when accessing the webserver. Leave the default value to
httpfor now.
- Forward Hostname / IP: The hostname or IP address of the webserver. Since this tutorial used Docker Compose to set up the containers, it is sufficient to use
app2. Type in whatever name you supplied in docker-compose.yml.
- Forward Port: The port on which the web server listens for requests. In this case, you will use port
80, which is the default exposed port for Apache httpd containers.
- Block Common Exploits: As a plus, proxies set up using NPM can block common exploits. Turn on this option.
- Access List: Pre-specified lists to control access to the webserver behind a proxy. For this tutorial, leave the choice to Publicly Accessible to ensure you can access the web server via the proxy.
The form on your screen should match the screenshot below. Click Save after completing the form.
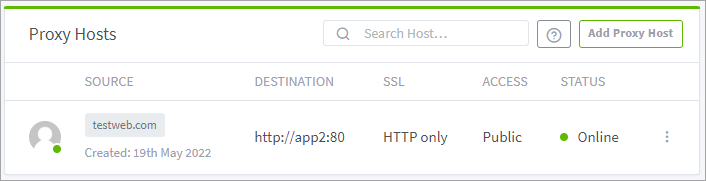
You now have one proxy host on the list.
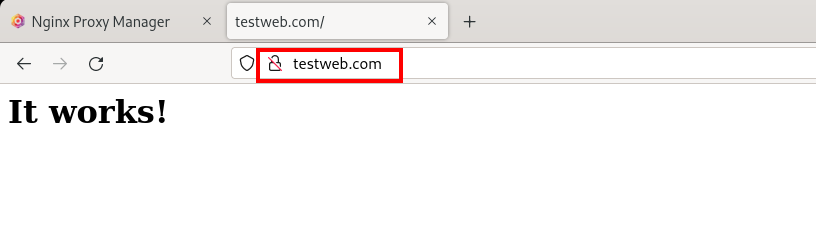
5. Finally, navigate to the virtual host URL in a new browser tab or window. For this tutorial, the URL is http://testweb.com. If the virtual host is properly working, you should see the default home page.
Provisioning SSL Certificates
You’ve deployed the webserver and confirmed that it is running. At this point, though, the website does not have an SSL certificate yet. While running internal private websites may be fine without an SSL certificate, the same should not happen when hosting public websites.
To ensure that your website connections are encrypted, you’ll be installing an SSL certificate to your virtual host next. Don’t worry; you’ll do so from the NGINX Proxy Manager. But you should already have an existing PEM format SSL certificate and certificate key as a requirement.
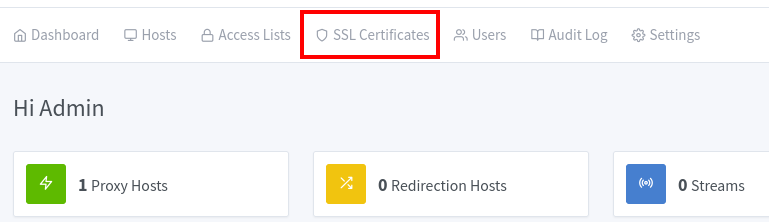
1. Click the SSL Certificates tab from the NGINX Proxy Manager admin panel.
2. On the upper-right corner, click Add SSL Certificates —> Custom.
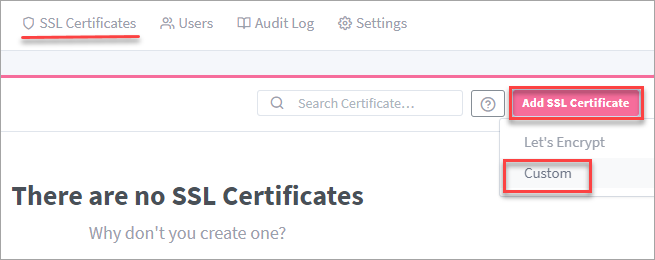
As an alternative to a custom certificate, you can request a Let’s Encrypt certificate directly and on the fly by selecting Let’s Encrypt. But, doing so requires that your website and DNS record are public. Otherwise, the certificate acquisition will fail.
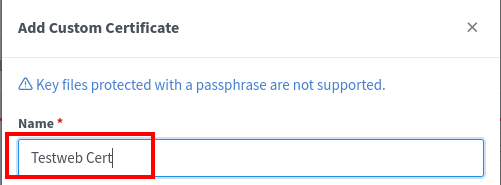
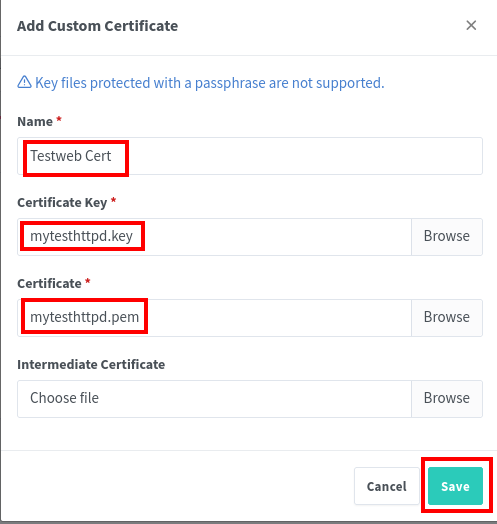
3. Complete the Add Custom Certificate form as follows
- Name: A human-friendly name for the certificate in the admin panel. This tutorial uses the name Testweb Cert.
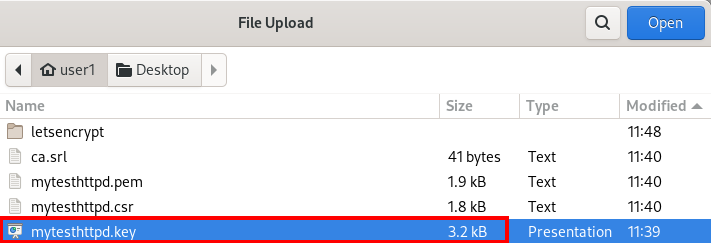
- Certificate Key: This key comes with the certificate file you generated as a requirement in this tutorial.
Click Browse and navigate to the key file.

Double-click the key file. For this tutorial, the certificate key is named mytesthttpd.key.
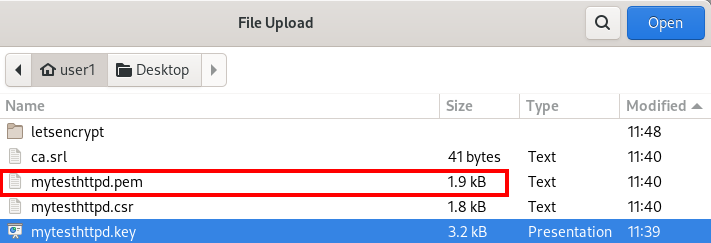
- Certificate: The certificate file itself, either in .crt or .pem format.
Click Browse and navigate to your certificate in your file explorer.

Double-click the certificate file to open it. For this tutorial, the key file is called mytesthttpd.pem.
4. Once you’ve filled out all three fields, Your form should look like the screenshot below. Click Save to submit the custom certificate.
This tutorial does not employ an Intermediate certificate. Ignore that field for now.
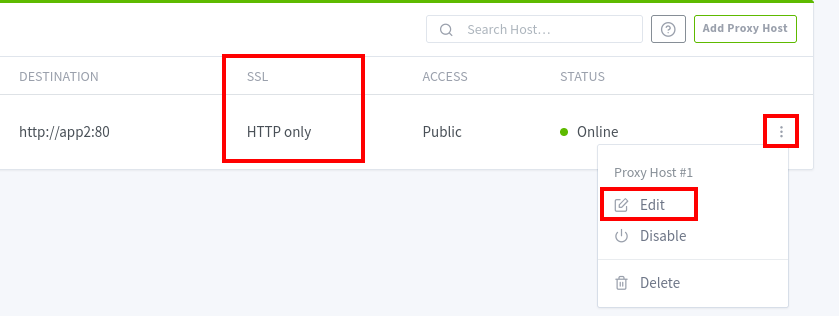
5. Now, click Hosts —> Proxy Hosts.

6. Click the kebab menu icon and click Edit. Notice that the SSL column says HTTP only at this point
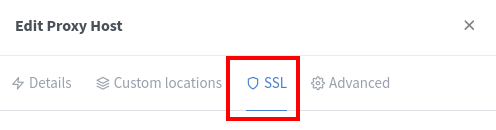
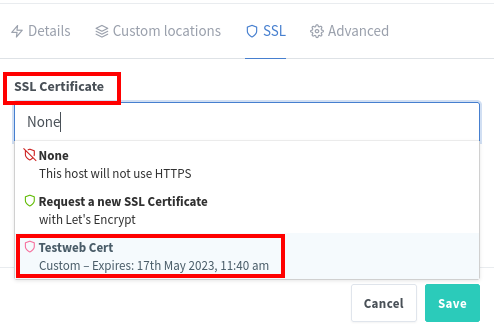
7. Select the SSL tab in the Edit Proxy Host window as below. Select the certificate you provisioned from the drop-down menu under SSL Certificate. For this tutorial, it is Testweb Cert as in the shot below.
8. Select the certificate you added earlier from the drop-down menu under SSL Certificate. As you can see below, the certificate name to select is Testweb Cert.
9. Enable all the enhanced SSL options available, as you see on the screenshot below, and click Save.
The Force SSL option will force or upgrade all connections to HTTPS even when the client initially attempted to access the HTTP URL only.
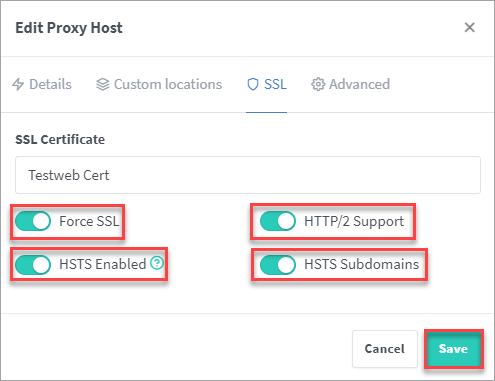
A word of warning with HSTS. As browsers will include the site on an internal inclusion list, your site will no longer work under non-SSL conditions. Therefore, make sure that you have everything set up the correct way first.
You’ll notice that the SSL column value changed from HTTP Only to Custom.

10. Finally, open a browser tab and navigate your virtual host domain again. For this tutorial, that is http://testweb.com. The connection should automatically upgrade to HTTPS.
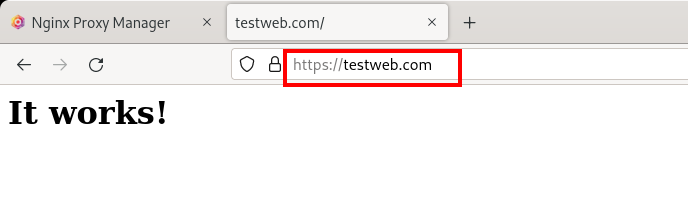
Congratulations! You have completed the deployment or a secured virtual host using the NGINX Proxy Manager.
Adding NGINX Proxy Manager Users
If you work with a team or expect someone else to manage the virtual hosts in NPM, you’ll need to provide user access. In this section, you will extend NPM management, especially in team settings, by creating a user and assigning roles and permissions.
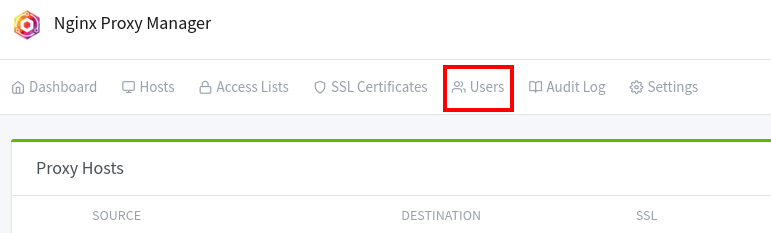
1. Click Users on the Admin panel home page.
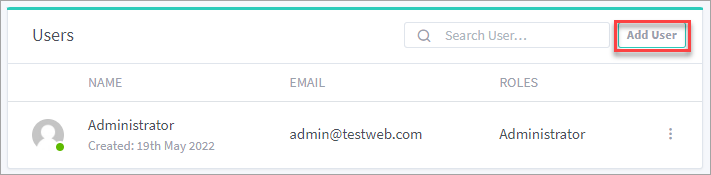
2. Click Add User in the upper right-hand corner of the Users card.
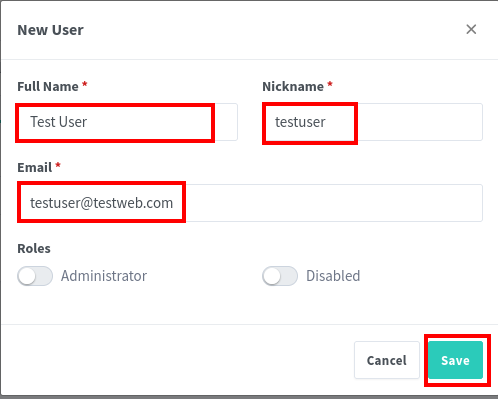
3. Type in the user’s Full Name (Test User), Nickname (testuser), and Email ([email protected]) in the corresponding fields and click Save.
This user you’re creating will not be a full administrator, so do not enable the Administrator role. You’ll be assigning custom permission instead. Click Save to add the new use.
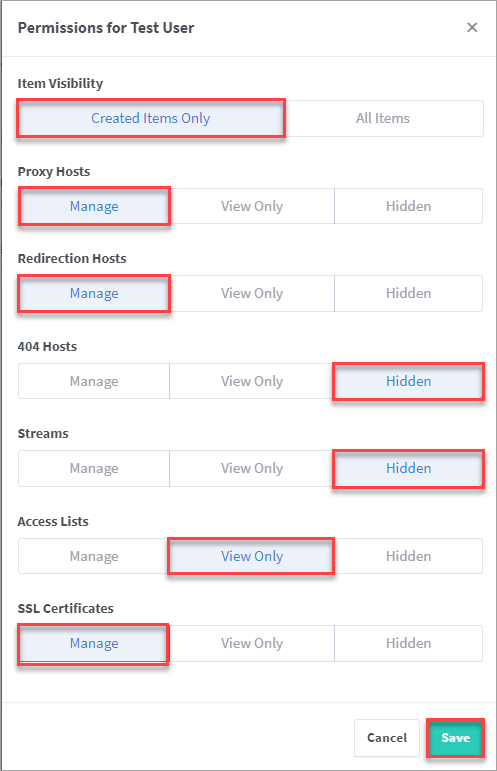
4. Set the permissions you want to give the user. For this tutorial, the new user will have the following permission settings.
- Can view only items created by the user.
- Can create, edit and delete Proxy Hosts.
- Can create, edit and delete Redirection Hosts.
- Cannot see 404 Hosts.
- Cannot see Streams.
- Can view Access Lists.
- Can create, edit and delete SSL Certificates.
The permission set should look similar to the screenshot below. Click Save to finish adding the new user.
5. Now, click the new user’s kebab menu and click Sign in as User. This step will switch the current user context to Test User.
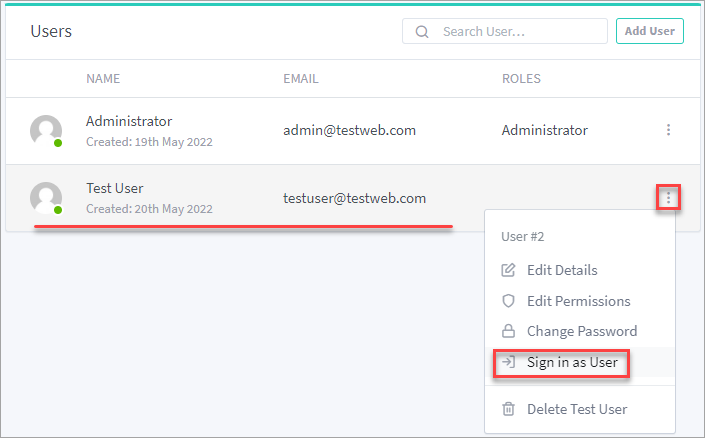
6. Explore the admin panel from the new user’s point of view. As per this user’s permissions, you should see fewer tabs and resources.

Conclusion
Congratulations on finishing this NGINX Proxy Manager tutorial. You learned to manage virtual hosts and enable collaboration by creating users from the GUI! Do you think you’ll ever go back to managing NGINX virtual hosts through editing manual configuration files?
Here’s an idea to test your learning further. Why not read up on How To Serve NGINX Subdomains or Multiple Domains. But instead of following the manual configurations, apply what you’ve learned and deploy and configure the virtual hosts using the NGNIX Proxy Manager.


