


Connecting to people and machines worldwide is now easier than ever with TeamViewer. But installing TeamViewer on Ubuntu is not as straightforward as on Windows.
No worries! This tutorial will walk you through the process of installing TeamViewer on Ubuntu.
Read on and stay connected with your team with TeamViewer!
Prerequisites
This tutorial will be a hands-on demonstration. To follow along, be sure you have the following:
- An Ubuntu machine to install TeamViewer on – This tutorial uses Ubuntu 20.04 LTS, but any recent Ubuntu will work fine.
- PowerShell installed on your Ubuntu machine.
Installing TeamViewer on Ubuntu via the Software Center
TeamViewer supports Cross-platform connections. But since TeamViewer does not come installed by default on Ubuntu, you first have to install this tool on your machine.
The most user-friendly way to install TeamViewer on Ubuntu is via the Software Center, a one-stop shop for all your software needs.
To install TeamViewer from the Software Center:
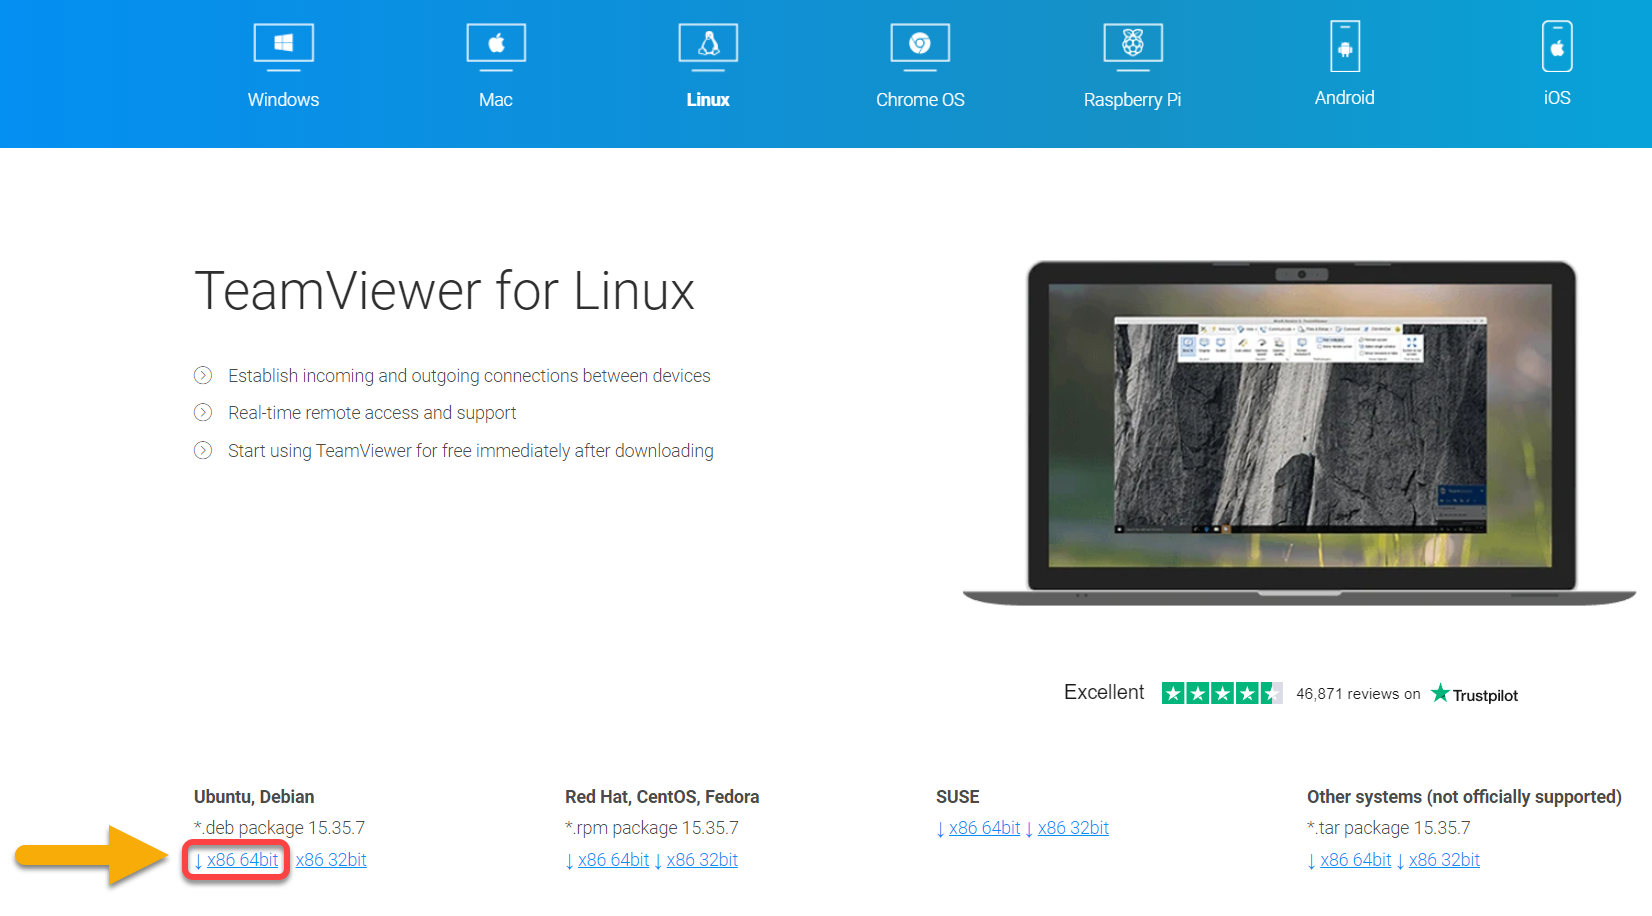
1. Open your favorite web browser, and visit the official download page for TeamViewer.
2. Under Ubuntu, Debian (lower-left), click the x86 64bit option to download the TeamViewer package for 64-bit Ubuntu systems.
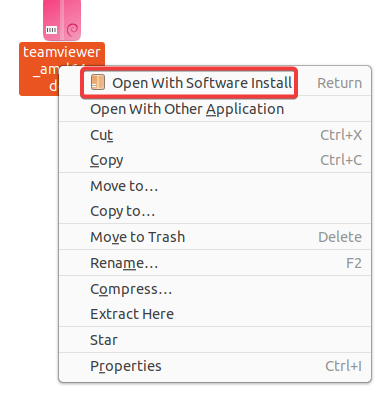
3. Once downloaded, open your file manager, right-click the .deb package and select Open with Software Install. Doing so opens the Ubuntu Software Center and begins installing TeamViewer.
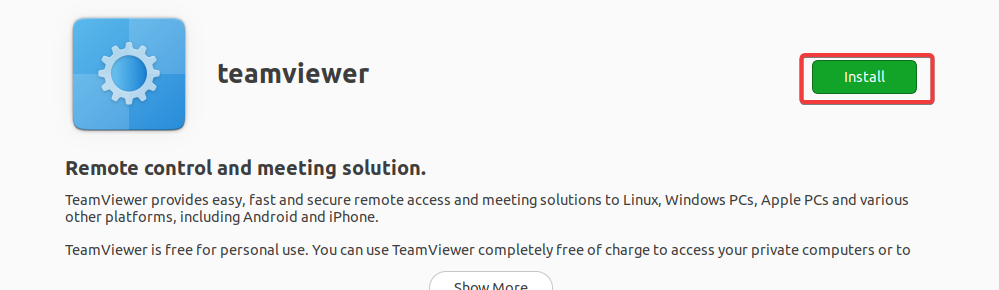
4. Now, click Install on TeamViewer’s overview page to install TeamViewer.
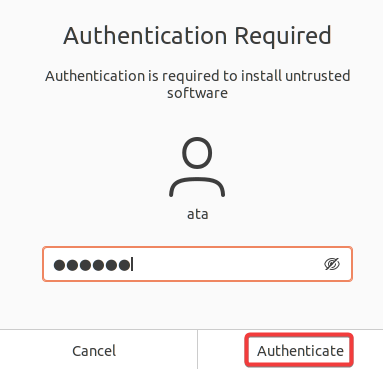
5. Enter your password when prompted and click Authenticate to continue with the installation.
Below, you can see TeamViewer’s installation progress.

Once installed, you will see a delete icon, as shown below.

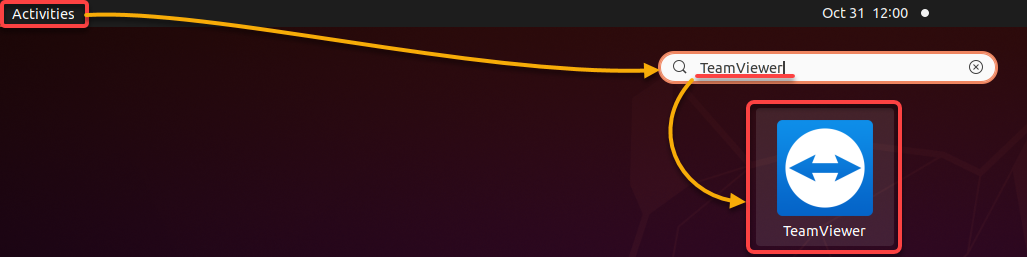
6. Lastly, click on Activities, search for and click TeamViewer to launch the tool.
Installing TeamViewer via the Terminal
Not a fan of clicking and switching between different windows to install packages? If you are a command-line person, you can install TeamViewer via the terminal in Ubuntu.
1. Run the apt update command below to update your system’s package index.
sudo apt update -y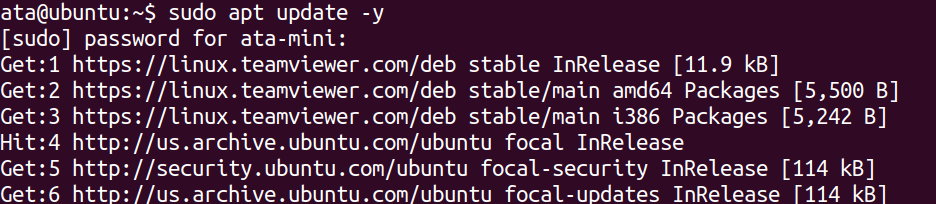
2. Next, run the below wget command to add the TeamViewer’s GPG key since you will install TeamViewer from an external repository.
Why add the GPG key? While installing packages for the first time, APT checks and ensures that it downloads the correct file by matching the cryptographic signature. If there is a mismatch, APT will not install that package.
wget -O - https://download.teamviewer.com/download/linux/signature/TeamViewer2017.asc | sudo apt-key add -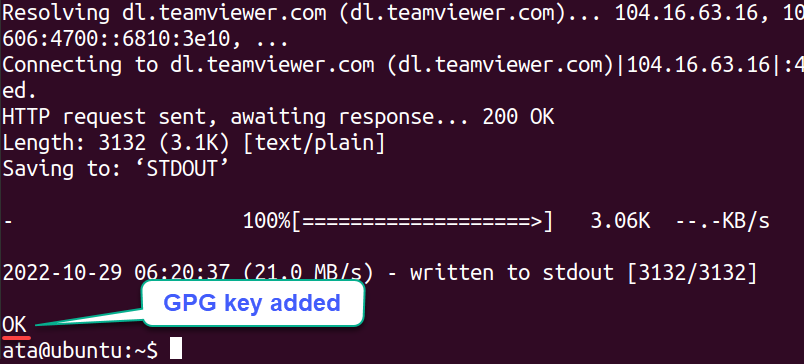
3. Run the following apt-add-repository command to add the TeamViewer repository to your system.
Ubuntu’s default repositories might not contain the latest version of the software. But adding TeamViewer’s repository ensures you get the latest stable version as soon as it is available.
sudo apt-add-repository "deb http://linux.teamviewer.com/deb stable main"
4. Now, rerun the below command to update the package index to include the TeamViewer repository.
sudo apt update -y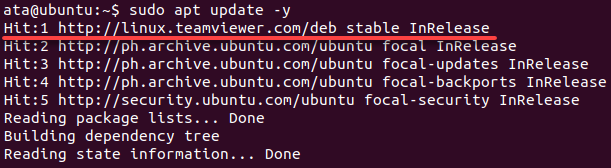
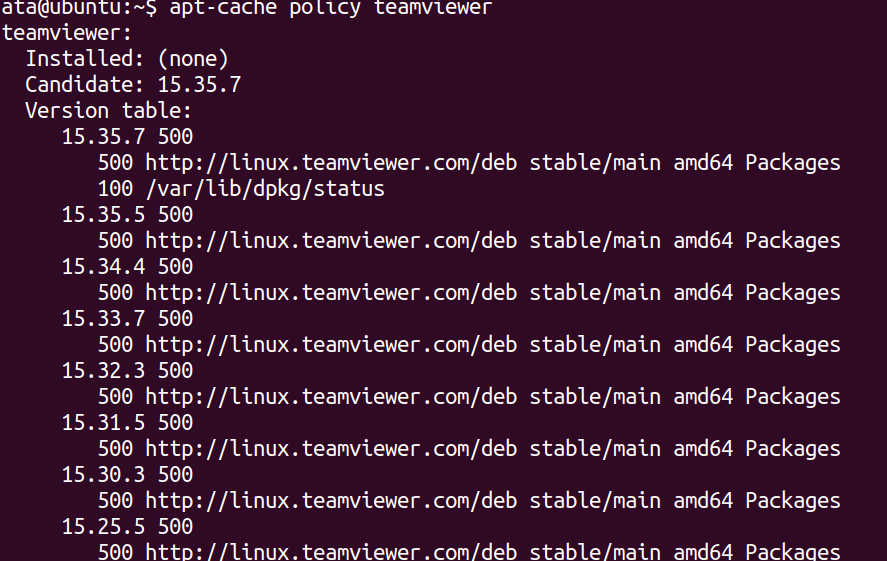
5. Once updated, run the apt-cache command below to check the TeamViewer’s repository configuration.
apt-cache policy teamviewerIf the TeamViewer repository is correctly configured, you will see an output similar to the one below.
6. Next, run the following apt install command to install TeamViewer.
sudo apt install teamviewer -y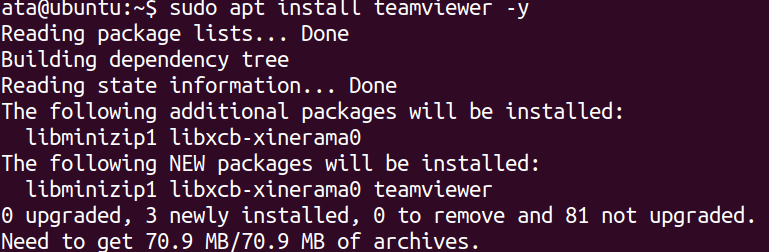
7. Once the installation completes, run the teamviewer command below to launch TeamViewer from your terminal.
teamviewer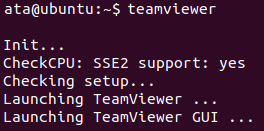
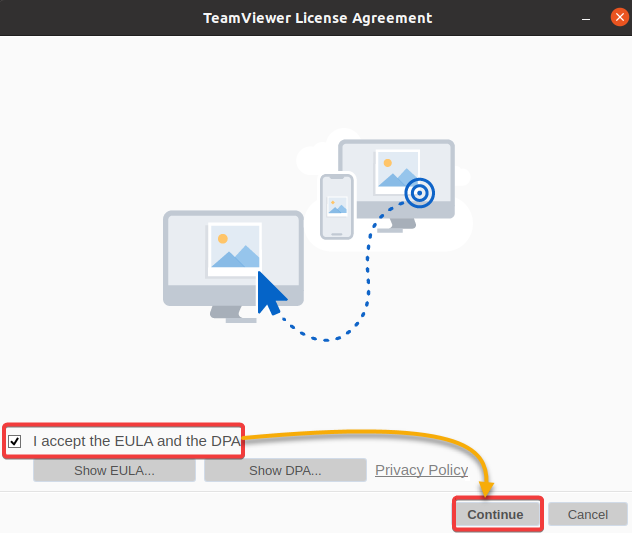
8. Finally, tick the I accept the EULA and the DPA checkbox and click Continue to accept the license agreement. This prompt only shows the first time you launch TeamViewer.
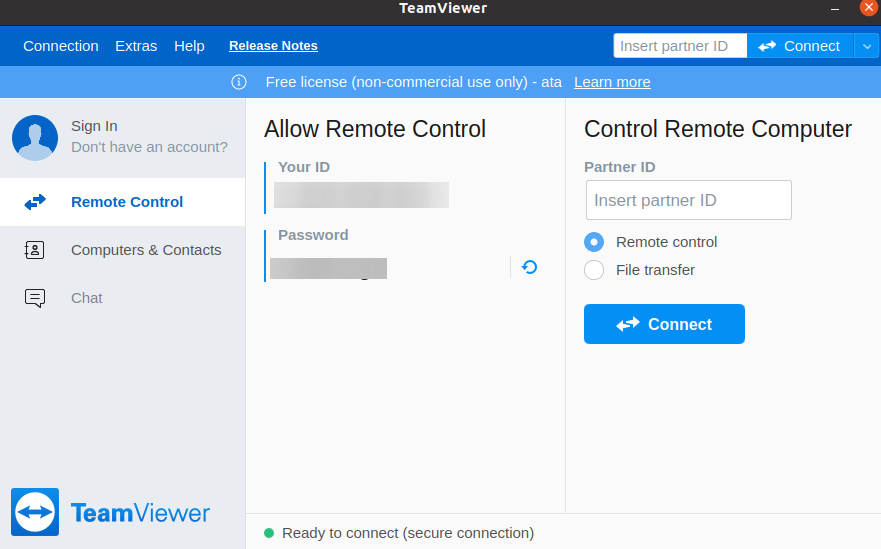
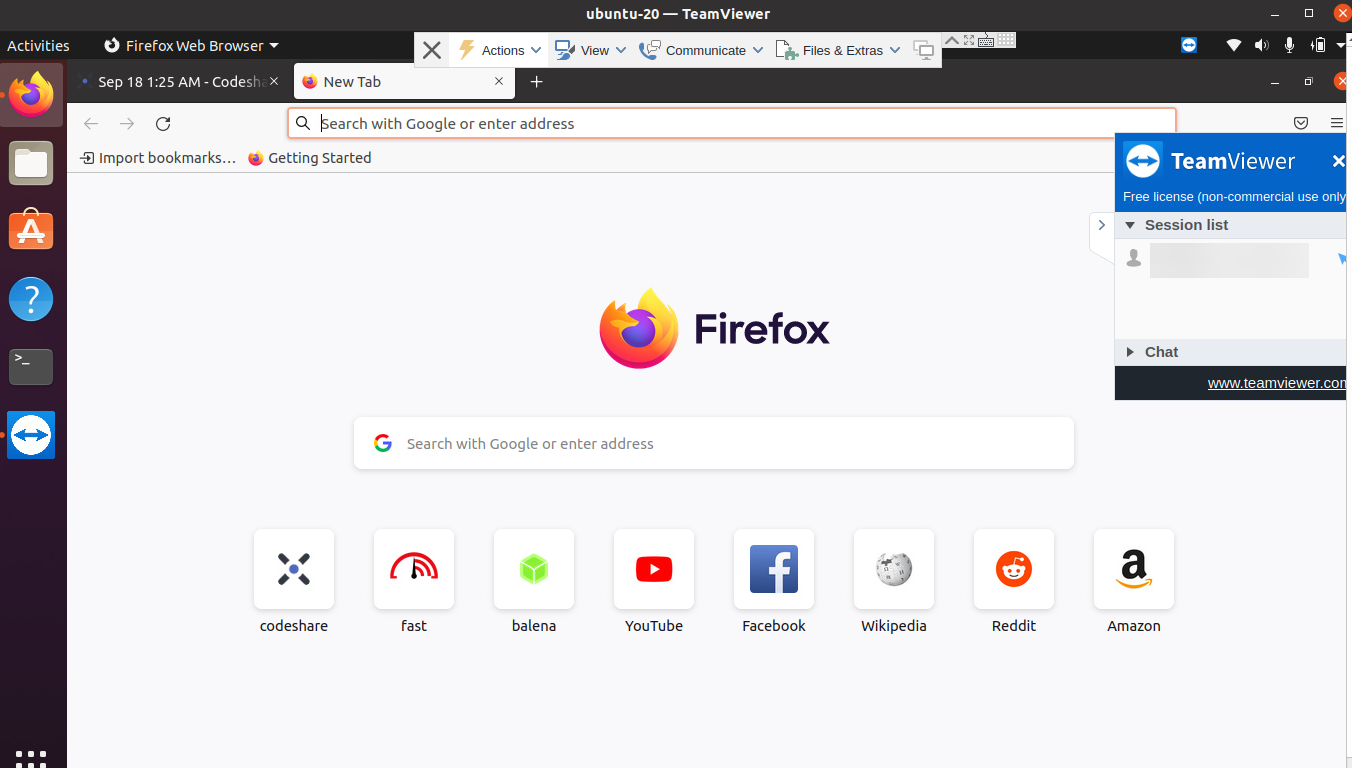
The main interface of TeamViewer will now be shown, like the one below. You can see in the middle that you have been assigned a unique ID and password. This information is required when connecting to this computer from another using TeamViewer.
On the right side, you will see a field where you can enter a partner’s ID to connect to their computer or perform a file transfer.
Connecting to a Remote Computer
Now that you have installed TeamViewer on your computer, you have come to the most exciting part — connecting to a remote machine. This tutorial uses another Ubuntu computer, but you can connect to any machine with TeamViewer running and is connected to the internet.
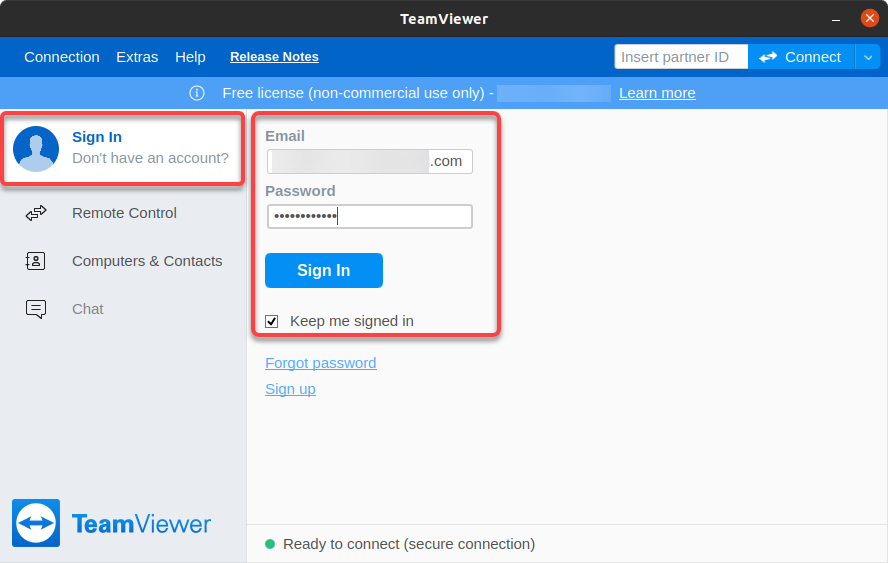
1. Sign in to your account on your TeamViewer.
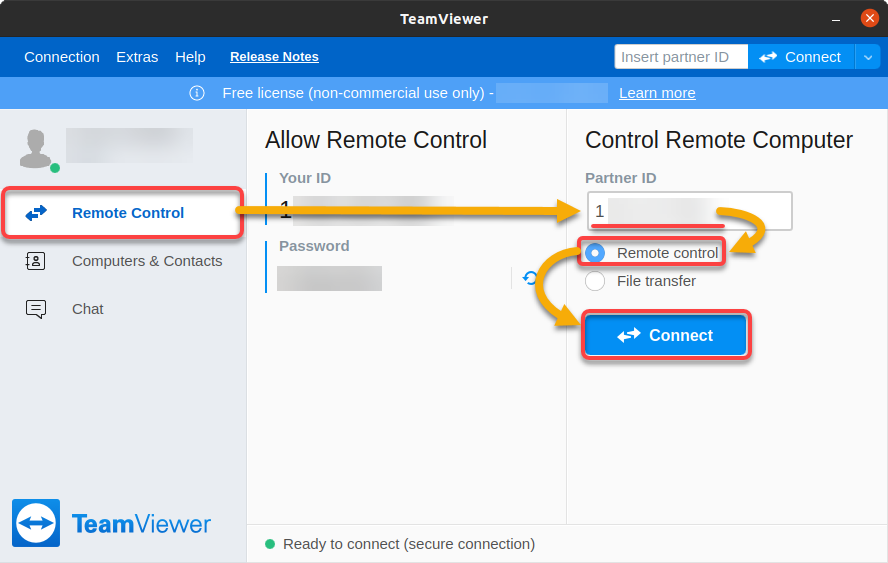
2. Next, get the remote machine’s Partner ID and password, and connect to the remote machine with the following:
- Type in the other machine’s Partner ID in the Partner ID field on TeamViewer on your machine.
- Ensure the Remote control option is selected.
- Click Connect to establish a connection between your local and remote machine.
3. Enter the remote machine’s connection password, and click Log On to authenticate the connection.
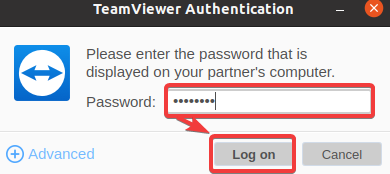
You will see the remote machine’s desktop in a new window if successfully connected.
Below, the right side of the TeamViewer window displays a toolbar with options to chat, transfer files, and so on.
Congratulations! You can now work on the remote machine as if sitting in front of it!
Installing the TeamViewerPS PowerShell Module
You now have control over the remote machine, which is cool. But do you have to manage everything on the remote machine manually?
Why not install the TeamViewerPS module? The TeamViewerPS is a PowerShell that allows you to interact with TeamViewer API and the local TeamViewer client.
To install the TeamViewerPS module:
1. Login as root, and run the below command on your terminal to launch a new PowerShell session.
pwsh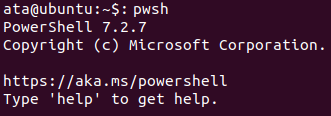
2. Next, run the Install-Module command below to install the TeamViewerPS module.
Install-Module TeamViewerPSType A and press Enter to continue with the installation.

Confirming the TeamViewerPS module installation
3. Now, run the following Update-Module command to update the TeamViewerPS module to the latest version.
Update-Module TeamViewerPS
Using the TeamViewerPS PowerShell Module
After installing the TeamViewerPS Module, it is time to see if the module actually works. The TeamViewerPS module lets you automate tasks such as but not limited to the following.
- Retrieving a list of online clients.
- Connecting or disconnecting from machines.
- Or even uninstalling the TeamViewer application.
But since these tasks require a paid TeamViewer subscription, you will run the basic commands instead to test the TeamViewerPS PowerShell module.
1. Run the below command to check the TeamViewer version installed on your machine.
Note that all the below commands must be run as the root user.
Get-TeamViewerVersion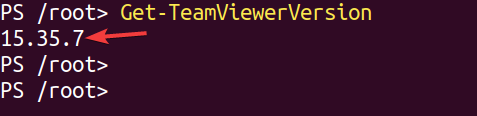
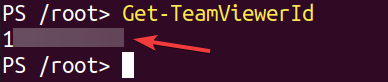
2. Next, run the following command to retrieve the TeamViewer ID of the local machine.
Get-TeamViewerIdYou will see a similar output to the one below. As you can see, the TeamViewerID is printed in the STDOUT stream. You can save this information in a variable you can use in your CI/CD pipelines.
3. Lastly, run the below Get-Help command to learn more about the TeamViewerPS module.
Get-Help about_TeamViewerPS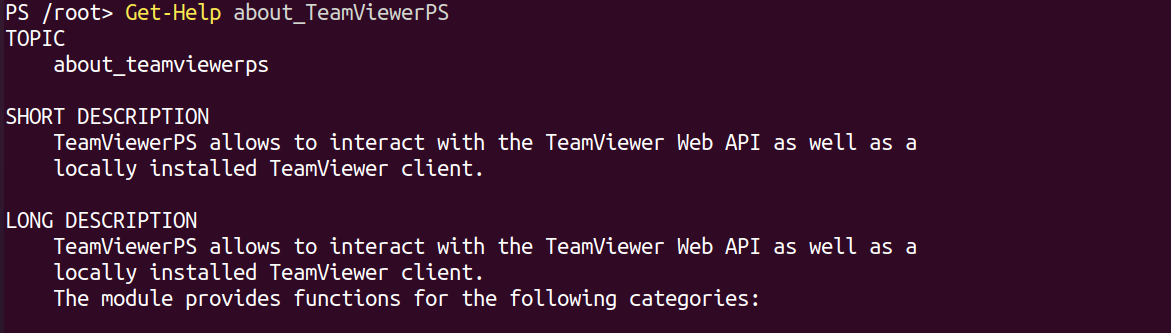
Conclusion
The need for remote management tools has never been greater, especially with the current pandemic. In this tutorial, you installed TeamViewer on Ubuntu and learned how to connect to a remote machine with a few clicks.
With TeamViewer, you can easily connect to and manage remote machines running any operating system from the comfort of your machine. You can now save time by automating tasks with TeamViewer and the TeamViewerPS PowerShell module.
With this newfound knowledge, why not start creating a web API to automate some of your TeamViewer tasks?


