

Are you looking for a way to remotely access and control your Raspberry Pi from anywhere in the world? Look no further! Whether you are a seasoned Raspberry Pi user or new to the world of single-board computers, TeamViewer on Raspberry Pi is all you need.
This tutorial will walk you through how to install and configure TeamViewer on your Raspberry Pi 4. With TeamViewer, you can harness the power to remotely access and control your device from any device, so long as you have an internet connection.
Read on and turn your Raspberry Pi into a remotely-controlled powerhouse!
Prerequisites
This tutorial will be a hands-on demonstration. To follow along, be sure you have the following:
- A Raspberry Pi 4 with Raspbian installed and set up – This tutorial uses a Raspberry Pi 4 with Raspbian Buster installed, but any version of Raspbian should work fine.
- A device to remotely access your Raspberry Pi (i.e., computer, laptop, tablet, or smartphone) – This tutorial uses a Windows desktop computer, but any device in your arsenal will suffice.
- A TeamViewer account.
Downloading and Installing TeamViewer Host on Raspberry Pi
TeamViewer works in different operating systems (OSes). But like other tools, you must first download and install TeamViewer on your Raspberry Pi.
There are two main versions of TeamViewer, as follows:
| Version | Description |
| Standard | This version is a full-featured remote access and control tool for desktop and laptop computers. Moreover, this version allows you to remotely access and control another computer and transfer files between the two devices. |
| Host | This version is a specialized version of the software designed for use on servers and devices, such as the Raspberry Pi. This host version is intended to receive connections and act as a server, not to control another device remotely. |
But in this tutorial, you will install the TeamViewer Host version with the following steps:
1. Ensure your Raspberry Pi is connected to the internet (via ethernet cable or Wi-Fi network).
2. Next, open a Terminal window on your Raspberry Pi.
💡 Alternatively, you can use a tool like KiTTY to access your Raspberry Pi over SSH and run commands from there.
3. With the Terminal window open, run the below apt update command to update your Raspbian package repository.
This command ensures you have the latest package updates and security patches installed. In turn, you can prevent issues or compatibility problems when installing new software.
sudo apt update -y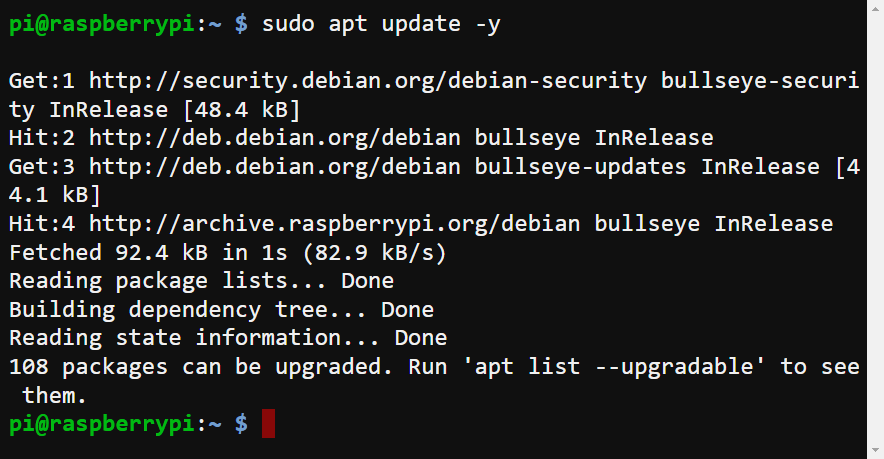
4. Now, run the following wget command to download the TeamViewer Host software onto your Raspberry Pi.
This command downloads the installation .deb file (teamviewer-host_armhf.deb) from the TeamViewer server to your current working directory.
wget https://download.teamviewer.com/download/linux/teamviewer-host_armhf.deb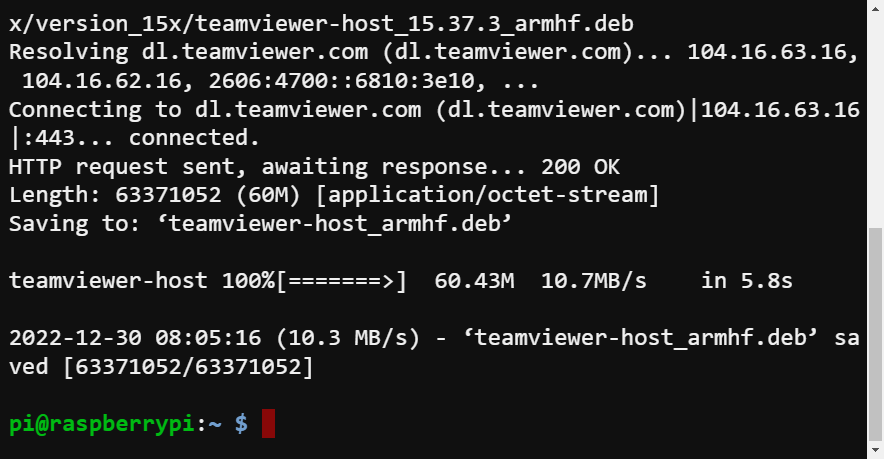
5. Once downloaded, run the ls command below to list all (*) *.deb* files in the working directory. Doing so lets you verify that the installation file was successfully downloaded.
ls -la *.debAs shown, the TeamViewer Host .deb file exists in the working directory. This .deb file contains the installation package for installing the TeamViewer Host on your Raspberry Pi.

6. Next, run the below apt autoremove command to remove any unnecessary dependencies that may prevent the TeamViewer Host software from being installed properly.
sudo apt autoremove -y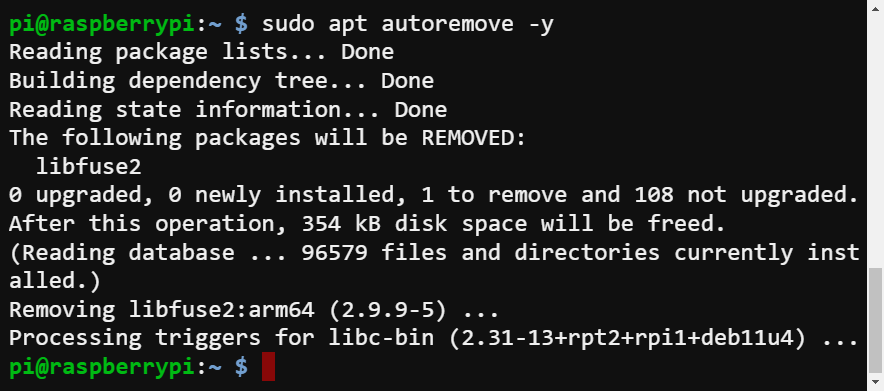
7. Finally, run the following dpkg command to extract the TeamViewer Host .deb package and install (-i) the TeamViewer Host software on your Raspberry Pi.
sudo dpkg -i teamviewer-host_armhf.deb
Got a broken dependencies error like the one below? Run the below command to fix (-f) any broken dependencies.
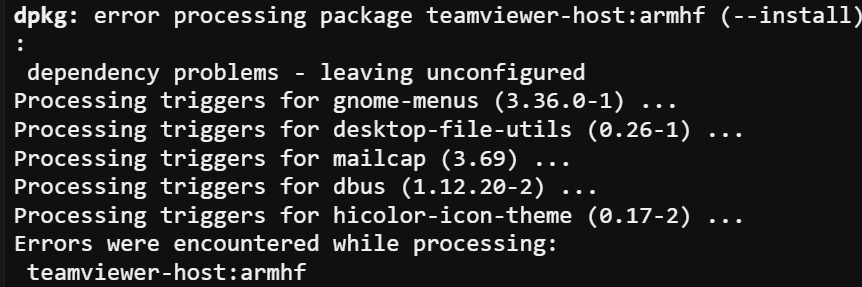
sudo apt-get -f install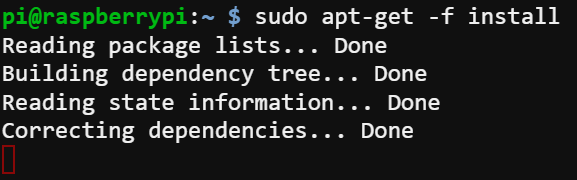
Starting and Enabling the TeamViewer Service
Once you have installed TeamViewer Host on your Raspberry Pi, it will be automatically set up to start up on boot. As a result, the service launches whenever your Raspberry Pi is powered on.
But if, for some reason, the TeamViewer service fails to start automatically, you can manually start the service.
Run the below systemctl commands to start the TeamViewer service manually, and enable it to automatically start at bootup.
These commands do not produce output, but you will verify the service status in the following step.
# Starts the TeamViewer service
sudo systemctl start teamviewerd.service
# Enables the TeamViewer service to start at bootup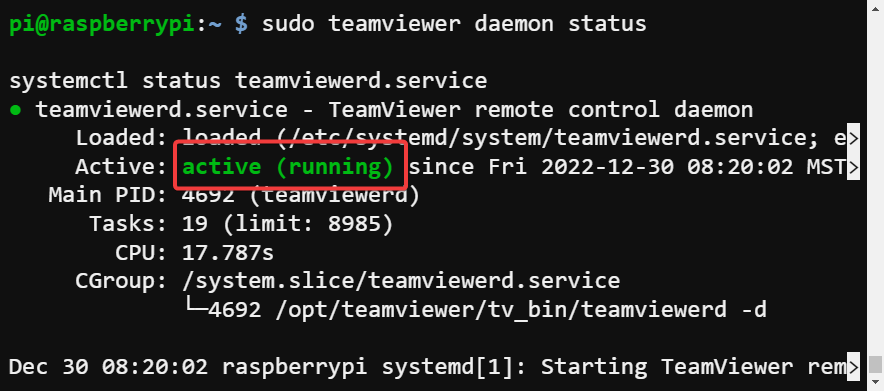
sudo systemctl enable teamviewerd.serviceNow, run the following command to check the status of the TeamViewer service.
sudo teamviewer daemon statusYou will see a similar output to the one below that confirms whether the service is running.
Configuring TeamViewer on Raspberry Pi
At this point, TeamViewer is successfully installed and running on your Raspberry Pi. But still, there are a few additional settings to configure before you can connect to your Raspberry Pi remotely.
There are two methods you can use in configuring TeamViewer on your Raspberry Pi. Both methods work, so picking one is just a personal preference. But then again, having more than one option is always a great deal.
If you are interested in both methods, start configuring TeamViewer via GUI and decide if this method suits your taste.
GUI-based Raspberry Pi
If you prefer clicking your way through configuring stuff, a GUI-based TeamViewer configuration is available.
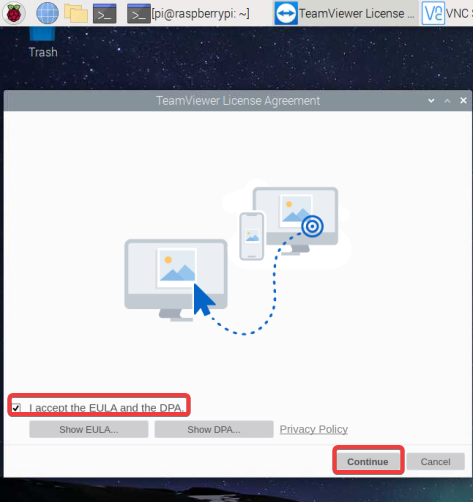
1. Launch TeamViewer, tick the checkbox at the bottom to access the End-User License Agreement (EULA), and click Continue.
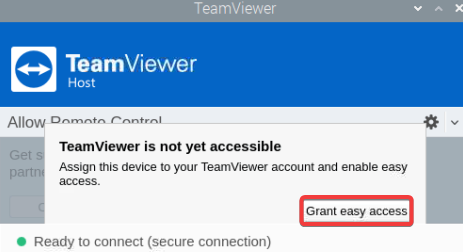
2. Next, click Grant easy access to link your TeamViewer account and enable easy access to your Raspberry Pi from other devices.
This option allows you to remotely access your Raspberry Pi from any device with TeamViewer installed without entering a password each time. Once granted, the TeamViewer options window opens, where you can configure TeamViewer’s behavior.
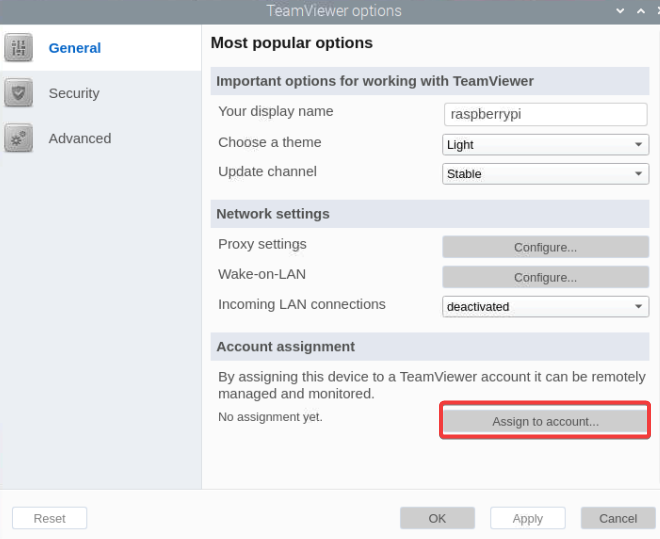
3. Under General (left pane) → Account assignment section, click Assign to account to link your TeamViewer account to your Raspberry Pi.
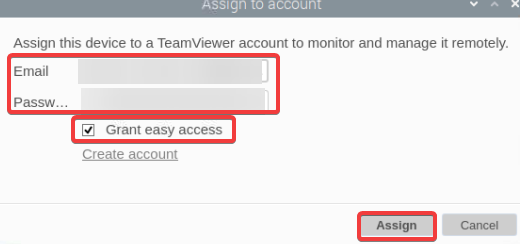
4. Now, assign your Raspberry Pi to your TeamViewer account with the following:
- Enter the Email and Password for the user account you will use to access your Raspberry Pi remotely from another device.Tick the Grant easy access check to grant easy access to the account.Click Assign to confirm assigning the specified TeamViewer account. Once assigned, you will receive an email from TeamViewer asking you to verify your new device.
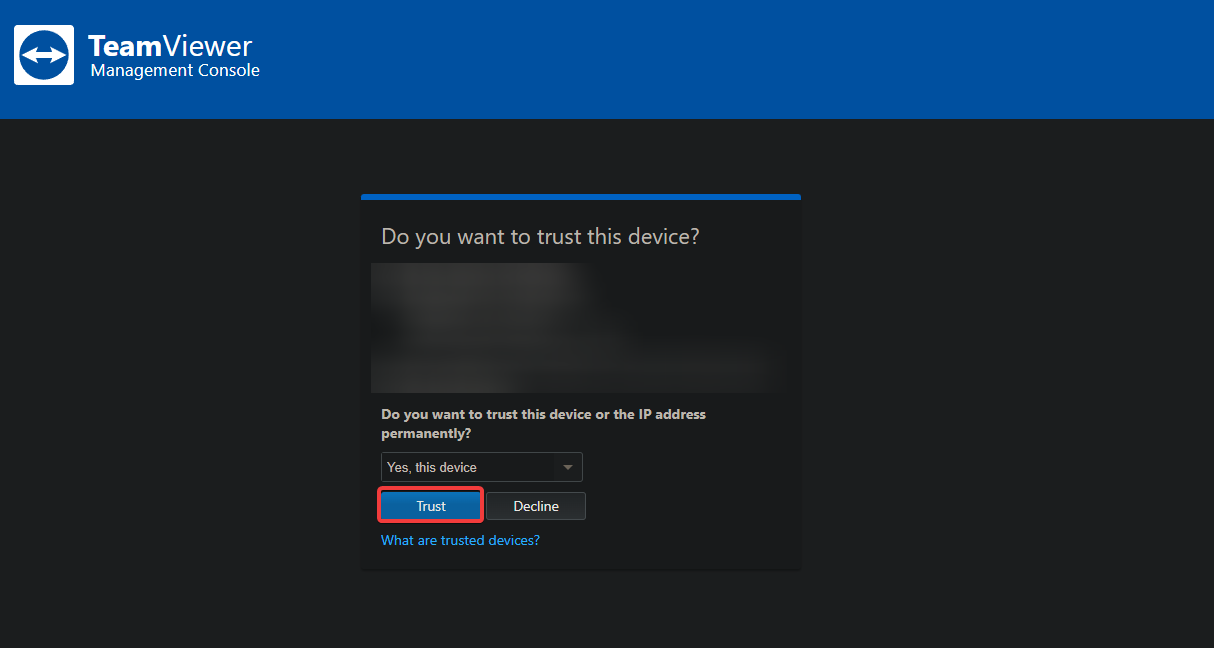
5. Open the email sent to you, click the link provided, and click Trust to complete the verification process, as shown below.
6. Switch to the TeamViewer options window, and click OK to finish the setup process.

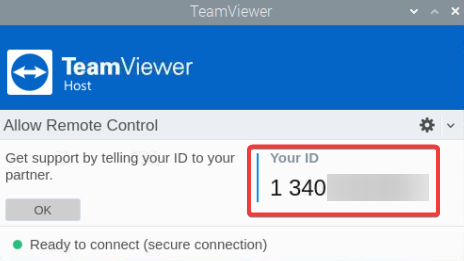
On TeamViewer’s main screen, you will see your TeamViewer ID, a unique ID number assigned to your Raspberry Pi. Make sure to note the ID, as you will need it to connect to your Raspberry Pi from another device via TeamViewer.
Headless Raspberry Pi
You have seen that clicking through GUI only takes a few steps. But if you prefer to work on a command-line environment, you can configure TeamViewer on a headless Raspberry Pi.
TeamViewer’s command-line interface (CLI) version allows you to configure and control the software from a terminal.
1. SSH into your Raspberry Pi again if you are not already logged in.
2. Next, open your terminal, and run the below command to set a strong password for TeamViewer. Replace <your_password> with your actual password.
Save your password somewhere safe, as you use it to authenticate and access your remote Raspberry Pi.
sudo teamviewer passwd <your_password>
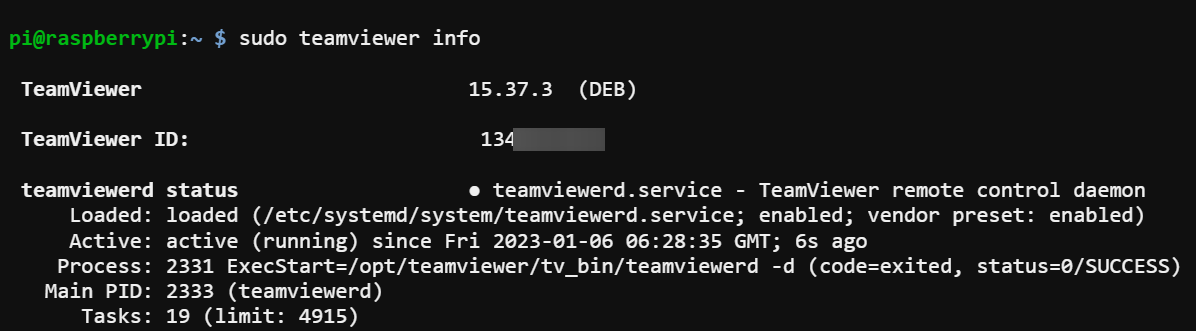
3. Now, run the below command to retrieve your TeamViewer ID. sudo teamviewer info
sudo teamviewer infoBelow, the output displays the ID and other information about your TeamViewer installation, such as the version number and service status.
Connecting Remotely to Raspberry Pi via TeamViewer
Regardless of the method you used to configure your TeamViewer, once your TeamViewer ID, you are good to go. With TeamViewer installed and configured, the only thing left to do is to remotely access and control your Raspberry Pi from another device.
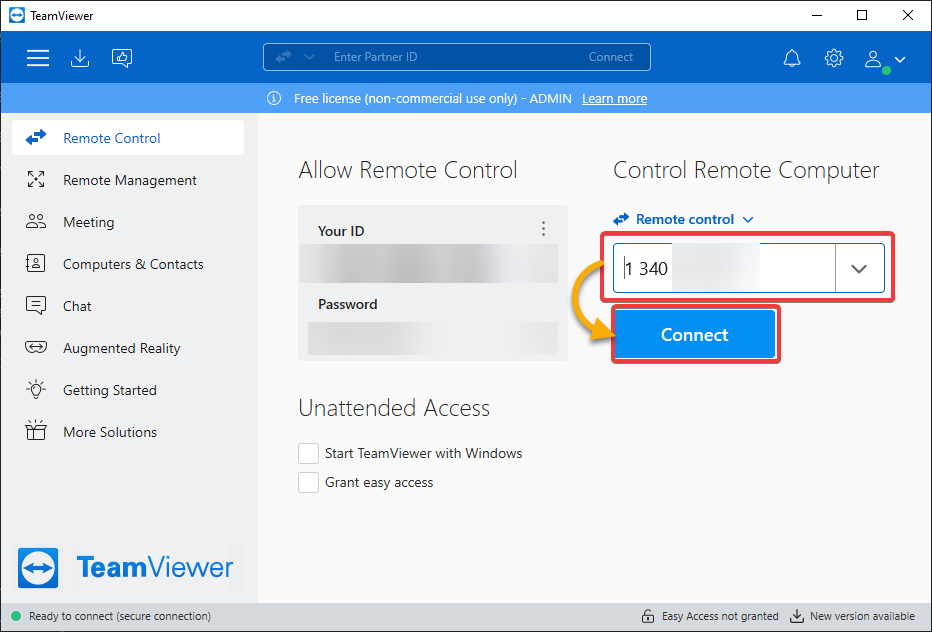
Launch your TeamViewer client on the device you want to use to connect to your Raspberry Pi. This tutorial uses a Windows computer as the client.
Next, enter the TeamViewer ID from your Raspberry Pi into the Remote control field, and click Connect to connect to your Raspberry Pi.
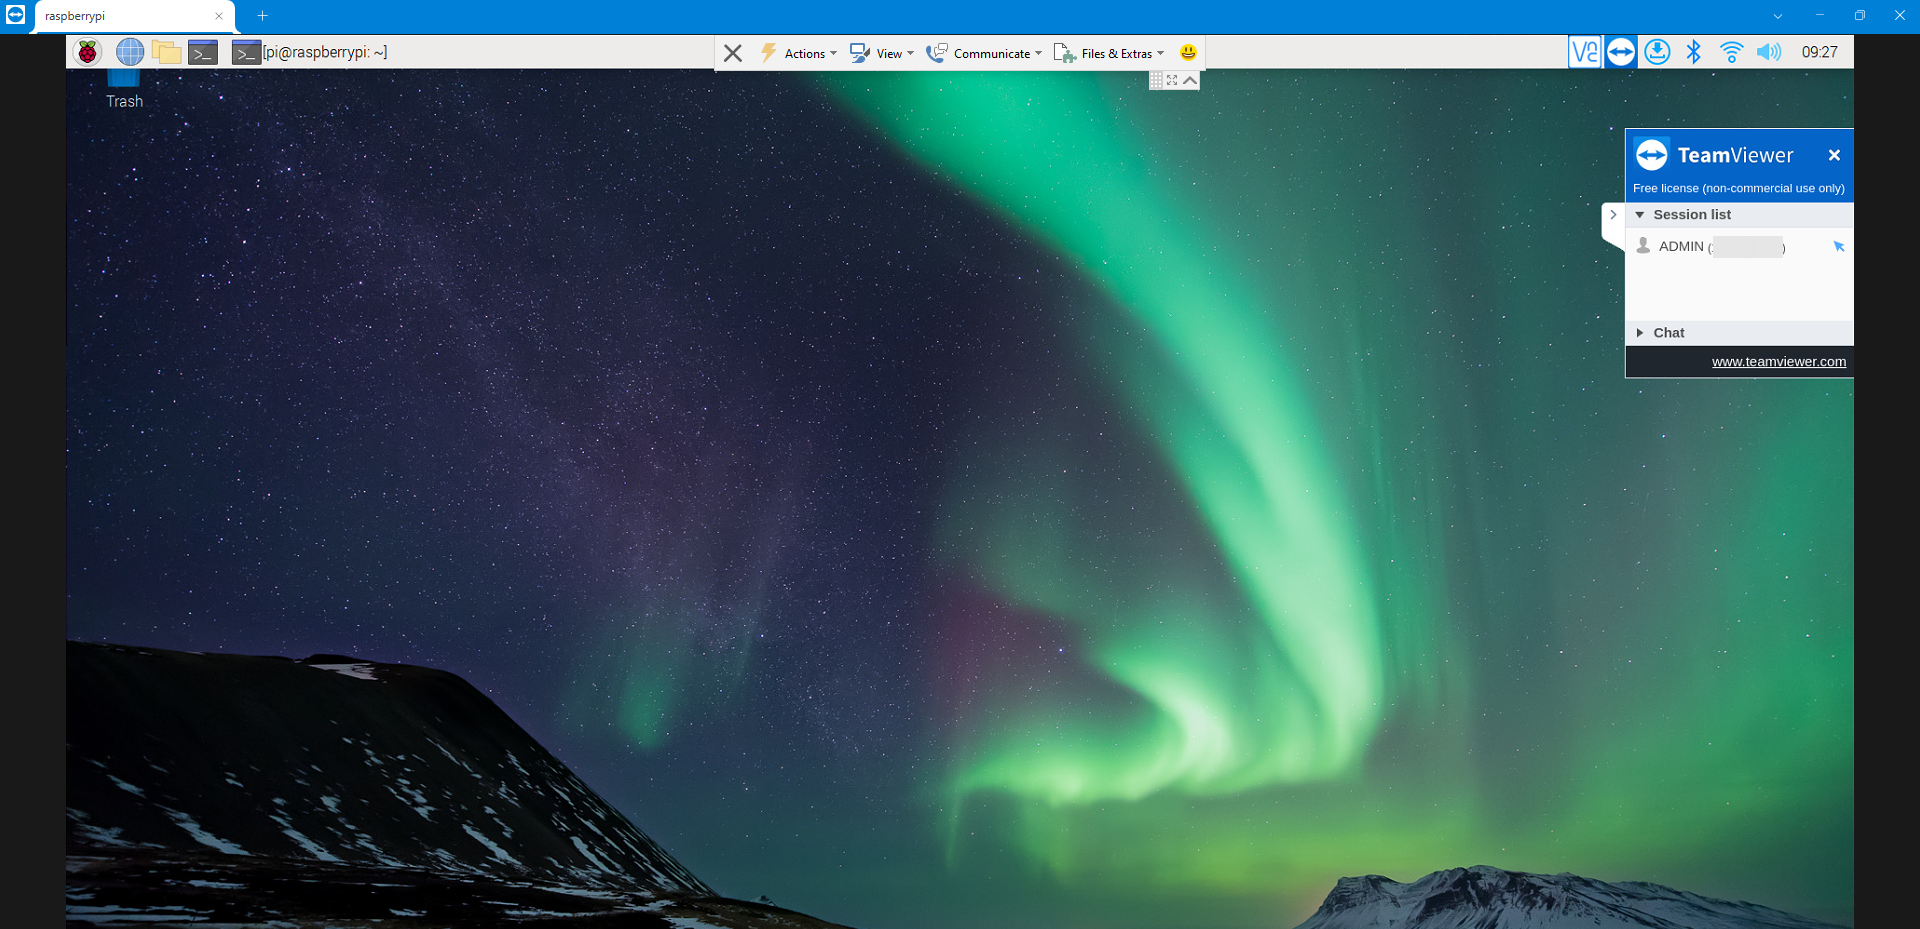
If everything is set up correctly, you will be immediately connected to your Raspberry Pi and can now access and control it remotely, as shown below. At this point, you can access files stored on your Raspberry Pi, install additional software packages, configure network settings, etc.
Note that you will need to enter your TeamViewer password (the one you set in the previous step) in order to authenticate and access your Raspberry Pi remotely if you are using a headless configuration.
Conclusion
Congratulations! You have just learned how to set up a remotely-controlled powerhouse with TeamViewer on Raspberry Pi. With this newfound knowledge, you can easily set up your Raspberry Pi to be remotely accessible from any device.
Imagine working on your Raspberry Pi projects, accessing files, and running programs remotely. Yes, all these seamless remote management from the comfort of your home or office!


