


Keeping your server running is crucial for any business. Downtime can cost you money, customers, and your reputation. Statping can help avoid these disasters by monitoring and tracking the status of your services.
This tutorial will teach you how to install Statping on Ubuntu Linux. You will also secure your Statping installation with an SSL certificate.
Ready to rock and roll? Read on to get started!
Prerequisites
This tutorial will be a hands-on demonstration. If you’d like to follow along, be sure you have the following:
- An Ubuntu Linux server. This tutorial uses Ubuntu 20.04, but Statping should work fine on any recent Ubuntu release.
- A DNS record pointing to your server’s public IP address. This record is necessary for the SSL certificate and serves as the access URL for the Statping web UI.
Installing Statping Using Snap
You can install Statping using Docker or the APT package manager, but the easiest way to install it is with snap. Snap package manager comes pre-installed on Ubuntu, so you won’t need to install anything else. Snap provides convenient installation and updates for Statping.
1. First, update your system’s package index.
apt update -y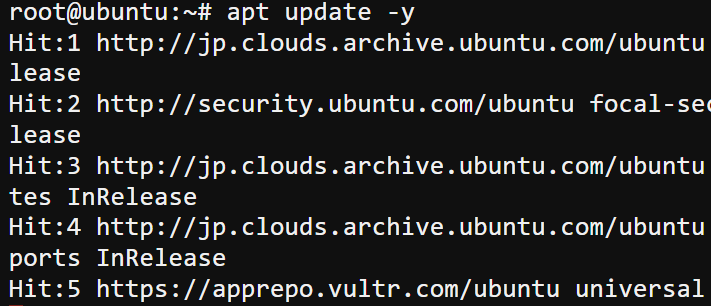
2. Next, refresh your snap packages.
snap refresh
3. Now you can install Statping with the following command. The statping-ng package is an updated version of Statping that includes some bug fixes and new features.
snap install statping-ngOnce the installation completes, you will see an output similar to the following.

4. Start Statping by running the below command.
snap start statping-ng
5. To enable Statping to start automatically on boot.
snap enable statping-ng
Updating Statping
When a new version of Statping is available, run the below command to install the update.
snap refresh statping-ng
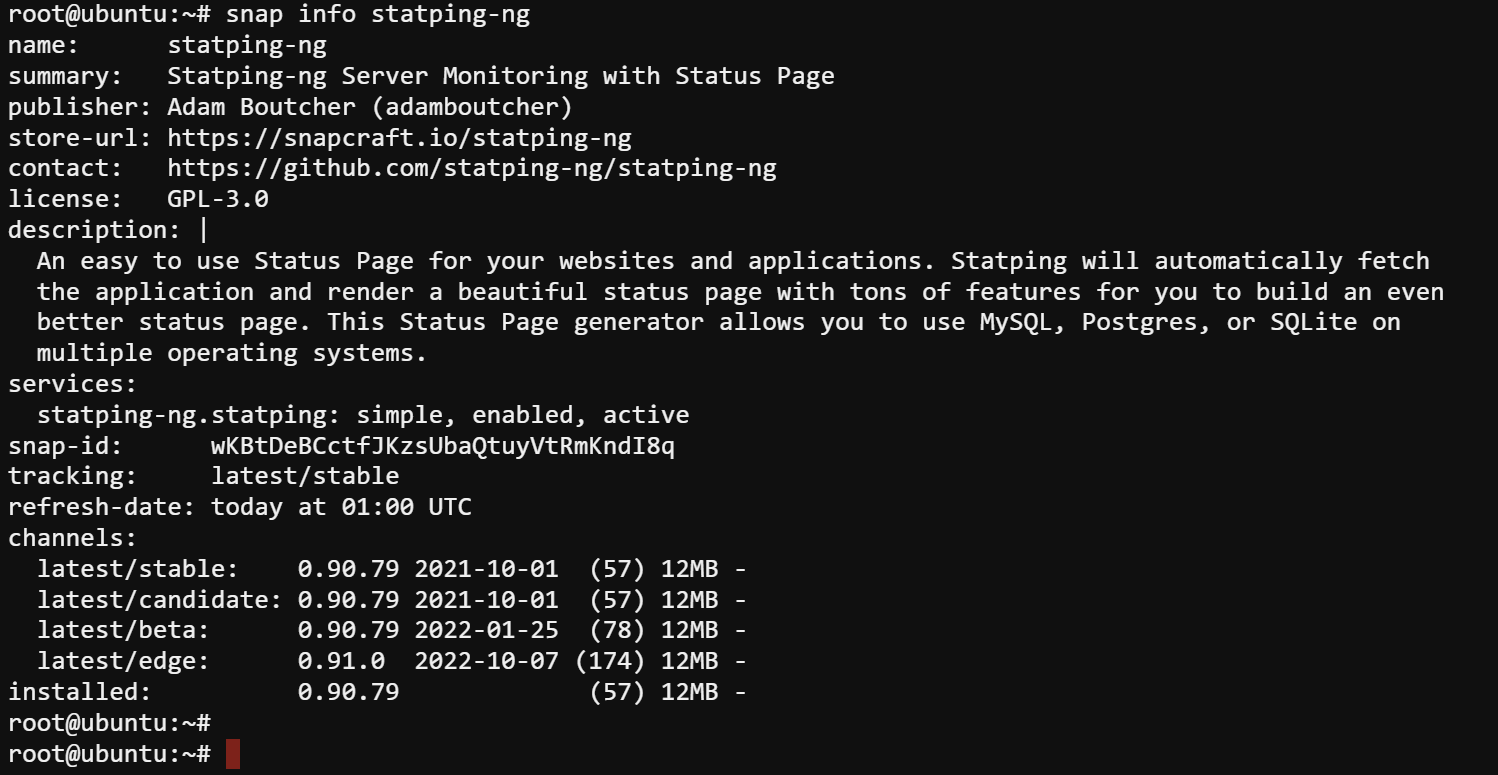
To display the Statping version, run the below command.
snap info statping-ng
You will see an output similar to the following. The latest version of Statping is 0.90.79 at the time of writing.
Configuring a Reverse Proxy for Statping
Now that you have Statping installed, it’s time to set up a reverse proxy so you can access the web interface securely with HTTPS.
What is a reverse proxy? A reverse proxy is a server that sits in front of your Statping server and forwards requests to it. You can add security features like SSL encryption and authentication using a reverse proxy.
Installing NGINX
Follow the below instructions to install NGINX.
1. First, install NGINX by executing the following command:
apt install nginx -y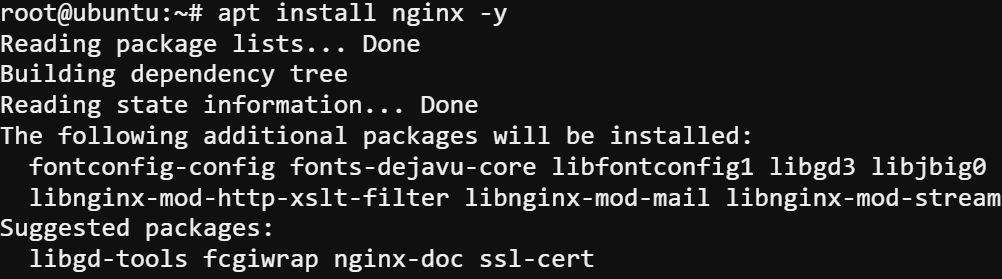
2. Once you’ve installed NGINX, start the service and enable it to automatically start on boot by invoking the following commands.
# Start NGINX
systemctl start nginx
# Enable NGINX Autostart
systemctl enable nginx
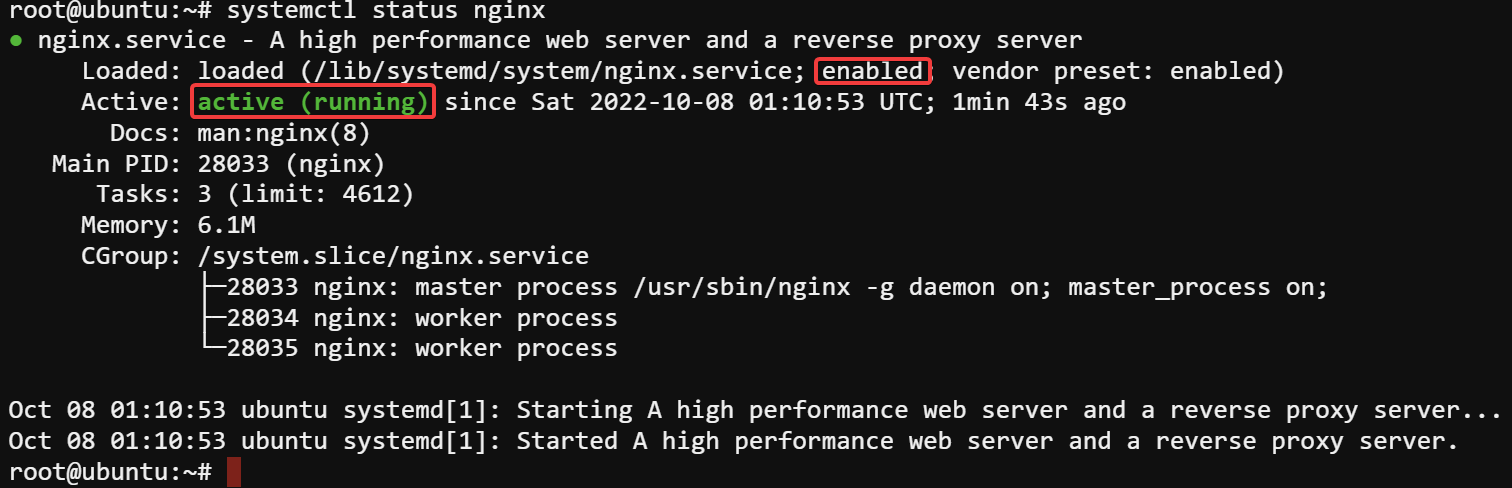
3. Finally, check the NGINX’s status to ensure it’s running with the following command.
systemctl status nginxYou will see an output similar to the following. As you can see, the status should be enabled and running.
Configuring a Reverse Proxy for Statping
Now that you have NGINX installed and running, it’s time to configure your reverse proxy.
1. First, create a new file called /etc/nginx/conf.d/statping.conf using your preferred text editor. This statping.conf file will hold your reverse proxy configuration.
nano /etc/nginx/conf.d/statping.conf2. Populate the statping.conf file with the following configuration. Be sure to replace example.com with your domain name.
This configuration contains the minimum configuration of your reverse proxy.
- The NGINX service will
listento port 80.
- The
server_namemust be the server’s FQDN matching the DNS record. Replace this with your values.
- The
access_loganderror_logdirectives set the location of your access and error logs.
- The
location /block configures NGINX to act as a reverse proxy.
- The
proxy_passdirective tells NGINX where to send traffic trying to access the/ location. In this case, you are proxying traffic to your Statping server on port8080.
- The
proxy_set_headerdirectives set some headers to pass along to the Statping server.
- The $host and $remote_addr variables are placeholders for the client accessing the web interface’s hostname and IP address.
server {
      listen 80;
      listen [::]:80;

      server_name statping.example.com;

      access_log /var/log/nginx/statping.access;
      error_log /var/log/nginx/statping.error;

      location / {
        proxy_pass http://localhost:8080;
        proxy_set_header Host $host;
        proxy_set_header X-Real-IP $remote_addr;

      }
  }
3. Save and close the statping.conf file and check for any syntax errors in your configuration by running the following command:
nginx -tIf there are no errors, you will see the following output.

4. Finally, restart NGINX for your changes to take effect with the following command.
systemctl restart nginx
Setting up SSL/TLS Encryption
Now that you have configured the reverse proxy, it’s time to add SSL/TLS encryption, so your web interface will be accessible over HTTPS. For this, you will use Certbot, a tool that can automatically generate and install certificates from Let’s Encrypt for free.
1. First, install the Certbot client with the following command.
snap install --classic certbot
2. Next, run the following command to obtain and install an SSL certificate from Let’s Encrypt.
- Replace
statping.example.comwith your actual domain name.
- The
-mflag sets your email address.
- Replace
[email protected]with your actual email address. Let’s Encrypt sends expiration notices and essential account information to this email address.
- The
--agree-tosflag indicates that you agree to the terms of service.
- The
-dflag sets your domain name.
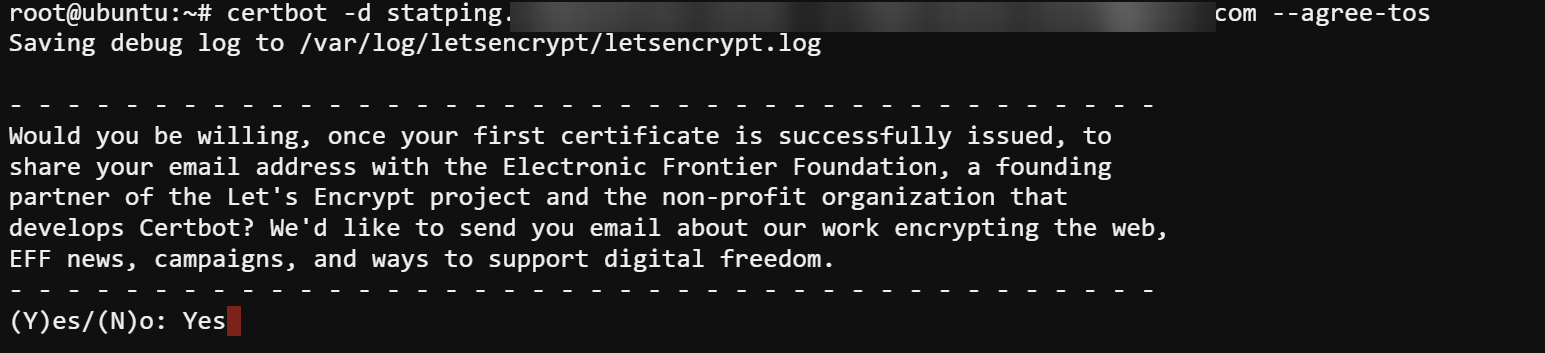
certbot -d statping.example.com -m [email protected] --agree-tos3. The first time you run the command, Certbot will ask if you would like to share your email address with the Electronic Frontier Foundation. This option helps fight spam and abuse of the Let’s Encrypt service. This example will opt-in to this offer by typing Y or Yes and pressing Enter.
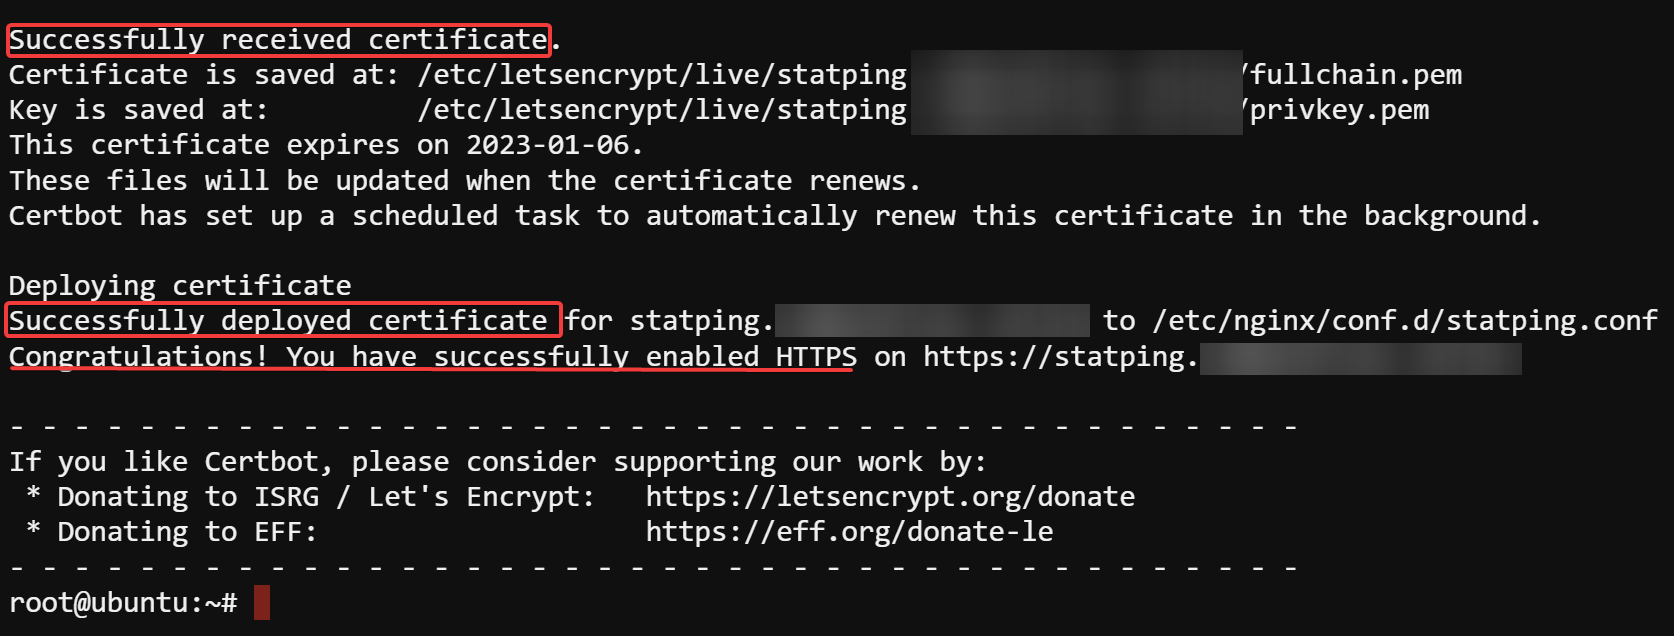
Once the process completes, you will see an output similar to the following. Certbot saves your certificate and key files in the /etc/letsencrypt/live/statping.example.com directory. The live directory contains symbolic links to the most recent certificates and keys for each domain name for that you obtained a certificate.
The fullchain.pem file contains your domain’s certificate and chain certificates. The privkey.pem file holds your domain’s private key.
Configuring the Firewall
If you put your server behind a firewall, such as UFW, for security reasons, you must allow traffic on ports 80 and 443 so users can access the Statping web interface.
1. Run the following commands to allow traffic on these ports.
ufw allow 80/tcp
ufw allow 443/tcp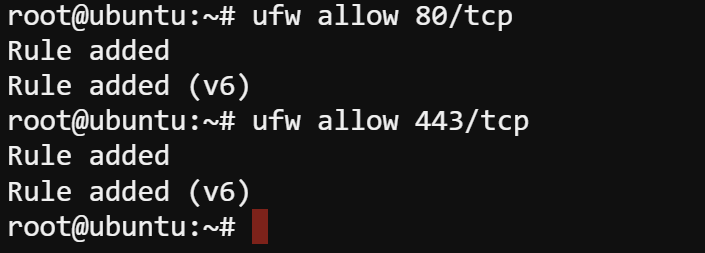
2. Reload UFW for the changes to take effect.
sudo ufw reload
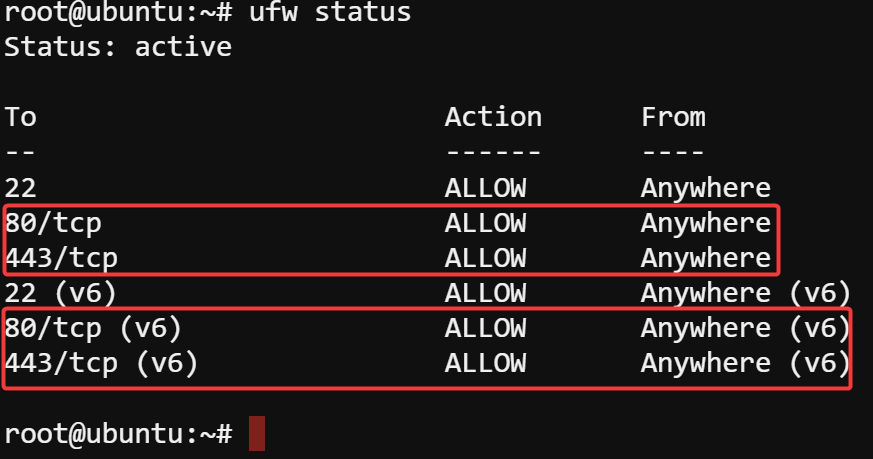
3. Check the status of UFW to ensure the rules reflect the changes.
ufw statusYou will see an output similar to the following.
Accessing Statping Web UI
Now that your Statping server is running, it’s time to access the web interface. Unlike other monitoring applications, Statping provides a web interface with a friendly design for anyone, regardless of their technical ability.
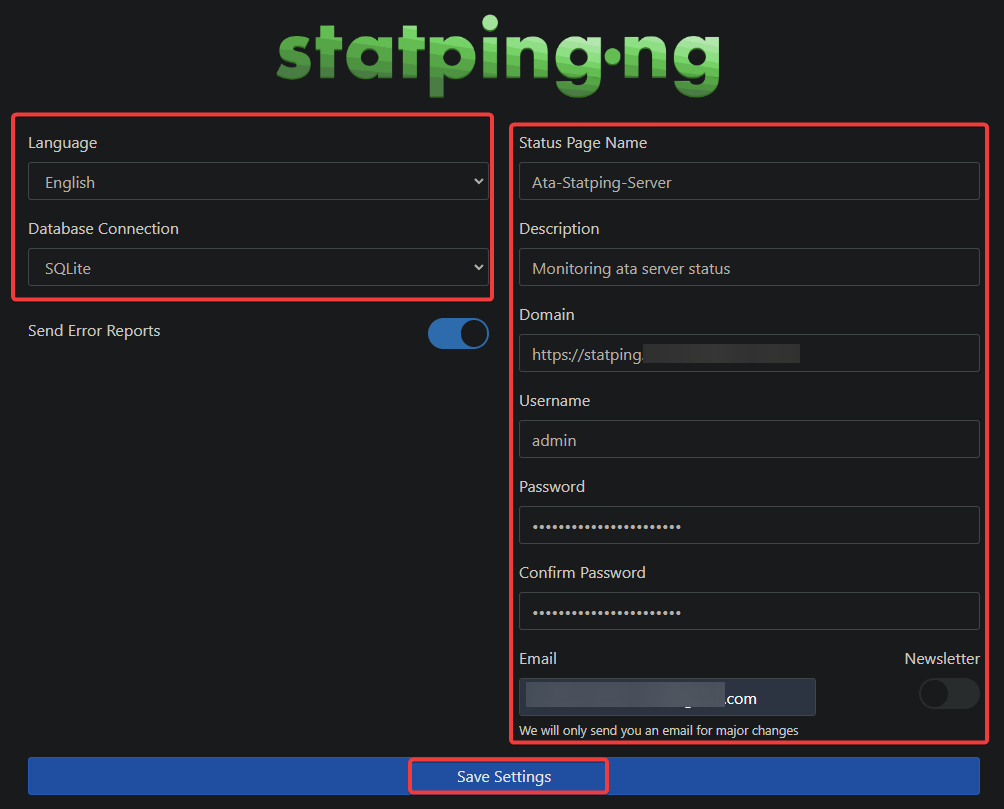
1. To access the Statping web UI, open your web browser and type the URL https://statping.example.com. Replace statping.example.com with your actual domain name. You will see the Setup page, which looks like the following image. You will see this page when you access Statping for the first time.
2. Provide the following information on the page:
- Language: Select the language you want to use for Statping.
- Database Connection: Select SQLite as the database type, which is the quickest database to run with Statping.
- Status Page Name: Enter a name for your Statping instance. This name will be the title of the web page.
- Description: Enter a descriptive sentence or two about your Statping instance.
- Domain: Enter the domain name of your Statping server.
- Username: Enter the new administrator username.
- Password: Enter a strong password for the administrator user.
- Confirm Password: Enter the password again to confirm it.
- Email: Enter the email address for receiving notifications from Statping.
3. Keep other settings as is and click Save Settings to save your changes.
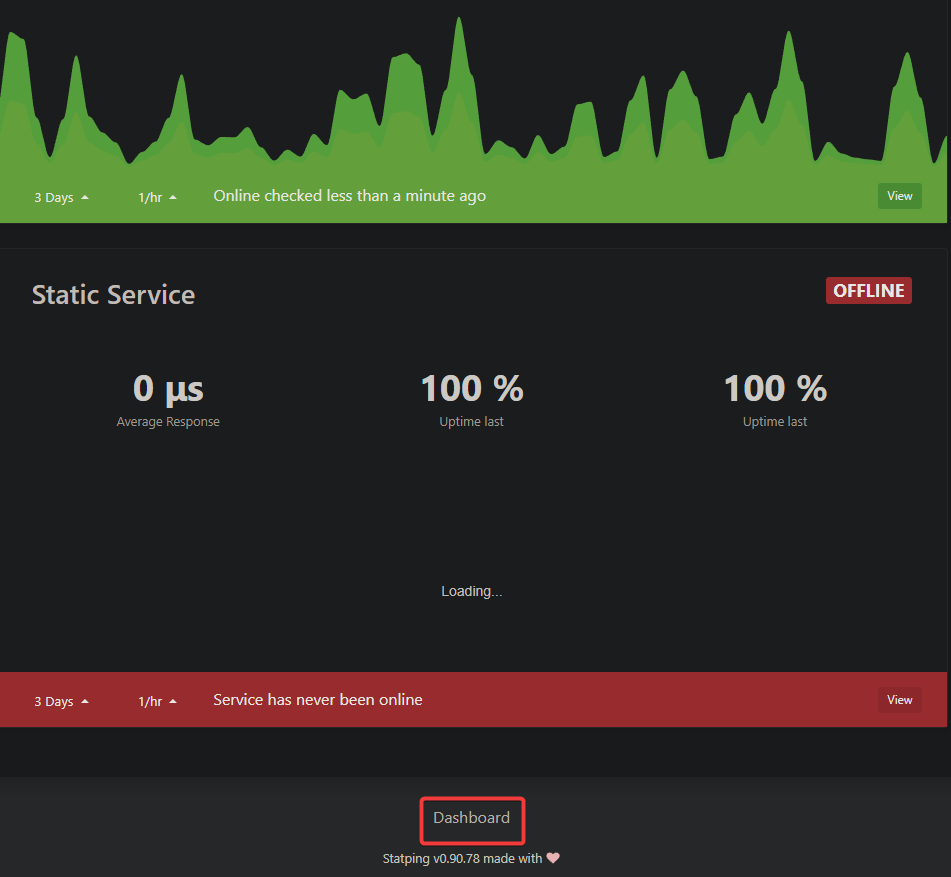
4. On the next page, click Dashboard to log in to Statping and access the web interface.
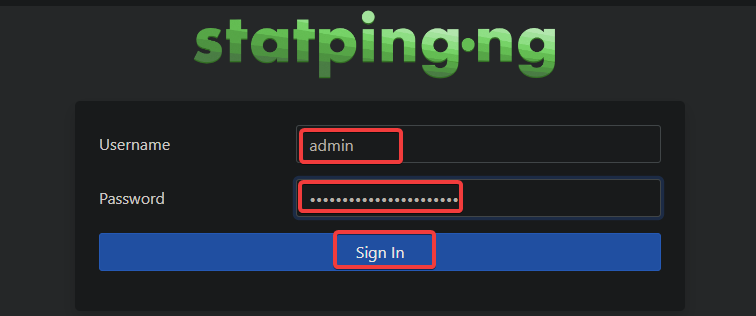
5. Enter the username and password you created earlier for the administrator user and click Sign In.
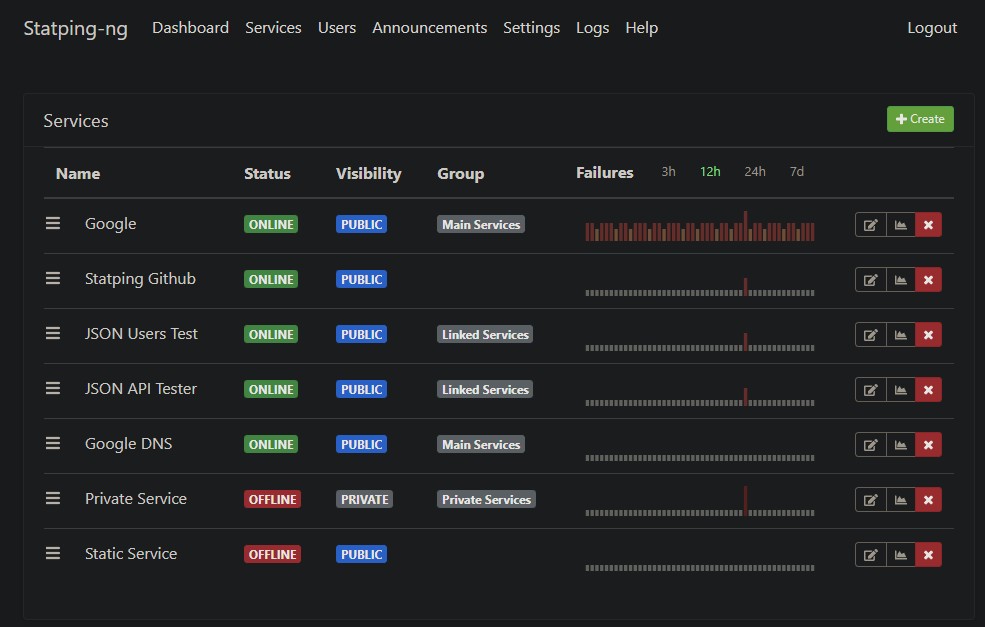
You will see the Statping dashboard, which looks like the following screenshot. From here, you can begin monitoring your services.
Conclusion
Monitoring your services is a crucial part of any system administrator’s job. Statping eliminates manual effort by providing a user-friendly web interface for monitoring.
In this article, you learned how to install Statping on Ubuntu 20.04 server. You secured the application with an SSL certificate. You also learned how to configure the firewall and access the Statping web interface.
With this new tool in your arsenal, you can now keep an eye on all your services and ensure they run appropriately. Begin by creating new services to Statping and monitoring them. Give Statping a try and see how this excellent can increase your productivity!


