


If you need a way to transfer and sync files locally and remotely, RSync is just what you need. But using RSync can be a bit confusing for a beginner, and some online tutorials can be difficult to follow. Worry not, though. This tutorial has got you covered with RSync examples.
You’ll learn different RSync real-life examples in this tutorial you can use to improve your file management.
Read on and effectively transfer and sync files without the hassle!
Prerequisites
This tutorial will be a hands-on demonstration. If you’d like to follow along, be sure you have the following.
- Two Linux machines (source and destination machines) – This tutorial uses Ubuntu 20.04 machine. Other Linux distros will work, but the steps might be slightly different.
- A user account with root privileges on both machines.
- OpenSSH installed and allowed on the firewall on both machines.
Installing RSync on Ubuntu
RSync lets you transfer and sync files both locally and remotely. But before you can take advantage of these RSync examples, you’ll first have to install it. The apt package manager is enough to install RSync on your machine like other packages.
1. SSH to your source machine and run the apt update command below to update your Ubuntu repositories.
apt update -y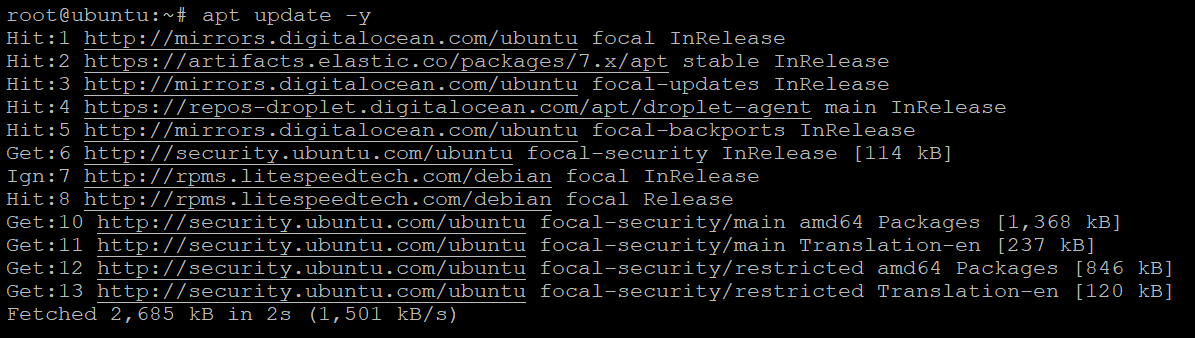
2. Next, run the following apt install command to automatically install the rsync package and all its dependencies.
apt install rsync -y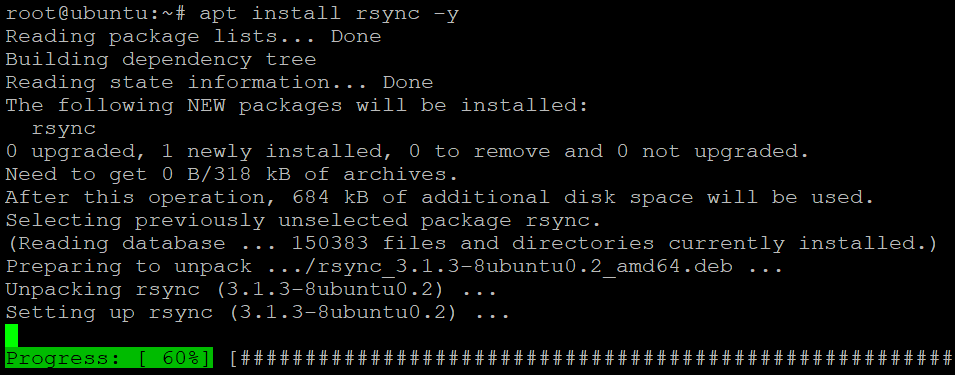
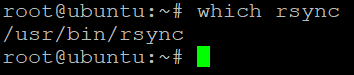
3. Once the installation completes, run the below command to verify that the rsync command is available on your machine.
which rsyncIf the rsync command is available on your machine, you’ll see the location of the rsync command, as shown below.
4. Now, run the following command to check the --version of rsync installed on your machine.
rsync --versionThe output below shows the RSync version installed, as of this writing, is 3.1.3. Your version may be different.

5. Finally, SSH to your destination machine and repeat steps one to four to update your repositories and install the RSync package.
Copying a Single File Locally with this Rsync Example
The most common way to use RSync is to transfer a file copy from your local machine to another location. There are many reasons you might want to copy a file locally. For instance, moving a file to another location or you may want to back up a file on your local machine.
The syntax for copying a single file using RSync is as follows. Replace source_file with the full path of the file to copy and destination_file with the full path of the destination.
rsync source_file destination
To see RSync in action:
1. Run the command below to create two (backup and tmp) directories. The ~/backup directory is where you’ll store a file to backup, while the tmp directory is where you’ll store a demo file.
mkdir backup tmp2. Next, run the touch command below to create a new text file called ata.txt in the ~/tmp directory. This file will serve as the demo file to backup.
touch ~/tmp/ata.txt3. Run each following command to set tmp as the working directory and verify (ls -a) the ata.txt file exists.
cd tmp
ls -a
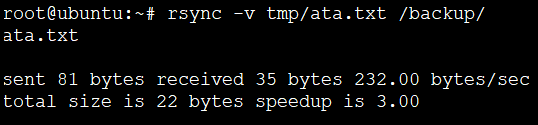
4. Now, run the rsync command below to copy the ata.txt file from the tmp directory to the /backup directory on your local machine. The -v option to see the verbose output of the command.
rsync -v tmp/ata.txt /backup/Once the command completes, you’ll see the output below when the file is copied to the destination. The copied file size is shown in bytes, and the speedup is 3.00.
What’s speedup? RSync copies everything the first time you execute it because you began with an empty destination directory for the backup, showing the speedup factor is 1.0.
The next time you run RSync, it copies or syncs only the files that have changed since the last copying you made with RSync. This behavior gives you the speedup factor of 2.0, 3.0, or even 1000.
5. After copying the file, run the ls command below to verify that the ata.txt file is backed up in the /backup directory.
ls /backup/
Copying Multiple Files to Another Location Locally
You’ve seen how to copy a single file locally, and it works like a charm. But if you have many files to back up, will RSync be enough? Backing up tons of files individually is tedious, so let RSync do the trick. The rsync command supports copying multiple files in one go.
To demonstrate copying multiple files:
1. Run the below commands to create 10 text files in the /tmp directory, and verify they all exist. These files will serve as the demo files you’ll copy to another location simultaneously.
# Creates 10 text files
touch tmp/ata{1..10}.txt
# List contents of the tmp directory
ls tmp
Next, execute the following rsync command to back up all files that start with ata and are text files (*.txt) in the tmp directory to the /backup directory.
rsync -v tmp/ata*.txt /backup/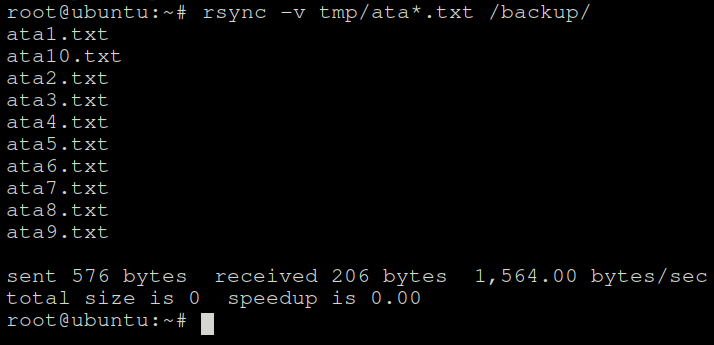
3. Lastly, run the ls command below to list all backed-up text files in the /backup directory.
ls /backup
Copying Directories and Subdirectories Locally
You’ve copied single and multiple files with the rsync so far. But what about directories? RSync also supports copying directories and subdirectories locally so they won’t be left out.
Suppose you have an Apache web server installation at /etc/apache2. If you plan to copy the entire /etc/apache2 directory and all subdirectories to a backup location, the rsync command will suffice.
Below is the syntax for copying a directory and all subdirectories. Replace source_directory and destination_directory with the actual full path source and destination directories.
rsync -av source_directory destination_directory
To copy a directory with all its directories to another location:
1. Run the below mkdir command to create a new directory called /web_servser_backup on your local machine.
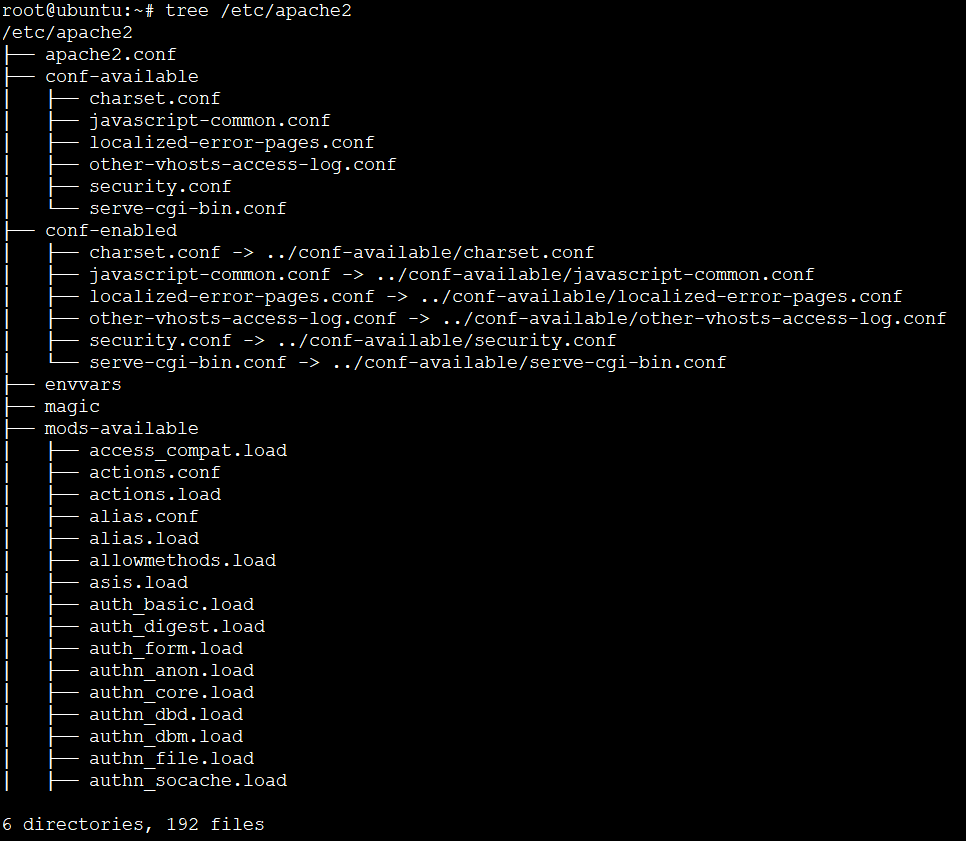
mkdir web_server_backup2. Next, run the following tree command to view the/etc/apache2 directory structure.
tree /etc/apache2As you can see below, the /etc/apache2 directory has subdirectories and many files in it.
You can also see the total number of files and directories in the /etc/apache2 directory at the bottom (6 directories, 192 files).
3. Run the below command to copy (-a) the entire /etc/apache2 directory and its subdirectories to the /web_server_backup directory.
The -a (archive mode) option also preserves all file permissions, timestamps, and linkages.
In many cases, you want to keep the original permissions, timestamps, and linkages intact, especially when you copy a directory from one machine to another. Or else, you may get unexpected problems.
rsync -av /etc/apache2 web_server_backup/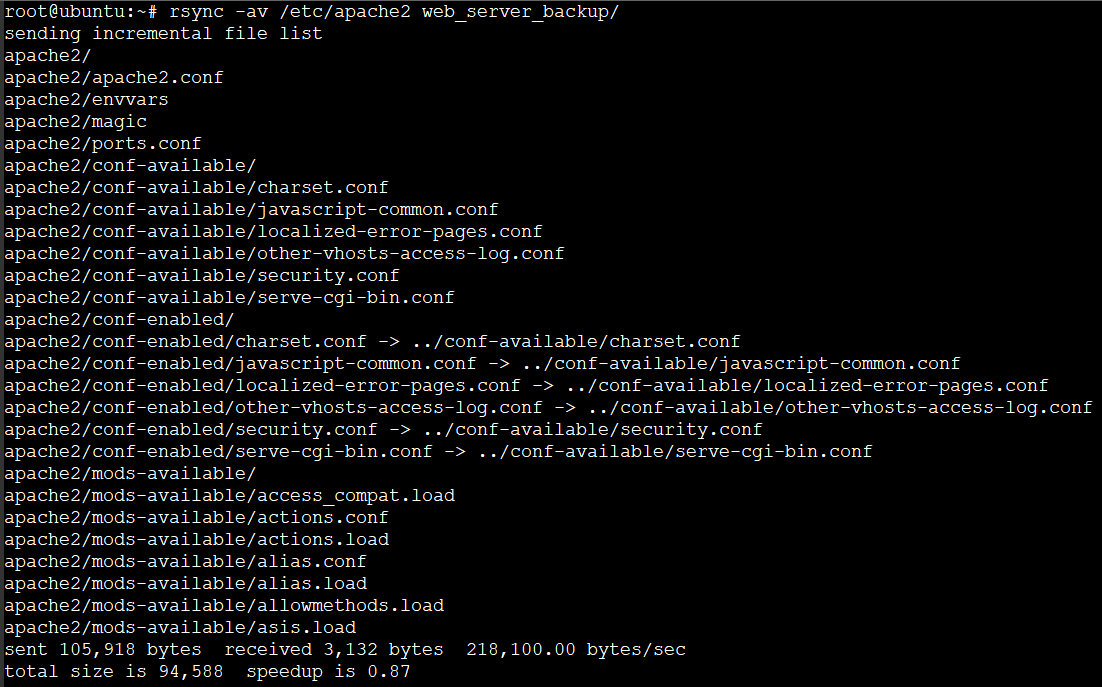
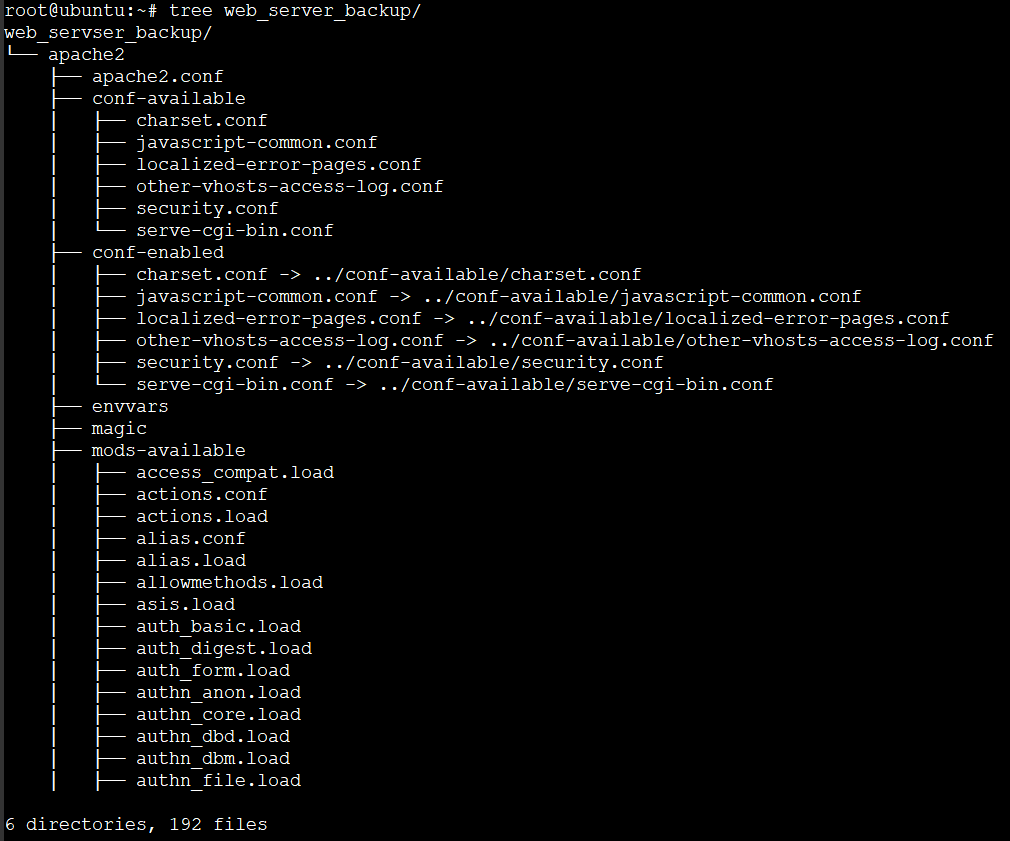
4. Now, rerun the tree command below to verify the /apache2 directory and its subdirectories have been copied to the /web_server_backup directory.
tree /web_server_backupBelow, you can see the entire /etc/apache2 directory structure has been copied to the /web_server_backup directory.
5. Run the below command to install the mod_security2 module for Apache. This module helps protect your web server from attacks.
This step changes the /etc/apache2 directory’s contents, so you can see how to sync changes with RSync (step six).
apt install --assume-yes libapache2-mod-security2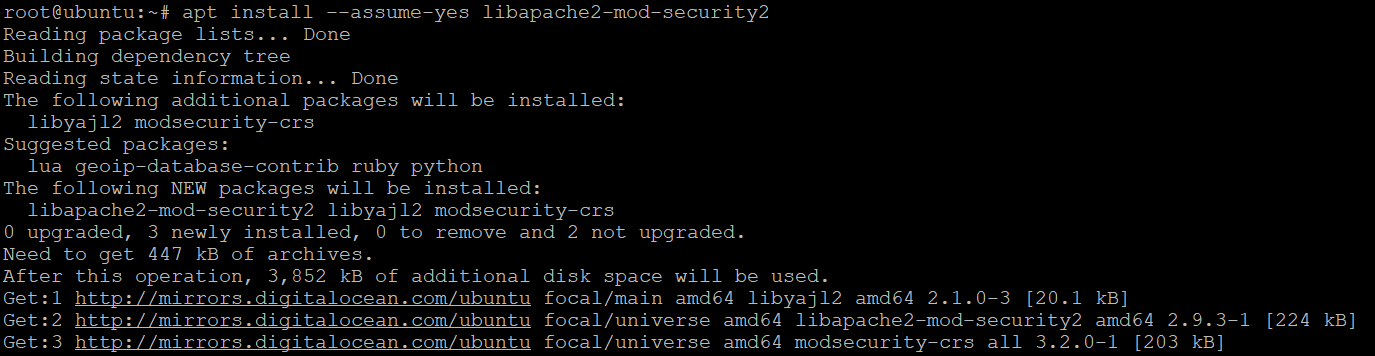
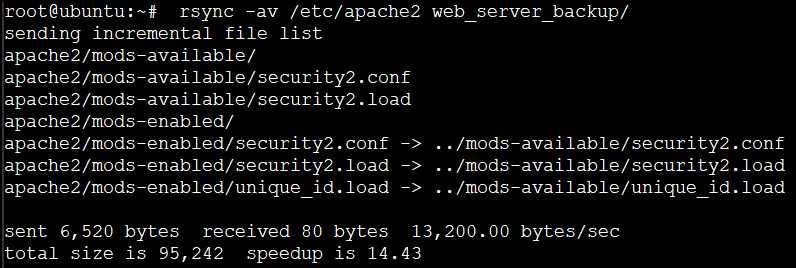
6. Finally, run the rsync command below to sync the changes you made to the /etc/apache2 directory.
rsync -av /etc/apache2 web_server_backup/As shown below, the rsync command has updated the files in the destination directory with the latest changes from the source directory. The speedup is 14.43, which is fast because RSync only updates the changed files and skips unchanged files.
The rsync is convenient when you are making changes to a directory on your machine and want to sync the changes to a backup directory.
Copying Files Remotely
You’ve only copied files from one directory to another locally so far. But that’s not all RSync is about. RSync stands for ‘Remote Sync,’ which indicates you can naturally copy files to another location remotely.
You will frequently copy files, directories, and subdirectories while working with Linux, and RSync lets you execute all that remotely.
Be sure you have OpenSSH installed and enabled. Copying files and directories remotely with RSync doesn’t work without SSH.
1. Run the below command to copy a file (/tmp/containerd/bin) from the source machine to the destination machine.
Be sure you replace the following:
/tmp/containerd/bin– The file path from the source machine.
167.99.149.138– The IP address of your destination machine
/root/dockers-backup/docker-bin/– The file path on the destination machine.
root– The user account you use to connect to the destination machine.
rsync -v /tmp/containerd/bin [email protected]:/root/dockers-backup/backup-bin/The first time you connect to a new host, you’ll see the authenticity message below.
This message tells you the computer you’re connecting to is indeed the computer you think it is. Type yes and hit Enter to continue.

2. Next, enter the password for the user account you’re trying to connect with and hit Enter.
Once logged in, you will see the following output, indicating the file (bin) has been successfully copied to the destination machine.

3. Run the below command to verify the file (bin) on the destination machine. Replace /root/dockers-backup/backup-bin/ with the destination path you specified in step one.
ls /root/dockers-backup/backup-bin/
Copying Directories and Subdirectories Remotely
You can also use RSync to remotely copy directories from one computer to another. This behavior can be helpful to keep files in two directories synchronized remotely.
Run the below command to copy a directory (/thinclient_drives/) from the source machine to the destination machine. Replace /thinclient_drives/ with the directory you like to copy to another machine remotely.
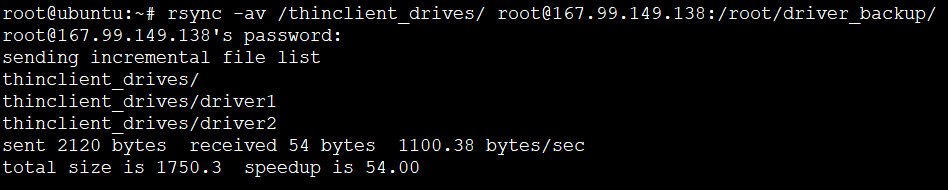
1. Remember always to use the -a option when copying directories to preserve the file permissions, ownership, and timestamps.
rsync -av /thinclient_drives/ [email protected]:/root/driver_backup/2. Enter the password for the user account in the destination machine to proceed and copy the directory.
Notice below that the command also recursively copied the subdirectories of the /thinclient_drives directory.
3. Finally, run the below command to verify the directory (driver_backup/) on the destination machine.
ls driver_backup/
Conclusion
Throughout this tutorial, you’ve looked into some RSync examples to copy a single file, multiple files, and an entire directory to another location, locally and remotely. At this point, you should have a good understanding of how RSync works.
RSync is a fast, efficient, and perfect tool for keeping your backup directory up-to-date. There are many potential applications for RSync. So feel free to experiment more with different options.
Why not try to automate your backup task using RSync with a cron job? So, you don’t have to remember to back up your files manually every day?


