


Fast and reliable, Neovim (Nvim) is an excellent choice for those looking to make the switch from Vim. Compatible with most Vim plugins, including Ruby and Python plugins, Neovim seeks to refactor Vim aggressively.
In this tutorial, you will learn many ways to install Neovim on Windows and see how this powerful tool works.
Ready? Stay tuned and make your scripting more enjoyable with Neovim!
Prerequisites
This tutorial comprises hands-on demonstrations. To follow along, ensure you have the following in place:
- A computer running Windows 7 or later – This tutorial uses Windows 10.
- Chocolatey (Windows package manager) installed.
- A code editor – This tutorial uses Visual Studio Code (VS Code).
- You have Git installed on the system.
Installing Neovim via MSI
Even though Neovim is a cross-platform tool, it is not installed by default on your Windows system. The most recommended way to install on Windows is through its official release page on GitHub.
To download and install via MSI:
1. Open your favorite web browser, and visit the Neovim GitHub release page.
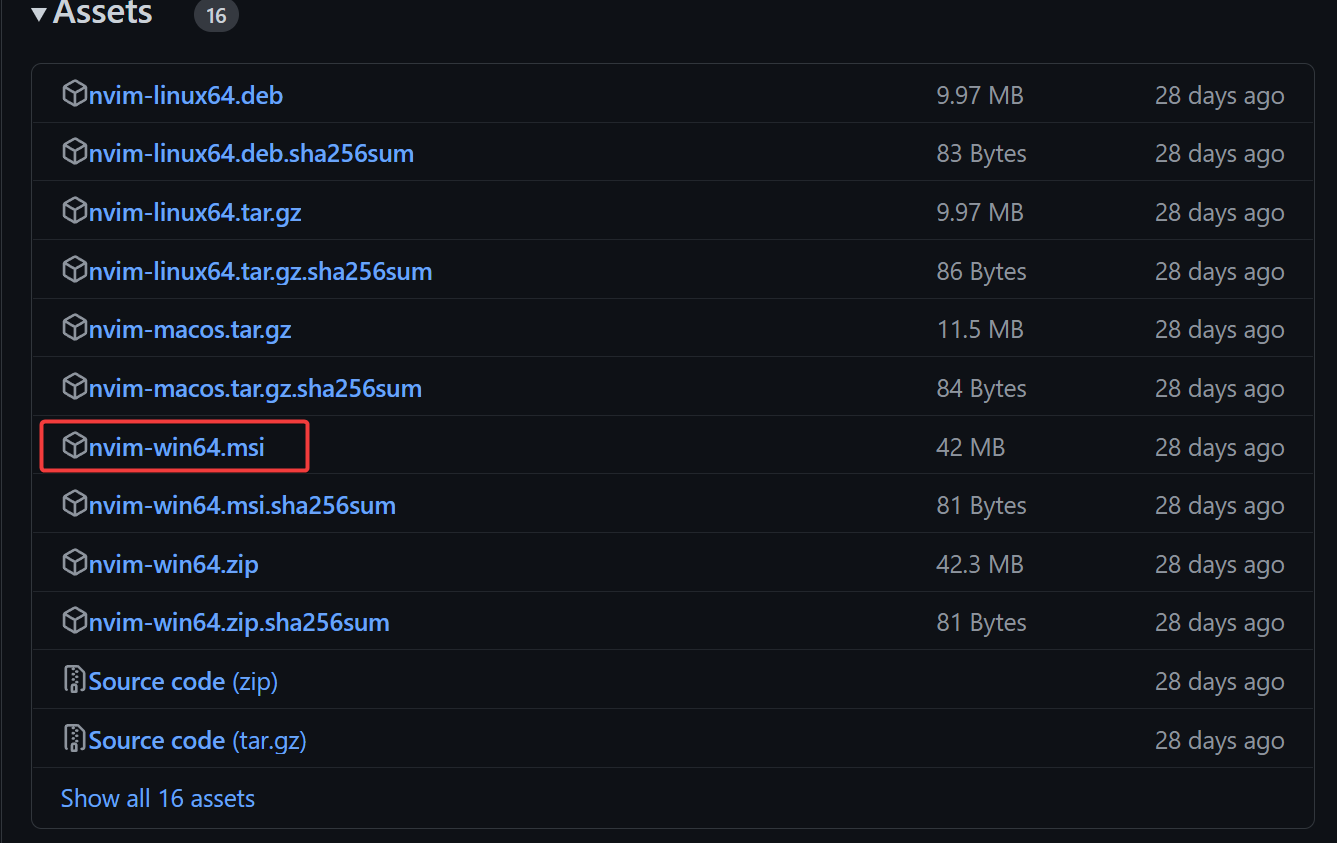
2. Next, scroll down to the Assets section, expand it, and click the nvim-win64.msi link to download the installer.
3. Once downloaded, double-click on the installer to launch the setup wizard.
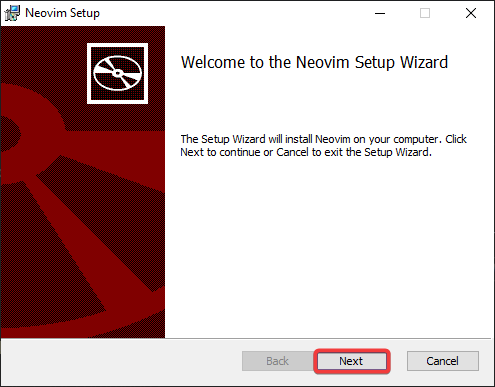
4. Now, click Next on the welcome screen to continue.
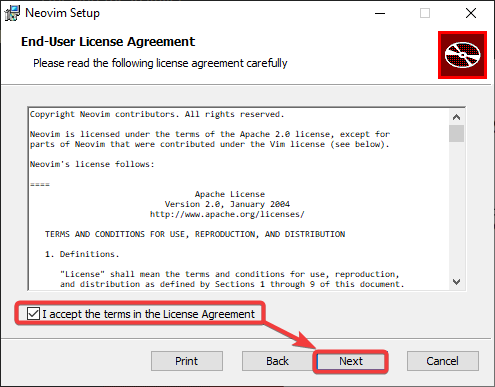
5. On the next screen, tick the checkbox at the bottom to agree to the End-User License Agreement (EULA), and click Next.
6. Next, click Change to choose a destination to install or keep the default, and click Next.

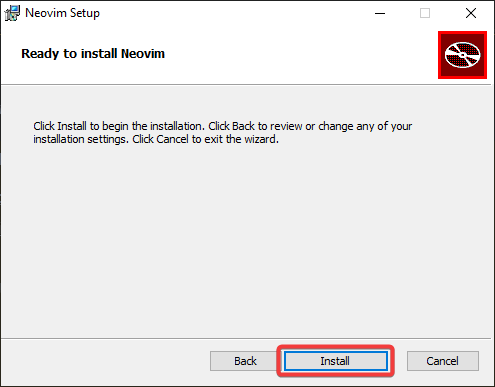
7. Click Install to start the installation process.

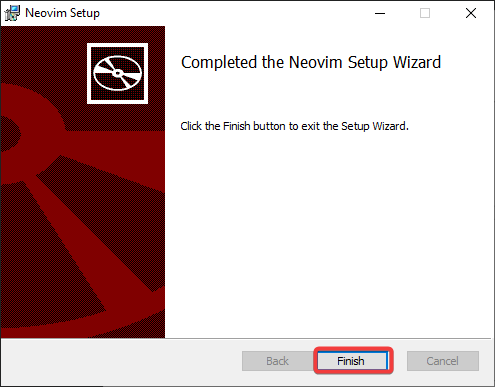
8. Click Finish once the installation completes, closing the setup wizard.
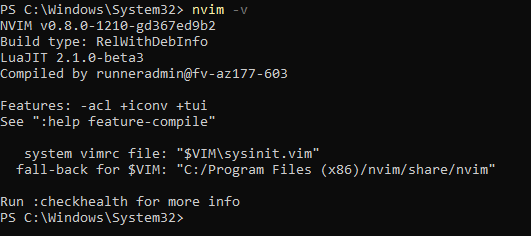
9. Lastly, open PowerShell as administrator and run the nvim command below to check the version installed on your computer.
nvim -vThe output below shows the installed Neovim version, which confirms that it has been successfully installed.
Installing Nvim Using Chocolatey
Installing Nvim with the MSI package works fine but completing the installation takes too much clicking. If you primarily work on a command-line environment, installing via chocolatey is also an option.
Chocolatey is a package manager for Windows that lets you quickly install software like Neovim. This package manager is similar apt on Linux or Homebrew on macOS.
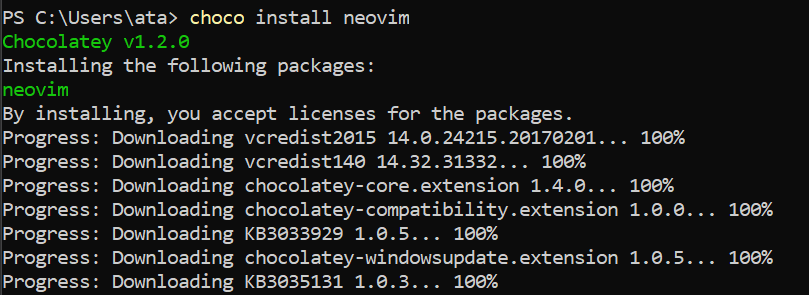
Run the below choco command to install (neovim) and all dependencies required to run the tool.
choco install neovim
Once the installation completes, run the following nvim command to check the installed version (-v) of Neovim on your computer.
nvim -v
Below, you can see its version number and other information, which verifies the successful installation.

Installing Nvim Using Winget
Another tool you can use to install Neovim on Windows is Winget, a package manager for Windows created by Microsoft. Even though Winget is still in development, this tool is stable enough for everyday use.
To install using Winget, follow the steps below:
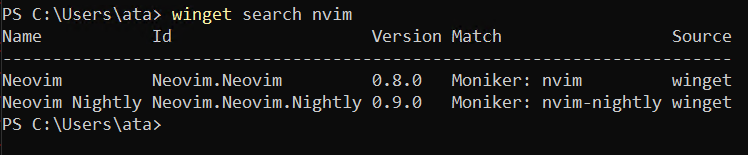
1. Run the below winget command to search for the nvim package.
winget search nvimBelow, the first result is the latest stable release of Neovim, and the second is the latest nightly build. A nightly build is a version that contains the latest changes and features. This build is updated every day and is considered to be less stable than the latest stable release.
Take note of the version ID to install. In this example, you will install the latest stable release with an Id of Neovim.Neovim.
2. Next, run the below winget install command to install the latest stable version (Neovim.Neovim).
winget install Neovim.Neovim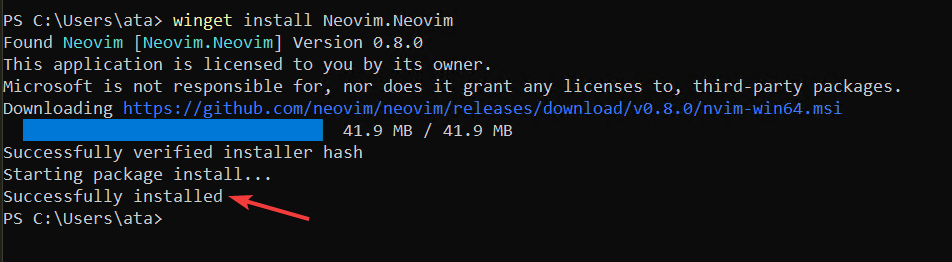
3. Finally, run the command to verify the installation.
nvim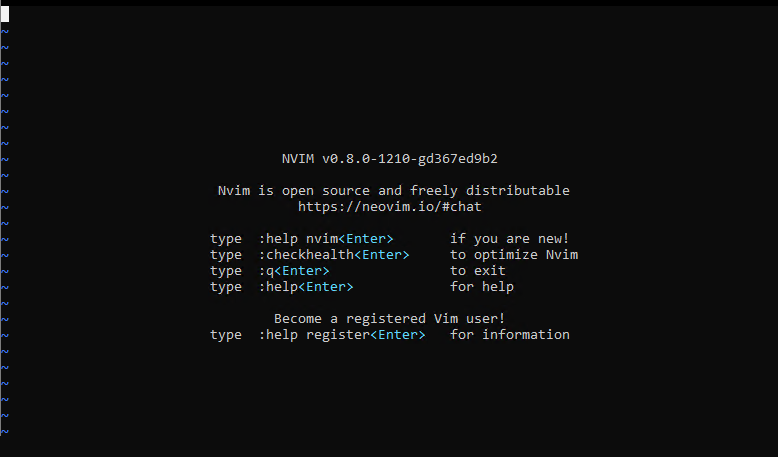
Installing Nvim Using Scoop
Scoop is another package manager for Windows, similar to Chocolatey and Winget.
To install using Scoop:
1. Run the below scoop command to add the extras bucket.
A bucket in Scoop is a collection of packages, and the extras bucket contains packages that are not in the main buckets, including neovim-qt.
scoop bucket add extras
2. Next, run the below command to install the Microsoft Visual C++ Runtime (vcredist2022), a requirement for running Neovim.
scoop install vcredist2022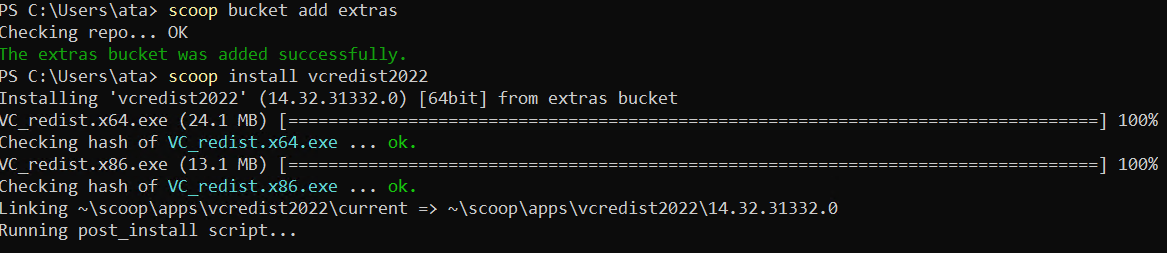
3. Once installed, run the below command to install the following:
neovim– Neovim’s latest stable release.neovim-qt– A GUI for Neovim based on Qt, a cross-platform application framework.
# Install Nvim
scoop install neovim
# Install Nvim's GUI
scoop install neovim-qt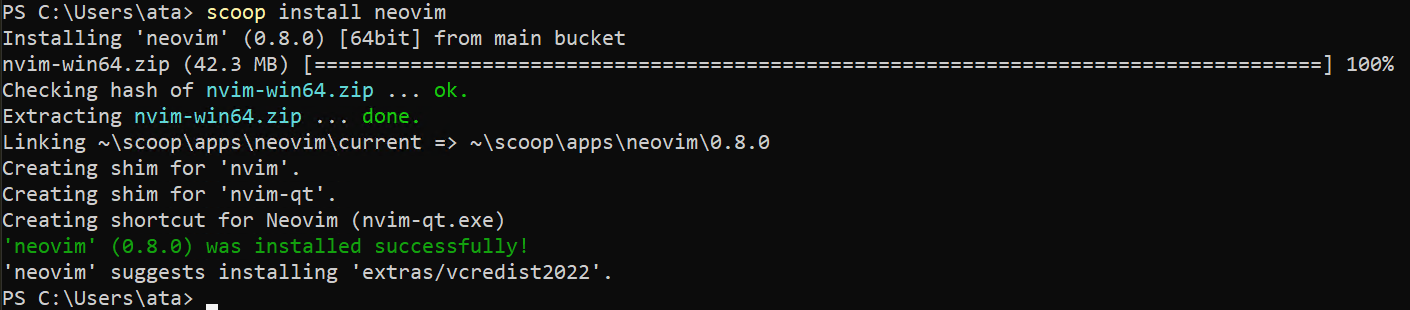
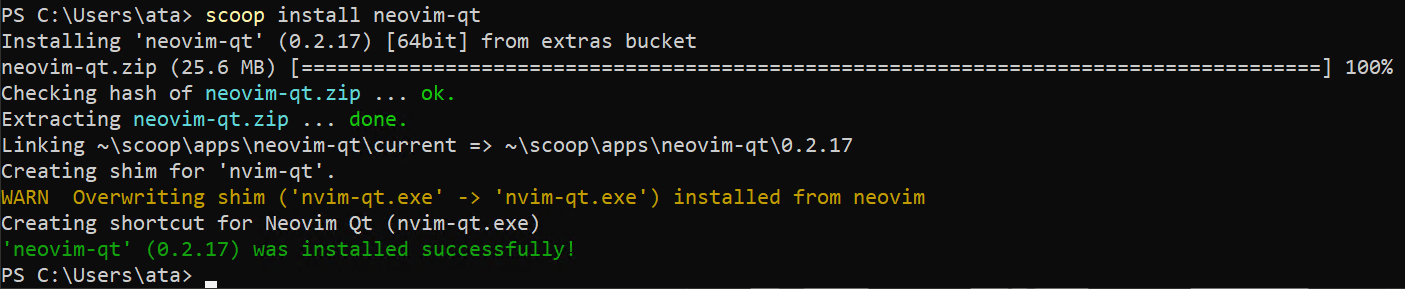
4. Finally, run the nvim command below to open.
nvimThe output below verifies that it has been successfully installed on your machine.

Opening Nvim to Edit Texts
Regardless of which method you used to install Nvim, you still have to test if the tool actually works.
To see Neovim in action, you will edit and save a text file:
1. Run the below command to open if you have already closed Neovim.
nvim2. Next, run the :pwd command below to see your working directory. The colon (:) is the Nvim command character. Anything you type after the colon is interpreted as a Neovim command.
:pwd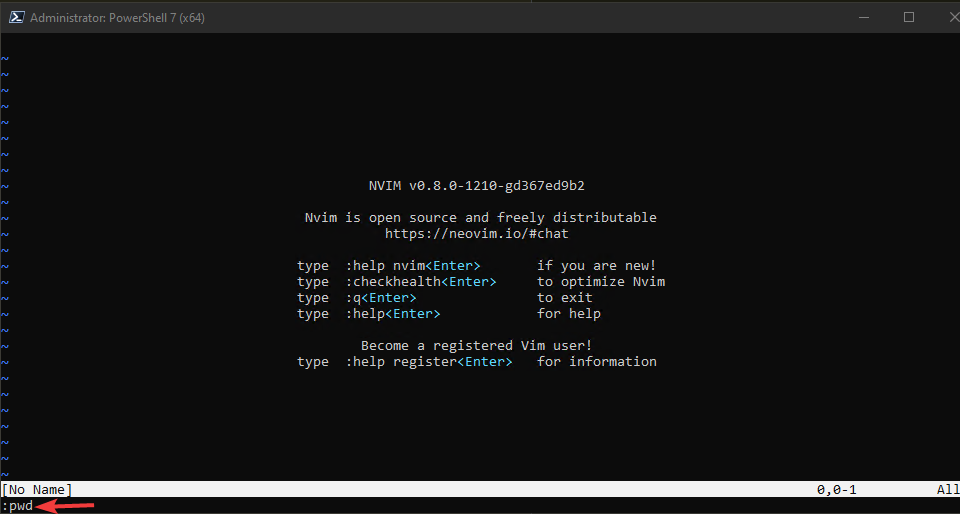
At the bottom of the PowerShell console, you will see something similar to the one below.

3. Run the below command to edit (:e) a text file, replacing nvim.txt with the name of any text file you want to edit.
:e nvim.txt4. Now, press the letter ‘I’ to enter the insert mode and type in something like Hello nvim.
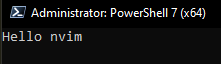
5. Press ESC and run the :x command, which does not provide output but saves the changes and closes the file.
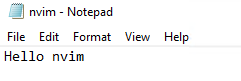
:x6. Lastly, navigate to the current directory(C:\Users\ata) in File Explorer and open the file in Notepad to see your changes to the text file, like in the screenshot below.
Configuring the vim-plug
The installation would not be complete without configuring the vim-plug, a plugin manager for Vim and Neovim. Plugin managers ease the process of installing, updating, and removing plugins. And the vim-plug is one of the most popular plugin managers for Vim.
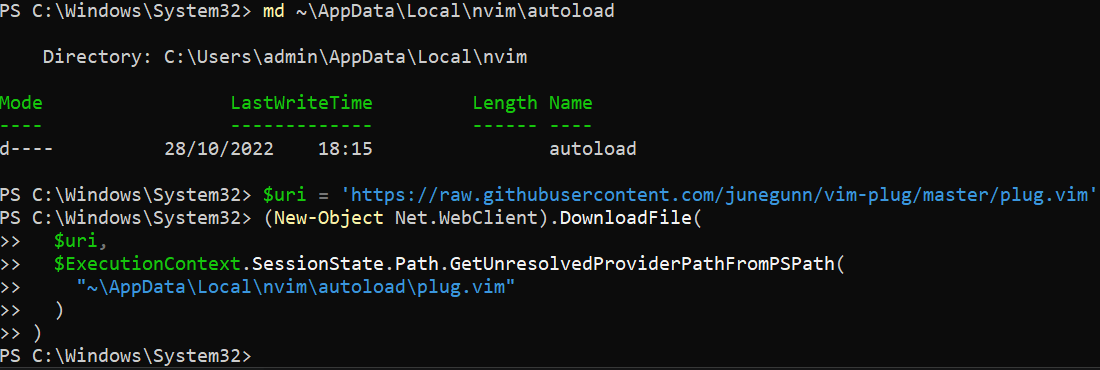
Run the following commands to create a new folder called autoload if it does not exist and download the plug.vim file into that folder. The plug.vim file contains the vim-plug source code
# Create a new folder called autoload
md ~\AppData\Local\nvim\autoload
# Downloads plug.vim file
$uri = 'https://raw.githubusercontent.com/junegunn/vim-plug/master/plug.vim'

(New-Object Net.WebClient).DownloadFile(
  $uri,
  $ExecutionContext.SessionState.Path.GetUnresolvedProviderPathFromPSPath(
    "~\AppData\Local\nvim\autoload\plug.vim"
  )
)
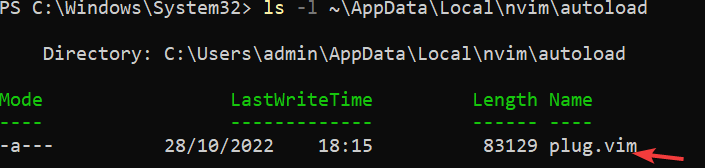
Now, run the below command to list (ls) all files and folders in *autoload* folder
ls -l ~\\AppData\\Local\\nvim\\autoloadThe output below verifies the plug.vim file was created successfully.
Installing a Plug-in with the vim-plug Manager
Now that you have vim-plug installed, it is time to see how it works by installing a plug-in. But which type of plug-ins can you install? In the context of text editors, a plugin is a piece of software that adds new features or functionality to the editor.
For example, some plugins function as follows:
- Add syntax highlighting for different programming languages.
- Add color schemes.
- Add keyboard shortcuts.
💡 There are thousands of Vim plugins available. Visit the GitHub repository for a list of popular Vim plugins.
In this tutorial, you will install the NERDTree plugin, a file explorer plugin for Neovim. This plugin allows you to explore and manage your filesystem.
To install a plug-in:
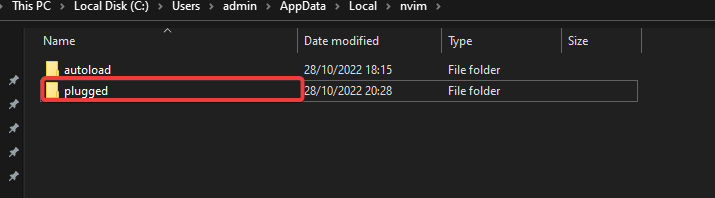
1. Open File Explorer, and navigate to the C:\Users\%USERPROFILE%\AppData\Local\nvim folder. Replace %USERPROFILE% with your actual username.
2. Next, create a new folder called plugged. This folder is where vim-plug will download and install plugins.
3. Run the below command to create a new file called init.vim using Neovim. This file will be the Neovim configuration file, similar to the .vimrc file in Vim, which tells Neovim which plugins to install.
:e C:\Users\%USERPROFILE%\AppData\Local\nvim\init.vim4. Press I to enter the insert mode, and add the code below. This code tells Neovim to install the nerdtree plugin from the official GitHub repository where:
plug#begin()– Tells vim-plug where to download and install plugins.plug#end()– Tells vim-plug to stop looking for plugins.
" Tells vim-plug where to install plugins.
call plug#begin('C:\Users\Your_Username\AppData\Local\nvim\plugged\')
" Tells vim-plug where to download plugins.
Plug Plug 'https://github.com/scrooloose/nerdtree'
" Tells vim-plug to stop looking for plugins.
call plug#end()
5. Press ESC and run :wq to save your changes and close the init.vim file.
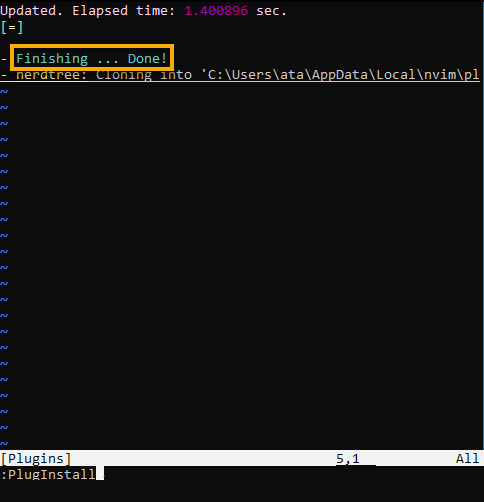
:wq6. Now, run the below command to install any plug-in you specified in the init.vim file, which in this case, is the nerdtree plugin.
:PlugInstallAt this point, the NERDTree plugin is installed and ready to use.
7. Once installed, navigate to the C:\Users\%USERPROFILE%\AppData\Local\nvim\plugged\ folder, and you will see a new folder called nerdtree, as shown below. This folder is where vim-plug downloaded and installed the NERDTree plugin.

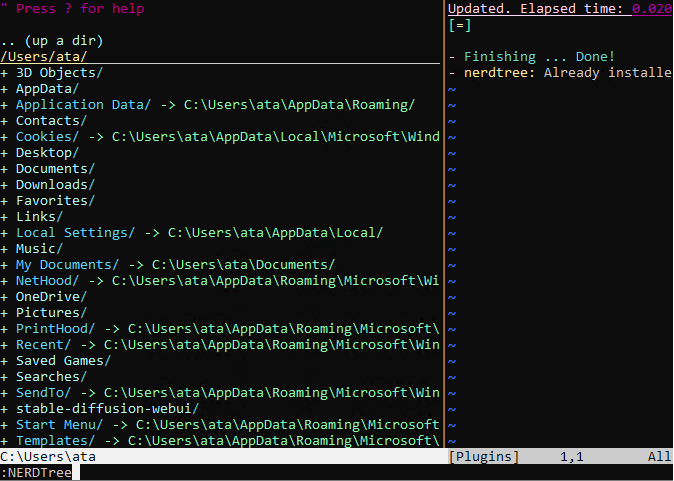
8. Finally, run the following command to access the NERDTree plugin.
:NERDTreeBelow, you can see the NERDTree opens a file explorer in a split window. Now, you can select files and folders with the basic keystrokes, like the arrow keys and the Enter key, to open them.
Conclusion
A fast and reliable text editor is an essential tool for any programmer. Vim is a popular text editor among developers but has a steep learning curve. Nvim, on the other hand, is a fork of Vim with many enhancements and improvements.
In this tutorial, you learned how to install Neovim on Windows to edit texts and installed the NERDTree plugin to manage your file system without switching between different windows.
Neovim has so much to offer. Why not learn more about using this powerful text editor? Perhaps start using syntax highlighting? Play with colors and enjoy coding with Nvim!


