


An aptitude for handling one’s packages is an attribute that any good systems administrator should have. With the recent release of Microsoft’s new Winget tool, package management on Windows has never been easier.
In this tutorial, you’ll learn how to install and manage applications on your Windows system with Winget.
Ready? Read on and start managing software like a pro!
Prerequisites
This tutorial will be a hands-on demonstration. If you’d like to follow along, be sure you have a Windows 10 system. This tutorial uses Windows 10 21h2 19044, but other versions (Windows 10 1709 (build 16299)) or later will also work.
Installing Winget on Windows
Winget is a powerful command-line package manager for Windows. Like apt on Ubuntu, yum on Fedora, and Homebrew on macOS, Winget allows you to search for, install, and uninstall packages from a command-line environment.
But before you can use Winget, you first need to check if Winget is already installed on your Windows system.
Open PowerShell as administrator, and run the winget command below to check if Winget is already installed on your system.
winget
If you get an error saying Winget is not recognized as a cmdlet, as shown below, you’ll first have to install it.

Installing via the Microsoft Store
This tutorial covers installing Winget via Microsoft Store and GitHub releases. But if you want a quick way to install Winget, the Microsoft Store is the way to go. Since Winget is a Windows Package Manager, you can just search for it in the Microsoft Store.
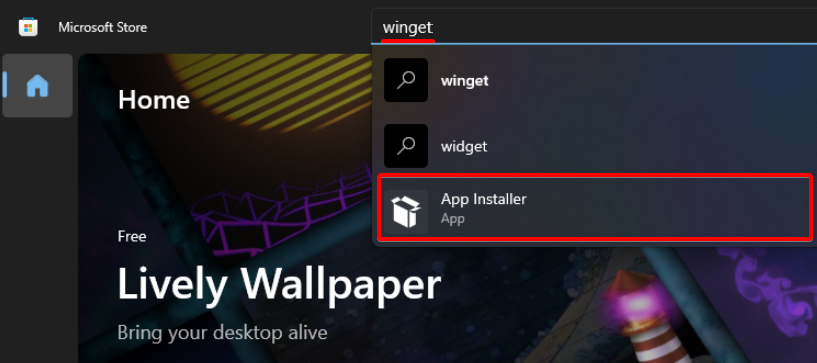
1. Open the Microsoft Store.
2. Search for winget at the search bar, and choose App Installer from the list, as shown below.
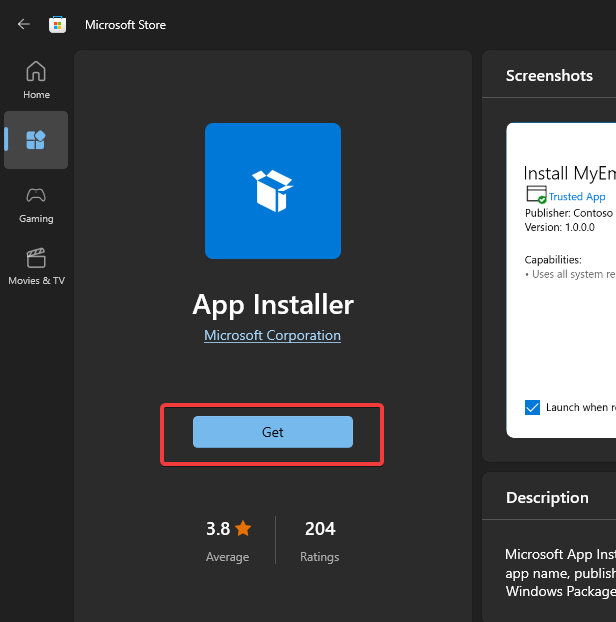
3. Now, click on Get in the left panel to install Winget.
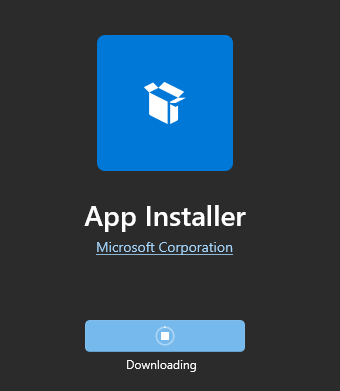
Microsoft Store downloads and installs the core Winget package and dependencies to your machine, which may take a few minutes to complete.
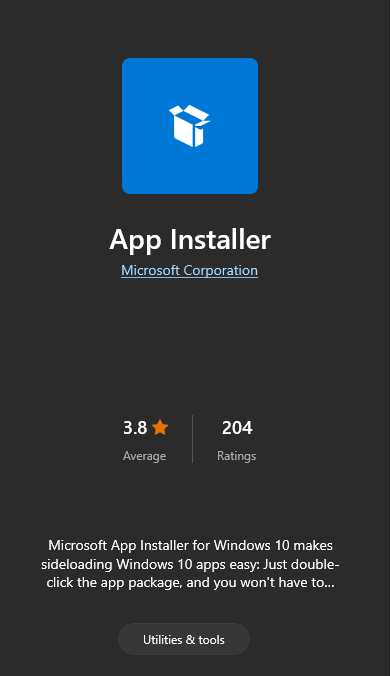
Once the installation completes, you’ll see the following screen.
4. Finally, run the winget command to check Winget’s installed version. The version installed is Windows Package Manager v1.2.10941, as shown below, but yours might be different.
This tutorial uses PowerShell 7+ for running winget commands.
winget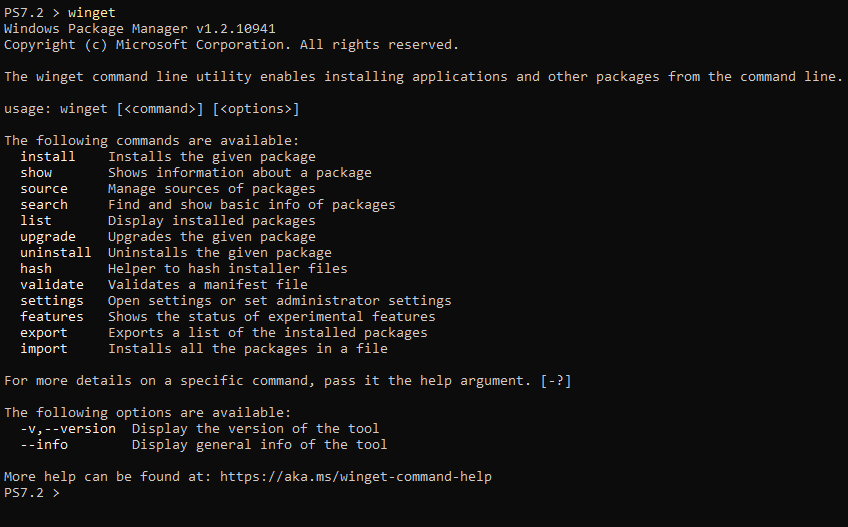
Installing via GitHub Releases
If you want more control over the installation process, you can download and install Winget manually from GitHub. With this method, you’ll get the latest version of Winget.
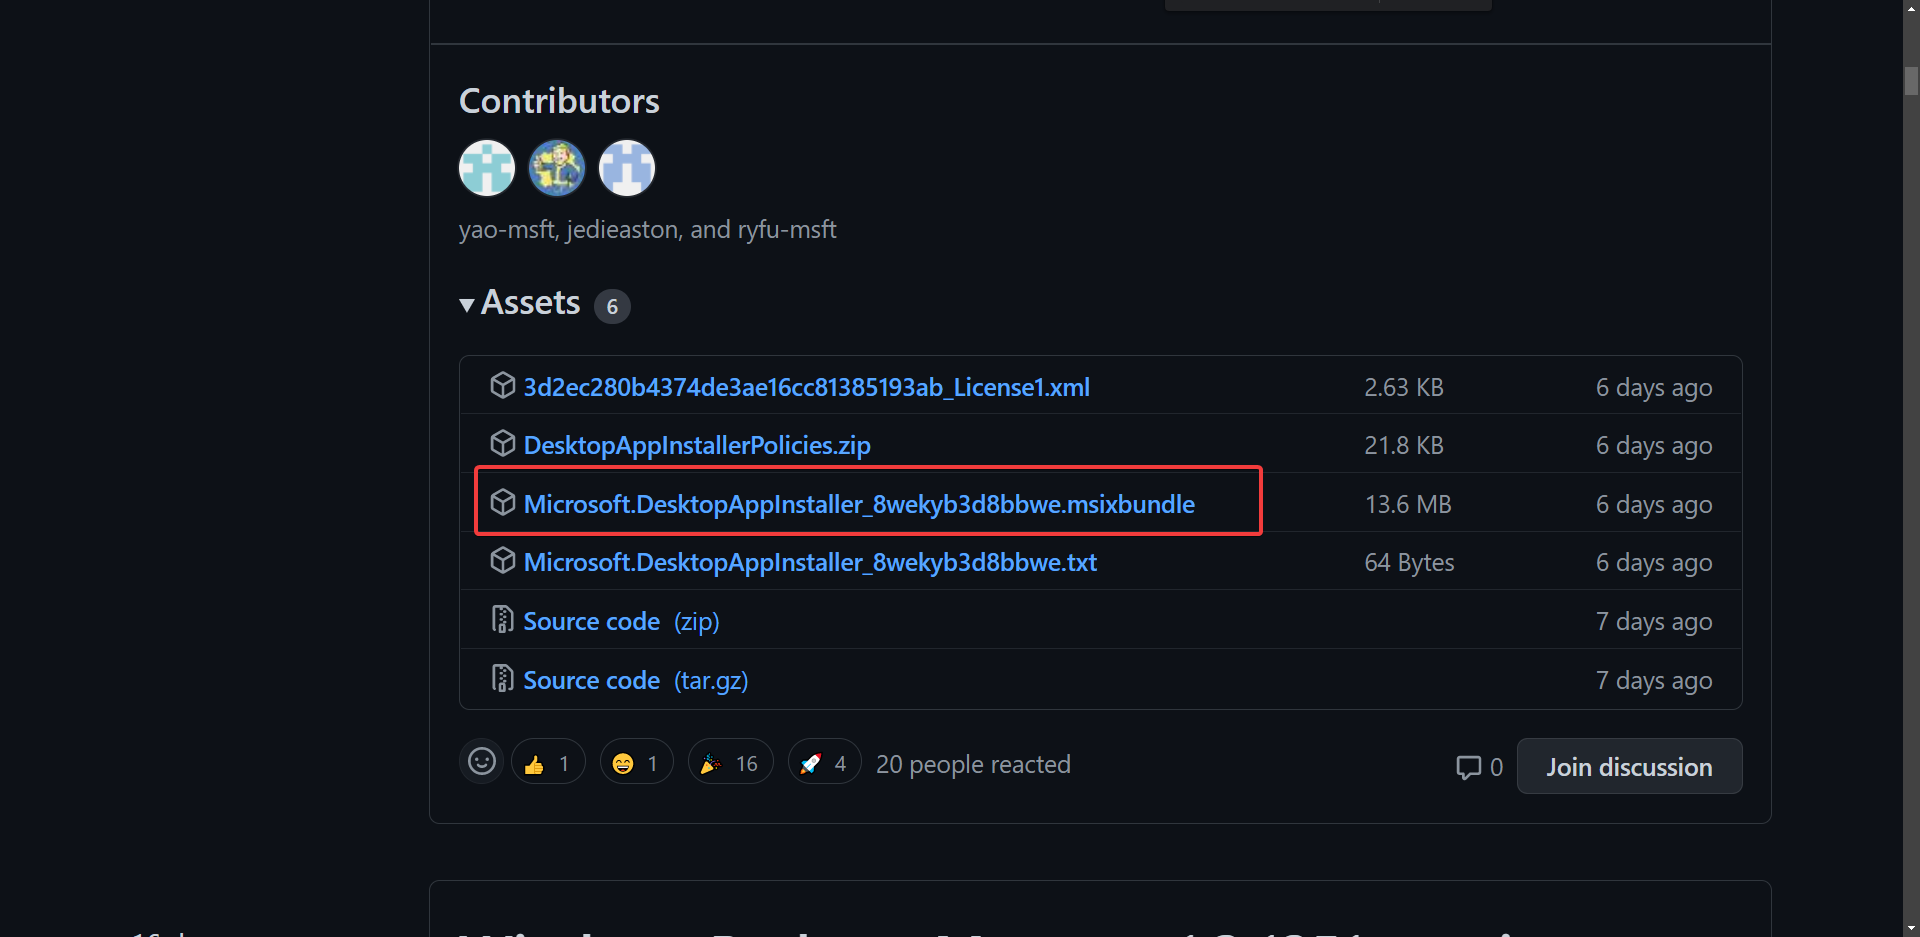
1. Navigate the Winget’s releases page on GitHub.
2. Click on the arrow button beside Assets to expand it, and download the file ends in the .msixbundle extension, as shown below.
A .msixbundle file is a new file type introduced in Windows 10, used to package multiple apps. Each app in the bundle is compatible with distinct versions of Windows and system architecture (x86, x64, or ARM).
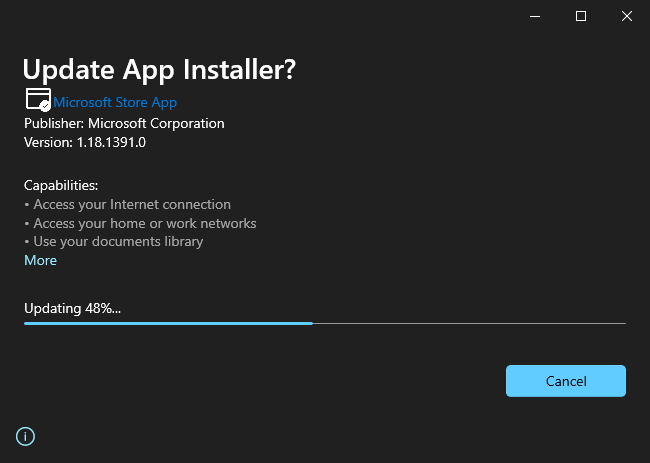
3. Double-click on the .msixbundle file you downloaded in step two to install Winget.
If you have an older version of Winget installed, click on the Update button to update Winget to the latest version.

The update process will take a few minutes to complete.
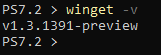
4. Finally, rerun the winget command, but this time, append the -v option to display only the installed version of Winget.
winget -vBelow, you can see the Winget’s version installed is v1.3.1391-preview, which is a preview release as of this writing.
Installing and Uninstalling Software Using Winget
Winget is installed, so it’s time to test it by running winget commands, and you’ll need a software package to install.
Don’t have one at the moment? No worries! Windows Package Manager has a comprehensive list of packages available, and Winget lets you search through that list.
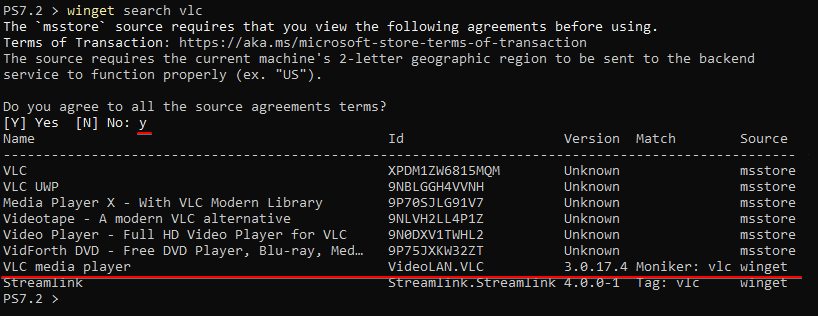
1. Run the following winget command to search for your desired software to install, VLC for this example.
winget search vlcType Y and press Enter when prompted, as shown below. As you can see, there are multiple related results, where you can see each software’s Name, ID, Version, and the Source of the software.
Take note of the ID (VideoLAN.VLC) of the software you want to install.
2. Next, run the following command to install your target software, in this case, VLC.
The command below takes one parameter: the ID of the software (VideoLAN.VLC) you noted in step one. The unique ID helps avoid ambiguity so you can install the correct software.
In some cases, if there is any ambiguity. You will be prompted to select the correct software you want to install
winget install VideoLAN.VLC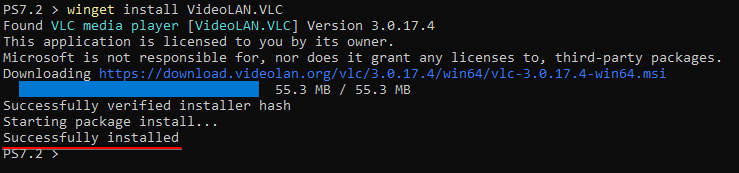
Many software gets updated frequently. So you may want to install a specific version of the software. Winget allows you to do so by appending the -v or –version parameter like the command below: winget install VideoLAN.VLC -v 3.0.8
Perhaps you plan to install multiple software at once. If so, pass in multiple IDs as parameters in the winget install command separated by a semicolon (;), as shown below: winget install VideoLAN.VLC; Streamlink.Streamlink
3. Lastly, run the following command to uninstall a software (VideoLAN.VLC) you’re not planning to use anymore.
winget uninstall VideoLAN.VLC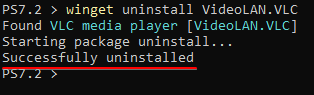
Updating Existing Software with Winget
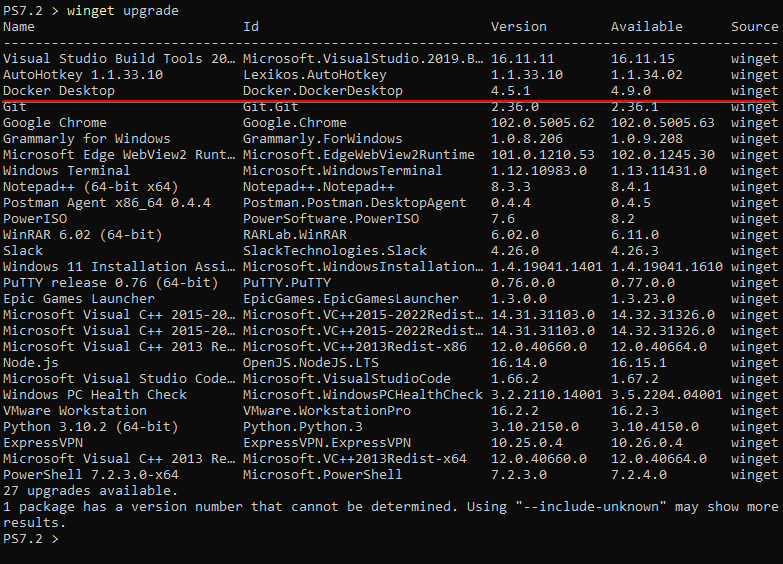
Software gets updated frequently, and it’s always a good idea to keep your software up to date. Luckily, Winget allows you to update your software using the winget upgrade command. But first, you must find the list of outdated software in your system.
Run the winget upgrade command below to see the list of available software updates.
winget upgrade
Note the ID of the software you’d like to update.
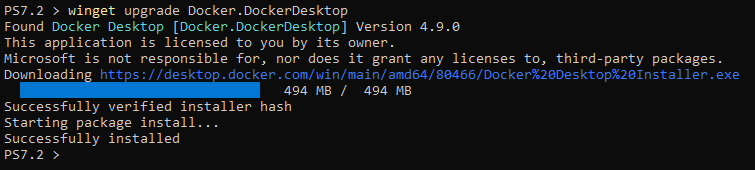
Now, run the same winget upgrade command below. But this time, append the ID (Docker.DockerDesktop) of the software to uninstall.
winget upgrade Docker.DockerDesktop
Perhaps you want to update all your software at once. If so, pass the –all parameter to the winget upgrade, as shown below. This command is truly a lifesaver if you have the time to wait until all the updates are complete. winget upgrade –all
Managing Software Repositories
Winget fetches its software from a central repository, and taking a look at the repositories now and then is crucial to ensure everything is in order.
Winget gets its software from two repositories:
- msstore – The official Microsoft Store.
- winget – The Community-Driven Repository managed by the Microsoft Winget team.
The first step in managing software repositories is checking which repositories are available:
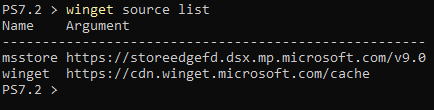
1. Run the below command to see the available repositories list (source list).
winget source listAs you can see from the output below, only the msstore and winget repositories are enabled by default.
You can add a third-party repository to your list, but that is out of scope for this guide.
2. Next, run the command below to update your repositories, which is good practice.
winget source update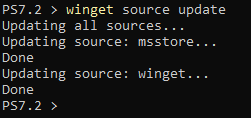
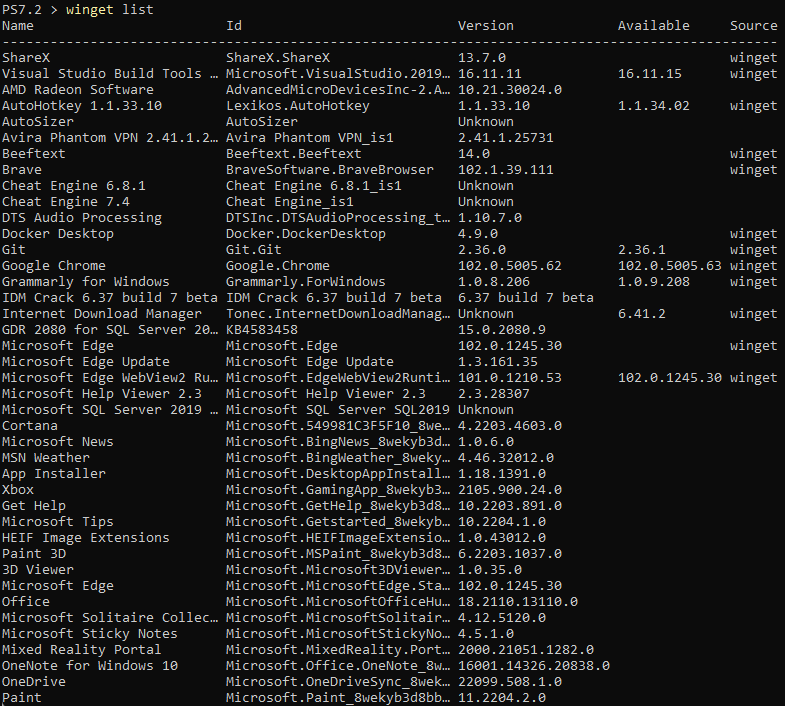
3. After updating, run the winget list command below to list all available software in the winget repository.
winget listThe output is truncated in the following screenshot since it’s a long list.
4. Finally, run the following command to revert the changes you made to your repositories. This command will reset the repositories to their default state forcefully (–force), which is helpful if you accidentally make any changes.
winget source reset --force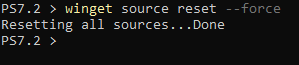
Conclusion
Winget is a powerful tool that lets you install, uninstall and update software easily. And this tutorial showed you the basics of using Winget. You can now confidently use Winget to manage software on your Windows system.
Don’t forget to update your repositories regularly and check for updates often. Your software will thank you for it.
Now, why not explore more about Winget and contribute to the Windows Package Manager Community Repository? Or write a PowerShell script to automate updating repositories and software on your system?


