

As web development continues to advance rapidly, having a reliable and flexible hosting platform is key for any successful web application. With cloud services like Amazon AWS, Google GCP or Microsoft Azure, you can quickly spin up virtual servers to host your apps and access them from anywhere.
One incredibly useful service for testing and sharing web apps hosted on remote servers is Ngrok. Ngrok creates a secure tunnel from the public internet to your local machine or server. This allows you to expose a web server running on your local machine or on a remote server to the internet.
In this article, you will walk through the steps for hosting a basic web app on a remote AWS EC2 instance and making it accessible over the internet with Ngrok and SSH.
Table of Contents
Prerequisites
Prior to hosting your ngrok remote web app on AWS, ensure that you have the following in place:
- A local machine that supports AWS operations – This tutorial uses an Ubuntu 22.04.2 LTS.
- An AWS account with EC2 access configured on your local machine.
- An EC2 Linux instance running with SSH access setup – Amazon Linux 2 or Ubuntu both work well.
- Python and FastAPI installed on your EC2 Linux instance.
- An ngrok account with an authentication token.
Creating and Deploying an ngrok Remote Web App
Before lunging into hosting a web app on AWS, you first need to have one. You’ll create a FastAPI endpoint, deploy it to an AWS virtual machine (VM), and expose the endpoint to the internet using ngrok.
To create and deploy a ngrok remote web app, follow these steps:
1. Create an app.py file with your preferred editor and populate the following code.
This code enforces the FastAPI framework to create a web application that returns the current time date and time.
from fastapi import FastAPI
from datetime import datetime
app = FastAPI()

@app.get("/")
def  root():
   return  {"time": datetime.now()}
2. Next, create another file called requirements.txt that lists the Python packages needed as follows, which helps ensure consistency between dev and production environments.
Having a requirements.txt file is a best practice that helps automate dependency installation rather than manual pip commands.
fastapi
uvicorn
3. Open a terminal and execute the command below to silently (no output) zip the files (app.py and requirements.txt) inside the FastApi.zip file.
Note that if the files to zip are not located in the working directory, you must specify their full paths instead.
zip FastApi.zip app.py requirements.txt4. Once zipped, run the below scp command to copy the ZIP file (*FastApi.zip*) to your AWS EC2 instance, where you can deploy and run your ngrok remote web app.
Ensure you replace the following placeholders before running the command:
<your-key.pem>– The key file associated with the SSH key pair (i.e.,*myKey.pm*) used to connect to your AWS EC2 instance.EC2-user– The username of your EC2 instance (i.e.,ubuntu).EC2-IP– The public IP address (or hostname) of your EC2 instance.<remote-dir>– The destination path on your AWS EC2 instance (i.e.,*/home/ubuntu*) to copy the ZIP file.
scp -i <your-key.pem> FastApi.zip EC2-user@EC2-IP:<remote-dir>
5. After copying, run each command to SSH into your AWS EC2 instance and start the Uvicorn Asynchronous Server Gateway Interface (ASGI) server.
Like in step four, replace the placeholders below accordingly.
# SSH into the AWS EC2 instance
ssh -i <your-key.pem> EC2-user@EC2-IP
# Change the directory to where you copied the FastApi.zip file (i.e., /home/ubuntu)
cd <remote-dir>
# Start the Uvicorn ASGI server.
uvicorn app:app --host 0.0.0.0 --port 8000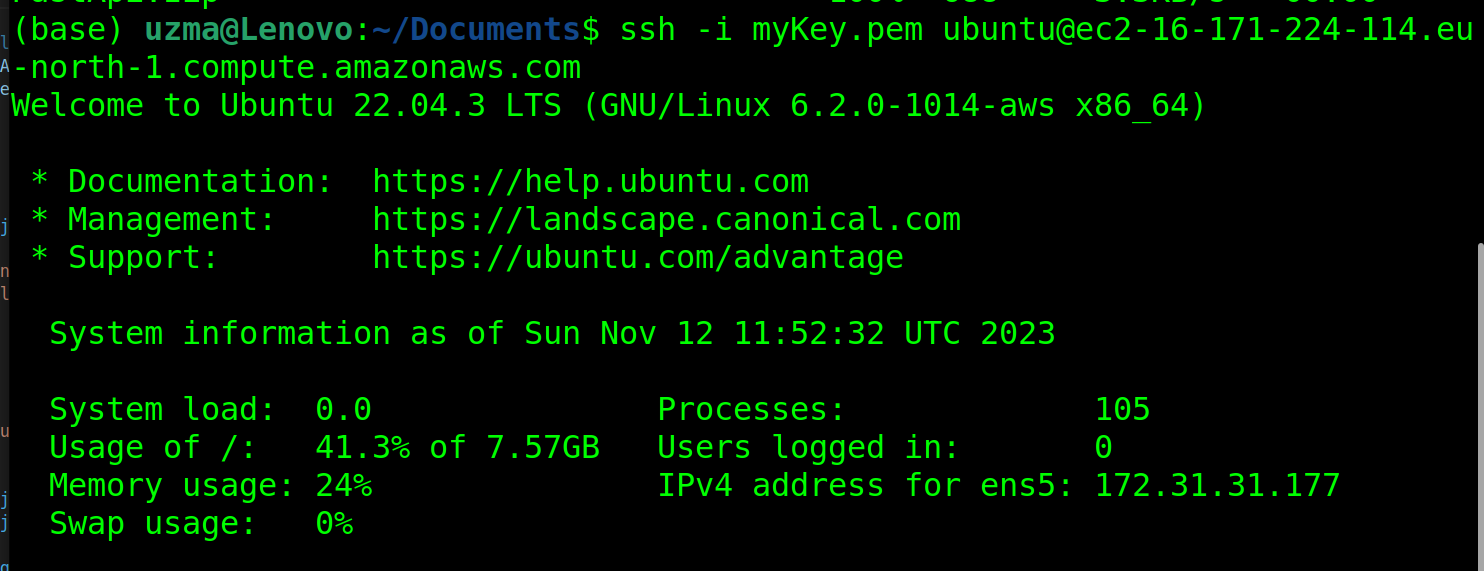
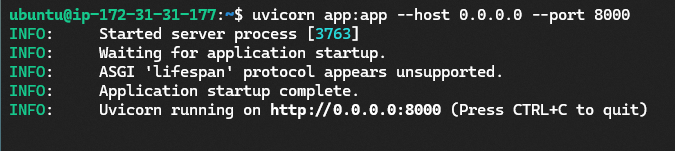
💡 By default Uvicorn does not start as a service, you will need to run a process manager if you want to run Uvicorn as a service.
6. Next, execute the following commands to unzip the FastApi.zip file and install the necessary packages listed in the requirements.txt file.
# Extract the files in the FastApi.zip file
unzip FastApi.zip
# Change the working directory to FastApi
cd FastApi
# Install the necessary packages listed in the requirements.txt file via pip
pip install -r requirements.txt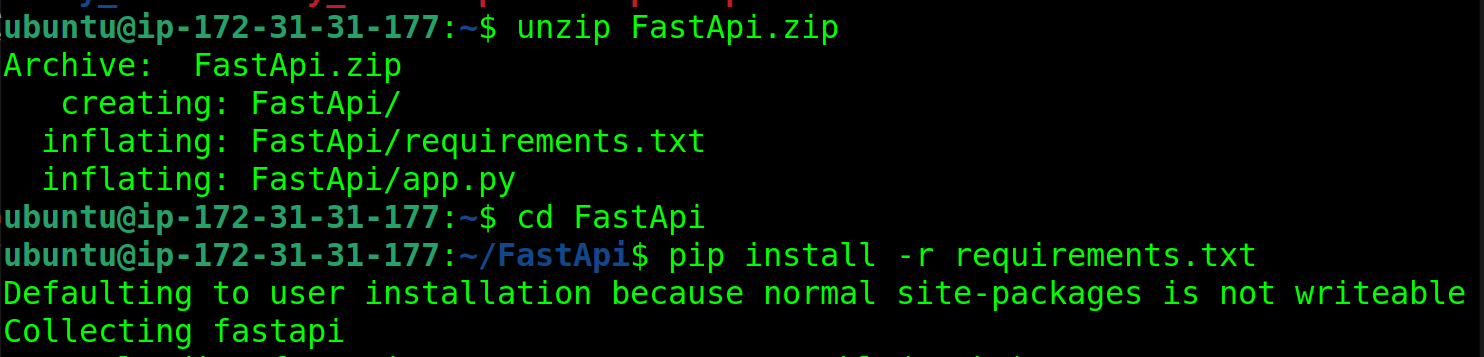
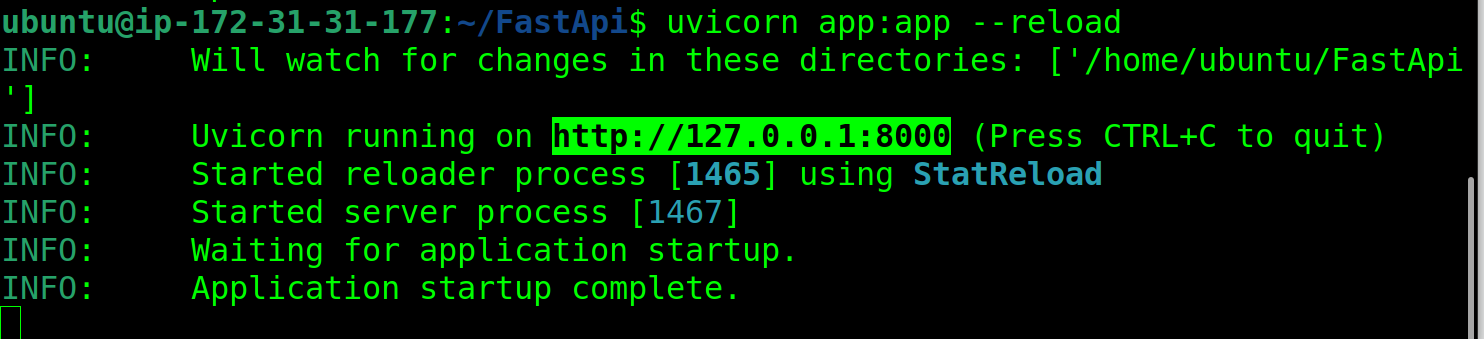
7. Afterward, invoke the following uvicorn command to run the code in the app.py file while also enabling automatic reloading of the Uvicorn ASGI server.
uvicorn app:app --reloadCopy the highlighted URL, as shown below, as you will use it to access the FastAPI in the following step.
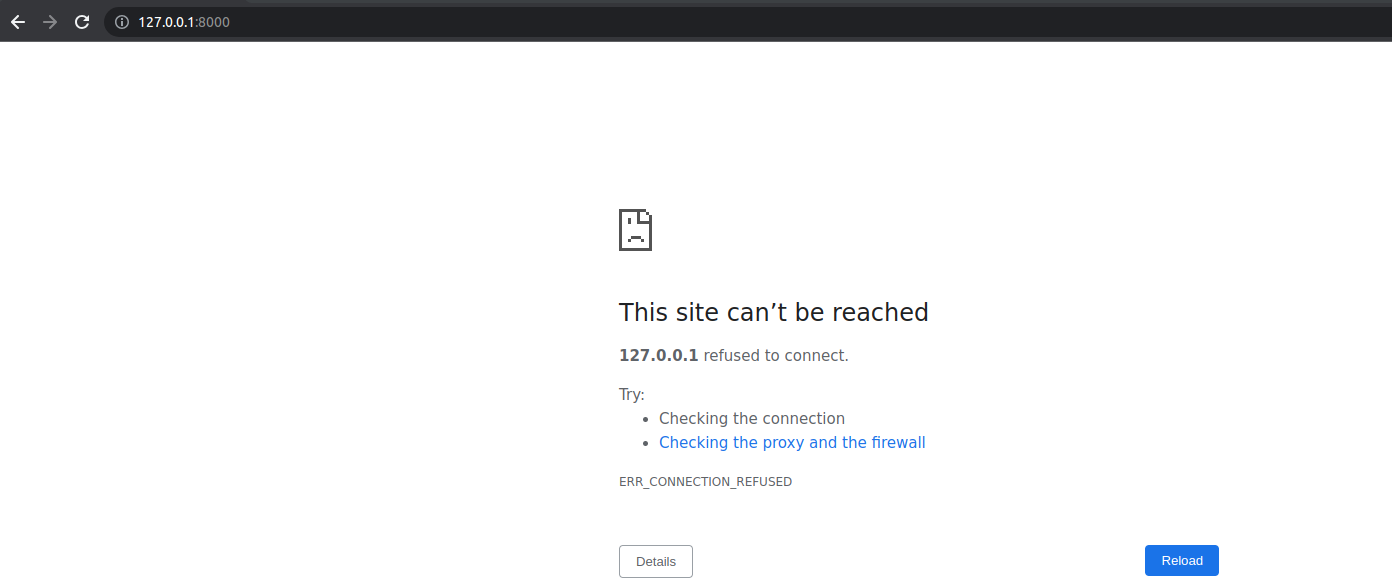
8. Open your preferred web browser on your local machine, and visit the URL you copied in step seven to access the FastAPI endpoint.
You’ll see the displayed interface below (127.0.01 refused to connect) since you’re accessing the Uvicorn server on your local machine, not on your AWS EC2 instance. But no worries! Jump to the following section to fix this connection error.
Installing and Authenticating ngrok
Accessing the API directly on the EC2 instance fails without the proper networking and security config. The EC2 instance only has a private IP address by default, making the instance unreachable from the public internet.
But worry not! In such cases, ngrok can seamlessly showcase and test your Uvicorn server over the internet.
To expose your FastAPI over the internet, proceed with the following:
1. Execute each command below to download (curl) and add the ngrok GPG key to the trusted keyring, and add the ngrok repository information to the system’s sources list.
This process allows you to install and update ngrok via the system’s package manager (i.e., apt on Debian-based systems).
# Download the ngrok GPG public key
curl -s https://ngrok-agent.s3.amazonaws.com/ngrok.asc | sudo tee /etc/apt/trusted.gpg.d/ngrok.asc > /dev/null
# Echoes the ngrok repo information to the terminal
echo "deb https://ngrok-agent.s3.amazonaws.com buster main" | sudo tee /etc/apt/sources.list.d/ngrok.list
# Update the system's package lists and install ngrok
sudo apt update && sudo apt install ngrok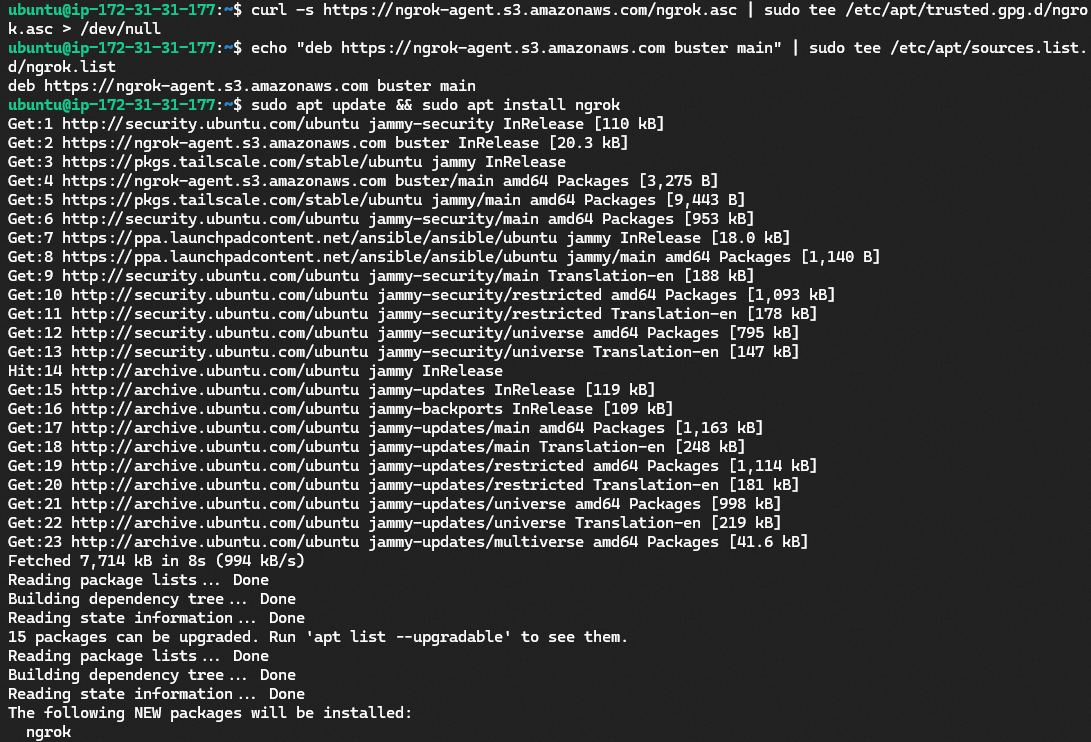
But why choose ngrok, though? ngrok provides an encrypted tunnel and automated port forwarding to avoid these problems.
You could assign a public IP, but that poses security risks by exposing the server. The default security group only allows SSH connections, blocking your HTTP API traffic.
Opening the firewall to HTTP access is also insecure. Even if HTTP was allowed, you’d have to handle complex port mapping between the internal and external ports.
2. Next, run the following command to authenticate (authtoken) ngrok with your account. Ensure you replace AUTH_TOKEN with your actual authentication token.
ngrok authtoken AUTH_TOKEN
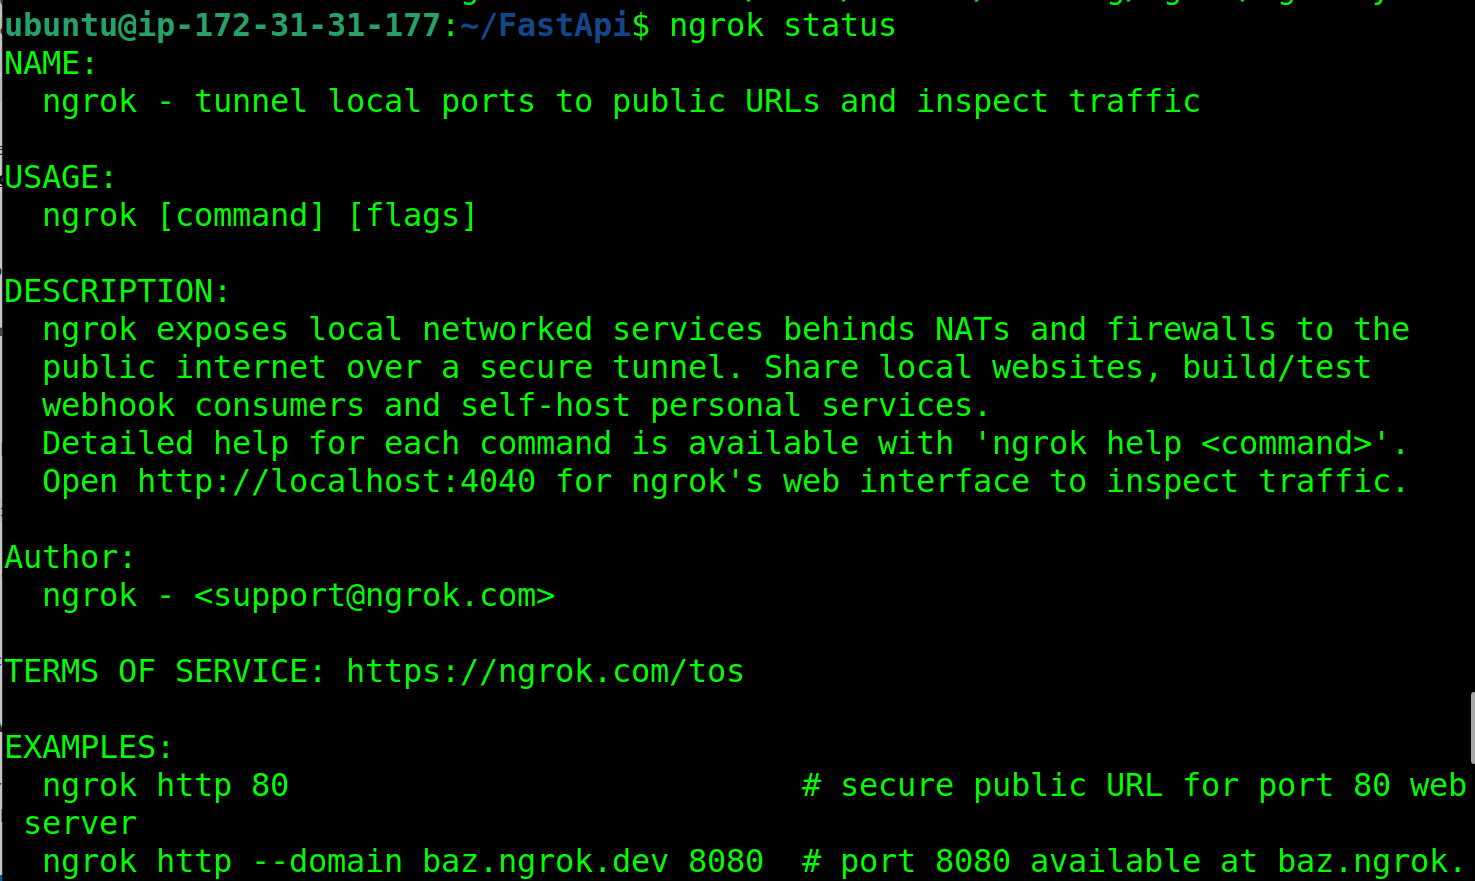
3. Once authenticated, execute the below ngrok command to view ngrok’s status and verify the authentication is successful.
ngrok statusIf all goes well, you’ll see your account information in the output, indicating that ngrok is ready for use.
Exposing the FastAPI Endpoint with ngrok
Whether you are using ngrok or any other service requiring uninterrupted access to a remote machine, launching that service within a dedicated screen is a best practice. Doing so keeps your process running smoothly even with a disrupted local connectivity.
But before starting the ngrok tunnel, you’ll first create two screen sessions to persist the process in the background. Running ngrok and uvicorn on their own screens gives more flexibility.
To expose your FastAPI endpoint with ngrok, complete the steps below:
1. Execute the following command, which has no direct output, but starts a new screen session named uvicorn for running the FastAPI application.
screen -S uvicorn2. Next, invoke the below uvicorn command to run the FastAPI app once you’re in the session.
uvicorn app:app --host 0.0.0.0 --port 8000
3. Now, press Ctrl+A then D to detach from the session, and the server will keep running.
At this point, you already have a separate uvicorn screen running the FastAPI server.

4. Consequently, run the following command, which has not output, but creates a new screen called ngrok.
screen -S ngrok5. Once created, execute the below ngrok command inside the ngrok screen session to create a secure public tunnel to your web app running on port 8000.
ngrok http 8000If successful, a screen called ngrok starts running on your tunnel, and ngrok generates a public URL that points to your FastAPI endpoint.
Copy Forwarding URL as you will need it to test your endpoint’s public accessibility in the following step.
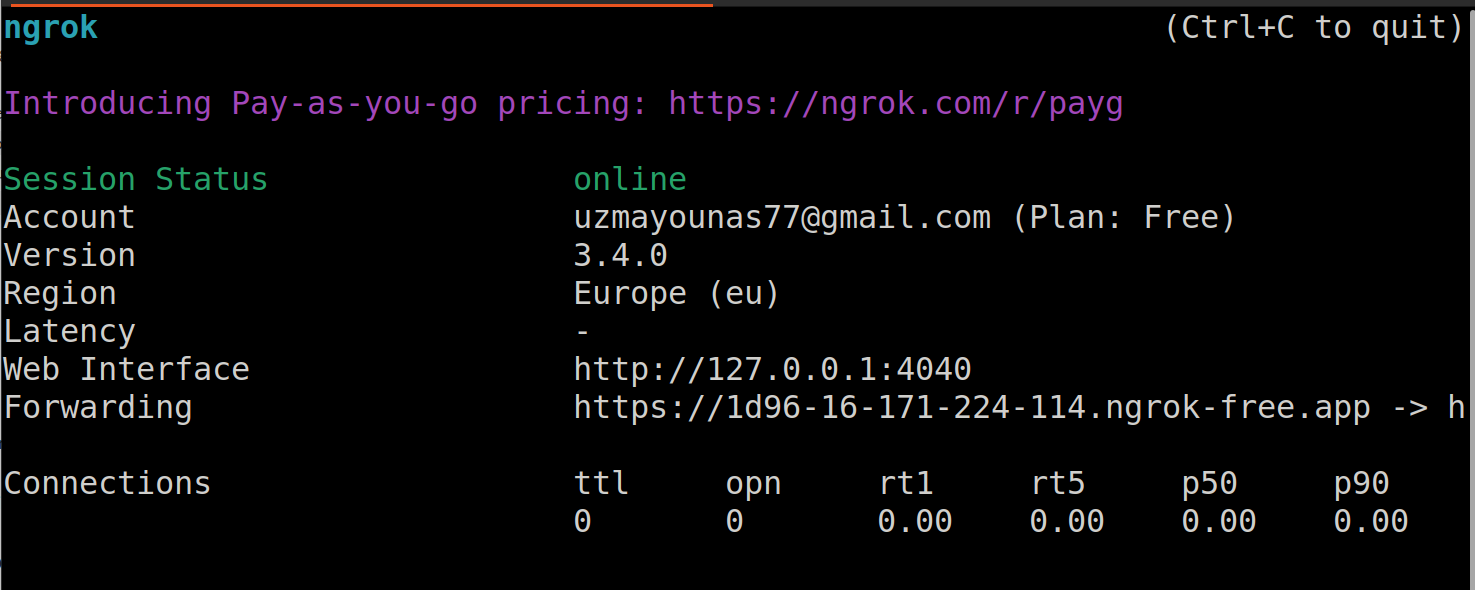
6. Navigate to the URL you noted in step five on a new browser tab.
You’ll see a page similar to the one below, and ngrok will now run within this screen.

7. Switch back to your terminal, and detach from the session (Ctrl+A then D), and the tunnel will keep running.
8. Finally, execute the following command to reattach to a screen session of your choice, like uvicorn.
Reattaching to a screen session allows you to monitor the logs and traffic, so ensure you replace screen_name with the actual screen session’s name.
screen -r screen_nameBy using screen, you ensure that ngrok and uvicorn remain active even after you close the terminal, providing persistent access to your FastAPI endpoint.

Conclusion
Congratulations! You’ve successfully created a basic FastAPI endpoint, deployed it to an AWS VM, and exposed it to the internet using Ngrok. This sets up a solid foundation for rapidly developing and deploying web backends. For those looking to streamline development workflows, consider diving into continuous integration and deployment (CI/CD). Set up pipelines using tools like Jenkins or AWS CodePipeline to automate testing and deployment processes.
You can achieve this by pushing code in GitHub and configuring GitHub Actions workflows to run on each push. The workflows would first validate the code via linting and tests before deploying to AWS. Ngrok running on the server would then expose the latest revision.


