

Are you looking for document and file management to centralize all your files? Well, look no further! Document management with Nextcloud with Docker is made possible as an alternative for storage services like Google Drive, Dropbox, or Mega.nz.
Nextcloud is one of the most popular self-hosting documents and files management that can be installed on your local server. And in this tutorial, you’ll learn how to turbo-charge your document management with Nextcloud Docker.
Read on and start managing your documents from everywhere at any time!
Prerequisites
This tutorial will be a hands-on demonstration. To follow along, be sure you have the following:
- A Linux server – This example uses the Ubuntu 20.04 server.
- A Docker CE and Docker Compose installed on your Linux server.
- A non-root user that can run and execute Docker container.
- A domain name for Nextcloud user access.
Setting up a Project Directory
Nextcloud is a self-hosting web application that allows you to store files and make them accessible anywhere. Nextcloud can be deployed traditionally or using modern container technology, such as Docker, which you’ll use in this tutorial.
Docker makes installing and managing the installation of applications easier for administrators. So before you install Nextcloud, you’ll verify the Docker and docker-compose installation on your server, then create a new project directory for Nextcloud.
1. Log in to your server and run the below command, which doesn’t provide output but logs you into a non-root user. This demo uses the user alice to run Nextcloud and other containers, so be sure to change the username alice.
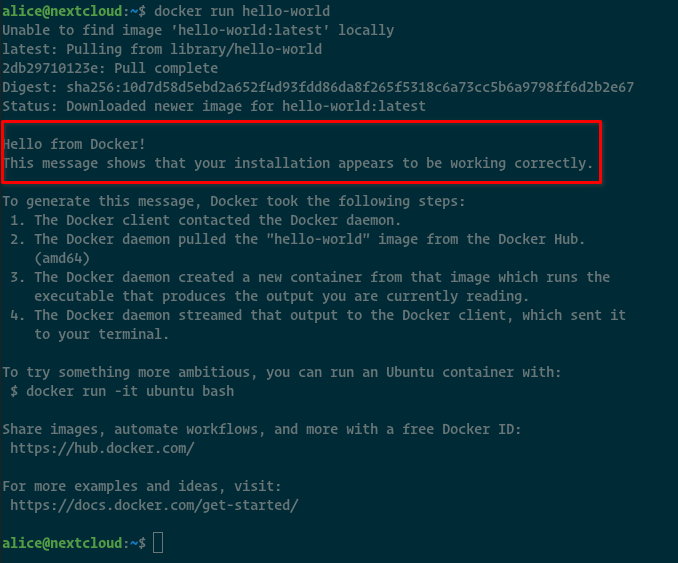
su - alice2. Now run the docker command below to verify the user (alice) can run Docker containers. This command runs a new container based on the Docker image hello-world, then exits when the container is completed.
docker run hello-worldYou can see below the “hello-world” message on the terminal screen. This output indicates user alice can run Docker containers.
3. Lastly, run the below commands, which don’t provide output but create a new project directory (nextcloud) and a configuration file (docker-compose.yml).
# Create a directory called nextcloud
mkdir -p ~/nextcloud; cd nextcloud

# create docker-compose.yml
touch docker-compose.yml
Defining Container Services with Docker Compose
You’ve now created the Nextcloud project directory and the docker-compose.yml file, which is what defines the services that make up your app. But right now, the docker-compose.yml file is empty.
You’ll have to define container services and volumes for Nextcloud in your docker-compose.yml file. The configuration will include three container services; MariaDB service as the database, Redis as session management, and the Nextcloud app.
You’ll write the configuration in small sections, but you’ll see the complete configuration at the end of this section.
1. Edit the docker-compose.yml file using your preferred editor.
2. Define the Docker Compose script version to 3 to ensure your Docker Compose script is supported for the newer Docker Engine.
YAML is indent-sensitive, so copy/paste each code as-is.
version: '3'3. Next, define two volumes for your containers. You’ll create a nextcloud volume for the Nextcloud container and db for the MariaDB database container.
All essential data of the Nextcloud and MariaDB container will be stored at the Docker volume on the host machine, making your data persistent on your Docker host/machine.
volumes:
  nextcloud:
  db:
4. Add the following line to define three services (MariaDB, Redis, and Nextcloud) for the Nextcloud deployment on Docker.
services:5. Now, add the following configuration to define the MariaDB service. This configuration creates a new service container called db based on the mariadb Docker image.
Remember to change the MariaDB database details with your own credentials/information under environment.
  db:
    # Creates a service container based on the MariaDB Docker image
    image: mariadb
    # Restart the container until its removal
    restart: always
    # Starts the container
    command: --transaction-isolation=READ-COMMITTED --binlog-format=ROW --innodb-file-per-table=1 --skip-innodb-read-only-compressed
    # Mounts the docker volume db to the data directory /var/lib/mysql
    volumes:
      - db:/var/lib/mysql
    # Defines the environment variable for MariaDB database details.
    environment:
      - MYSQL_ROOT_PASSWORD=somerootpassword
      - MYSQL_PASSWORD=somemysqlpassword
      - MYSQL_DATABASE=db
- MYSQL_USER=mysqluser6. After defining MariaDB as a service, add the following configuration to define the Redis service based on the redis Docker image.
The Redis service for Nextcloud will be used as standalone session management. This setup makes your Nextcloud faster, especially for large deployments.
Be sure to change the someredispassword with your random secret/password.
  redis:
    # Defines the Redis service based on the Redis Docker image.
    image: redis
    # Restart the container until its removal
    restart: always
    # Define the random secret/password for accessing the Redis server
    command: redis-server --requirepass someredispassword
7. Lastly, add the following configuration to define the Nextcloud service itself.
This configuration defines a service named app based on the nextcloud Docker image and exposes the port 8080 on the Docker host.
  app:
    # Defines the nextcloud service based on the nextcloud Docker image.
    image: nextcloud
    # Restart the container until its removal.
    restart: always
    # Exposes port 8080 on the Docker host.
    ports:
      - 8080:80
    # Connects the Nextcloud container service to the db and redis services.
    links:
      - db
      - redis
    # Mounts the volume (nextcloud) to the container directory /var/www/html.
    volumes:
      - nextcloud:/var/www/html
    # Defines the same environment variable as the MariaDB database configuration
    environment:
      - MYSQL_PASSWORD=somemysqlpassword
      - MYSQL_DATABASE=db
      - MYSQL_USER=mysqluser
      - MYSQL_HOST=db
      - REDIS_HOST_PASSWORD=someredispassword
    # The Nextcloud container service always runs after the db and redis services.
    depends_on:
      - db
      - redis
Following the previous steps, you’ll get the completed configuration of the Nextcloud docker-compos.yml file below.
version: '3'

volumes:
  nextcloud:
  db:

services:
  db:
    image: mariadb
    restart: always
    command: --transaction-isolation=READ-COMMITTED --binlog-format=ROW --innodb-file-per-table=1 --skip-innodb-read-only-compressed
    volumes:
      - db:/var/lib/mysql
    environment:
      - MYSQL_ROOT_PASSWORD=somerootpassword
      - MYSQL_PASSWORD=somemysqlpassword
      - MYSQL_DATABASE=db
      - MYSQL_USER=mysqluser

  redis:
    image: redis
    restart: always
    command: redis-server --requirepass someredispassword

  app:
    image: nextcloud
    restart: always
    ports:
      - 8080:80
    links:
      - db
      - redis
    volumes:
      - nextcloud:/var/www/html
    environment:
      - MYSQL_PASSWORD=somemysqlpassword
      - MYSQL_DATABASE=db
      - MYSQL_USER=mysqluser
      - MYSQL_HOST=db
      - REDIS_HOST_PASSWORD=someredispassword
    depends_on:
      - db
      - redis
Building Nextcloud
After completing your docker-compose.yml configuration, it’s time to build and run the container services you defined (MariaDB, Redis, and Nextcloud). How? With the docker-compose command, you’ll build the container services against the docker-compose.yml configuration file.
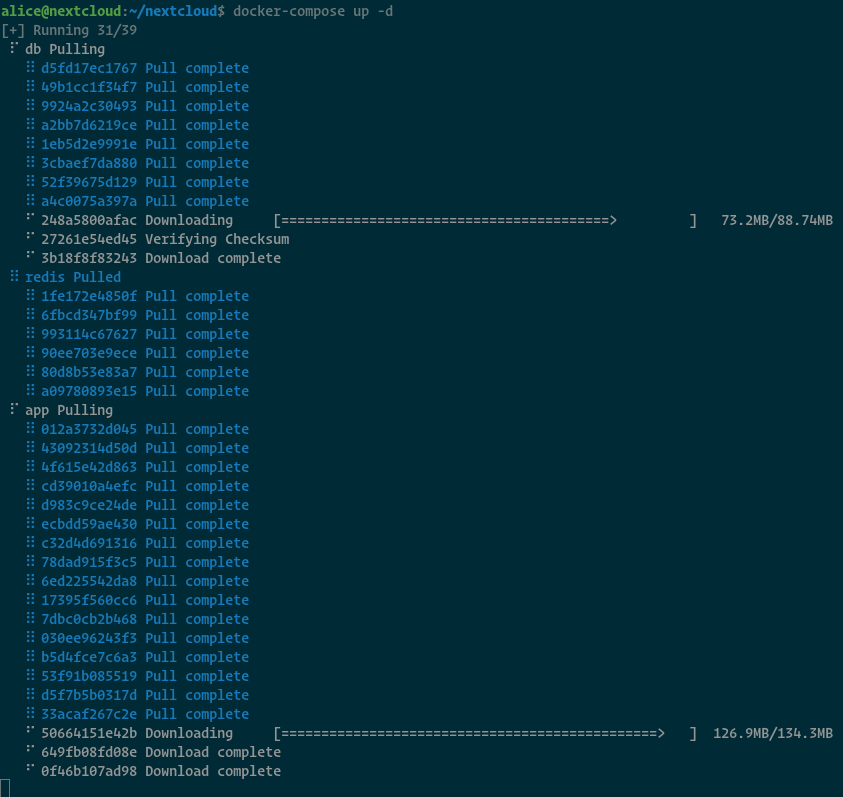
1. Run the docker-compose command below inside the ~/nextcloud directory to install and deploy Nextcloud.
docker-compose up -dOn your terminal screen, you’ll see that Docker creates volumes and networks and download all images needed for the Nextcloud deployment.
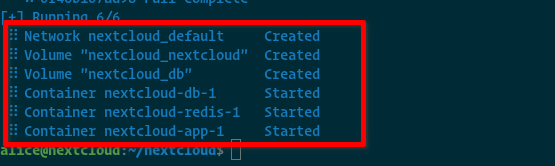
When all is completed, you’ll see the following output.
2. Next, run the following command to check the status of your Nextcloud deployment.
docker-compose psThe output below shows you the MariaDB service (db), redis, and Nextcloud service (app) are running. Notice that the Nextcloud container (app) exposes the port 8080 on your host.

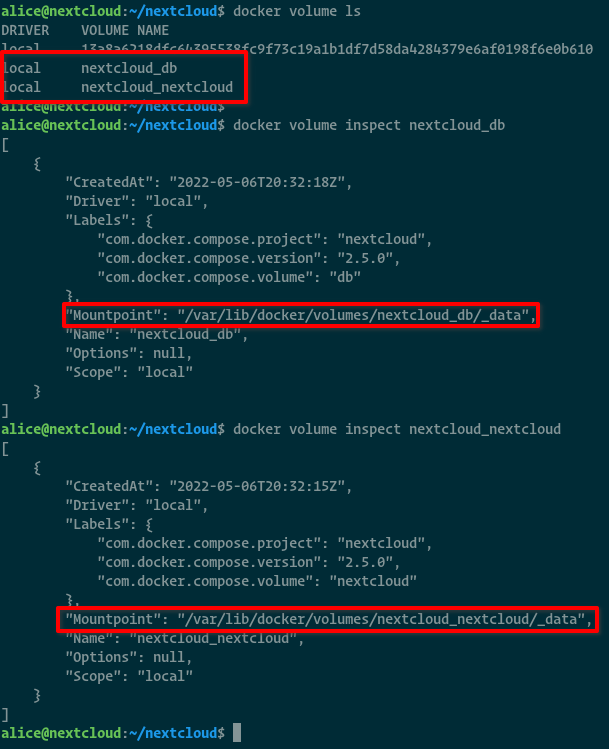
3. Lastly, run each command below to check the list of available Docker volumes and inspect detailed volumes.
# Checking Docker volumes
docker volume ls

# Checking Docker volume nextcloud_db and nextcloud_nextcloud
docker volume inspect nextcloud_db
docker volume inspect nextcloud_nextcloud
The below screenshot shows you two Docker volumes; nextcloud_db for the MariaDB container and nextcloud_app for the Nextcloud container, with the type set as local.
Below is where each container is installed:
- The MariaDB container’s data is stored at the /var/lib/docker/volumes/nextcloud_db on the Docker host.
- The Nextcloud’s installation data is stored at /var/lib/docker/volumes/nextcloud_nextcloud on the Docker host machine.
Setting NGINX as a Reverse Proxy
The Nextcloud container is running but is not ready yet for user access. You’ll set up the NGINX reverse proxy for the Nextcloud containers, enabling users to access the Nextcloud.
1. Generate an SSL LetsEncrypt.
2. Next, run the apt install command below to install the NGINX web server. This server will be used to expose the Nextcloud container outside the network for user access.
sudo apt install nginx -y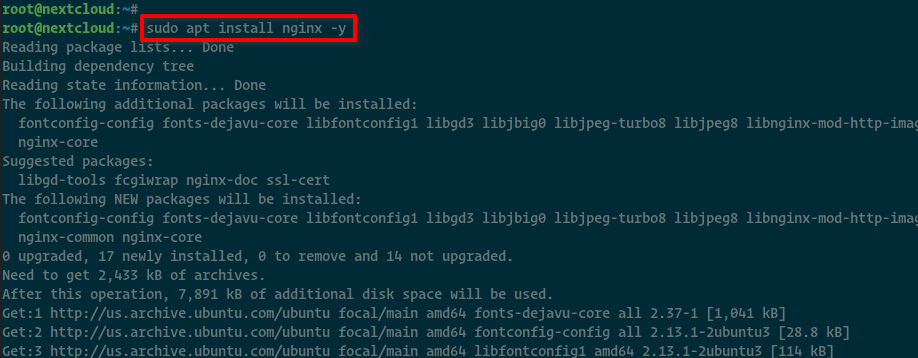
3. Create a new configuration file called /etc/nginx/sites-available/nextcloud.conf using your preferred editor. Populate the following configuration to the nextcloud.conf file, save the changes, and exit the editor.
This configuration sets up the NGINX web server as a reverse proxy for the Nextcloud container. Be sure to change all occurrences of the nextcloud.example.io domain name and the SSL certificate path for your domain.
# server block for HTTP and
# automatically redirect to HTTPS
server {
    if ($host = nextcloud.example.io) {
        return 301 https://$host$request_uri;
    }
        listen 80;
        listen [::]:80;

        server_name nextcloud.example.io;
    return 404;
}

# server block for HTTPS secure connections
server {
    listen [::]:443 ssl http2;
    listen 443 ssl http2;

    # path of SSL certificates
    ssl_certificate /etc/letsencrypt/live/nextcloud.example.io/fullchain.pem;
    ssl_certificate_key /etc/letsencrypt/live/nextcloud.example.io/privkey.pem;

    server_name nextcloud.example.io;
    root /var/www/html;

    index index.html;

    # reverse proxy settings for
    # nextcloud running on port 8080
    location / {
        proxy_pass http://localhost:8080/;
        proxy_set_header Host $host;
        proxy_set_header X-Real-IP $remote_addr;
        proxy_set_header X-Forwarded-For $proxy_add_x_forwarded_for;
        proxy_set_header X-Forwarded-Proto $scheme;

        add_header Strict-Transport-Security "max-age=31536000; includeSubDomains; preload";
        client_max_body_size 0;

        access_log /var/log/nginx/nextcloud.access.log;
        error_log /var/log/nginx/nextcloud.error.log;
    }

    # define URL settings for carddav and caldav
    location /.well-known/carddav {
      return 301 $scheme://$host/remote.php/dav;
    }

    location /.well-known/caldav {
      return 301 $scheme://$host/remote.php/dav;
    }
}
4. Now, run the following commands to activate the server block configuration in the nextcloud.conf file and verify the global NGINX configuration. Doing so ensures your NGINX configuration is correct without any error.
# Activate NGINX configuration
sudo ln -s /etc/nginx/sites-available/nextcloud.conf /etc/nginx/sites-enabled/

# Verify NGINX configuration
sudo nginx -t
The output below shows you the NGINX configuration is correct without any error.

5. Lastly, run the following command, which doesn’t provide output but restarts the NGINX configuration and applies new changes to your NGINX settings.
sudo systemctl restart nginxInstalling Nextcloud Applications
Your Nextcloud is now running under the NGINX reverse proxy, and it’s time to configure the Nextcloud admin user and start the installation of Nextcloud applications.
The admin user manages your Nextcloud installation, and Nextcloud applications will extend your Nextcloud functionality by adding applications.
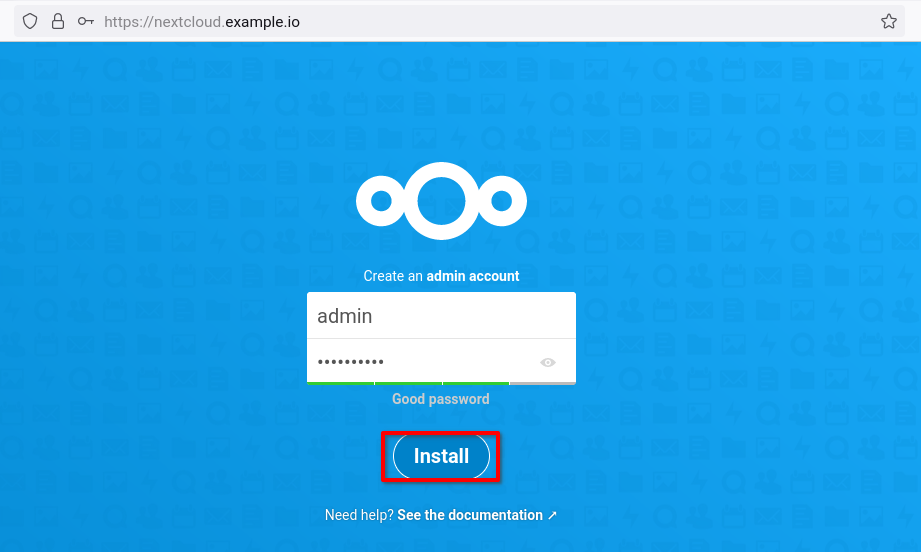
1. Open your favorite web browser and visit your domain name or the Nextcloud URL installation (i.e., https://nextcloud.example.io). And if all goes well, you’ll see the Nextcloud installation page, as shown below.
Input a new admin user and password, then click Install. This user can be used to manage Nextcloud, so be sure to use a strong password.
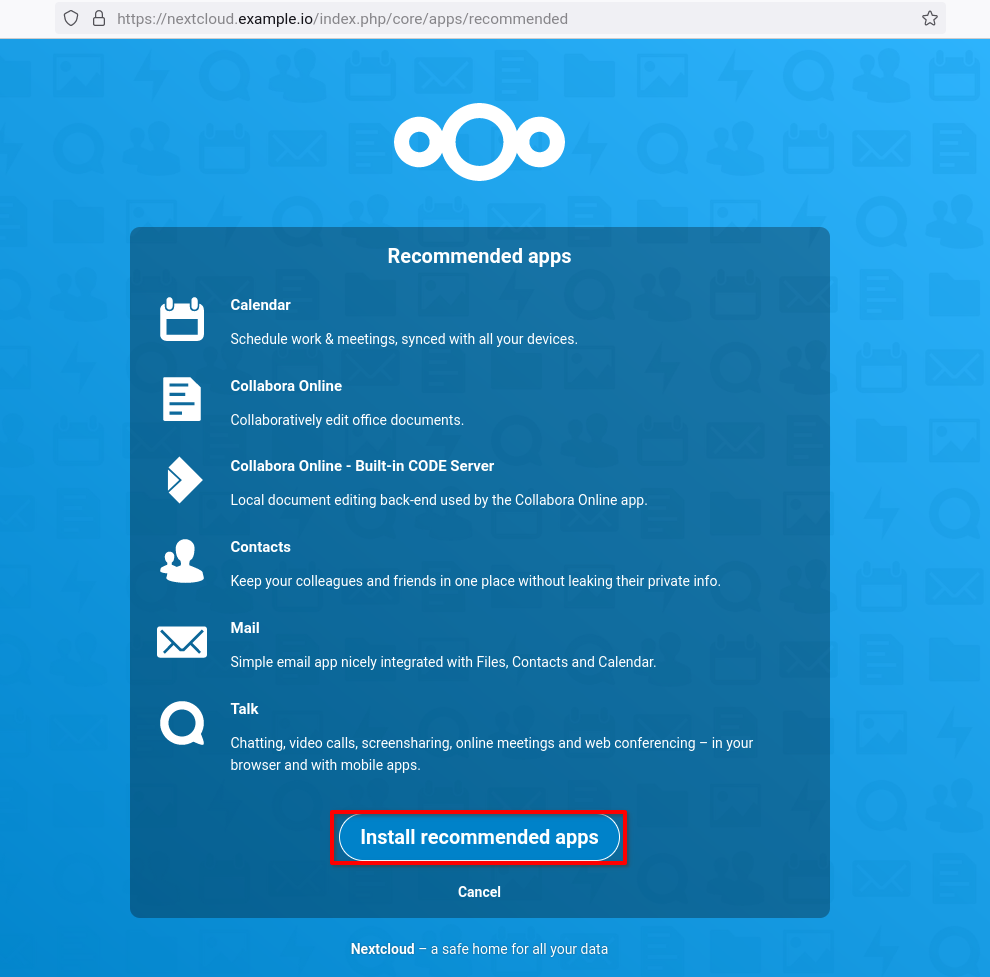
2. Next, click the Install recommended apps button to install some of the Nextcloud applications listed below. These applications extend Nextcloud functionality for users.
After installing Nextcloud applications, you’ll see the default Nextcloud user dashboard below.
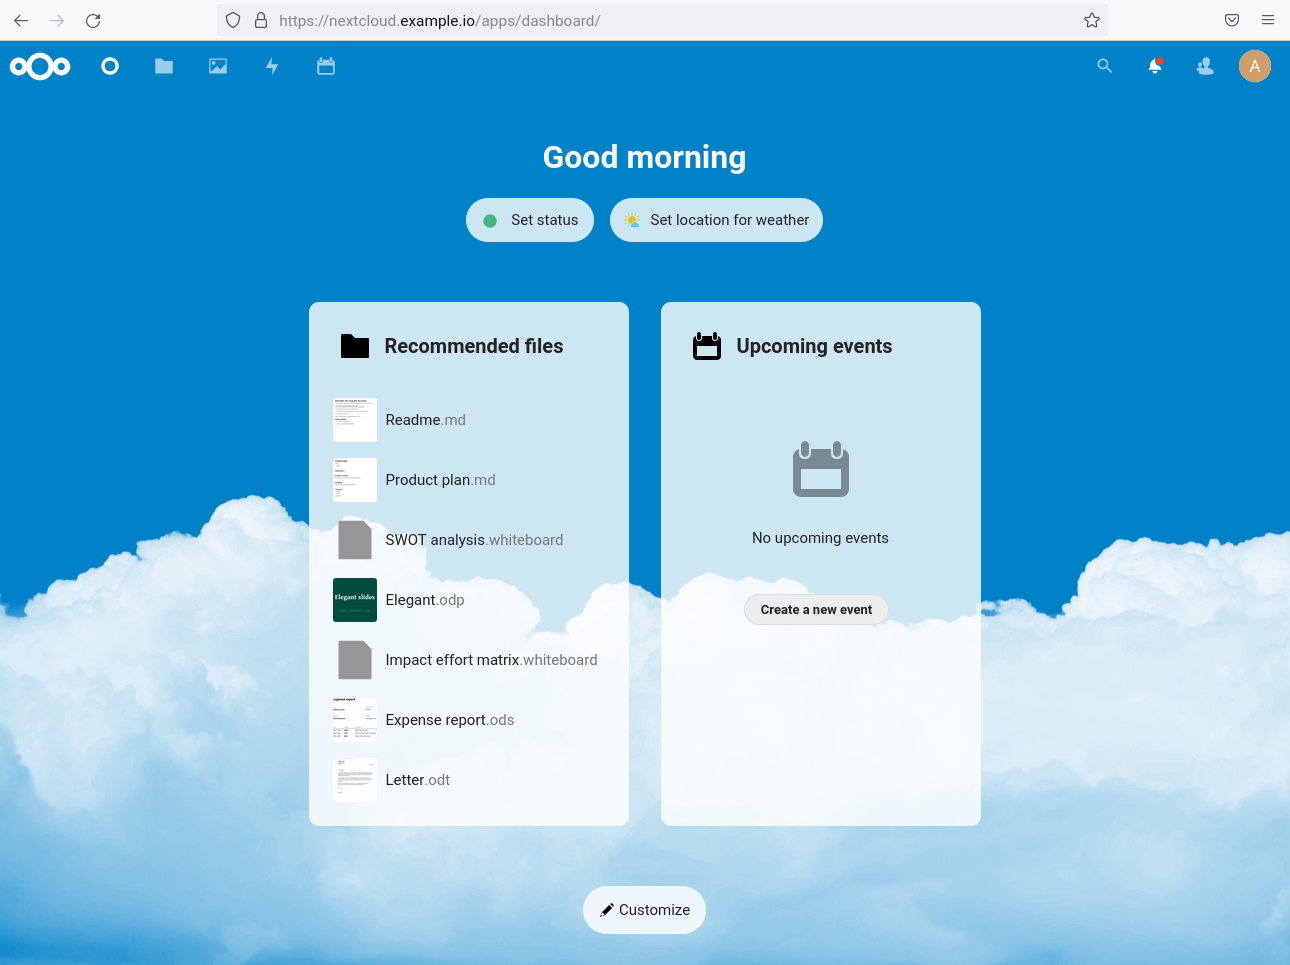
3. Lastly, click the files icon on top, and you’ll get the Nextcloud Documents and Files management, as shown below.
Now you get to manage your documents from anywhere at any time!

Conclusion
Throughout this tutorial, you’ve learned how to install and configure Nextcloud as a Docker container on an Ubuntu Linux system. You’ve touched on the basic NGINX configuration as a reverse proxy for the Docker application Nextcloud.
And at this point, you now have an efficient documents management system powered by Nextcloud on your server.
But perhaps you’re interested in extending Nextcloud functionality? Try adding integration to another application, such as Collabora, that provides office-like features. Or adding Jitsi or spread for video conference.


