


Network management has a broad reach, and one misstep can set off a domino effect, creating chaos in all corners of your network. But fear not! With the netsh command, you are in control, whether setting up connections, tweaking firewall rules, or troubleshooting network hiccups.
In this tutorial, with the netsh command as your trusty sidekick, you will troubleshoot network issues, enhance your system’s security, and fine-tune its performance.
Dive into the world of the netsh command and unlock a new level of control over your network!
Prerequisites
Prepare for some hands-on learning! If you plan to participate actively, make sure to have the following ready to go:
- A computer running Windows 7+ operating system (OS) – This tutorial uses Windows 10 for demonstrations.
- PowerShell 5+ installed on your computer – This tutorial uses PowerShell v7.
Listing All Configured Firewall Rules via the netsh Command
With the prerequisites met, you will now delve into a crucial aspect of using the powerful netsh command for network security — listing firewall rules.
Firewalls are a network security measure that acts as a barrier between a trusted internal network and an untrusted external network, such as the internet. Thus, listing firewall rules gives you a more transparent understanding of your system’s safeguarding measures.
Related: How To Set Up the UFW Firewall on Linux
To list all current firewall rules, carry out the following:
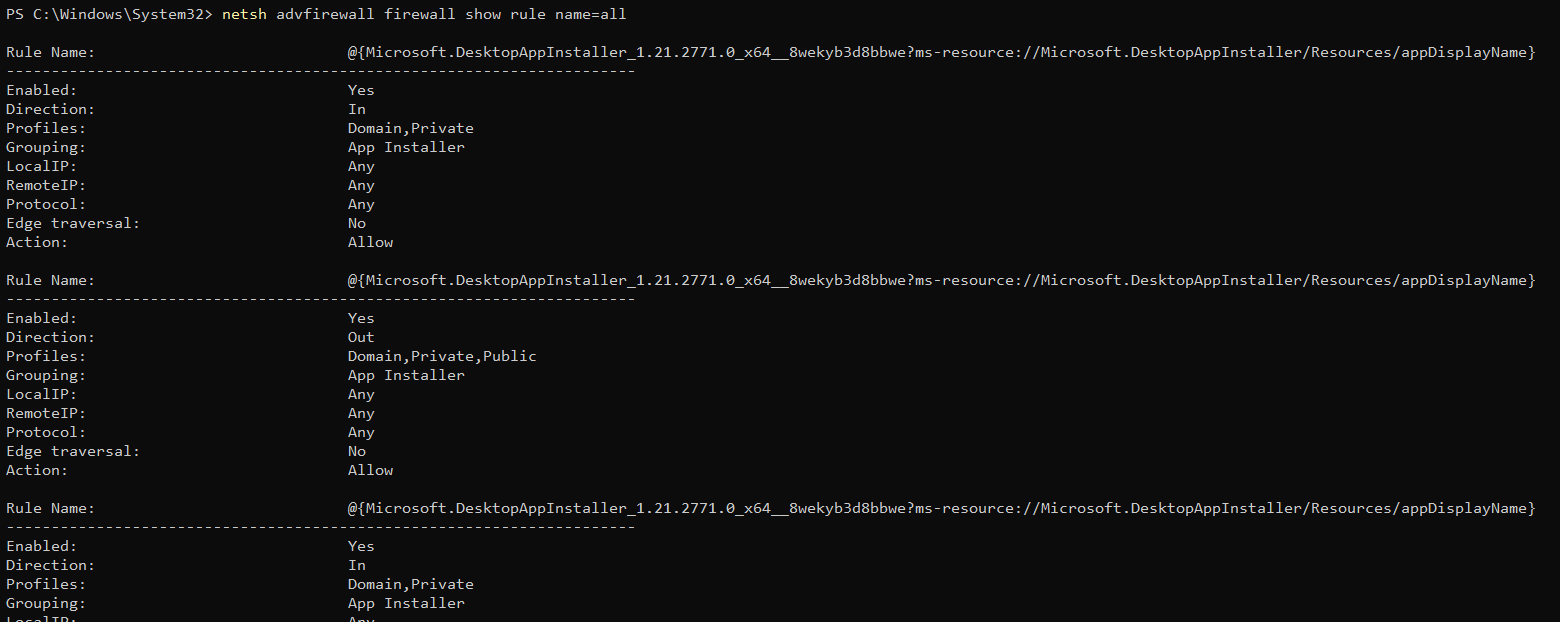
Open PowerShell as an admin, and run the following netsh command.
This command lists (show) each firewall rule (within the advfirewall module) configured in your system without specific filtering.
netsh advfirewall firewall show rule name=allYou will see a comprehensive list of all enabled and disabled firewall rules on your system with their respective names, protocols, profiles, and more, as shown below.
Imagine your computer’s security as a team of digital sentinels, each equipped with precise directives on who is granted access and kept out.
Your firewall monitors incoming and outgoing traffic and allows or blocks specific types of traffic based on these predetermined rules. You would not want your firewall to mistake your cat videos for a cyberattack and send them to digital jail, would you?
Listing Firewall Rules Based on Profiles
From listing all configured firewall rules, shift your focus to a more targeted approach. Instead of listing everything, list firewall rules based on profiles.
Profile-based firewall rules ensure that different security settings are applied depending on the type of network you are connected to.
Firewall rules are categorized into the following profiles based on their scope:
| Profile | Details |
|---|---|
| Domain | This profile is typically used when the computer is connected to a domain network. |
| Private | This profile applies when the computer is connected to a private or home network. |
| Public | This profile is used for public networks such as airports, cafes, and so on. |
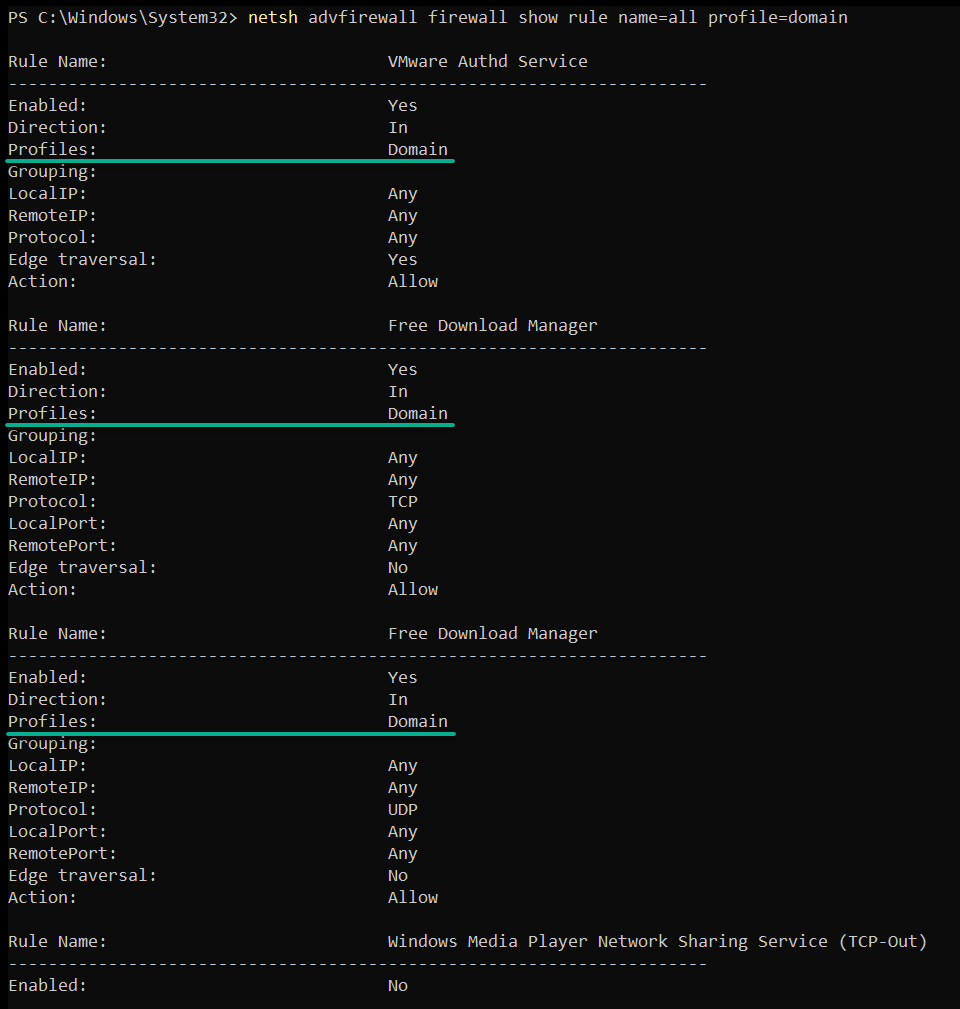
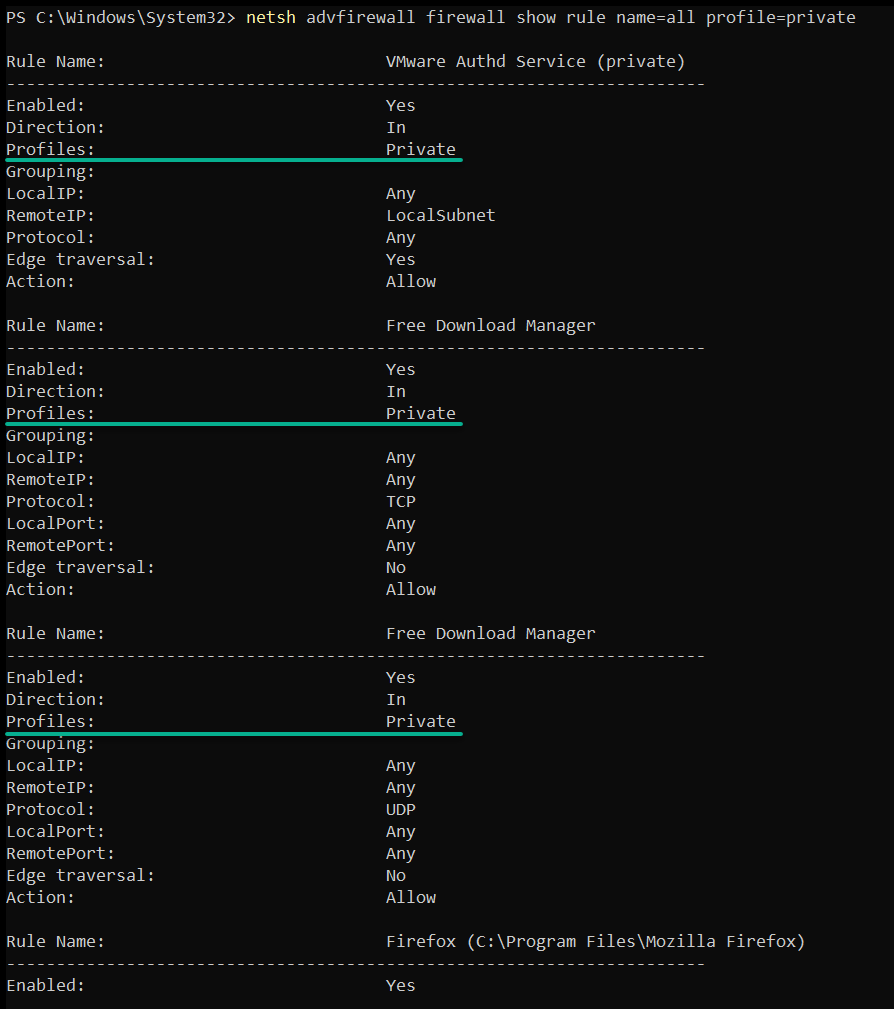
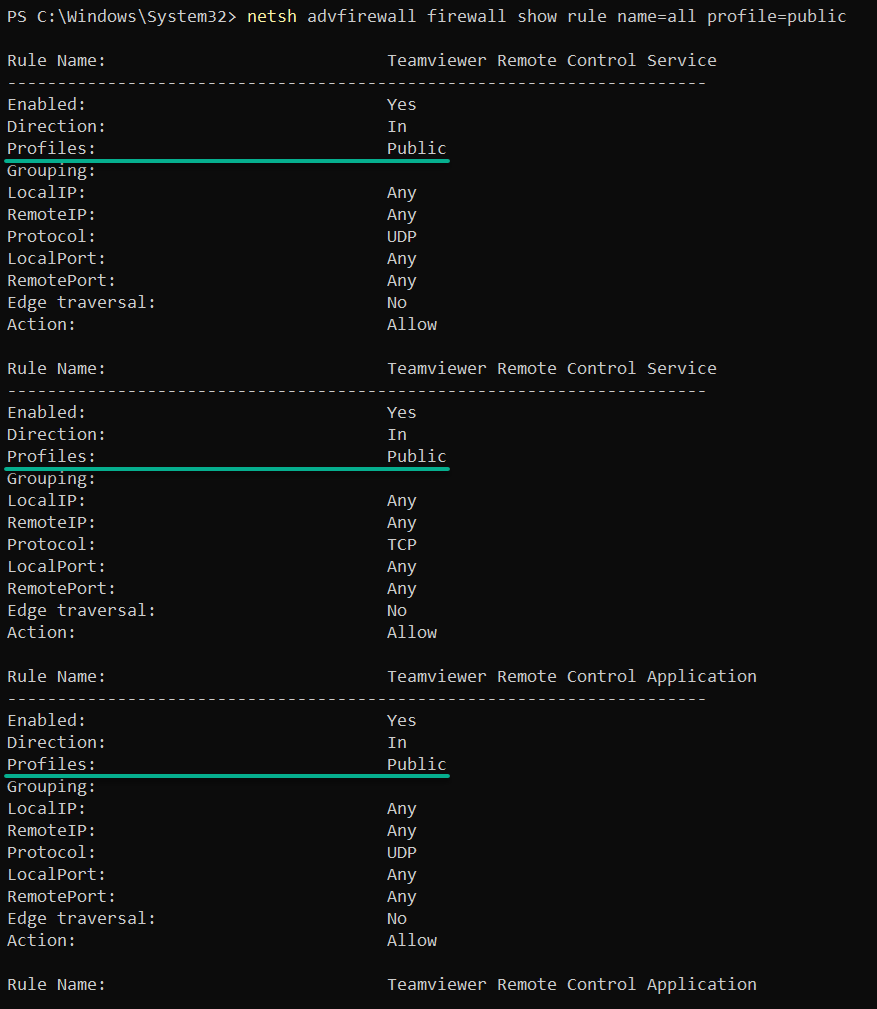
Execute the following commands to list the firewall rules specific to each profile: domain, private, and public.
# Lists firewall rules in domain profiles
netsh advfirewall firewall show rule name=all profile=domain
# Lists firewall rules in private profiles
netsh advfirewall firewall show rule name=all profile=private
# Lists firewall rules in public profiles
netsh advfirewall firewall show rule name=all profile=public
The information, as shown below, grants you finer control over your system’s defenses. Moreover, filtered information lets you tailor your security settings to suit specific user or network requirements.
Disabling and Enabling Firewall Rules
Besides listing configured firewall rules, one of the best features the netsh command offers is controlling the flow of network traffic. How? By temporarily disabling or reactivating specific firewall rules.
But wait, is disabling firewall rules safe? There may be times when you need to disable a specific firewall rule temporarily. One example is when troubleshooting a network issue or when running a program that is being mistakenly blocked by the firewall.
To see how disabling and enabling firewall rules work:
Run the following command to disable and enable the Bonjour Service rule in all profiles.
Ensure you replace the Bonjour Service rule with the one you wish to disable or enable.
netsh advfirewall firewall set rule name="Bonjour Service" new enable=no
netsh advfirewall firewall set rule name="Bonjour Service" new enable=yes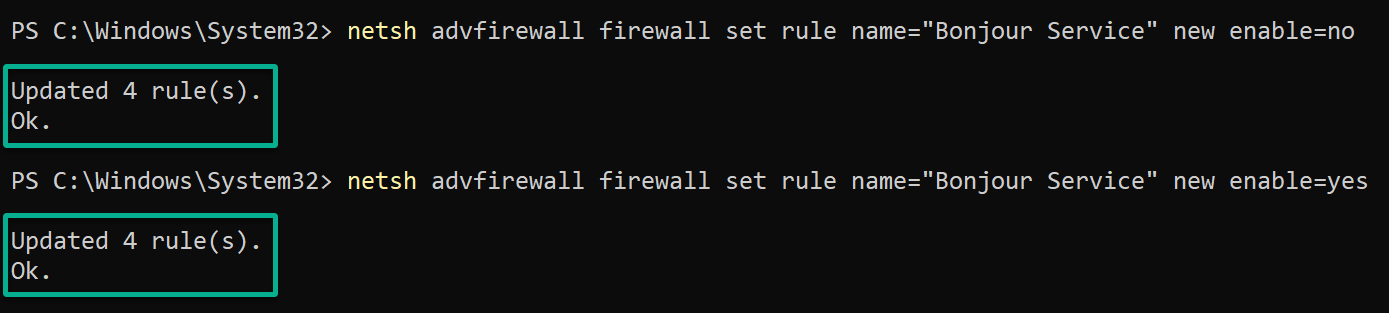
Blocking and Opening Firewall Ports
You may find disabling the firewall unnecessary, but you wish to have a hands-on approach to managing your network traffic. In that case, opening and blocking firewall ports will give you the power to fine-tune your system’s communication.
To block or open firewall ports, proceed with the following:
Execute each command below to block and open port 22 (or a different one) in your firewall. Blocking the SSH port lets you prevent brute-force attacks.
# Block the port 22
netsh advfirewall firewall add rule name="Block Port 22" dir=in action=block protocol=tcp localport=22
# Open the port 22
netsh  advfirewall firewall add rule name="Open Port 22" dir=in action=allow protocol=tcp localport=22
Checking the Wi-Fi Signal Strength
As a network administrator, one of your critical tasks is maintaining a robust and reliable network, which starts by checking the Wi-Fi signal strength.
Imagine being responsible for a network that supports a bustling office or a bustling campus. A dip in signal strength could lead to frustrated users, disrupted workflows, and even security concerns.
To check the Wi-Fi signal strength, complete the following:
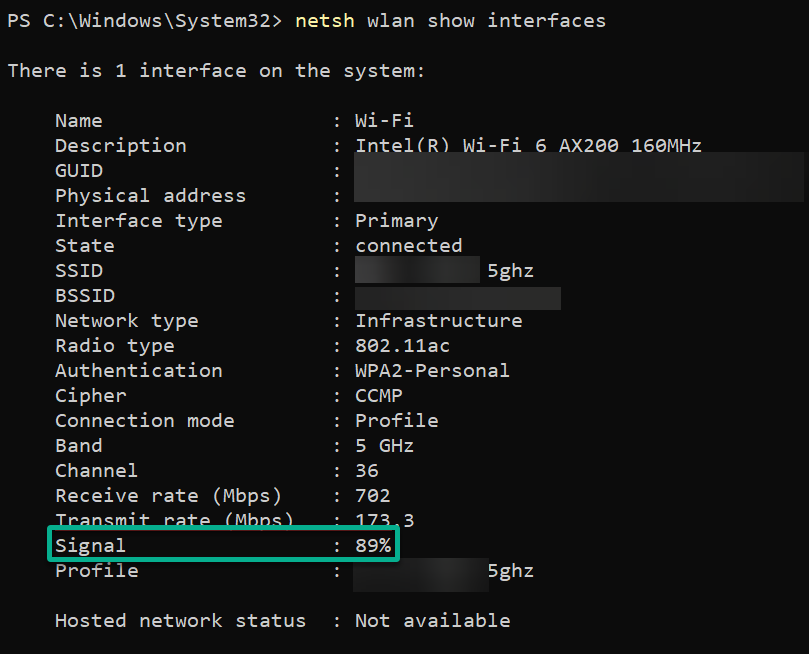
Run the below netsh wlan command to show detailed information about the wireless network interfaces on your computer.
netsh wlan show interfacesLike in the output below, you will see a detailed report of your wireless interface, including its GUID, SSID, channel number, and so on.
Most importantly, you will see your Wi-Fi’s signal strength, which is 89%. This percentage signifies your network connection’s reliability.
Capturing Network Traffic for Troubleshooting
Checking your Wi-Fi signal strength is one thing, but you also need a skill that provides invaluable insights when things do not go as planned. At some point, you may need to capture the packets being transmitted and received to understand what might be causing the problem.
To capture network traffic, perform the following steps:
1. Invoke the below New-Item command to create a new folder called CapturedData to save captured data.
New-Item -ItemType Directory -Path C:\CapturedData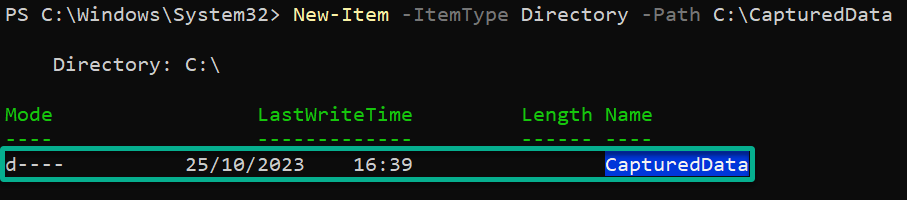
2. Next, run the following command to perform the following:
trace– Manage network tracing.start– Instructsnetsh traceto begin capturing network traces.capture=yes– Specifies that network packets should be captured.report=no– Designates whether to generate a summary report after completing the trace. In this case,noreport will be generated.correlation=no– Indicates whether to correlate the captured data with other events. In this example,nocorrelation will be performed.persistent=yes– Specifies whether the trace session should be persistent across reboots. In this case, the trace configuration will be saved and applied (yes) even after a system restart.tracefile– Defines the location and name of the file where the captured network trace data will be stored. In this case, the location is set toC:\CapturedData\NetworkTrace.etl.
netsh trace start capture=yes report=no correlation=no persistent=yes tracefile=C:\CapturedData\NetworkTrace.etl
3. With enough captured data, run the below command to stop the capture.
netsh trace stop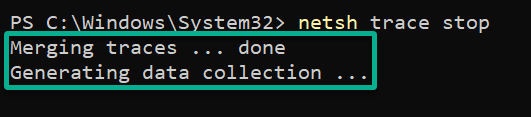
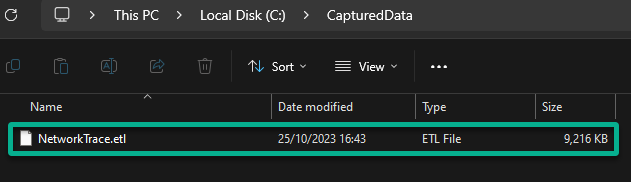
4. Finally, navigate to the folder where you saved the captured data, and you will see the NetworkTrace.etl file.
You can share this file with your network team to help troubleshoot any connectivity issues.
Conclusion
Throughout this tutorial, you have learned how to manage firewalls with the netsh command expertly, ensuring your network’s security. Plus, you have touched on capturing network traffic, a crucial skill for troubleshooting and maintaining a smoothly running system.
Now, how about delving deeper into networking? Why not explore other tools and strategies like secure remote access, virtual private networks (VPNs), and intrusion detection systems (IDS)?
Keep pushing your boundaries, and remember that the more you practice, the more confident you will become in network management. So, grab the reins and let your networking journey soar to new heights!


