


Have you ever wanted to manage your MySQL databases more visually? If yes, you’ll love MySQL Workbench on Ubuntu. Besides being a free tool, MySQL Workbench lets you graphically design and manage your database relationships.
In this tutorial, you’ll learn to set up MySQL Workbench on Ubuntu in many ways, so you can get started in molding and executing queries — visually, of course.
Read on and take your MySQL skills to the next level!
Prerequisites
This tutorial will be a hands-on demonstration. If you’d like to follow along, be sure you have the following.
- A Ubuntu system – This tutorial uses Ubuntu 20.04, but other versions will also work.
- A user account with sudo privileges – This tutorial uses a root account for simplicity. But using a non-root user with sudo access is strongly recommended.
- A MySQL server installed and running.
- This tutorial assumes that you have SSH access to your server.
- Snap installed on your Ubuntu system.
Installing MySQL Workbench on Ubuntu via Snap
MySQL Workbench lets you in on administering MySQL environments in a visual console to gain adequate visibility into your databases. But before taking advantage of MySQL Workbench, you’ll have to install this visual tool.
There are many ways to install MySQL Workbench on Ubuntu. But for a start, you’ll use a software package and deployment system called Snap. Snap is designed to work across multiple Linux distributions, which has been around for a few years, gaining popularity.
To install MySQL Workbench via Snap:
1. Run the following command to update the list of available packages.
Note that if you’re on a non-root user, append sudo in all commands you’ll run that require root privileges throughout this tutorial.
apt update -y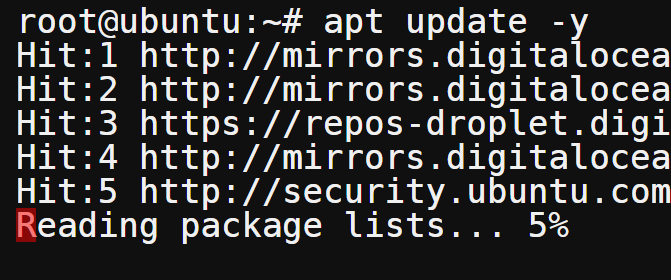
2. Once updated, run the below command to ensure you have the latest package data.
snap refresh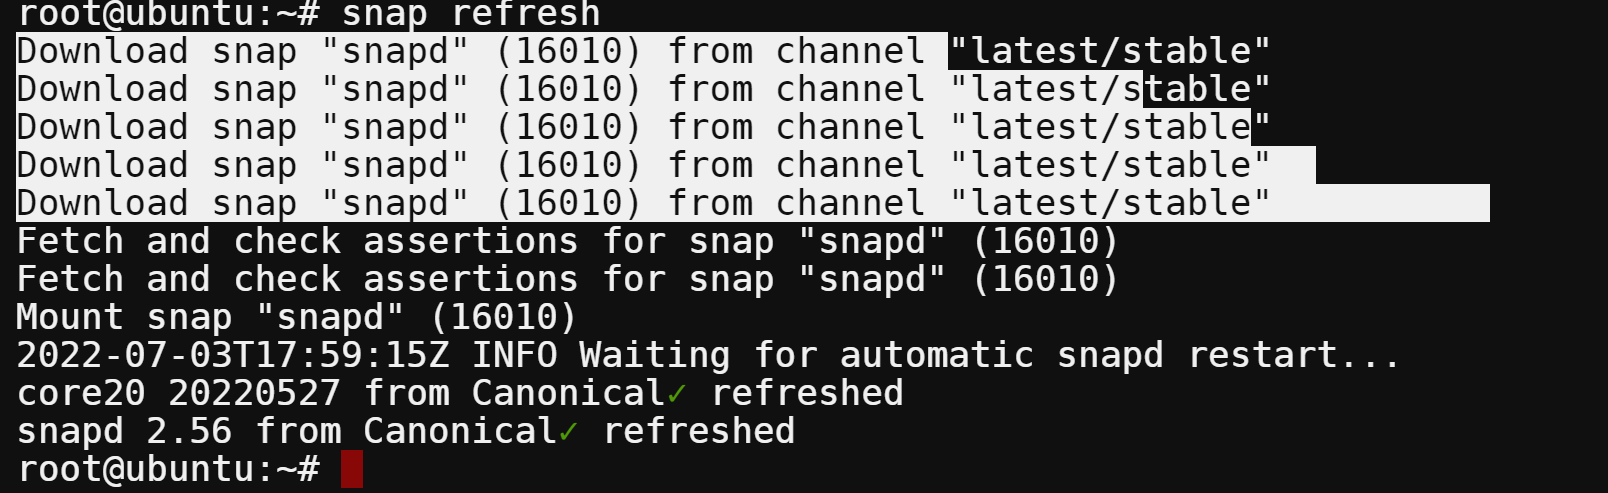
3. Next, run the below snap install command to download and install the mysql-workbench-community (free and open-source) version with all required dependencies.
One of the benefits of using Snap is that it uses a sandbox environment to isolate each application from the rest of the system. This behavior ensures an application doesn’t interfere with another and cause stability issues.
snap install mysql-workbench-communityOnce installed, you’ll see the following output.

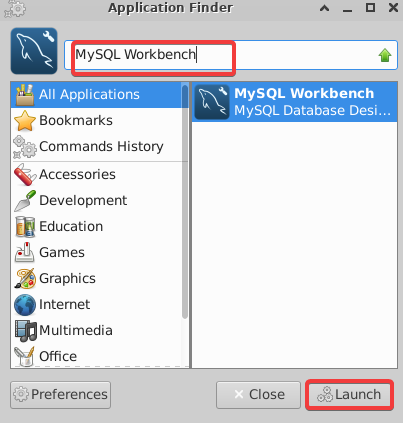
4. Now, open MySQL Workbench from your Application Finder.
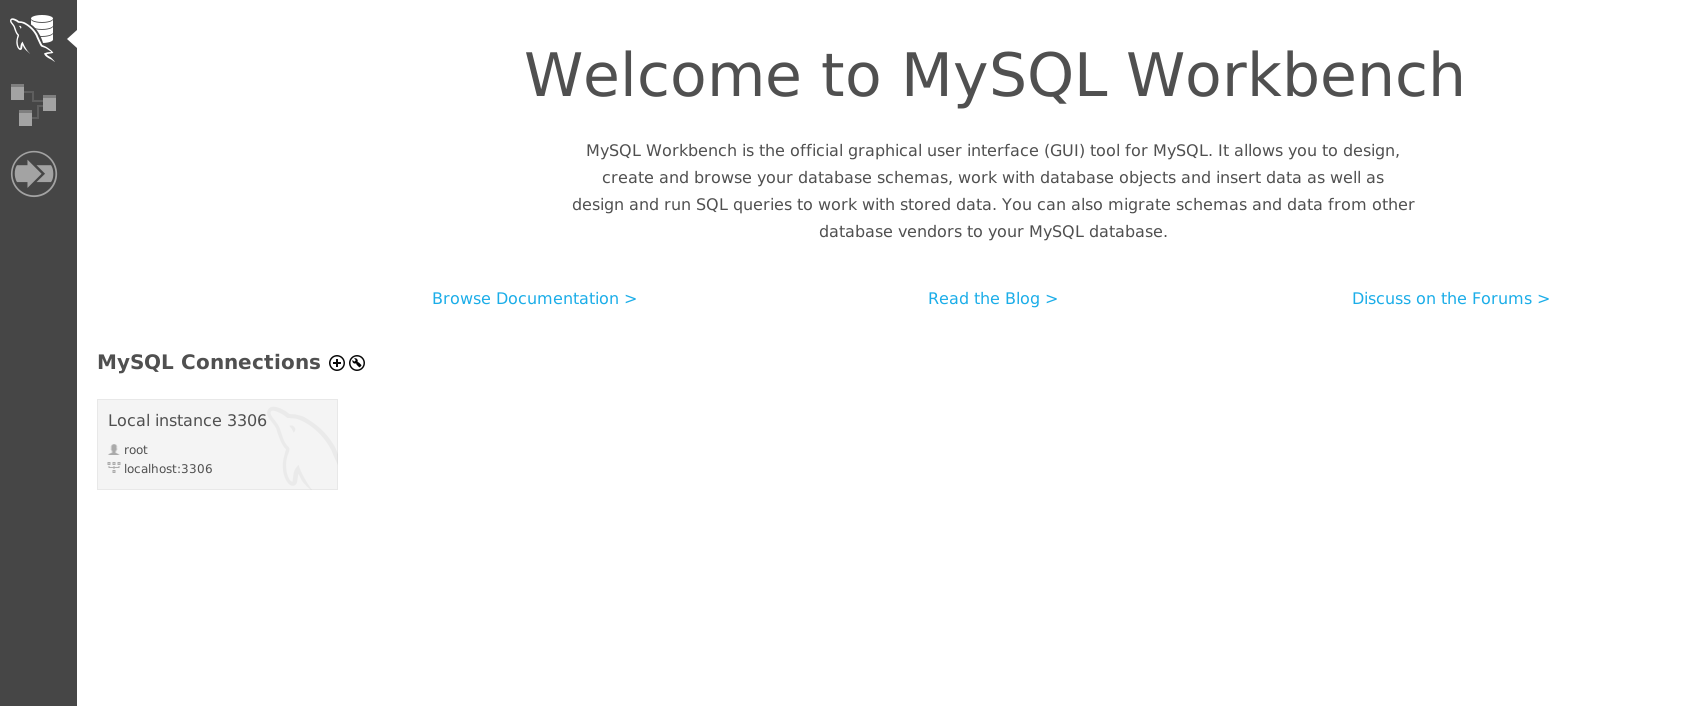
You’ll see the welcome page on the MySQL Workbench home screen, as shown below.
5. Finally, run the below commands to explicitly allow MySQL Workbench to access your system’s password manager, SSH keys, and CUPS control (manages printers on Linux systems).
Why is this step necessary? MySQL Workbench needs access to this information to connect to your database server.
Note that the following commands don’t provide output.
snap connect mysql-workbench-community:password-manager-service
snap connect mysql-workbench-community:ssh-keys
snap connect mysql-workbench-community:cups-control
Installing MySQL Workbench Using a Deb File
You’ve seen that Snap works fine for installing software. But what if Snap’s latest version isn’t available through your package manager? Another way to install MySQL Workbench’s latest version is by using a Deb file.
A Deb file is a Debian software package that contains all information needed to install a particular application on your system. This information includes metadata about the package, including its name, description, and version.
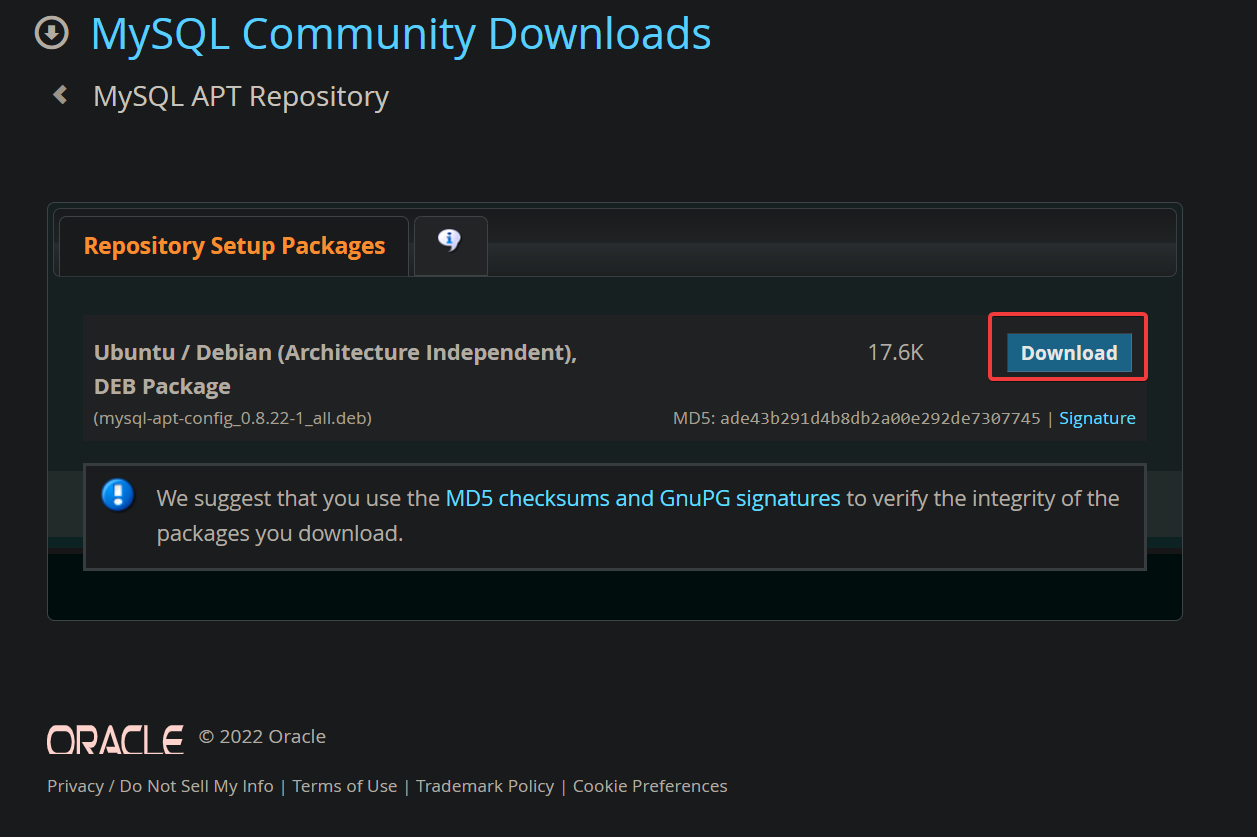
1. Navigate to the MySQL Workbench download page.
2. Scroll down to the Debian section and click the Download button to download MySQL Workbench’s Deb package for Ubuntu.
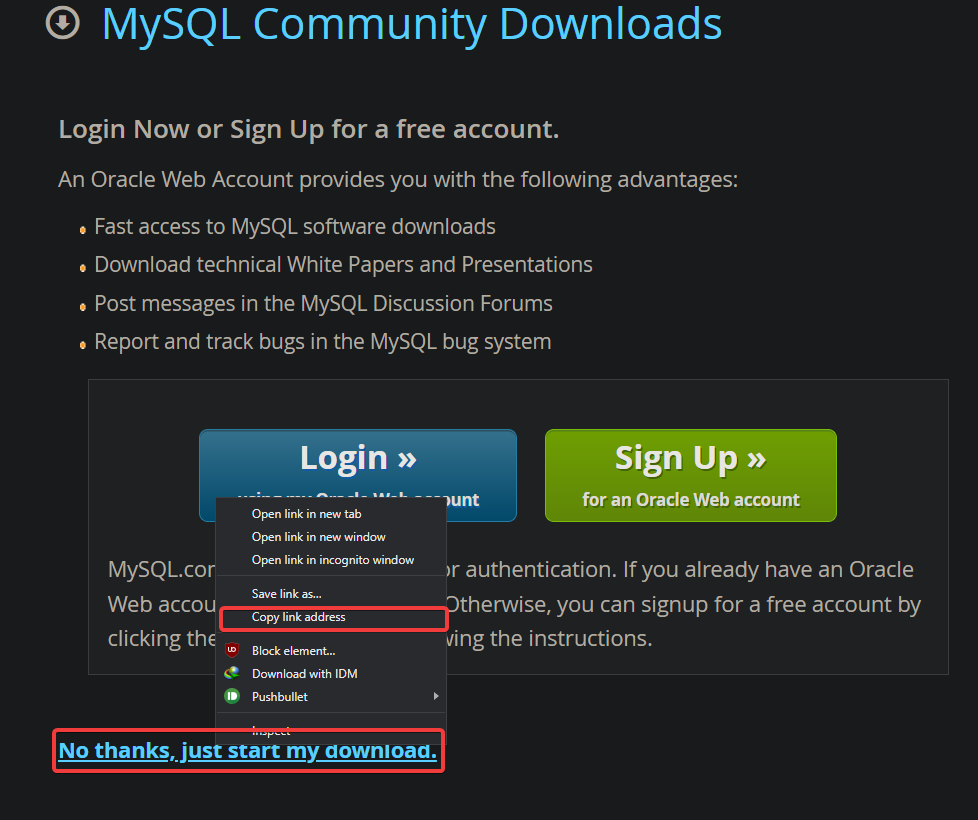
3. Right click on the No thanks, just start my download hyperlink —> Copy link address to copy the download link. You’ll need this link to download the Deb package in step four.
4. Now, switch back to your terminal, run the wget command below to download MySQL Workbench’s Deb package. Be sure to replace the URL below with the download link you copied in step three.
wget https://dev.mysql.com/get/mysql-apt-config_0.8.22-1_all.deb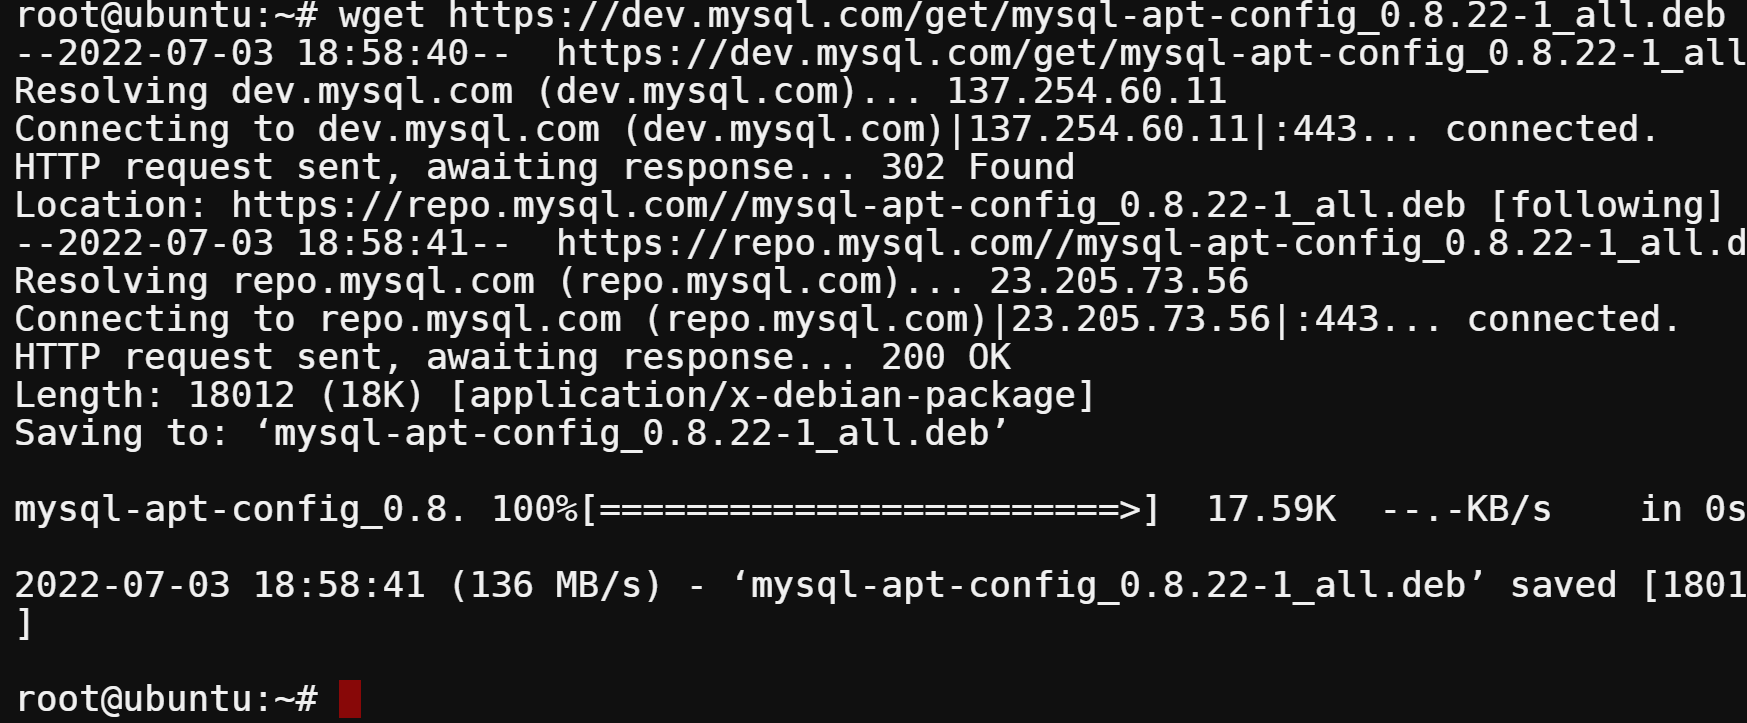
Double check the download link if you get an HTML source code instead of the Deb file.
5. Once downloaded, run the ls command below to verify the Deb file is in your current working directory. Replace mysql-apt-config_0.8.22-1_all.deb with the name of the Deb package you downloaded.
ls -la mysql-apt-config_0.8.22-1_all.deb
6. Next, run the following apt install command to install the Deb package. This command extracts and install contents of the Deb file and fixes dependencies mix-up that might cause issues.
apt install ./mysql-apt-config_0.8.22-1_all.debA GUI appears showing all available MySQL products. Navigate to the OK entry with your arrow keys, as shown below, and hit Enter to save the current MSQL products configuration.

7. Rerun the apt update command to update your system repositories with the new changes.
apt update -y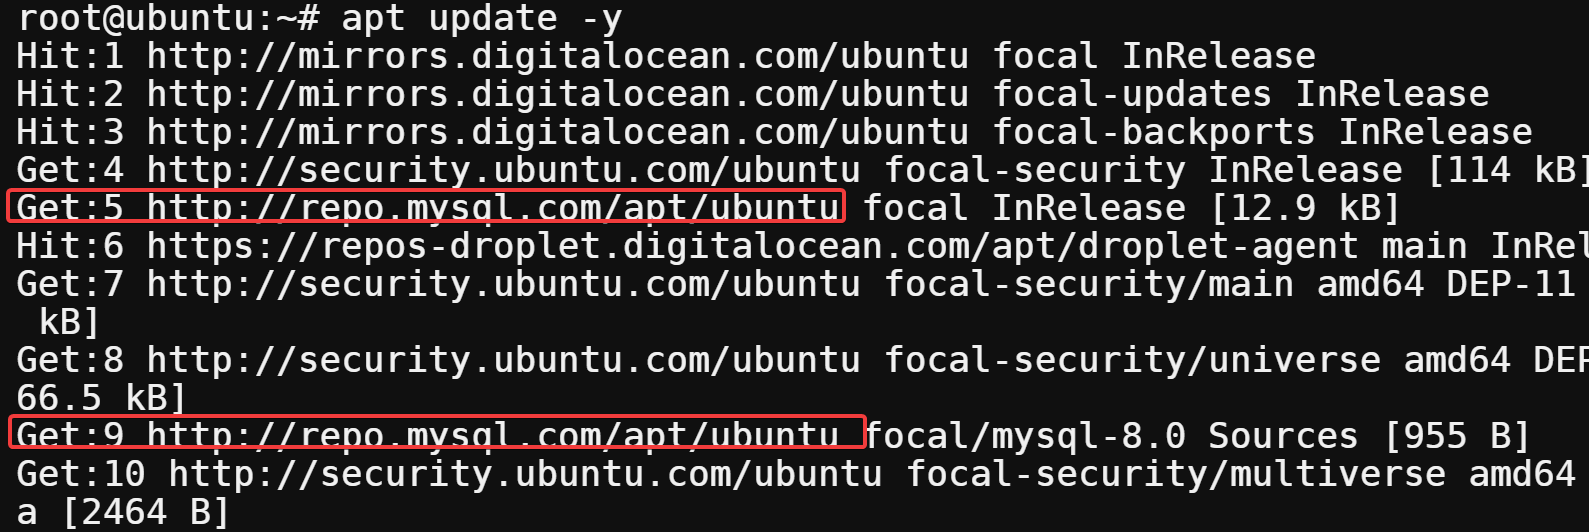
8. After the update, run the below apt install command to install MySQL Workbench.
apt install mysql-workbench-community -y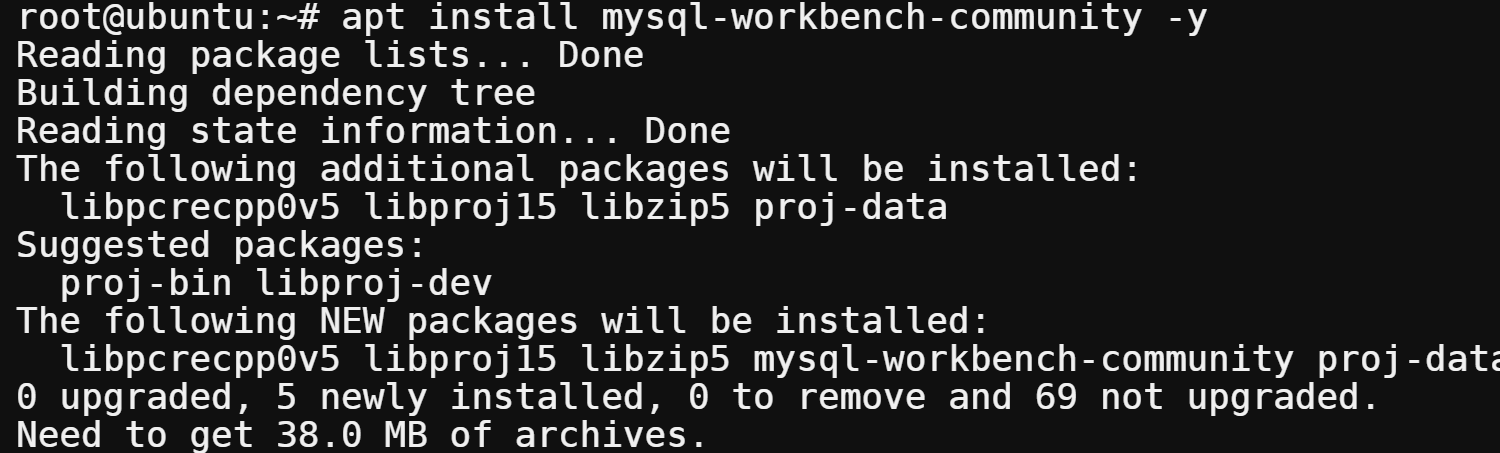
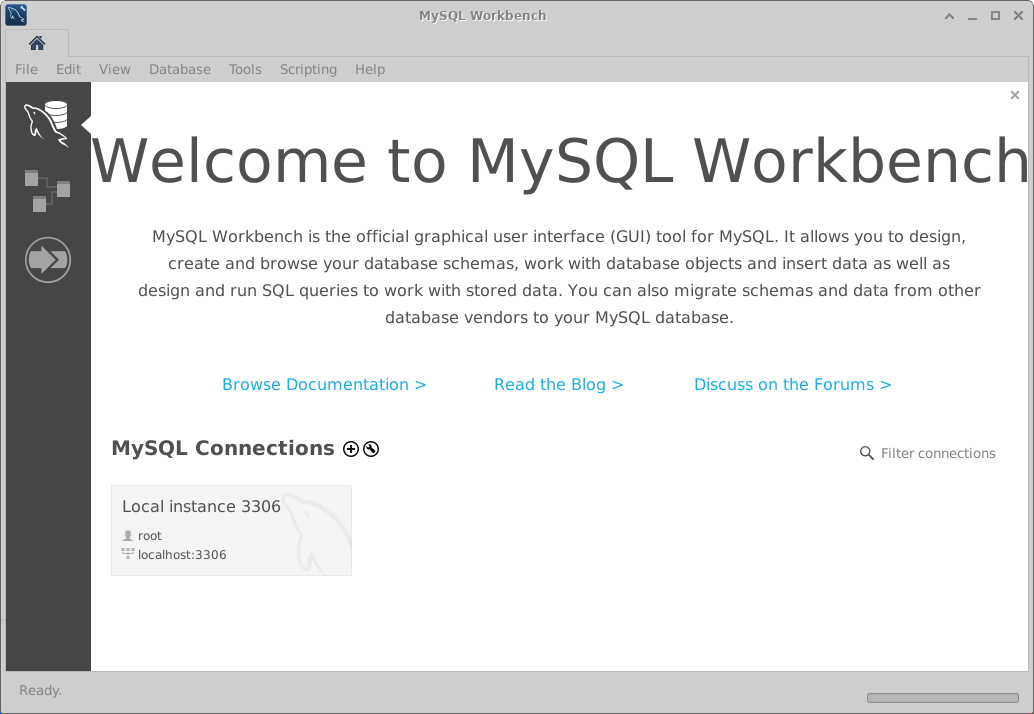
9. Finally, run the following mysql-workbench command to launch MySQL Workbench or search for the tool in your Application Finder.
mysql-workbenchIf all goes well, you’ll be greeted with a welcome page, like the one below.
Connecting to a MySQL Database Using MySQL Workbench
Now that you have MySQL Workbench installed on your Ubuntu system, it is time to test how MySQL Workbench can make your life easier in managing your databases.
To see how MySQL Workbench works in action, you’ll first have to connect to a MySQL database:
1. Run each command below to start your MySQL server if it is not already running, and check its status.
systemctl start mysql.service
systemctl status mysql.service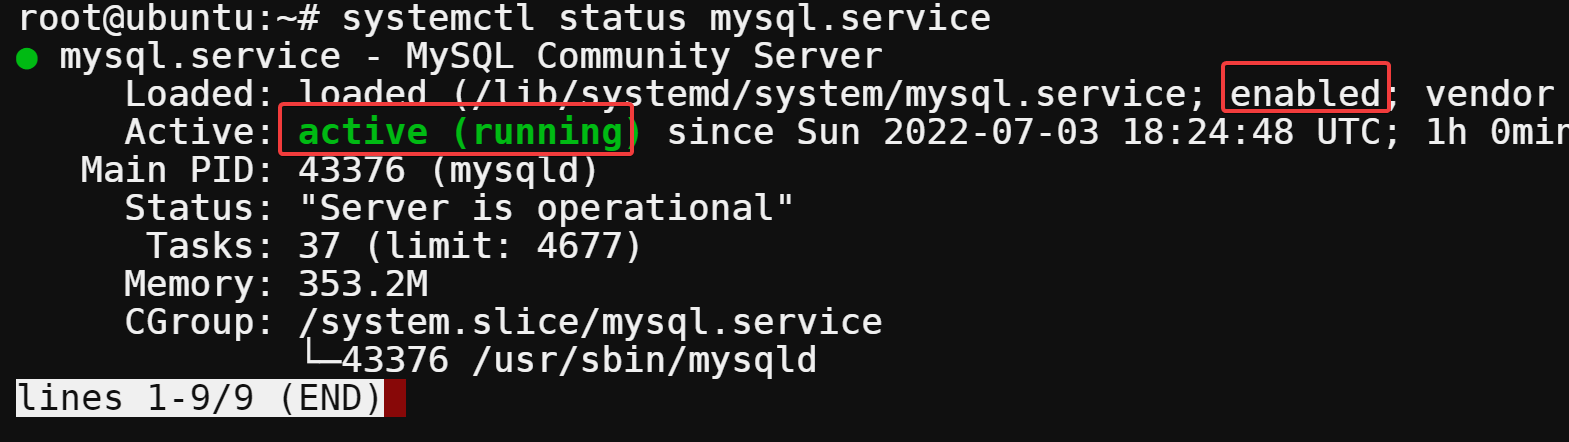
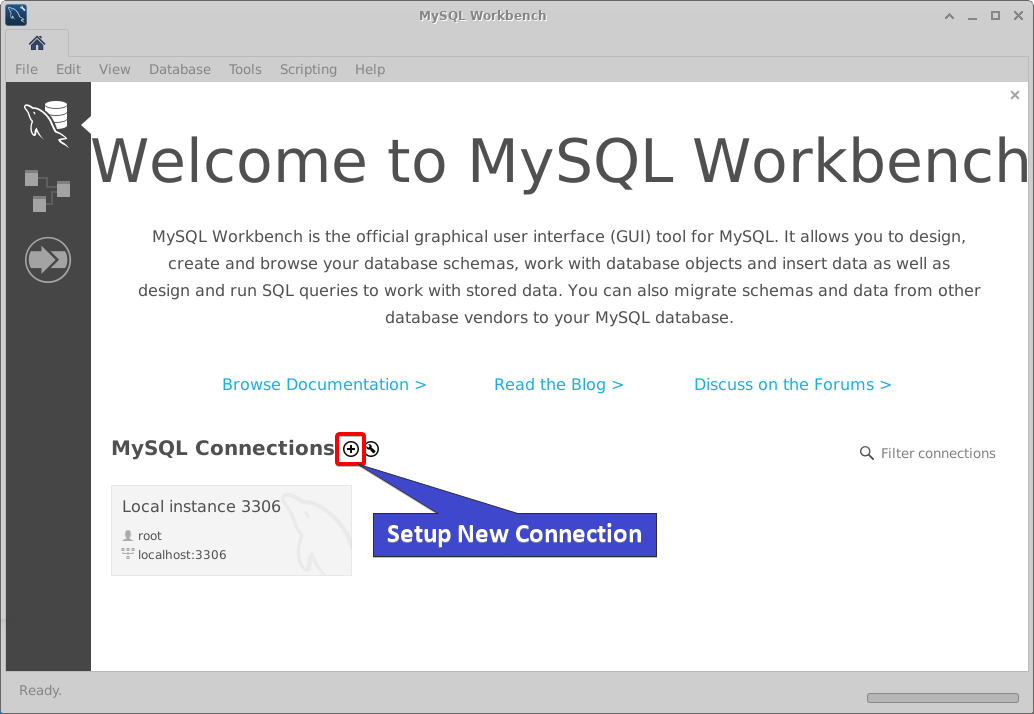
2. Next, return to your MySQL Workbench window, and click on the + button in the MySQL Connections pane, as shown below.
This action opens a dialogue box (step three), where you’ll specify connection parameters that MySQL Workbench needs to connect to your MySQL database server.
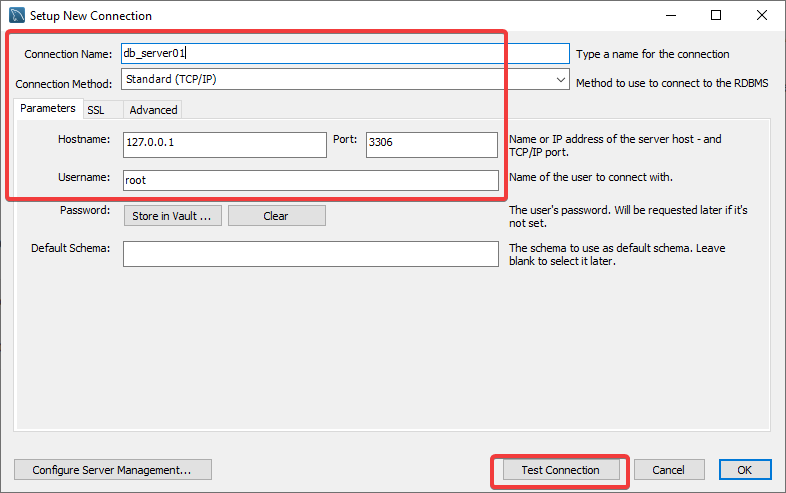
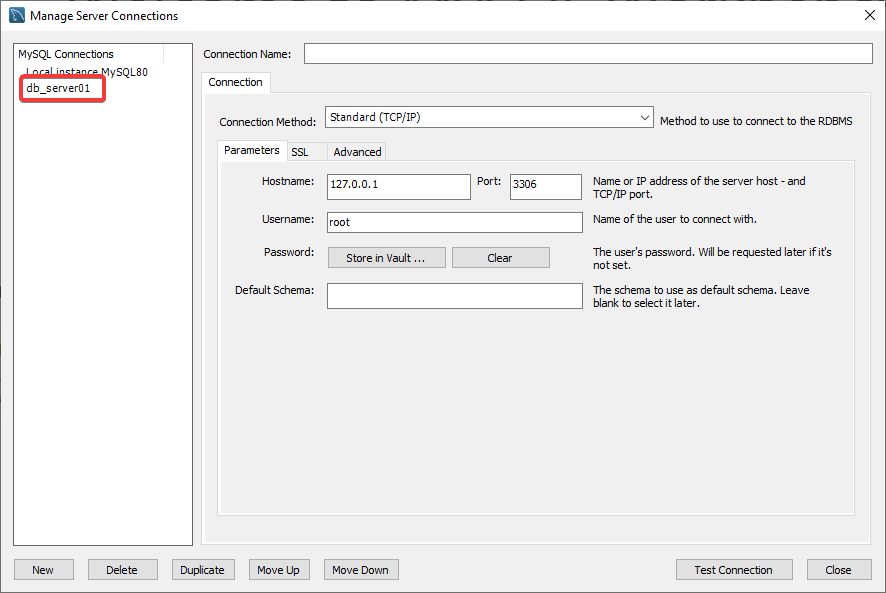
3. Configure the new connection with the following:
- Connection Name – Provide a descriptive name for the new connection, but this tutorial’s choice is db_server01.
- Connection Method – Select Standard(TCP/IP) from the drop-down menu. This method uses the MySQL client library to connect to the server, which supports all MySQL protocols.
- Hostname – Specify the hostname or IP address of your server. You can leave the default value, 127.0.0.1, if you’re connecting to a MySQL database on your local system.
- Port – Leave the default port number for the MySQL server (3306) unless you changed it.
- Username – Enter the username of your MySQL account.
- Keep other settings as default, and click the Test Connection button at the bottom to verify the connection parameters.
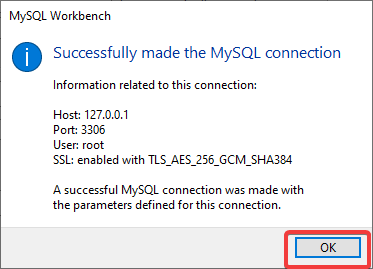
If all goes well, you’ll see a message that says the connection is successful, as shown below.
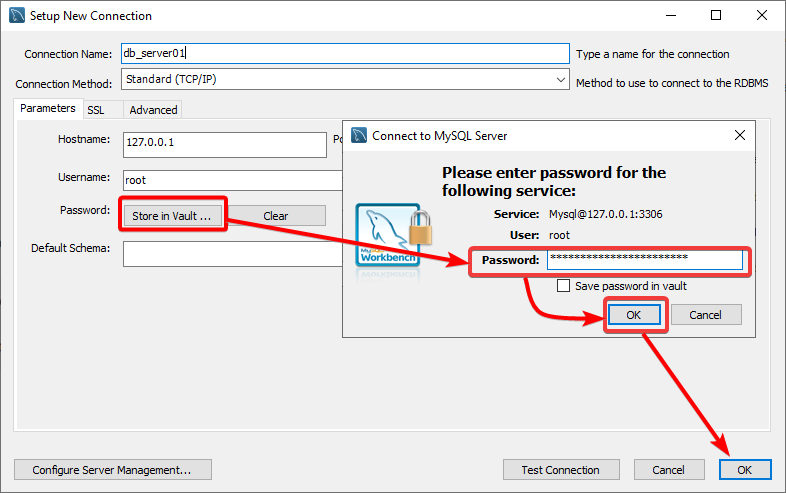
4. Now, click on Store in vault, provide the Password for your specified account, and click on the OK button.
Back to the Setup New Connection window, click on OK to save the connection settings.
5. Once saved, click on the Database menu —> Manage Connections to open the Manage Server Connections window, where you can see all your network connections.
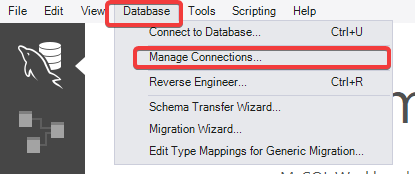
Below, you can see your newly-created connection in the list of MySQL Connections. This window is where you can manage all your MySQL connections, like editing, deleting, or refreshing them.
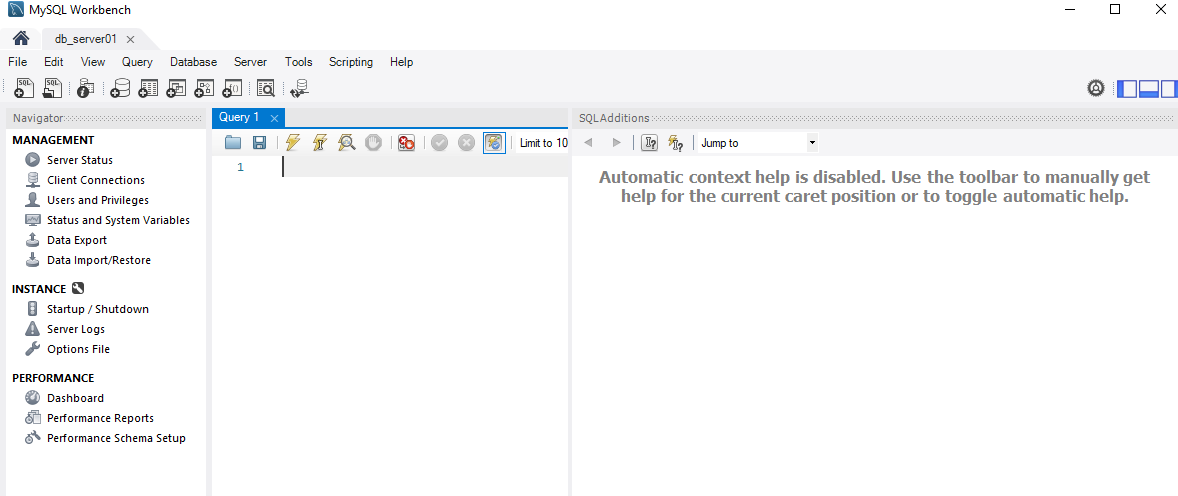
6. Lastly, back to your MySQL Connections pane, double-click on your MySQL server (db_server01) to access the server. A new tab opens in MySQL Workbench, where you can run SQL queries and manage your database objects.
By default, MySQL Workbench automatically lists all available connections in the MySQL Connections pain when you launch MySQL Workbench.

The Query tab below has all the features you’d expect from a modern code editor, like syntax highlighting, auto-completion, and indentation.
Creating a New Database Using MySQL Workbench
After successfully connecting to your database server in MySQL Workbench, you’re ready to create a new database. Do you ever feel you’re blindly managing a database by just running commands and queries in a terminal?
With MySQL Workbench’s GUI, you can still run queries. But the difference is that you’ll see events of changes as they happen.
To create a new database using MySQL Workbench:
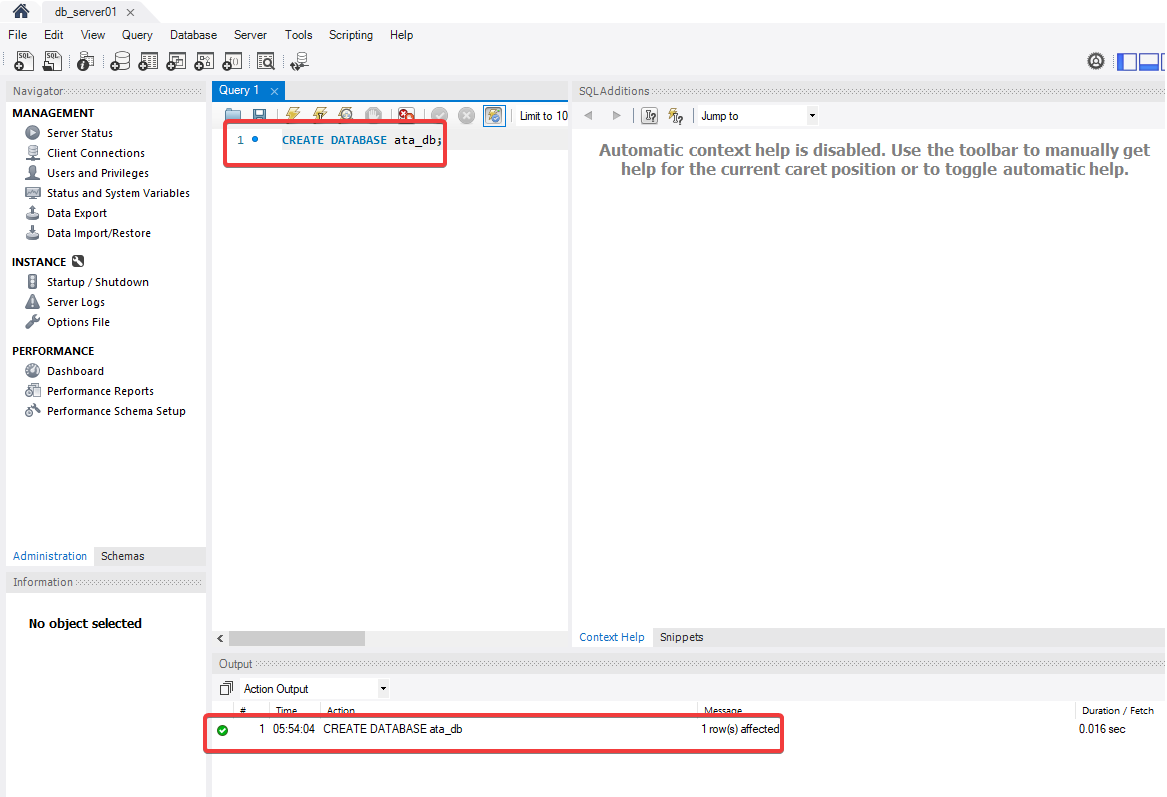
1. Copy and paste the following query into the SQL Query editor pane, and press Ctrl+Enter to run the query to CREATE a new DATABASE called ata_db.
CREATE DATABASE ata_db;Always end your SQL statements with a semicolon (;), or else the database server will not execute the statement.
If successful, you’ll see the query’s output with a green check under the Action Output tab, as shown below.
2. Next, run the USE statement below to specify which database (ata_db) you want to work with.
USE ata_db;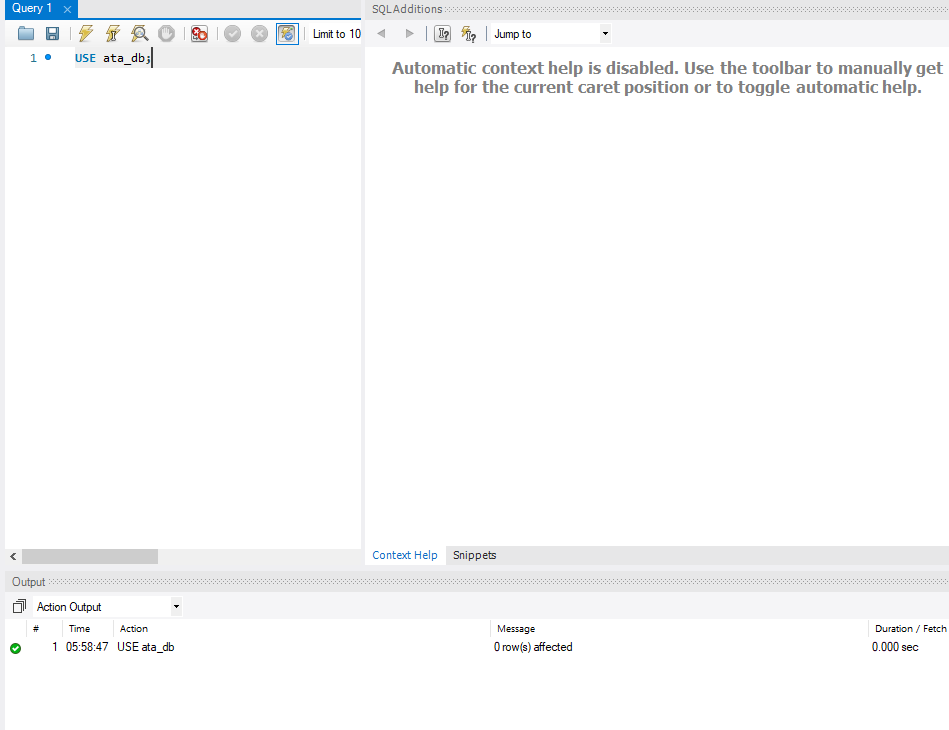
3. Execute the following statement to CREATE a TABLE in your database (ata_db).
This statement creates a new table with three columns with their data type specified as follows:
name– a variable-length string (VARCHAR) with a maximum length of20.
sex– a fixed-length string (CHAR) with a maximum length of 1 character.
- birth – a DATE data type.
CREATE TABLE ata_tb (name VARCHAR(20), sex CHAR(1), birth DATE);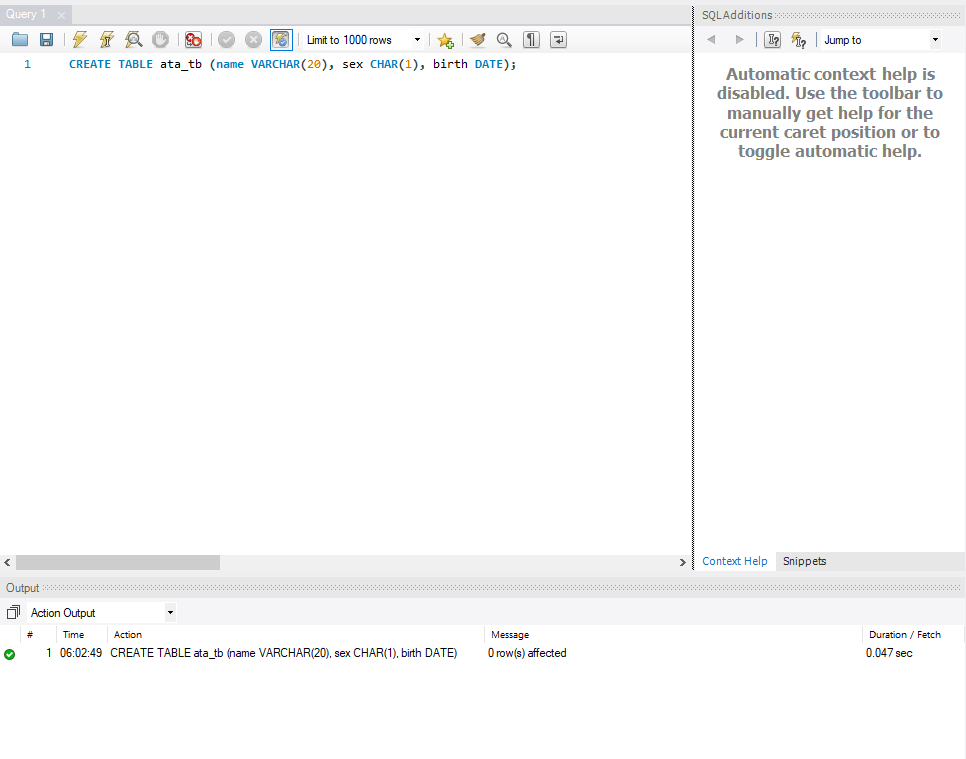
4. Now, run the below statement to INSERT data INTO your newly-created table (ata_tb).
This statement inserts a new row into the ata_tb table with VALUES (ATA, m, 1990-01-01) for the name, sex, and date columns.
INSERT INTO ata_tb VALUES ('ATA', 'm', '1990-01-01');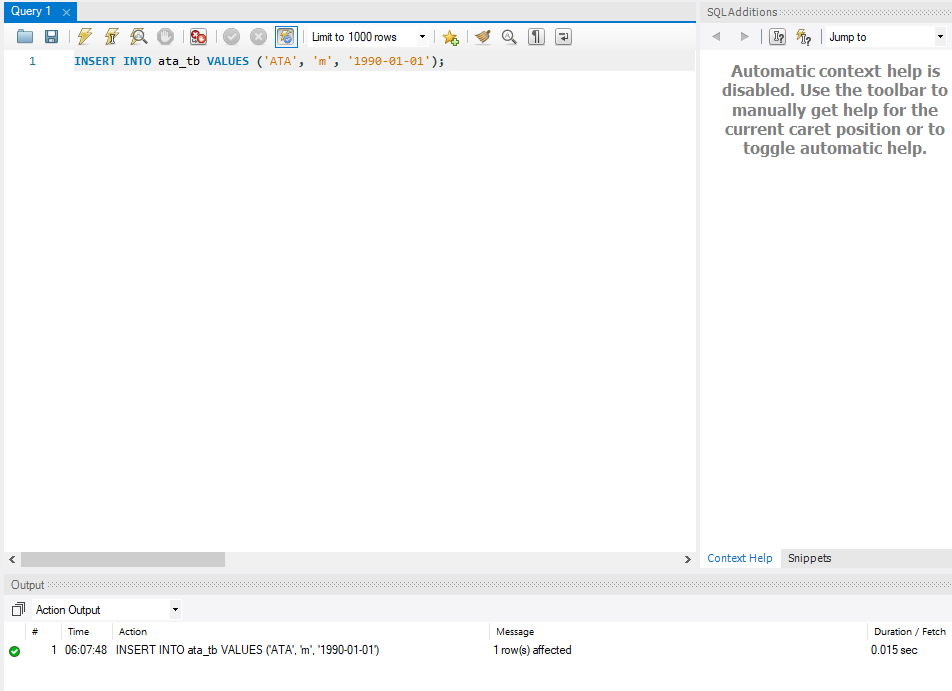
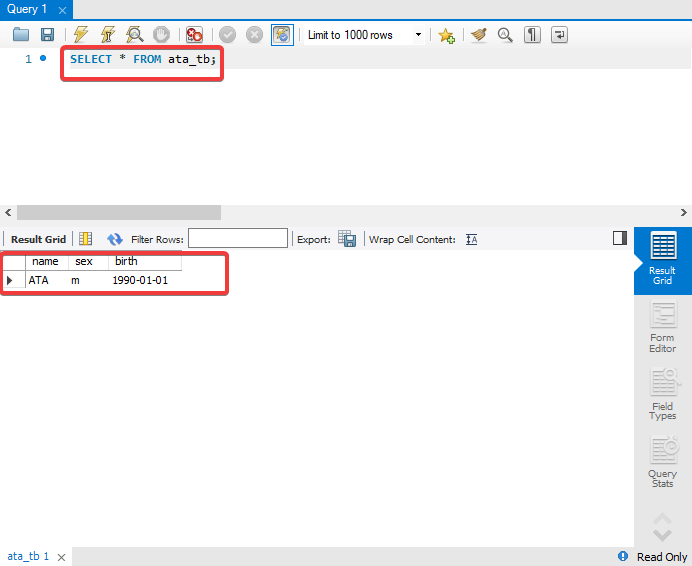
5. After inserting data, execute the statement below to SELECT all (*) rows FROM the ata_tb table and display the data in the output pane.
SELECT * FROM ata_tb;A table pops up showing the data you inserted, as shown below.
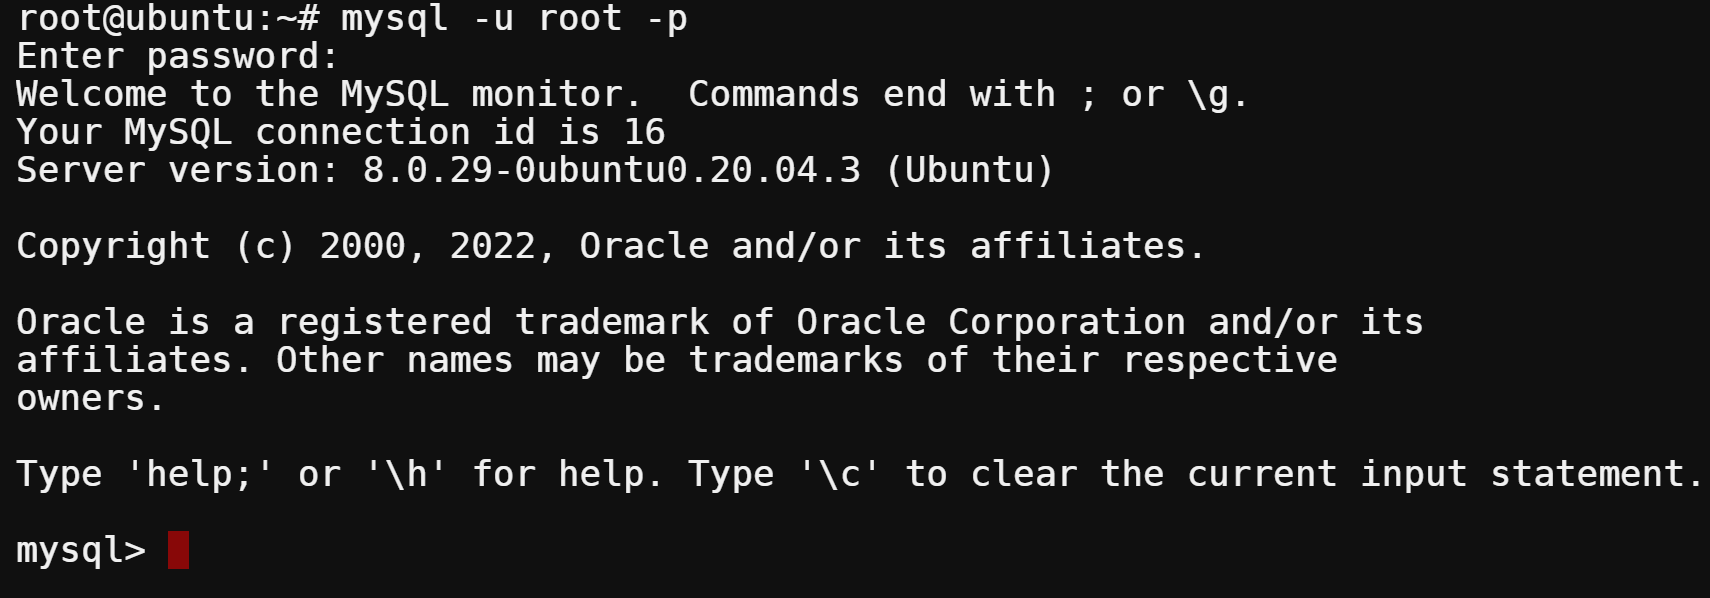
6. Run the following mysql command to log into the MySQL shell with the specified user (-u) as root. Enter the root password (-p) when prompted, and press Enter.
mysql -h localhost -u user -pYou can tell you’re now logged in to MySQL shell as the prompt changes to mysql> like the one below.
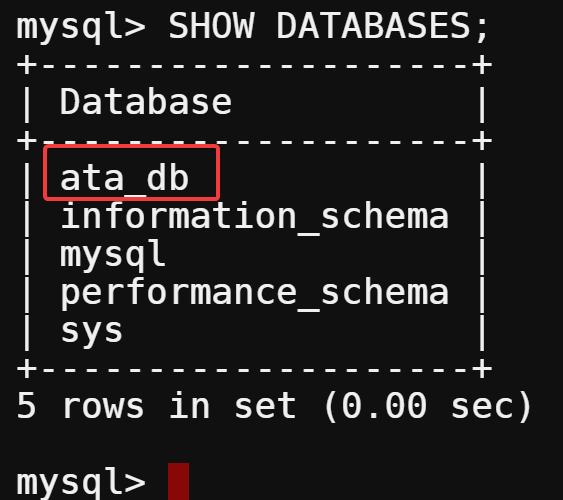
7. Next, run the following query to show all available databases on your server.
SHOW DATABASES;Below, you can see the new database (ata_db) listed in the output.
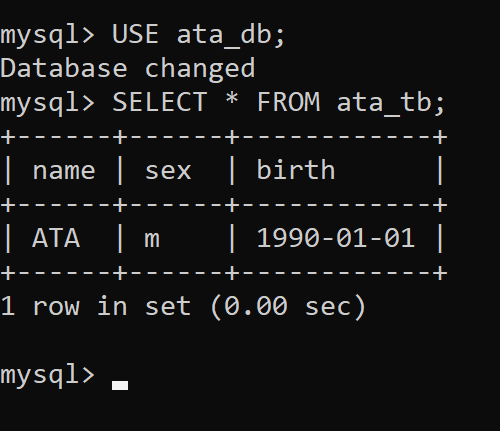
8. Finally, run the following queries to SELECT all data (*) FROM the ata_tb table.
-- Specify the database to use
USE ata_db;
-- Select and show all data from the ata_tb table
SELECT * FROM ata_tb;
You’ll see the data you inserted into the table appears in the output below. This output confirms that you’ve successfully inserted data into the table using MySQL Workbench.
Conclusion
MySQL is a powerful database management system for organizing and storing data, which works hand in hand with MySQL Workbench. And in this tutorial, you’ve learned how MySQL Workbench makes your life easy when performing common database operations. Such as creating new databases and tables, inserting and updating data, and running SQL queries.
What you’ve seen in this tutorial is just a glimpse of what MySQL Workbench offers. So why not build on this newfound knowledge? Perhaps reverse engineer your databases to create ER diagrams from an existing database schema? Or design ER diagrams to visualize your database structure?


