


Having a redundant and replicated database is crucial for applications nowadays. But how exactly? With a MongoDB Replica Set, data replication in your database works like a charm.
A MongoDB Replica Set ensures you always have backup data for your application, or you can use your backup data to recover when a problem arises. And this tutorial will walk you through deploying a MongoDB Replica Set with multiple MongoDB servers.
Get ready and start carrying out a high-availability setup for your data!
Prerequisites
This tutorial comprises hands-on demonstrations. To follow along, ensure you have the following:
- Three Ubuntu Servers (each with MongoDB installed)- This tutorial uses Ubuntu 22.04 servers with the following details:
| Hostname | IP Address | FQDN |
|---|---|---|
| srv1 | 192.168.5.35 | srv1.dblocal.lan |
| srv2 | 192.168.5.36 | srv2.dblocal.lan |
| srv3 | 192.168.5.37 | srv3.dblocal.lan |
- A non-root user with sudo/administrator privileges.
Configuring the /etc/hosts File for Servers to Communicate
Before diving into MongoDB, you must ensure your servers can connect and communicate with each other via fully qualified domain names (FQDNs). How?
You must configure the /etc/hosts file and set up FQDNs for each server.
To prepare your servers, configure the /etc/hosts file as follows:
1. Open a terminal on each server, and run the following hostnamectl commands on their corresponding servers.
These commands do not provide output but set up FQDN for each server.
# Run on srv1 - Setup fqdn to srv1.dblocal.lan
sudo hostnamectl set-hostname srv1.dblocal.lan

# Run on srv2 - Setup fqdn to srv2.dblocal.lan
sudo hostnamectl set-hostname srv2.dblocal.lan

# Run on srv3 - Setup fqdn to srv3.dblocal.lan
sudo hostnamectl set-hostname srv3.dblocal.lan
2. Next, open the /etc/hosts file on each server using your preferred text editor and populate the following configuration. This configuration ensures that each FQDN or hostname is pointed to the correct server IP address.
Replace the values in the configuration with your own accordingly, save the changes, and close the file.
192.168.5.35   srv1.dblocal.lan   srv1
192.168.5.36   srv2.dblocal.lan   srv2
192.168.5.37   srv3.dblocal.lan   srv3
3. Now, run the hostname command below on each server to verify the FQDNs
sudo hostname -fIf successful, you will see the following output for srv1. Similarly, the same output shows for srv2 (srv2.dblocal.lan) and srv3 (srv3.dblocal.lan).

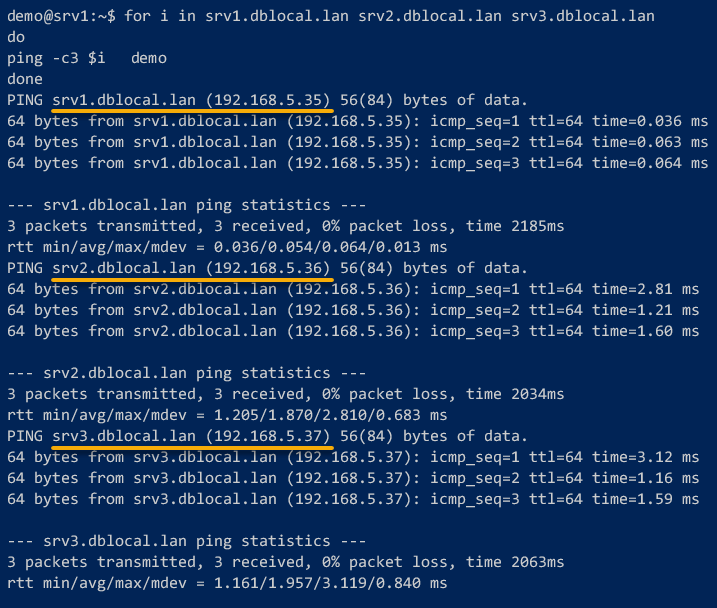
4. Lastly, run the following statement in the srv1 server to verify that each FQDN points to the correct server IP address.
for i in srv1.dblocal.lan srv2.dblocal.lan srv3.dblocal.lan
do
  ping -c3 $i
done
If correctly configured, each server’s FQDN should point to the corresponding server IP address, as shown below:
Generating a Keyfile for MongoDB Authentication
With your servers able to communicate with each other, you are almost ready to deploy MongoDB Replica Sets. A MongoDB Replica Set can be deployed either without authentication or with authentication via keyfile or x.509 certificates.
💡 Note that keyfiles are best suited for testing or development environments. If you are working on environments, use x.509 certificates instead.
But for this tutorial, you must ensure authentication is enabled on your MongoDB Replica Set via keyfile for security reasons.
To generate a keyfile for MongoDB authentication:
1. On each server, execute the following command, which does not provide output but creates a new directory called /opt/.mongodb-keyfile/. This directory is where you will store your MongoDB Keyfile.
💡 Switching to the root user prevents permission-related errors, but it is optional. If you are uncomfortable using root, you can stick to your non-root user account. But remember, always append
sudoon your commands.
# Switch to the root user
sudo su - root
# Create a directory for the keyfile
mkdir -p /opt/.mongodb-keyfile/
2. Next, switch to srv1, and run the openssl command below, which does not produce output to the terminal, to generate a new keyfile (/opt/.mongodb-keyfile/mongodb.key).
openssl rand -base64 756 > /opt/.mongodb-keyfile/mongodb.key3. Now, run the following commands to set up the proper permission (chmod) and ownership (chown) of the keyfile (/opt/.mongodb-keyfile/mongodb.key).
These commands do not provide output, but you will later distribute the keyfile to your other servers (srv2 and srv3) for authentication between MongoDB servers.
chmod 400 /opt/.mongodb-keyfile/mongodb.key
chown mongodb:mongodb /opt/.mongodb-keyfile/mongodb.key4. Now, execute each scp command below to copy the keyfile (/opt/.mongodb-keyfile/mongodb.key) from the srv1 server to the srv2 and srv3 servers.
# Copy keyfile to srv2 target directory /opt/.mongodb-keyfile/
scp /opt/.mongodb-keyfile/mongodb.key [email protected]:/opt/.mongodb-keyfile/

# Copy keyfile to srv3 target directory /opt/.mongodb-keyfile/
scp /opt/.mongodb-keyfile/mongodb.key [email protected]:/opt/.mongodb-keyfile/When prompted for the password, input the root password of the srv2 and srv3 servers.

5. Lastly, run the below commands on the srv2 and srv3 to ensure the keyfile (mongodb.key) is available on both servers.
# Change ownership of the keyfile
chown mongodb:mongodb /opt/.mongodb-keyfile/mongodb.key
# Verify the keyfile exists
ls -lah /opt/.mongodb-keyfile/mongodb.key
# Log out from the root user
exit
If all goes well, you will see the keyfile (/opt/.mongodb-keyfile/mongodb.key) on both servers, as shown below.


Deploying a MongoDB Replica Set via Keyfile Authentication
After successfully generating and distributing the keyfile to all available servers, it is finally time to deploy a MongoDB Replica Set via keyfile authentication. But first, you must stop the MongoDB service and configure MongoDB.
To deploy a MongoDB Replica Set:
1. Execute the systemctl command below on all servers to stop the MongoDB service (mongod).
sudo systemctl stop mongod2. Next, open the default MongoDB configuration (/etc/mongod.conf) on each server, and add new configurations below, as follows:
- Add the FQDN of the server to the
bindIpoption. This option makes MongoDB run on the system FQDN, pointing to the server’s local IP address (localhost). - Uncomment the
securityparameter and add thekeyFileoption to enable authentication via the keyfile/opt/.mongodb-keyfile/mongodb.key. - Uncomment the
replicationparameter and add the default replication name (replicaTestProd) via thereplSetNameoption.
net:
  bindIp: localhost,FQDN
security:
  keyFile: /opt/.mongodb-keyfile/mongodb.key
replication:
  replSetName: replicaTestProd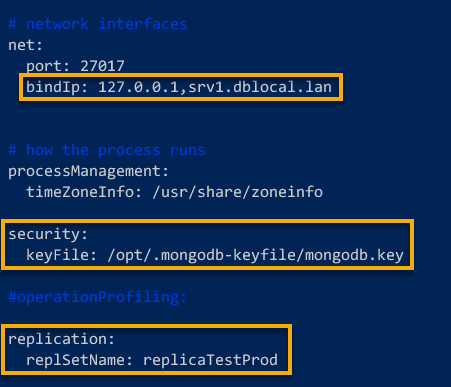
3. With the MongoDB configured, run the systemctl command below on each server to start the MongoDB service.
This command does not provide output, but once the MongoDB service starts, you are ready to deploy a MongoDB Replica Set.
sudo systemctl start mongod4. Now, run the below mongosh command on srv1 to connect to the MongoDB server. You will be deploying MongoDB Replica Set via the srv1 server.
mongosh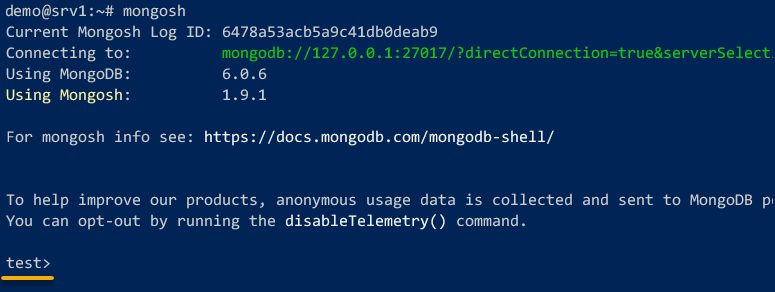
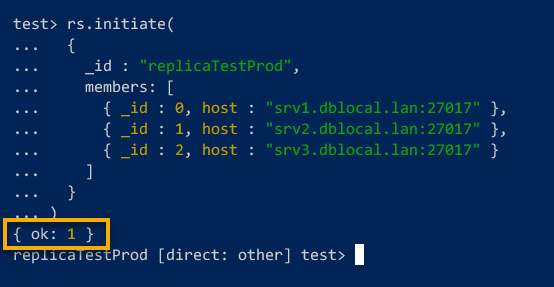
5. Once connected, execute the rs.initiate() query below to initiate MongoDB Replica Set.
This query deploys MongoDB Replica Set with three MongoDB servers: srv1.dblocal.lan:27017, srv2.dblocal.lan:27017, and srv3.dblocal.lan:27017.
rs.initiate(
  {
    _id : "replicaTestProd",
    members: [
      { _id : 0, host : "srv1.dblocal.lan:27017" },
      { _id : 1, host : "srv2.dblocal.lan:27017" },
      { _id : 2, host : "srv3.dblocal.lan:27017" }
    ]
  }
)
If the initialization is successful, you will see the { ok: 1 } message, as shown below.
6. Lastly, run the following query to verify MongoDB Replica Set status.
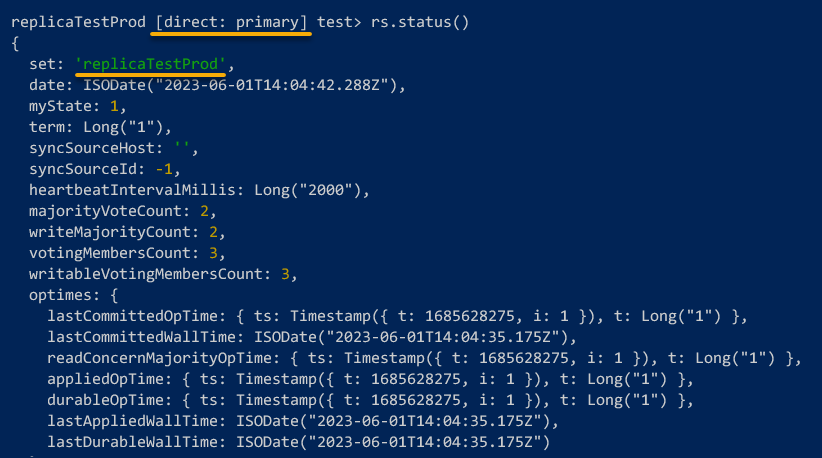
rs.status()Notice that the prompt changed to replicaTestProd [direct: primary]. This prompt indicates the current server is the primary member of the MongoDB Replica Set.
At the top, the output displays information about your MongoDB Replica Set with the name replicaTestProd.
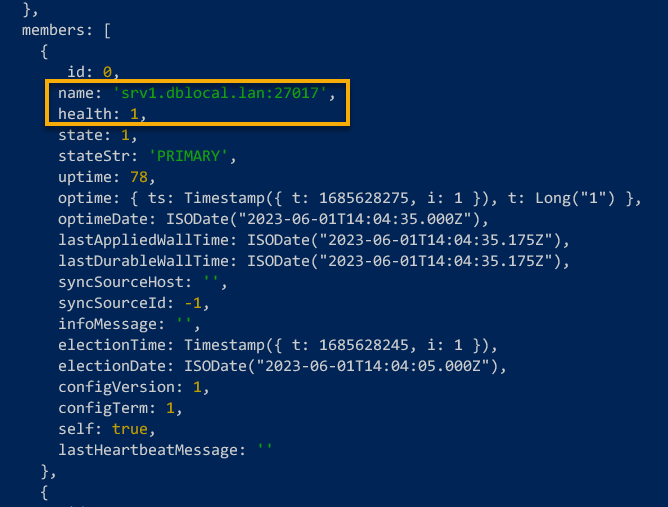
Further, you will see the details of srv1.dblocal.lan as a PRIMARY member on the MongoDB Replica Set with the status of health: 1.
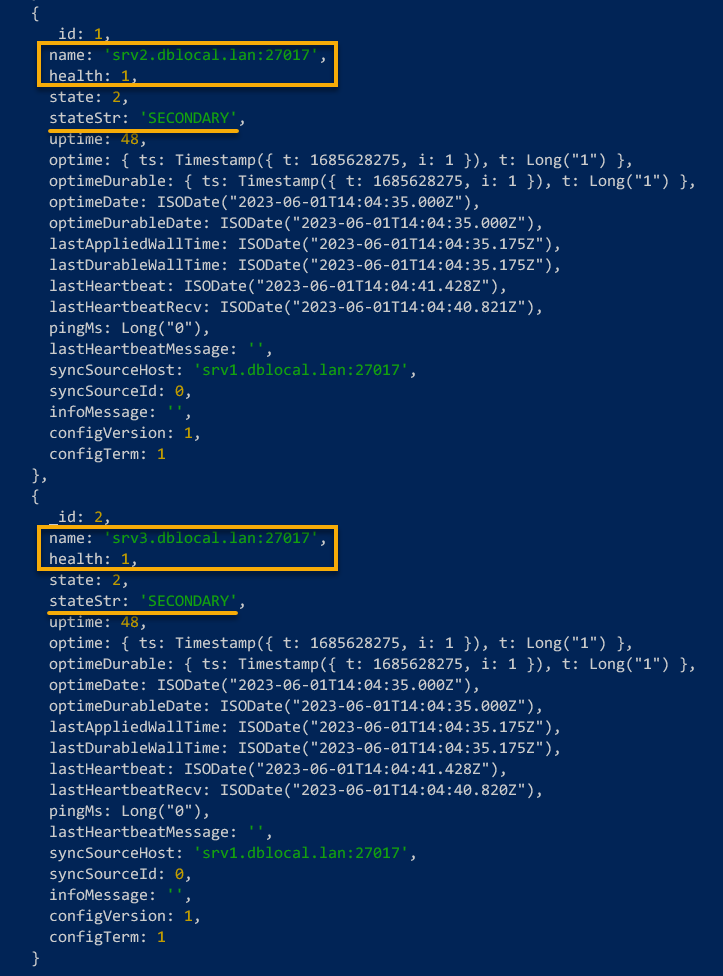
In the latter part, you will see both srv2.dblocal.lan and srv3.dblocal.lan servers are used as SECONDARY members of the MongoDB Replica Set with the status of health: 1.
Creating MongoDB Administrator and ClusterAdmin Users
Great! You have successfully deployed a MongoDB Replica Set. But how will you manage your deployment? In this example, you will create a MongoDB administrator user and MongoDB ClusterAdmin with different roles assigned.
To create MongoDB users, follow the steps below:
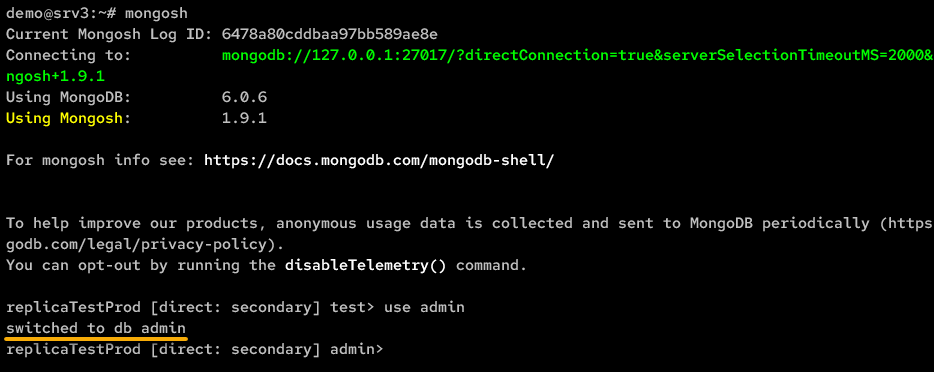
1. Execute the mongosh command below on srv1 to connect to the MongoDB server.
mongosh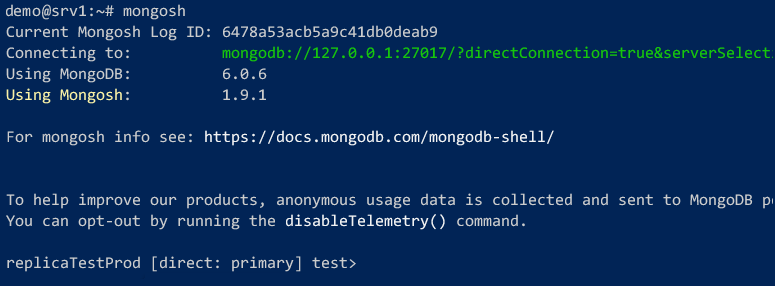
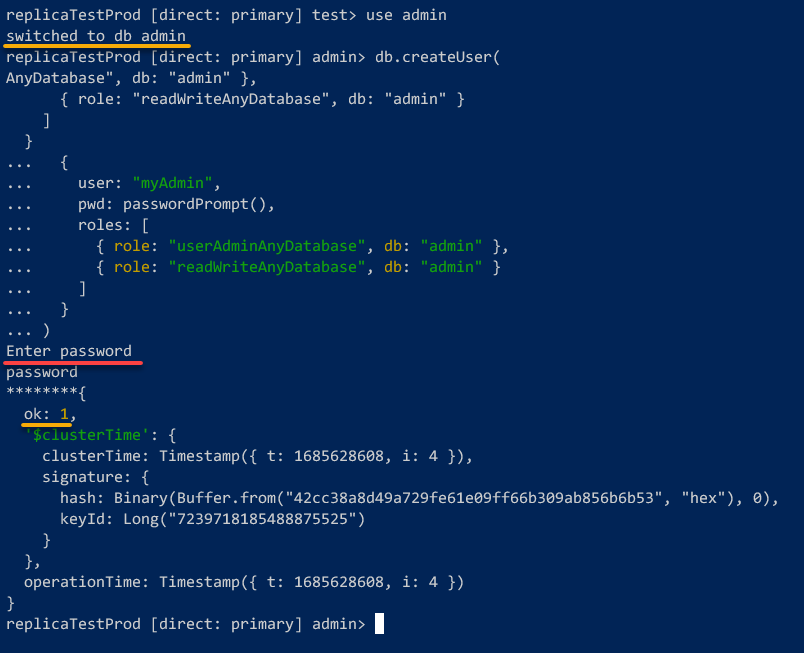
2. Once connected, run the following queries to switch to the admin database and create a new MongoDB administrator user named myAdmin (arbitrary).
The MongoDB administrator user must have at least the userAdminAnyDatabase role within the admin database. This role allows the myAdmin user to have the userAdmin role on any databases on the MongoDB server except the local and config databases.
use admin
db.createUser(
  {
    user: "myAdmin",
    pwd: passwordPrompt(),
    roles: [
      { role: "userAdminAnyDatabase", db: "admin" },
      { role: "readWriteAnyDatabase", db: "admin" }
    ]
  }
)
When prompted, provide a password for the myAdmin user. If successful, the output displays the ok: 1 message.
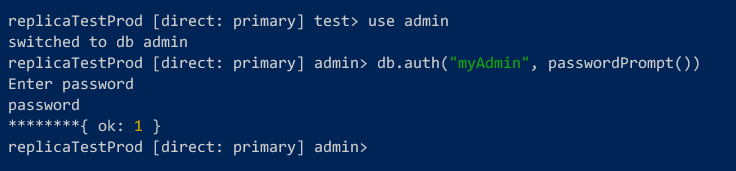
3. With a MongoDB admin user created, run the following query to authenticate to the MongoDB via the newly-created user (myAdmin).
db.auth("myAdmin", passwordPrompt())Input the password when prompted; output { ok: 1 } will be shown if authentication is successful.

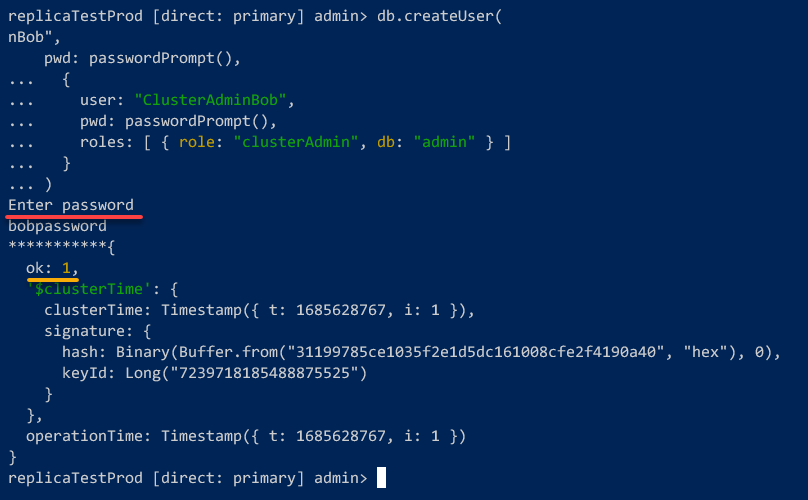
4. Next, run the below query to create a new user called ClusterAdminBob to use as the ClusterAdmin in MongoDB Replica Set.
The clusterAdmin role is the highest privilege in the MongoDB cluster. This role combines multiple roles, such as clusterManager, clusterMonitor, and hostManager.
db.createUser(
  {
    user: "ClusterAdminBob",
    pwd: passwordPrompt(),
    roles: [ { role: "clusterAdmin", db: "admin" } ]
  }
)
Input a new password for the ClusterAdmin when prompted. If successful, you will see the ok: 1 output as below.
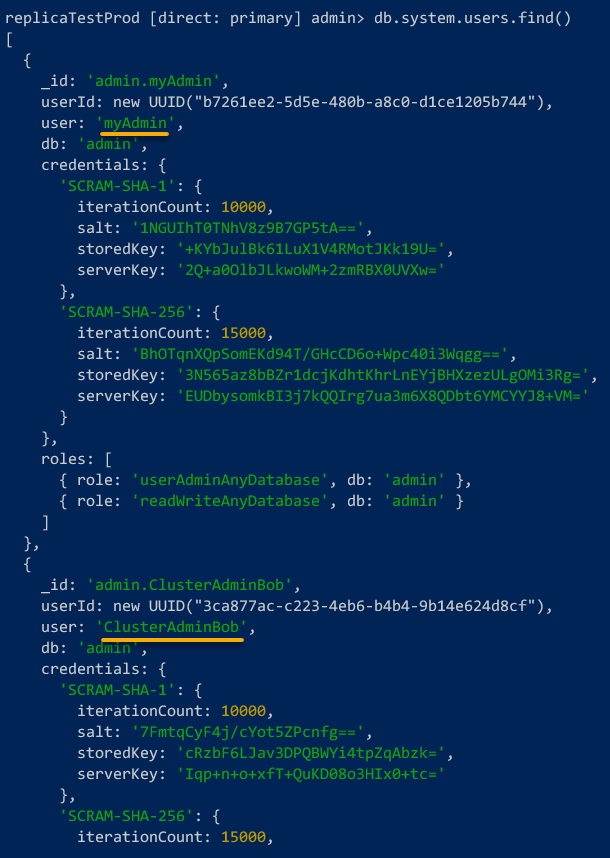
5. Now, run the following query to verify all available users on your MongoDB server.
db.system.users.find()Below, you can see both myAdmin and ClusterAdminBob users available on your MongoDB server.
6. After verifying the users, run the mongosh command below on srv2 and srv3 to connect to the MongoDB server on both servers and switch (use) to the admin database.
mongosh
use admin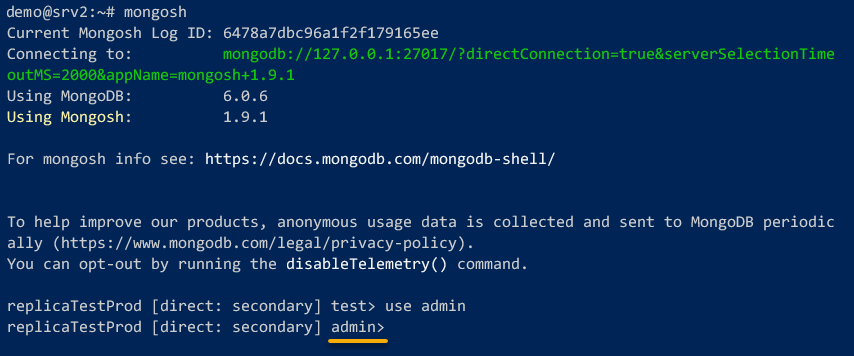
7. Switch to the srv2 server, and run the following query to authenticate as the MongoDB administrator user (myAdmin).
db.auth("myAdmin", passwordPrompt())Provide the password for the MondoDB administrator user when prompted. If the authentication is successful, the output shows the { ok: 1 } message, as shown below.

8. Lastly, switch to the srv3 server, and run the query below to authenticate as the MongoDB ClusterAdmin user (ClusterAdminBob).
db.auth("ClusterAdminBob", passwordPrompt())Similar to srv2, provide the password for the ClusterAdmin user when prompted. and you will see the { ok: 1 } message.

Creating Data Replication in MongoDB Replica Set
Following this tutorial, you have successfully deployed the MongoDB Replica Set and created a MongoDB administrator and ClusterAdmin. With everything in place, you must verify if data replication in MongoDB Replica Set works.
You will create a new database and user, insert data from the srv1 server, and verify the data from the srv2 and srv3 servers.
To create data replication in MongoDB Replica Set:
1. Run the below command to connect to the MongoDB server on srv1.
mongosh
2. Next, run the following queries to switch (use) to the admin database and authenticate as an administrator user (myAdmin).
use admin
db.auth("myAdmin", passwordPrompt())
Input the password for the myAdmin user when prompted.
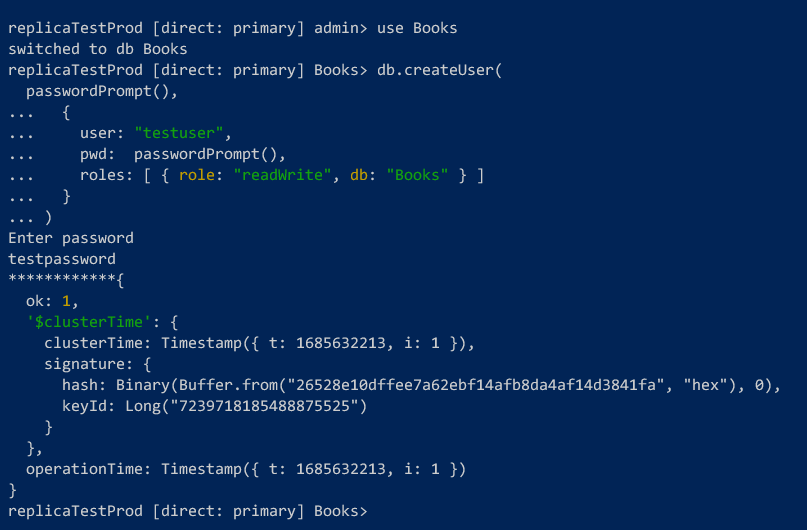
3. Once authenticated, execute the below queries to perform the following:
- Create, and switch to the new database (
use) calledBooks. - Create a user (
db.createUser) namedtestuser. - Set read and write permissions (
readWrite) to theBooksdatabase.
use Books
db.createUser(
  {
    user: "testuser",
    pwd:  passwordPrompt(),
    roles: [ { role: "readWrite", db: "Books" } ]
  }
)
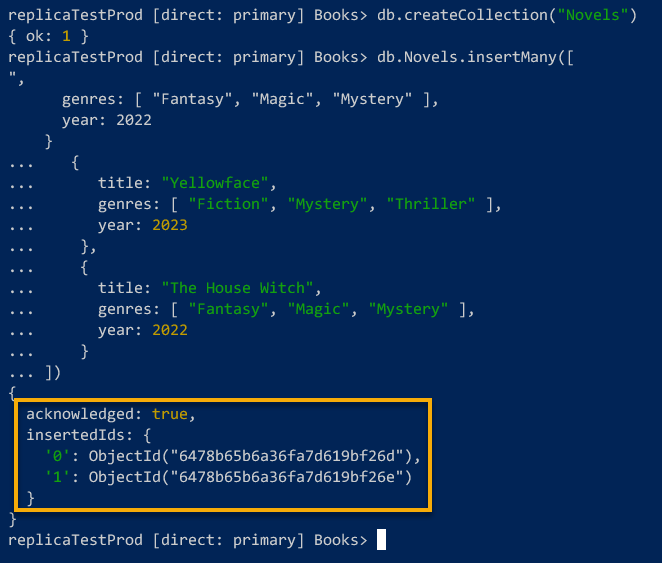
4. Now, run the following queries to create a new collection called Novels and insert new data into the collection (db.collection,insertMany).
db.createCollection("Novels")
db.Novels.insertMany([
   {
      title: "Yellowface",
      genres: [ "Fiction", "Mystery", "Thriller" ],
      year: 2023
    },
    {
      title: "The House Witch",
      genres: [ "Fantasy", "Magic", "Mystery" ],
      year: 2022
    }
])
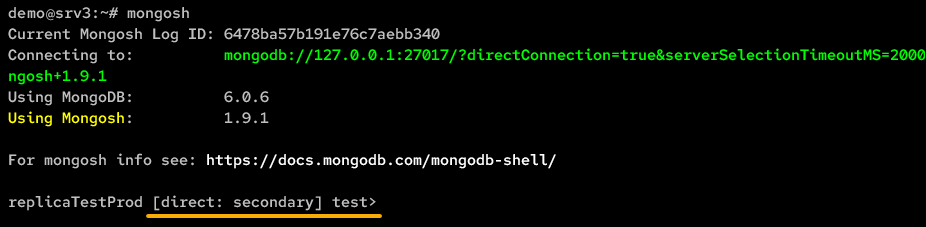
5. After inserting data, run the mongosh command below on both srv2 and srv3 to connect to the MongoDB server.
mongosh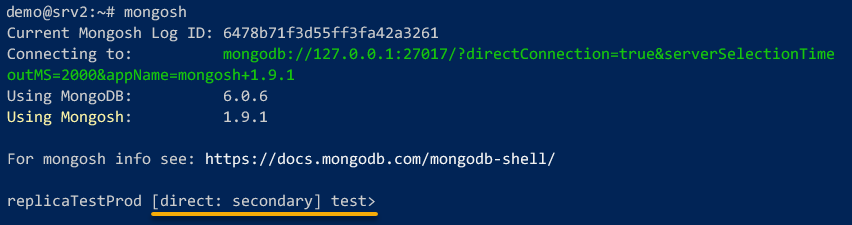
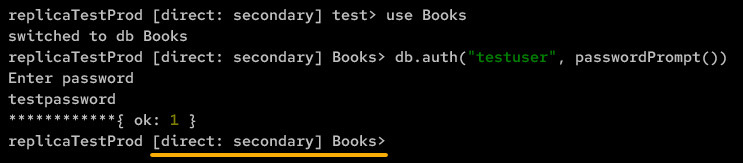
6. Next, run these queries below to switch (use) to the database Books and authenticate (db.auth) as testuser.
💡 Note: You must run all queries from steps six to eight on both the
srv2andsrv3servers to test data replication.
use Books
db.auth("testuser", passwordPrompt())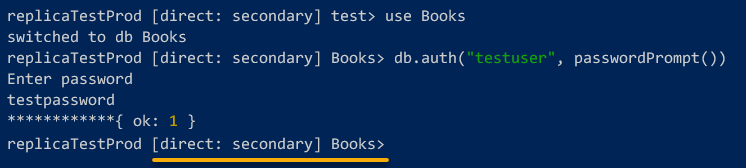
7. Once authenticated, run the following query to enable READ operations on MongoDB SECONDARY members. This query allows both srv2 and srv3 servers to read data on MongoDB.
db.getMongo().setSecondaryOk()

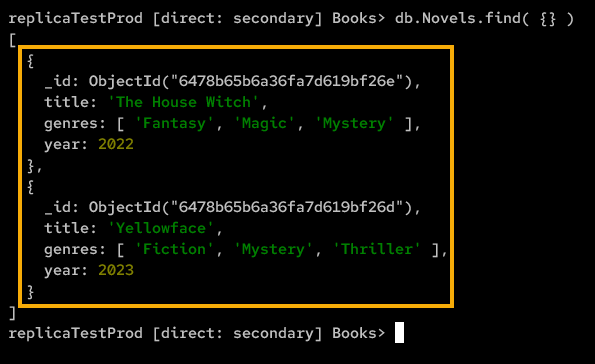
8. Lastly, run the query below to verify (find) available data on the Novels collection.
db.Novels.find( {} )If MongoDB replication is successful, you will see your data from the Novels collection on the srv2 and srv3 servers, as shown below.

Conclusion
Great job! You have successfully deployed a MongoDB Replica Set with keyfile authentication on three Ubuntu servers. Moreover, you learned to create a MongoDB administrator and ClusterAdmin users with different assigned roles.
At this point, data replication is within your reach, and you are more confident now in securing your data as you take advantage of MongoDB Replica Sets.
Now, what’s the next step? Why not discover more about MongoDB Replica Sets, and upgrade your current Keyfile authentication to x.509 Certificate?


