


Are you looking for a way to spice up your network security? Why not learn how to perform a Linux port scan like a pro?
In this tutorial, you’ll learn about some of the most popular tools and techniques and anticipate potential risks and rewards associated with port scanning.
Sounds promising? Start port scanning to secure your network today!
Prerequisites
This tutorial will be a hands-on demonstration. If you’d like to follow along, be sure you have a Linux system – This tutorial uses Ubuntu 20.04, but any modern Linux distribution will work.
Scanning for Opens Ports with Nmap
There are various ways to scan ports, and Nmap is an excellent tool for network discovery and security auditing. Nmap lets you find hosts and services on a computer network by sending packets and analyzing the responses.
Nmap is available for free and is compatible with Windows, Linux, and OS X.
Port scanning lets you probe a server or host for open ports, which comes in handy for various reasons:
- Finding out which services are running on a host.
- Discovering vulnerabilities
- Enumerating a system.
But before taking advantage of Nmap, you’ll first have to install Nmap on your machine:
1. Run the apt update command below to update the system package index.
apt update -y
2. Next, run the following apt install command to install Nmap.
apt install nmap -y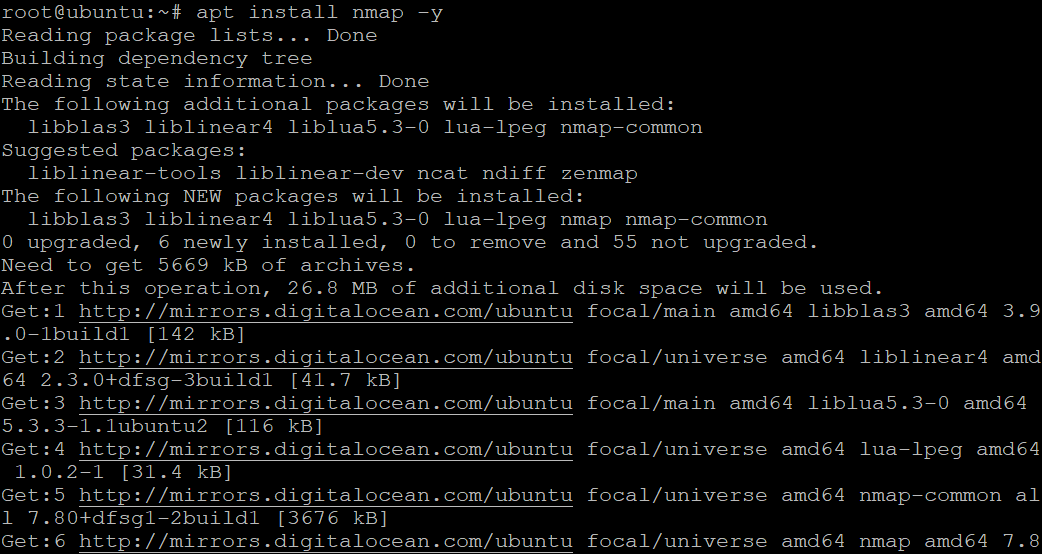
3. Run the below nmap –version command to check Nmap’s version installed on your machine.
nmap --versionBelow, the installed Nmap version is 7.80, the latest release from this writing.

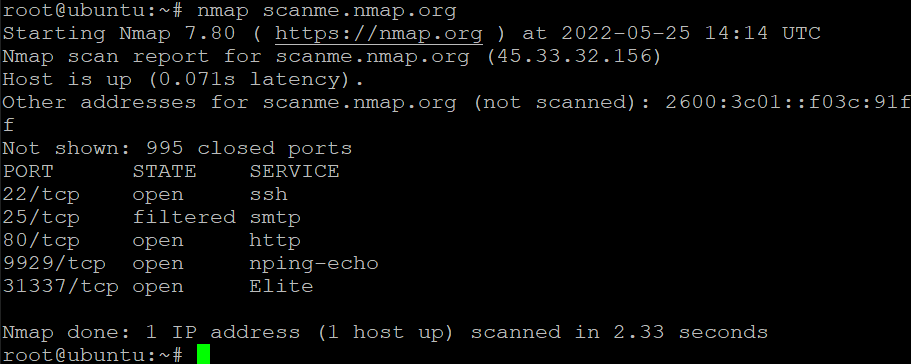
4. Now, run the following nmap command to scan the target hostname or IP address (scanme.nmap.org). You just need a bare minimum of options to get started.
nmap scanme.nmap.orgBelow is the breakdown of the scan’s output.:
- The IPv4 address of the target – 45.33.32.156.
- The IPv6 address of the target (if available) – 2600:3c01::f03c:91ff.
- Reverse DNS name (if available).
You can also see each port and its status in the output:
- open – Indicates the port is open and listens for incoming connections.
- closed – Indicates the port is closed and does not listen for incoming connections.
- filtered – Indicates the port is being filtered, and Nmap cannot determine if the port is open or closed. Nmap sends probes to the port but gets no response.
Scanning Specific Ports
Nmap does many things in the background to try and determine the status of each port. You can further customize your scan by adding CLI options for more control, like the -p option. This option lets you specify which ports to scan.
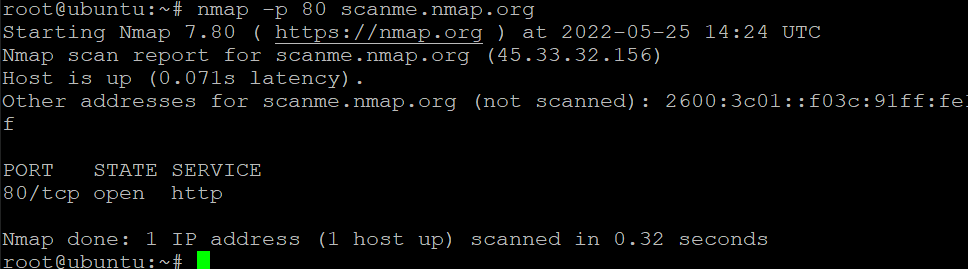
1. Run the following command to scan port 80 in your target hostname (scanme.nmap.org). This command lets you know if port 80 of the target host is open or closed.
nmap -p 80 scanme.nmap.orgBelow, you can see that port 80 is open. This state tells you that the webserver is running on port 80.
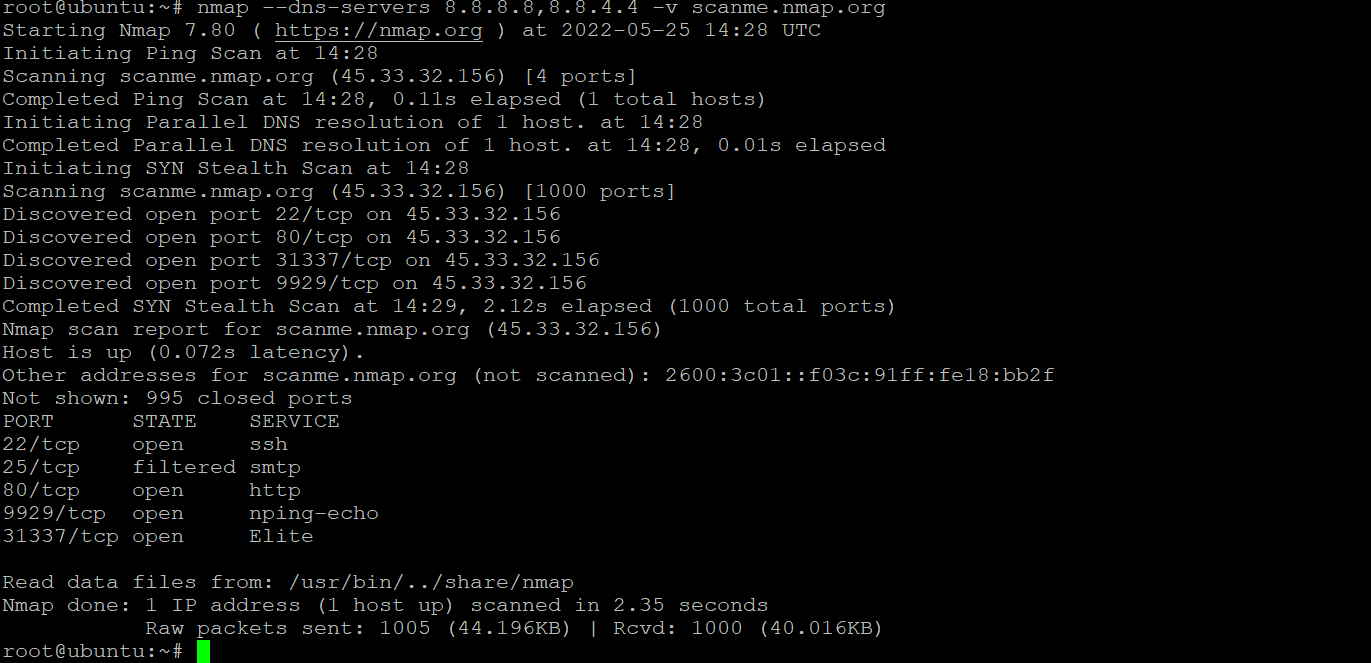
2. Next, run the following command to use Google’s Public DNS servers (8.8.8.8 and 8.8.4.4) to scan port 80 of the hostname (scanme.nmap.org).
The –dns-servers option lets you specify which DNS servers to use for scanning. This option is useful when you want to scan a host on a different network. While the -v flag gives you more information about the scan.
nmap --dns-servers -p 80 8.8.8.8,8.8.4.4 -v scanme.nmap.orgYou can see below that Nmap uses the Google Public DNS servers to resolve the hostname, and the scan is successful.
3. Lastly, run the below command to scan port 80 of the hostname (scanme.nmap.org) as you did in step one. But this time, append the -d option to increase the debugging level to 3. This option is useful for troubleshooting problems with Nmap.
The -d option takes an integer (between 0 and 9) as an argument. The higher the number, the more debug output you will see.
Level 9 is for highly verbose output., which is helpful for developers who are working on Nmap.
nmap -d 3 -p 80 scanme.nmap.org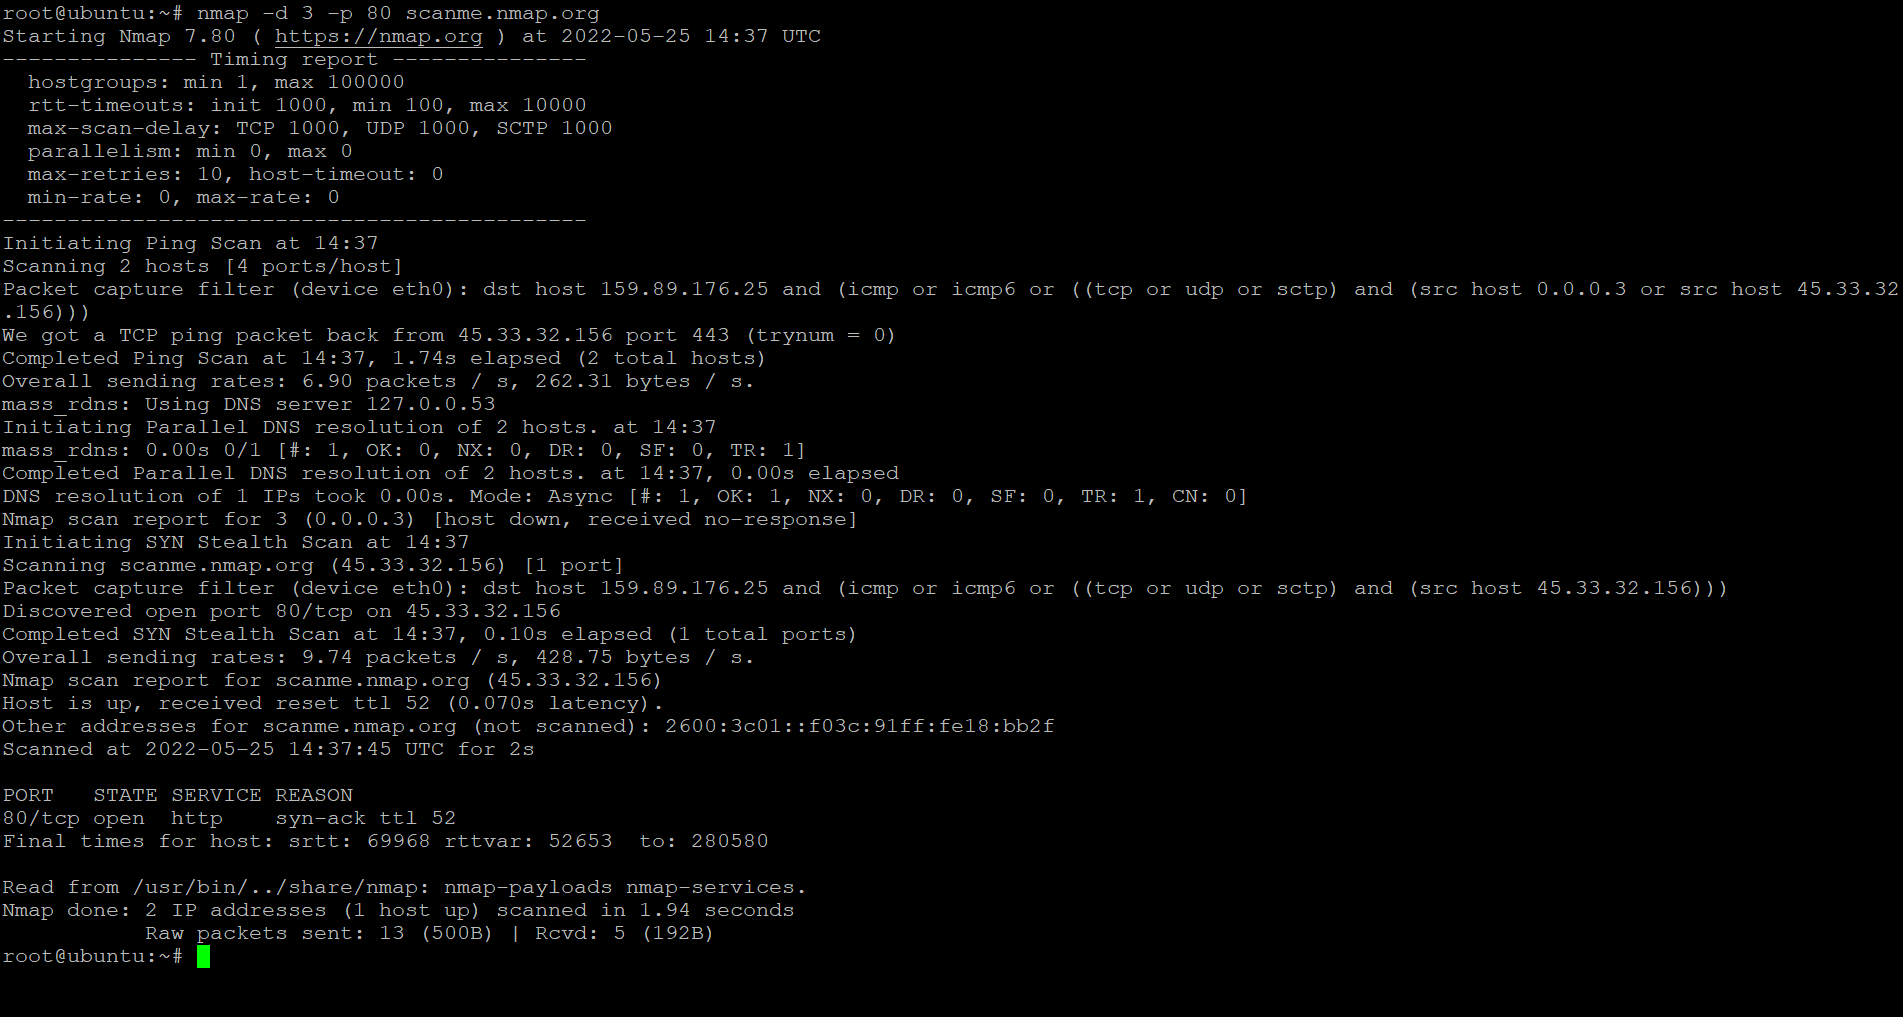
Scanning Ports Using Netcat (Ncat)
Netcat (nc) is a command-line tool for network exploration, security auditing, and penetration testing. You can use Netcat to create simple TCP and UDP connections and more complex SOCKS and HTTP proxies. But in this tutorial, you’ll use Netcat to scan open ports on remote systems.
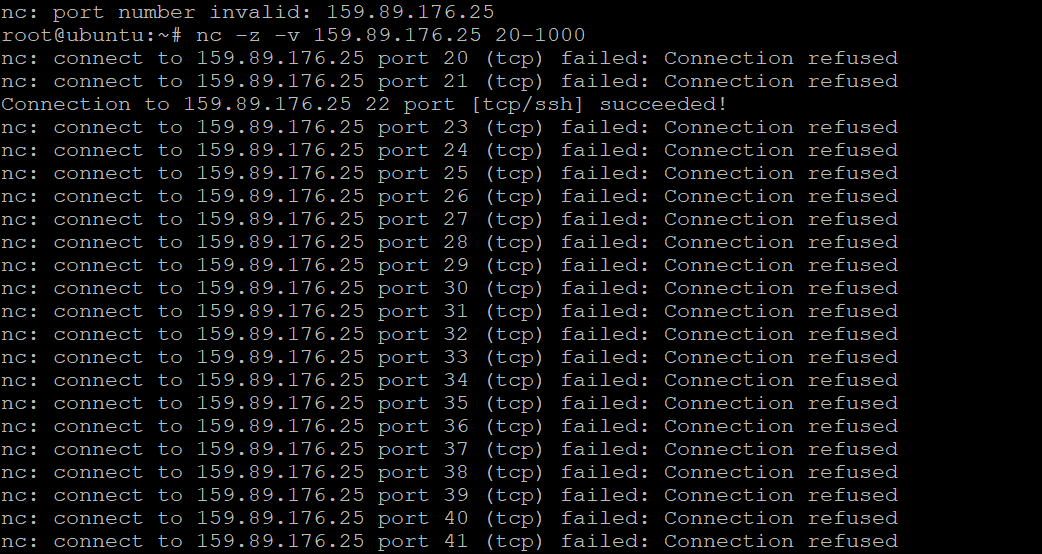
1. Run the below nc command to scan for open ports without sending any data (-z) from ports 20 through 1000 on 159.89.176.25. The -v option tells Netcat to be verbose so you can see what is going on during the scan.
nc -z -v 159.89.176.25 20-1000The range of ports can be increased or decreased as needed. But ports 20-1000 cover a wide range of commonly used ports.
The output below shows you which ports are open, and their connection status are as follows:
- Connection refused – Indicates the connection has been refused by the corresponding port, which is probably due to the lack of a service running on that port — the port is closed.
- Succeeded! – Indicates the connection is successful — the port is open.
Apart from port 22 (SSH), which is open on the remote system, you’ll also see many other messages, which can be annoying. So, jump to the following step to filter the output.
2. Run the grep command below to scan ports 20 to 100 on 159.89.176.25, and only display the open ports from each scan result that has the word succeeded in them.
The 2>&1 portion tells the shell to redirect stderr (file descriptor 2) to stdout (file descriptor 1)., so you’ll see the error message in the output if there’s one.
nc -z -v 159.89.176.25 20-100 2>&1 | grep succeededAs you can see below, only port 22 is open, which also has the succeeded message.

3. Lastly, run the same command as step two. But this time, append the -u option to scan for UDP ports, as shown below.
nc -z -v -u 159.89.176.25 20-100 2>&1 | grep succeededNote that the scan takes much longer when scanning for UDP than TCP ports:
- A TCP scan tries establishing a connection with the target host, scanning all 65,535 ports to see which ones are open.
- A UDP scan doesn’t try to establish a connection but sends a UDP packet to each of the target host’s ports to see which ones are open. A UDP scan is lower than a TCP scan because you send a packet and completes the error handling and 3-way handshake.
You can see below that the output is blank since no UDP services are running on the remote system.

Testing If a Port Is Open Using a Bash Script
So far, you’ve seen how to use the Netcat and Nmap to scan for open ports on a system. While these tools are useful, they are not reliable when automating the task of port scanning.
For example, you plan to scan for open ports on 1000 hosts. In that case, port scanning manually becomes tedious and takes a long time to finish. But how do you automate port scanning tasks on Linux? Writing a Bash script will do the trick.
To create a Bash script to automate port scanning:
1. Open a new file in your favorite text editor. Name the file as you like, but the file is called ports.sh for this tutorial.
nano ports.sh2. Add the code below to the ports.sh file, but be sure to replace the SERVER and PORT values with your own IP address or hostname and port to scan.
After changing the values, save the changes, and close the editor.
# Defines the server you want to scan.
SERVER=adamtheautomator.com
# Defines the port to scan.
PORT=443
# Runs the nmap command and assigns the output to the state variable.
# The grep command filters and displays the output of the nmap command
# with the lines containing the "open" keyword.
state=`nmap -p $PORT $SERVER | grep "$PORT" | grep open`
# Checks if the state variable is blank (port is closed).
if [ -z "$state" ]; then
	# Displays a message if the connection fails.
  echo "Connection to $SERVER on port $PORT has failed"
else
	# Displays a message if the connection succeeded.
  echo "Connection to $SERVER on port $PORT was successful"
	# Exits the script with an exit code of 1
	# to determine if the script was successful or not.
  exit 1
fi # Ends the if statement
3. Finally, run the bash command below to run your ports.sh script.
bash ports.shIf all goes well, you’ll see the following output saying 443 port is open on adamtheautomator.com.

Conclusion
In this tutorial, you’ve learned to scan for open ports on a system with Netcat and Nmap. Apart from these tools, you’ve written a Bash script to automate port scanning so you can do other tasks on your plate.
At this point, you already have a good understanding of how to use these tools to scan for open ports on a system so you can keep your network secure. But to further automate port scanning tasks, why not create cron jobs to schedule the execution of your Bash scripts?


