


As a Linux network administrator, you are likely to come across various problems that can be solved with the Linux dig (Domain Information Groper) command. Not sure how the dig command works? No worries! You’re in for a treat!
In this tutorial, you’ll learn a few useful examples of how to use dig to solve real-world problems.
Dig in, and befriend this powerful tool!
Prerequisites
This tutorial will be a hands-on demonstration. If you’d like to follow along, be sure you have a Linux system. This tutorial uses Ubuntu 20.04, but any modern Linux distribution will work.
Installing the Linux dig Command
The Linux dig command lets you gather DNS information that can be helpful with troubleshooting DNS problems. But before digging name servers, you first have to install dig on your machine.
1. Run the apt update command below to update your system’s package index.
apt update -y
2. Next, run the following apt install command to install dnsutils on your machine. DiG is part of a DNS utility package (dnsutils) installed with BIND name servers.
dnsutils is a set of tools the Ubuntu team provides that contains various client-side DNS utilities, like dig.
apt install dnsutils -y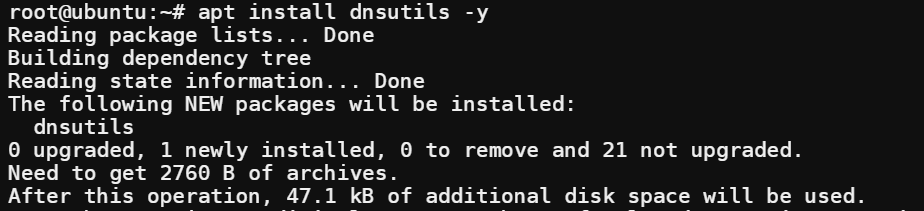
3. Lastly, run the dig command below to verify your DiG installation.
dig -vBelow, DiG’s version shows 9.16.1, but yours may be different.

Trying Linux Dig for a Basic DNS Query
Now that you have dig installed, you can try out the dig command for a basic DNS query. The dig command lets you query DNS servers to gather a handful of information you can use to troubleshoot and fix DNS problems.
The syntax for a basic DNS query is as follows where:
server– The DNS server to query an IP address or a domain name. DiG will use your computer’s pre-configured DNS if you don’t specify a server.name– The domain name or IP address to look up.type– The type of DNS record you are looking for.
dig [server] [name] [type]
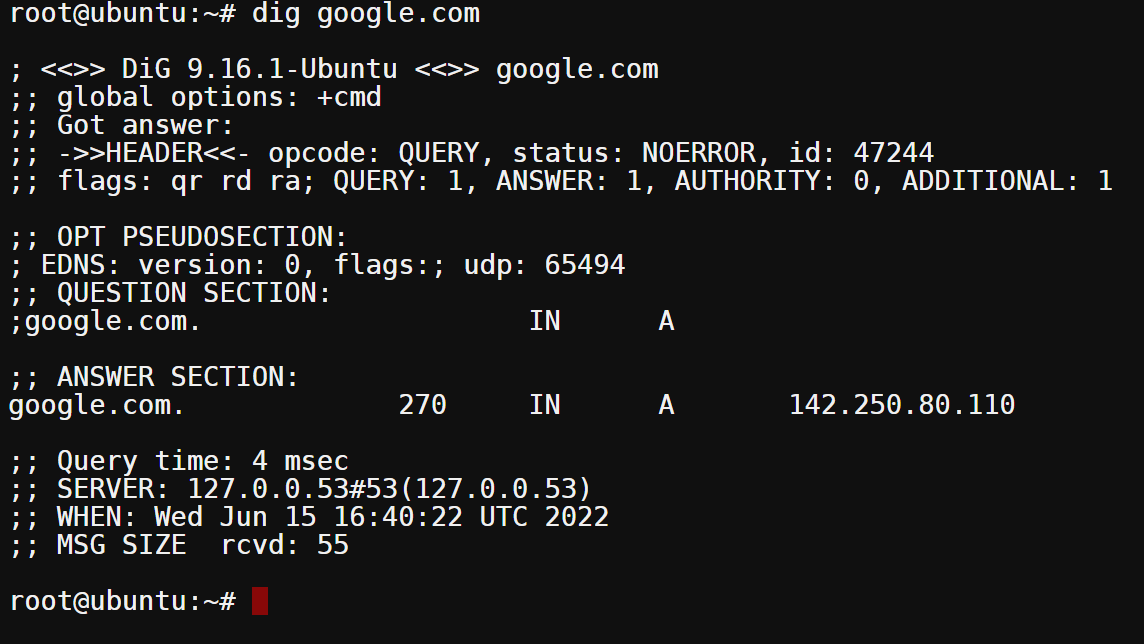
Now, run the following command to query the DNS records for google.com.
When you run the dig command without any flags or arguments, dig performs a DNS query as an argument and returns the A record for the specified hostname.
dig [google.com](<http://google.com/>)
A basic DNS query using dig is useful for a few different tasks, such as:
- Checking the DNS records for a domain.
- Finding out which DNS server is used for a domain.
- Check if your computer is using the correct DNS server.
Querying google.com
Understanding the Output of a Basic DNS Query
Considering DiG returned lots of information about the domain name you queried, you can already see what’s happening with that domain. Or no? Probably not. But don’t worry. You’ll walk through a breakdown of each section you’ll see on a basic DNS query output.
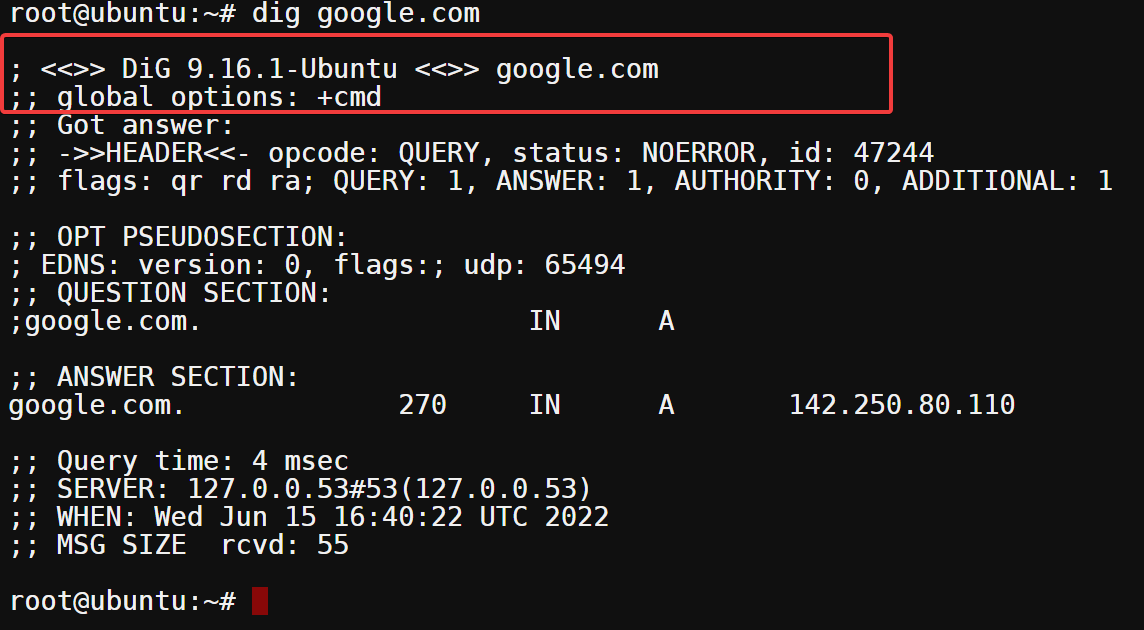
Below, the first line shows the version of DiG and the queried domain name (google.com). At the same time, the second line shows the global options used to run the query.
In this case, the only option used was +cmd, which tells DiG to print the commands that were run as DiG executes them.
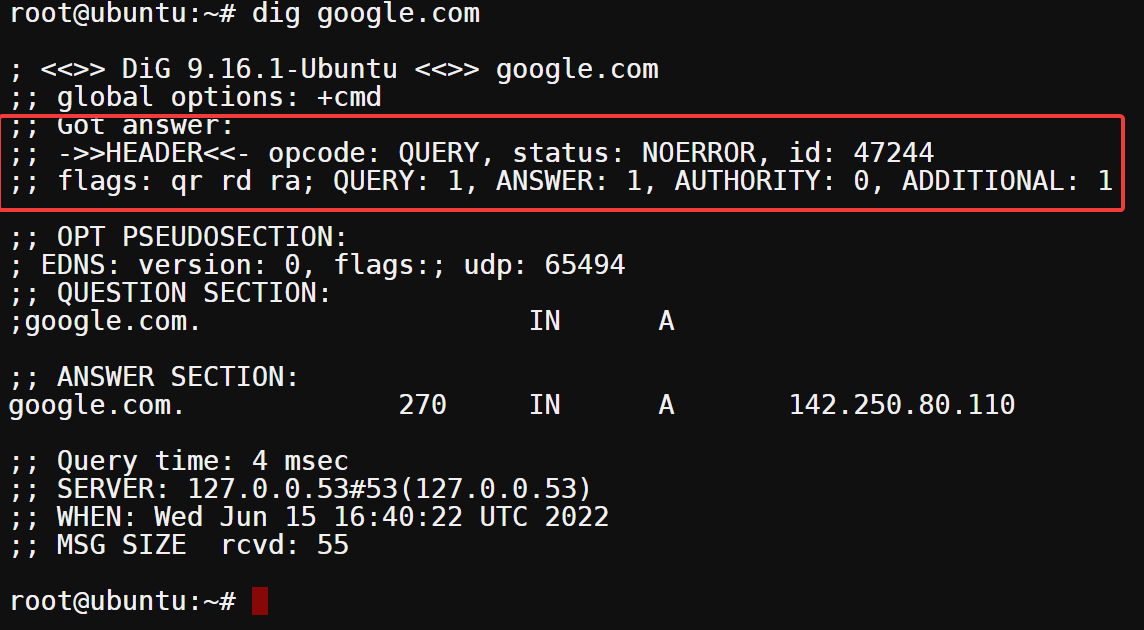
The following section (HEADER) shows you the technical details of the query:
- The first line specifies the opcode used for the query (in this case, QUERY), followed by the status: NOERROR of the query and the id number(47244). The NOERROR status indicates that the DNS server processed the query and successfully returned an answer. If you get a SERVFAIL status, there was some DNS server error, resulting in a failed query.
- The flags section shows you which flags were set for the query. In this case, qr (query response), rd (recursion was not desired), and ra (recursion is available).
- The last line tells you how many queries (QUERY) were made (1). You’ll also see how many ANSWERs (1), AUTHORITY records (0), and ADDITIONAL records(1) DiG returned.
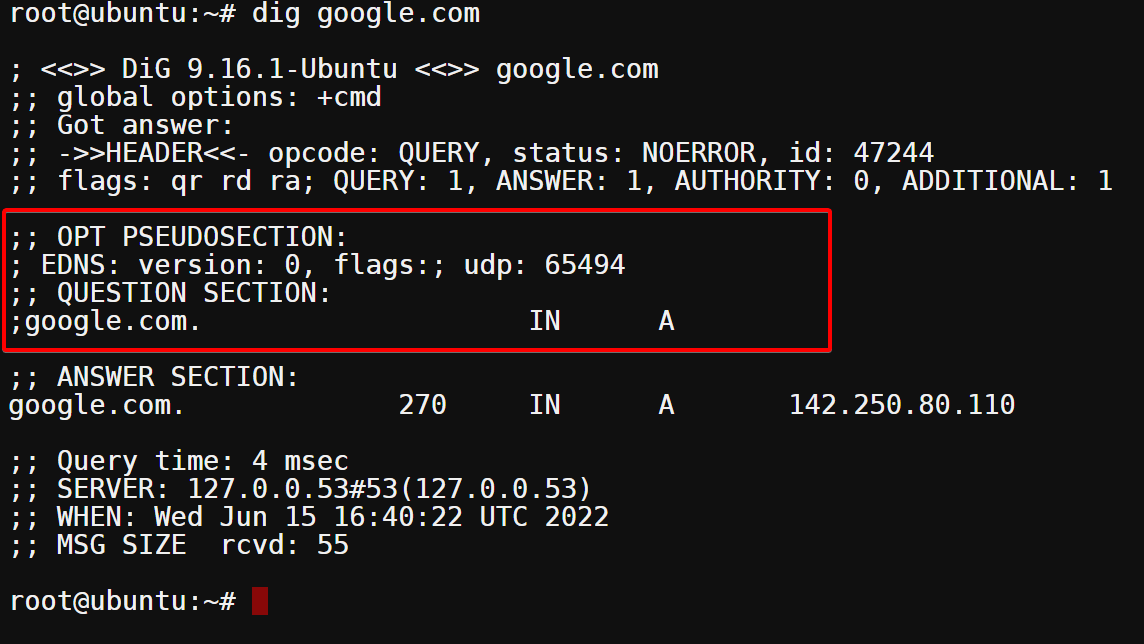
The OPT PSEUDOSECTION below indicates that the DNS message has been extended using the EDNS0 protocol. The flags field is empty because no options have been set, while the udp field specifies the maximum size of the DNS message, which is 65,494 bytes.
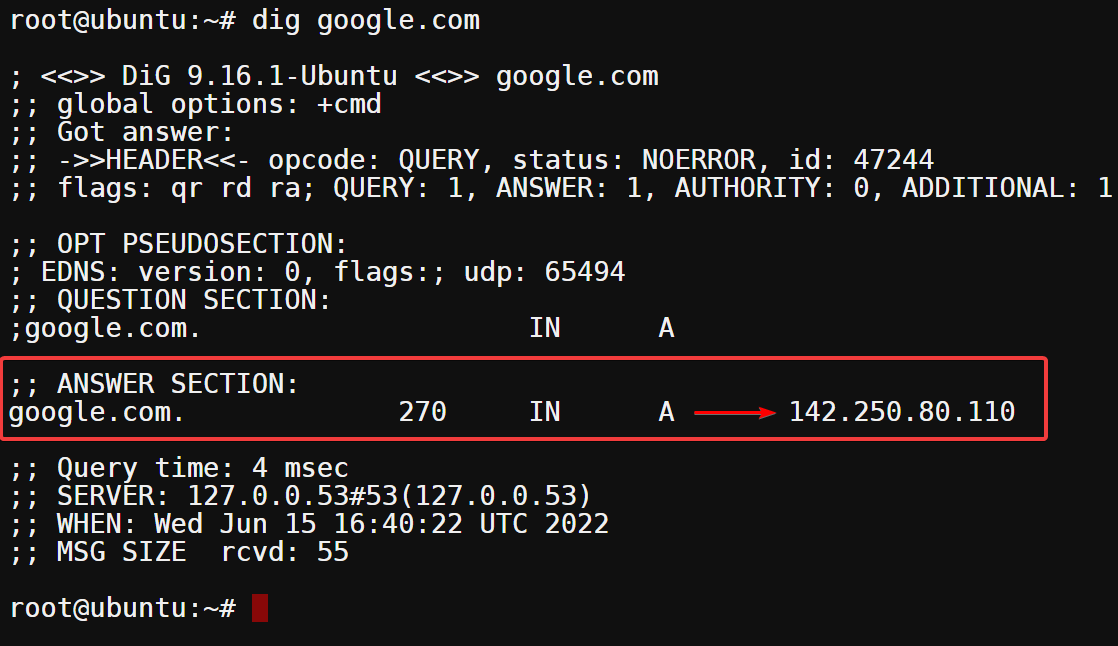
Now, the ANSWER section below shows you the answer returned for the query. In this case, you queried for the A record of google.com, and the DNS server returned an IP address of 142.250.80.110. You can see google.com’s A record points to that IP address.
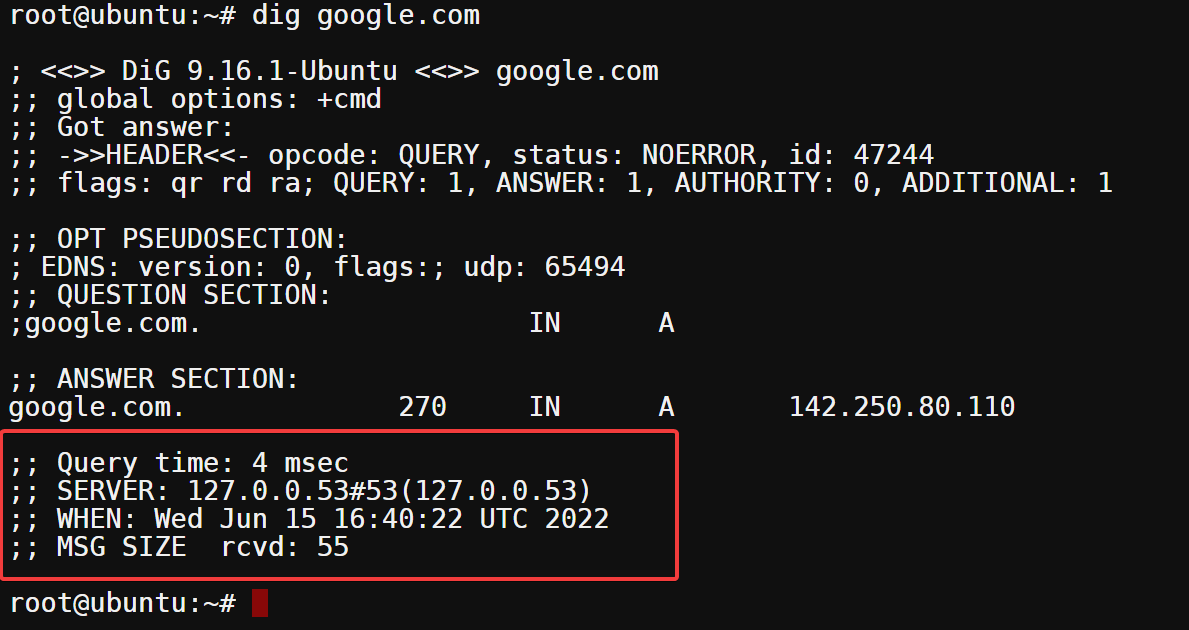
Finally, the last section contains information about the query time and the server used to process the query. Below, you can see the query took four milliseconds (4 msec) to complete, and the SERVER used had an IP address of 127.0.0.53.
The less time the DNS server takes to process a query and return an answer, the better. You don’t want your users to wait long for DNS queries to resolve. The long wait can lead to a bad user experience.
Fetching Short and Detailed Answers
You’ve just queried a DNS that returned a handful of information. But can you control which output you get? Yes, by appending flags (+short, +noall, and +answer) to the dig command.
Suppose you’re querying for an A record. The DNS server returns both an A and an AAAA record. But with the +short flag, the DNS only returns the A record. The +short flag can be useful for getting a quick answer from DNS servers without sifting through all the extra information.
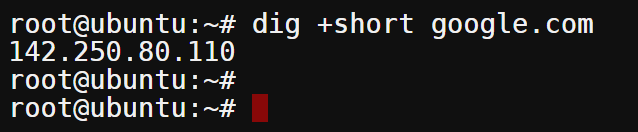
Run the below command to query google.com again. But this time, append the +short flag to get a short answer only.
dig +short google.com
Below, you’ll see that DiG only returned a short answer, which is Google’s server address.
Now, run the following command to query google.com, returning a detailed answer. The +noall flag omits all the default information displayed when running the dig command, except for the answer section (+answer).
dig google.com +noall +answer

Specifying Nameservers to Resolve Domain Names
So far, you’ve seen how to use the dig command with its default settings. But suppose you want to test if a specific nameserver can resolve a domain name or not. In such cases, specifying which DNS server DiG uses when running the dig command can help.
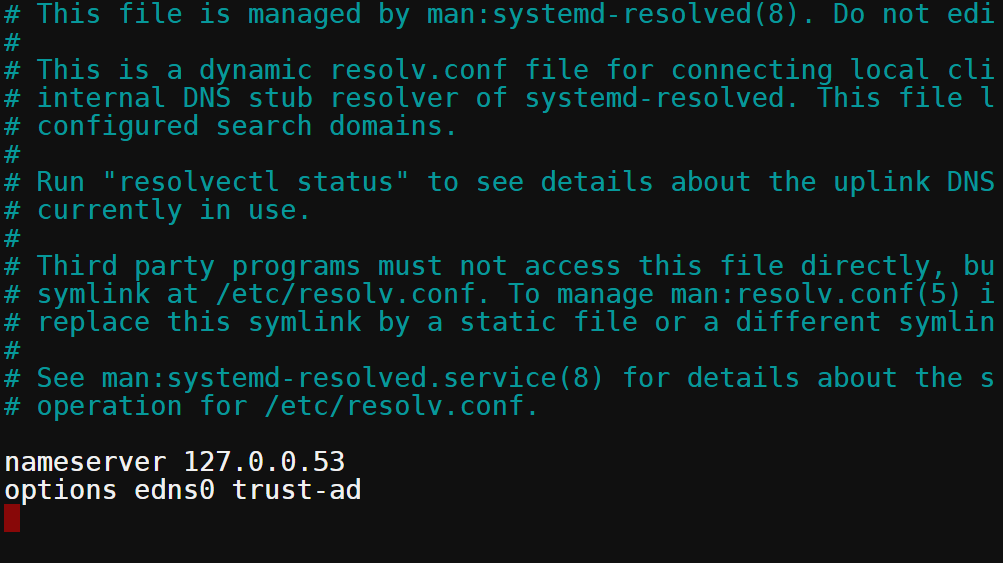
By default, the dig command uses the DNS servers specified in the /etc/resolv.conf file, as shown below.
To override which DNS server DiG uses when resolving a domain name, you’ll append the @ symbol followed by the DNS server or IP.
Run the below command to query a domain name (server) using your preferred DNS server(dns-or-ip). Be sure to replace dns-or-ip with your DNS server, but this tutorial uses 8.8.8.8.
dig server +noall +answer @dns-or-ip
You can see below that the DNS server resolved the domain name successfully and returned answers in detail.

Querying Specific Record Types
By default, the dig command queries for an A record if you don’t specify any record type. But DiG also lets you query other types of DNS records, such as MX, NS, TXT, and so on.
To specify a record type, you append the record type right after the domain name you’re looking up, like in the following example.
Run the command below to query google.com for MX records.
dig +noall +answer google.com mx
You can see below that the MX record for google.com is smtp.google.com.

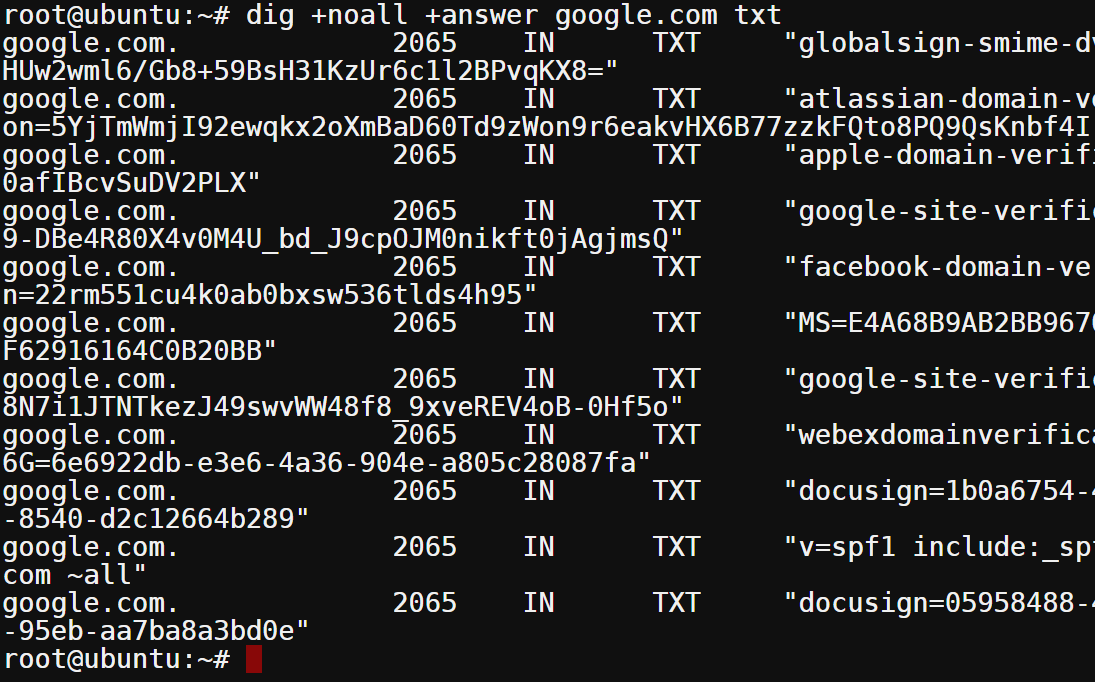
Now, run the following command to query google.com for TXT records
dig +noall +answer google.com txt
The output below shows all TXT records for google.com, as shown below.
Performing Queries in Batch Mode
Suppose you want to look up DNS information for multiple domain names. Querying information one by one for each domain name can be tedious and time-consuming.
Fortunately, the dig command supports a batch mode, where you can specify a file containing a list of domain names. DiG will perform DNS queries for all domain names listed in that file in batch mode.
Open a new text file named dns-batch-file.txt in your preferred text editor, and add the domain names (one per line), as shown below. Once you’re happy with the list, save the file and close the editor.

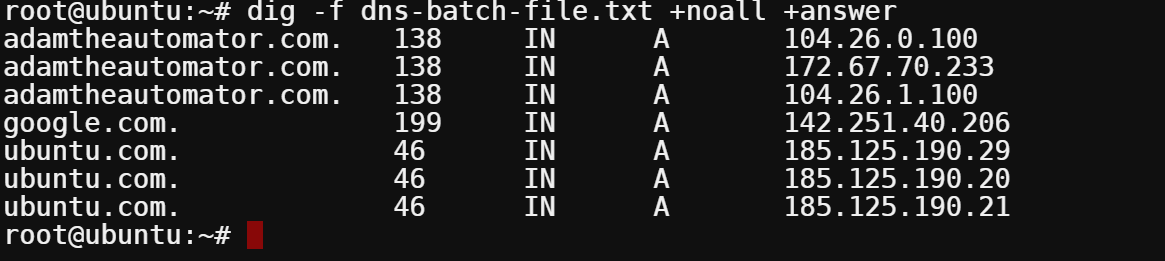
Now, run the following command to query all domains listed in the specified (-f) dns-batch-file.txt file in batch mode.
dig -f dns-batch-file.txt +noall +answer
As you can see below, the DNS information for all domains has been queried and displayed in a tabular format.
Controlling DiG’s Behavior Using the .digrc File
DiG reads various settings from the ~/.digrc file when you run the dig command. This file contains various settings that let you control how the dig command behaves. With the ~/.digrc file, you can set the default DNS server that the dig command should query or set the default record type to query if you don’t specify any.
Perhaps you aim to get a detailed answer and ignore all other sections most of the time when running the dig command. In such cases, you can use the ~./digrc file to set the default output style for the dig command, like in the following example.
Run the echo command below, which doesn’t provide output, but adds the +noall +answer line to the ~/.digrc file.
echo "+noall +answer" > ~/.digrc
Now, run the dig command to query a domain name without arguments. Replace domain with your preferred domain name.
dig domain
You can see that the output now only contains the answer section, as shown below. DiG would use the +noall +answer flags from the ~/.digrc file even if you didn’t append any flags when you ran the dig command.

Conclusion
In this article, you’ve learned various features of the Linux dig command to query DNS servers effectively. You’ve also touched on customizing your desired dig command output using multiple flags.
At this point, you already know how to take advantage of the Linux dig command in your day-to-day work, especially when troubleshooting network problems.
Don’t stop here, though. There is more to what you can accomplish with the Linux dig command. Why not use the dig command to perform a reverse DNS lookup to find a domain name associated with an IP address?


