


When managing mail systems like Exchange Online, one of the tasks an admin can never avoid is to import a PST to Office 365. But did you know there’s more than one way to import PST data to Office 365?
One way is Importing PST Files using the Outlook Import Wizard. This is more appropriate when you only need to upload a small number of PST files, or if the Outlook users will import the PST files by themselves.
Another way is called drive shipping which involves saving the PST files to a hard drive (secured) and shipping the hard drive to one of Microsoft’s physical locations. Then, Microsoft uploads the contents of the hard drive to an Azure Storage location so you can create a PST import job.
Lastly, you can use the network upload option, if your region supports it. The network upload option, as the name implies, involves uploading PST files that are most likely in your corporate network to an Azure Storage location via the internet.
In this article, you’ll learn the step-by-step process of using the network upload option as one of Microsoft’s import services to import a PST in Office 365.
Requirements to Import a PST to Office 365
This article will follow a How-To approach. If you plan to follow along with the examples, these are the requirements that must be in place.
- An Office 365 Tenant. If you don’t have this yet or if you want to set up a test tenant, you can request for an Office 365 Trial.
- An Office 365 admin account with an assigned Mailbox Import Export role in Exchange Online. This role enables you to import PST files to Office 365 mailboxes.
- An Office 365 admin account with at least an assigned Mail Recipients role in Exchange Online. By default, this role is already part of the Organization Management and Recipient Management groups.
- At least one Office 365 mailbox. This Office 365 mailbox will be the target when importing the Outlook Data Files.
- At least one PST file. The Outlook data file PST containing the items will be read when importing data to Office 365. If you don’t have this yet, you can refer to the link to learn how to create a PST file.
- The Azure Storage Explorer tool must be installed if you want to view the uploaded PST files using the GUI.
- The Azure AzCopy tool must be installed. You can download the specific version of AzCopy using this link.
Note: It is crucial to remember that only the version of AzCopy from this link will work with the network upload option. Any other versions of AzCopy will not work.
Getting the Azure Storage SAS URL
Let’s assume that before you import a PST to Office 365, you already have your PST files prepared and are waiting to be uploaded. However, before you can upload files, you need to determine the destination. In this case, the upload destination is an Azure storage location.
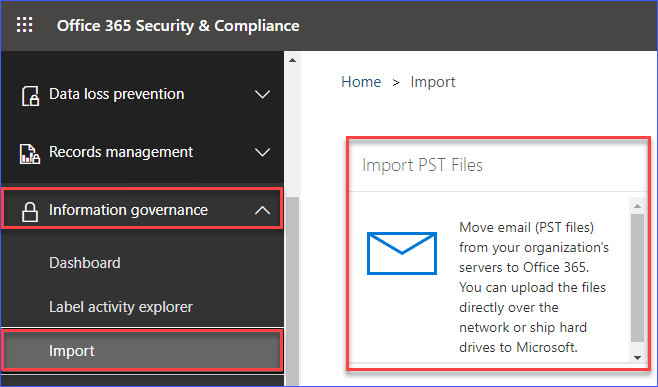
First, log in to the Office 365 Security & Compliance portal. Then, go to Information Governance —> Import —> Import PST Files.
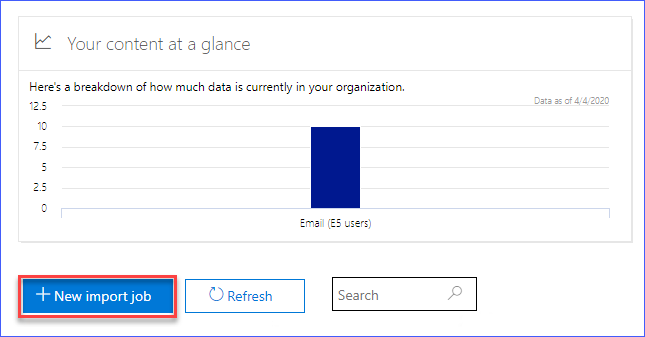
You will be presented with a graph showing an overview of the amount of data currently hosted in your Office 365 organization. And under the graph, click on the New import job button to initiate the creation of the PST import job. See the screenshot below for reference.
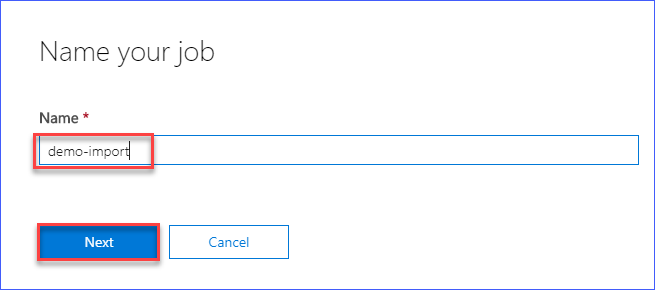
After clicking on the New import job, you will be asked to enter the name of the job similar to the image below. Fill in the name of the job. In this example, the name is demo-import. Then, click Next.
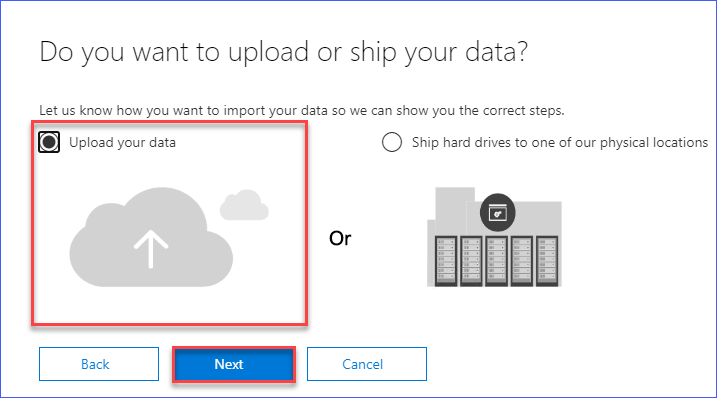
Then, you are presented with two options, as you can see in the image below. Choose the Upload your data option. Then click Next.
When you get to the Import page that is shown below, click on the link that says Show network upload SAS URL. Doing so will generate the SAS URL for the Azure storage location where you can upload your PST file.

The SAS URL will be shown, similar to the screenshot you see below. Click the Copy to clipboard button and make sure to save this value somewhere that you can get back to later.
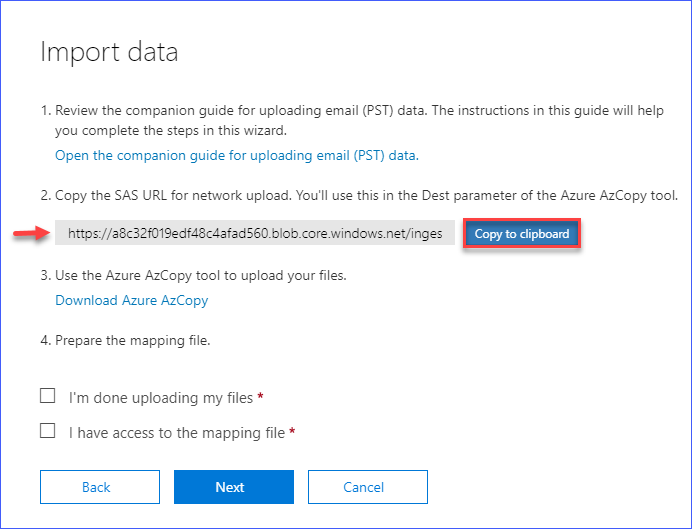
Now, you have the SAS URL for the Azure storage location to be used as the upload destination using the AzCopy tool.
Uploading the PST Files using the AzCopy Tool
At this point, you already have the network upload destination in the form of a SAS URL. And, you should already the AzCopy tool installed as required. If you have the PST files prepared in an accessible location, then you’re ready to begin uploading PST files.
To import a PST to Office 365, first, upload the PST file with the AzCopy utility. There are two ways to do that.
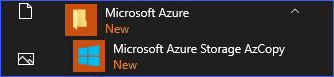
You can either go to Start —> Microsoft Azure —> Microsoft Azure Storage AzCopy.
Or, open CMD and change the working directory to where the AzCopy tool is installed. The default location is C:\Program Files (x86)\Microsoft SDKs\Azure\AzCopy.
You will need to specify options to the AzCopy tool. These options are:
/Source:<Location of PST files>– the location where the PST files are stored as the source./Dest:<SAS URL>– this is the SAS URL that you generated and copied in the previous section./V:<Log file location>– this enables the verbose logging and specifies the path where to save the log file. This is needed so that if anything goes wrong, there will be logs to refer to later on./Y– This is a required option when using AzCopy with the generated network upload SAS URL. There is no need to change or specify a value for this option.
The command below will upload the PST files located in C:\PST. The verbose log file will be saved in C:\temp\log.
Please note that in this example, the source folder only contains one PST file named june.pst, which is approximately 28MB.
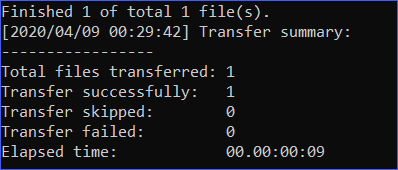
AzCopy.exe /Source:"C:\PST" /Dest:"https://a8c32f019edf48c4afad560.blob.core.windows.net/ingestiondata?sv=2015-04-05&sr=c&si=IngestionSasForAzCopy202004072358219110&sig=jyv%2FT%2F%2FgSryh1FiLsmzPKkAxVOOmuMxPofTmxVF82zU%3D&se=2020-05-08T14%3A54%3A51Z" /V:"C:\temp\log" /YAfter running the code in the command prompt, you would see a similar output, as shown in the image below. The upload duration depends on your network speed and the size of the PST files you are uploading. In this example, the upload took only about 9 seconds for one file that is about 28MB in size.
Viewing the Uploaded PST Files for Confirmation
After the upload operation completes, an optional but recommended step is to confirm that the PST files were uploaded to the right destination. You can use the Azure Storage Explorer to view the contents of the Azure storage location.
Assuming that you installed Azure Storage Explorer as noted in the Requirements section of this article, you can open the Azure Storage Explorer from the Start Menu.
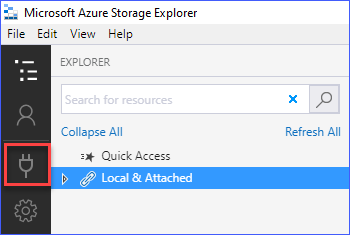
Once the Azure Storage Explorer is open, click on the Open Connect Dialog button that is represented by the plug icon.
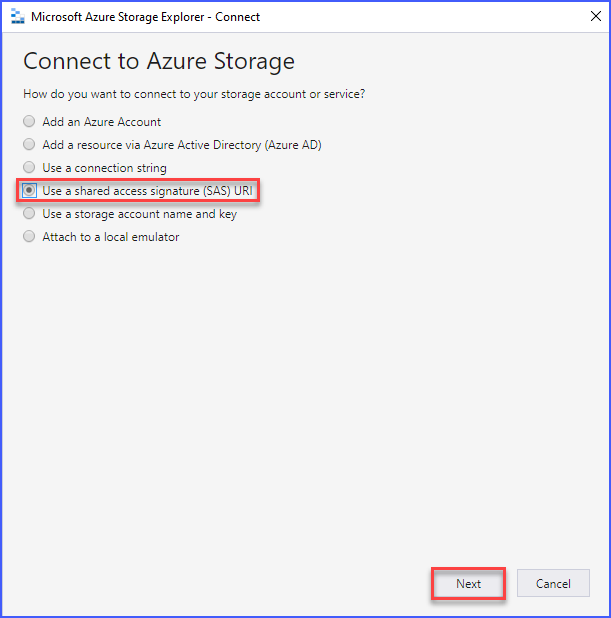
When the Connect to Azure Storage shows up, select User a shared access signature (SAS) URI. Then, click Next.
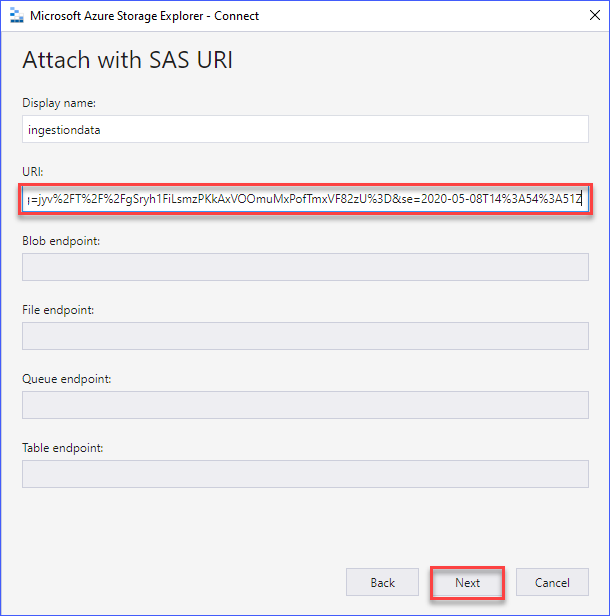
In the Attach with SAS URI page, paste the SAS URI that was generated previously into the URI box. The Display name box will be automatically populated, so there’s no need to change its value. Then, click Next.
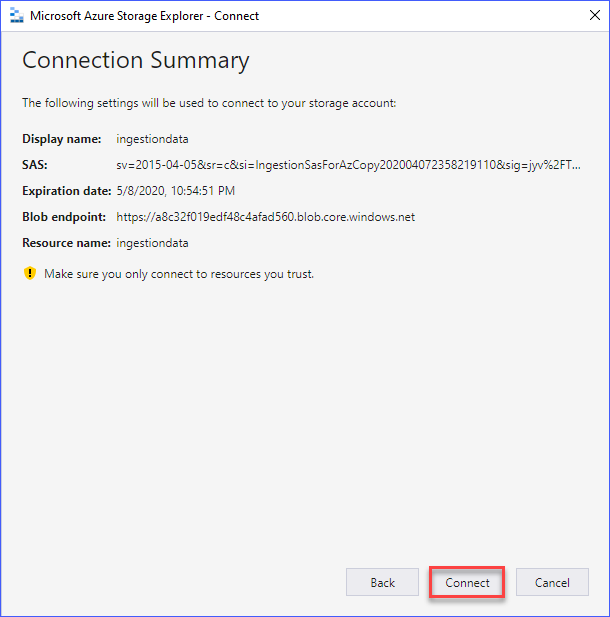
The Connection Summary box shows up, giving you a warning that you should only connect to resources you trust. But, since you know where the SAS URI came from, you can ignore the warning in this case, and click Connect.
Once the connection is added, the contents of the Azure storage location is displayed. As you can see from the screenshot below, the PST file that was uploaded using the AzCopy tool is listed.

Creating the PST Import Mapping File
A PST mapping file is simply a CSV file containing columns that are specific to the PST import procedure. Each row in the mapping file represents each PST file to be imported. This means that if there are two PST files to be imported, you need to create two rows to represent each PST file.
In this example, only one PST file is being imported into one Office 365 mailbox. An example of the mapping file can be seen below.
Workload,FilePath,Name,Mailbox,IsArchive,TargetRootFolder,ContentCodePage,SPFileContainer,SPManifestContainer,SPSiteUrl
Exchange,,june.pst,[email protected],FALSE,/,,,,
For better readability, below is the screenshot of the CSV file when opened with Microsoft Excel.

As you can see from the screenshot above, there’s only one row representing the only PST file that was uploaded. Also, please note that out of all the columns the first six columns are applicable for the PST mapping.
- Workload – The value of this column should always be Exchange.
- FilePath – If you did not specify a sub-folder when you uploaded the PST files using the AzCopy tool, this should be left blank. Otherwise, you will need to specify the sub-folder name.
- Name – This is the filename of the PST file.
- Mailbox – This is the email address or the GUID of the mailbox where the contents of the PST file will be imported to.
- IsArchive – If you want to import the PST data into the archive mailbox, set this value to TRUE. Otherwise, set the value of this column to FALSE to import the PST into the primary mailbox instead.
- TargetRootFolder – If you want to import the contents of the PST file into a specific folder inside the target mailbox, you need to specify the folder name here. Otherwise, leave this column blank or use the forward-slash character “/”.
Once you’re satisfied with the mapping file, save the file with a CSV extension. In this example, the file is saved as C:\Temp\PST_Map.csv.
Continuing to Import a PST to Office 365 via Job Creation
Now that you have the PST files uploaded to the Azure storage location and the PST mapping file prepared, you’re ready to resume the PST import job creation.
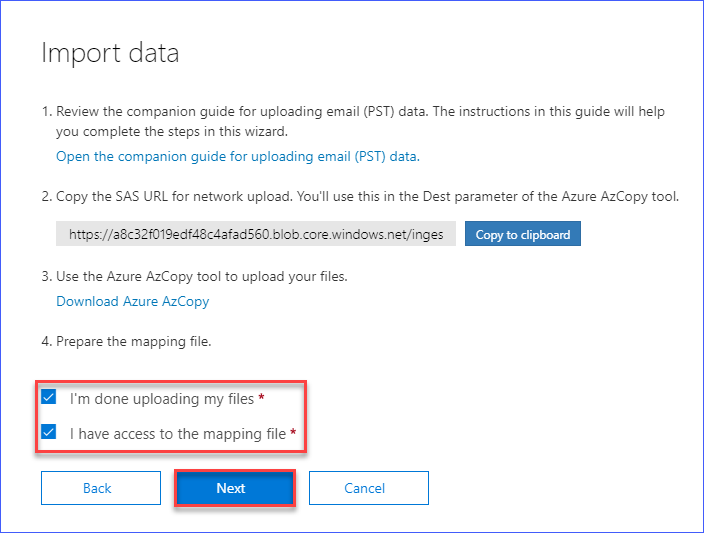
To continue creating the PST import job, go back to the Import page where you previously generated the SAS URL. This time, put a check on I’m done uploading my files and I have access to the mapping file check boxes. Then, click Next.
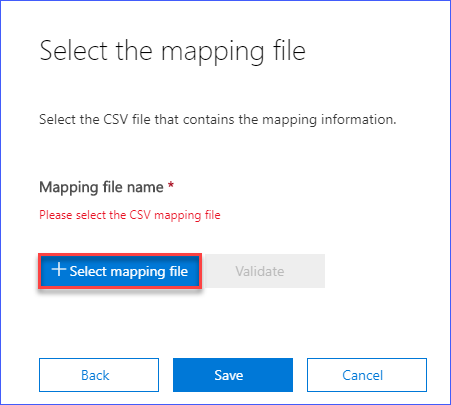
Next, you will see the Select the mapping file page. On this page, click the Select mapping file button and the Open dialog box will pop up.
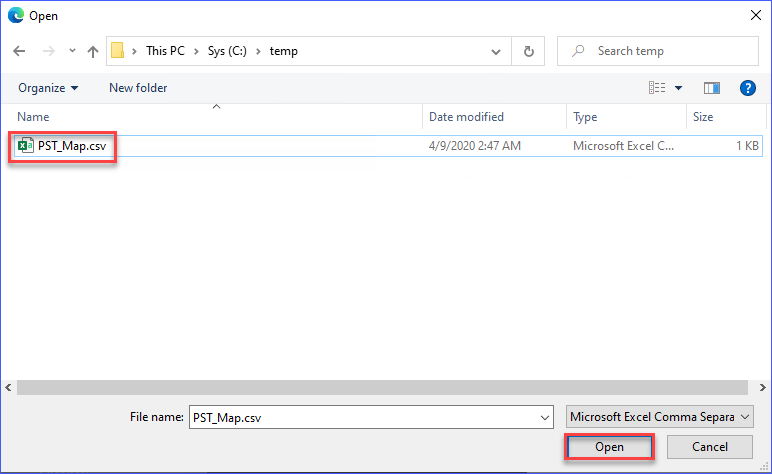
Locate and select the PST mapping file you previously created. In this example, the PST mapping filename is C:\temp\PST_Map.csv. Once you’ve selected the PST mapping file, click Open.
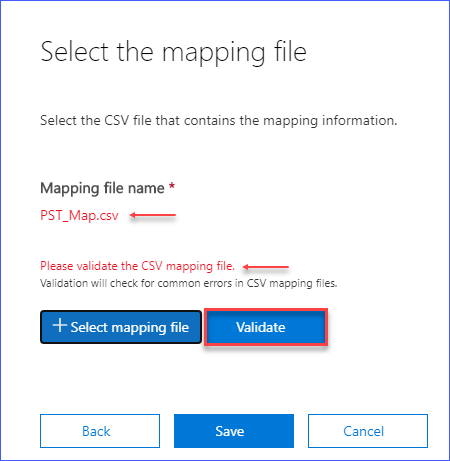
You’ll be taken back to the Select the mapping file page. This time, you will see that the file name of the mapping file is shown. Additionally, you see a red text asking you to Please validate the CSV mapping file.
Validating the mapping file is essential so that if there are errors with the entries, they can be corrected before going further with the PST import process. Make sure to click the Validate button.
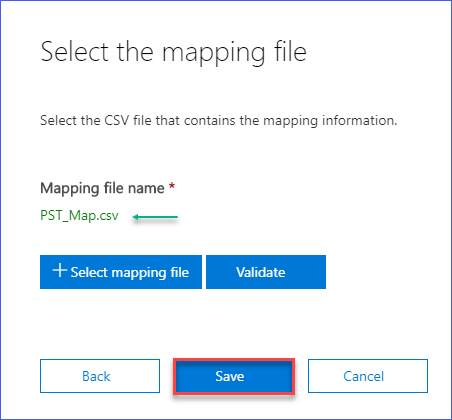
After clicking on the Validate button, and if no errors were found with the mapping file, you would see the output show similar to the image below. Then, you can click Save.
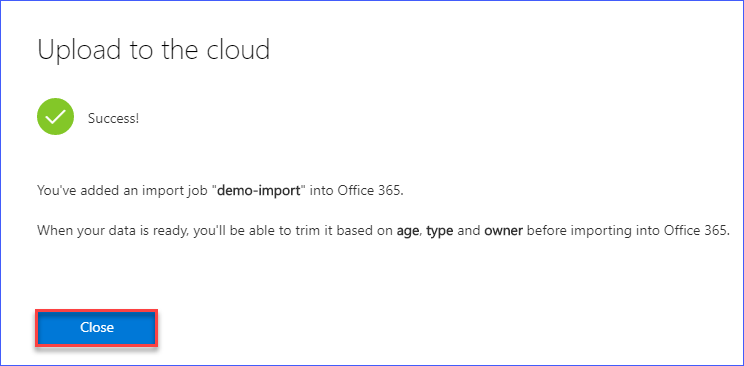
After clicking Save, you will have completed creating the PST import job, and you will get a success status such as shown below. You can click Close, and you will be taken back to the list of PST import jobs.
Filtering the Data (Optional) and Completing the PST Import Job
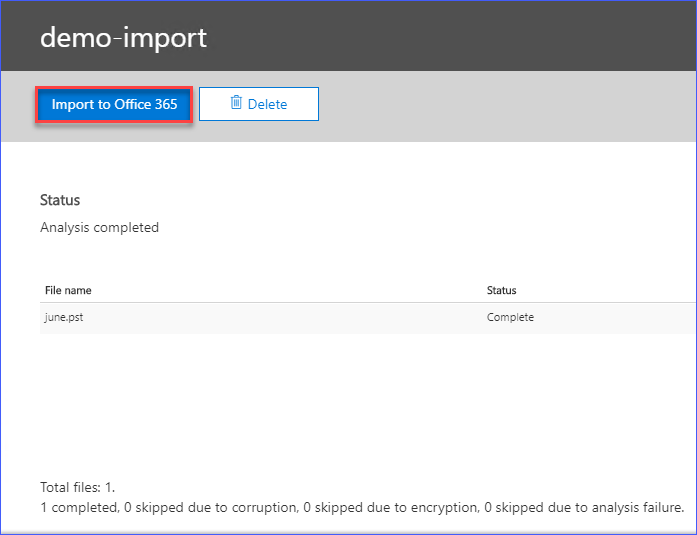
At this point, you must wait for the status of the job to change into Analysis completed. Once the analysis is completed, click on the Ready to import to Office 365 link.

Once the details of the import job show up, click on the Import to Office 365 button.
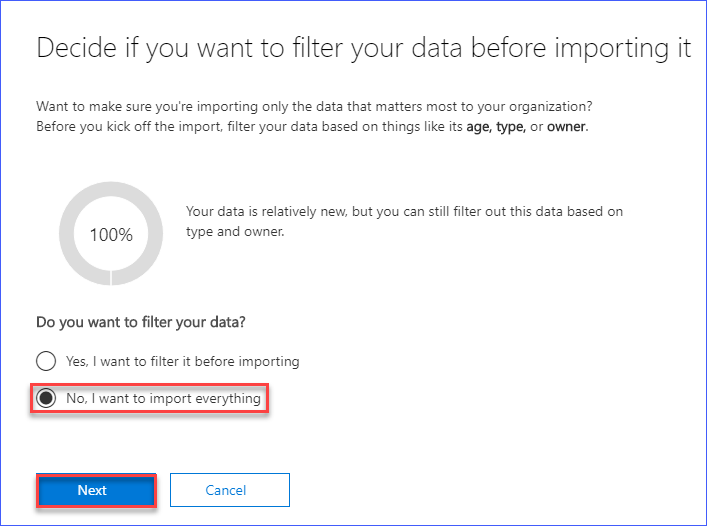
The next page, titled Decide if you want to filter your data before importing it, presents you with two options.
- Yes, I want to filter it before importing – This option allows you to filter the items from the PST files to import. The items can be filtered based on properties such as the age of the item, or the type of item (i.e., email, calendar, contact).
- No, I want to import everything – This option instructs the job to import all items from the PST files. Typically, this option is used for migrating messages or rehydrating mailboxes using data from PST backups.
In this example, the option to import everything will be selected. After making the selection, click Next.
If you want more details about filtering items before importing PST data to Office 365, you may visit this Filter data when importing PST files to Office 365.
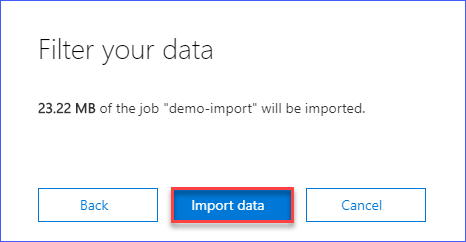
Next, you will be informed of the size of the data to be imported. There is nothing to do here other than clicking on the Import data button.
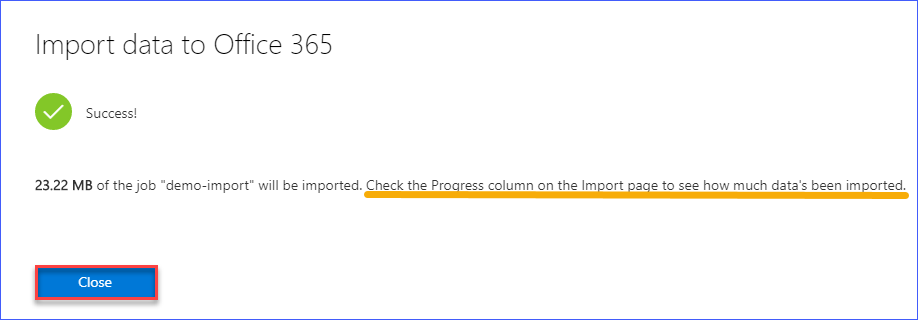
The image below shows that the import job has been successfully started. You are also instructed to check the progress of the import on the Import page. Click the Close button to return to the Import page.
Back on the Import page, monitor the progress. Based on testing made in this making of this article, there was no “estimated time to complete” shown. There also was no detailed log showing how long the import job completed. So, at this point, there’s virtually nothing to do further but wait.
As you can see below, the import job has completed. This indicates that the PST data has been imported entirely to the target Office 365 mailbox.

Conclusion
In this article, you’ve learned how to use the network upload option as the method to import a PST to Office 365 mailbox. You’ve learned how to get the SAS URL, which is the Azure storage location used as a destination for uploading PST files using the AzCopy tool.
Currently, the network upload option is the only free and officially supported method to import PST to Office 365 in bulk.
The Office 365 Import PST is, at this point, not fully automated in terms of scripting. However, it beats having to use Outlook to import PST data one profile at a time.


