


Ever found yourself fascinated by the potential of AI-powered language models? If you’re craving to unravel the capabilities of a local ChatGPT clone, look no further than GPT4All for your Ubuntu system.
This tutorial is your ticket to a seamless installation process of GPT4All, transforming your curiosity into hands-on expertise.
Read on and unlock the extraordinary possibilities GPT4All has in store for you!
Prerequisites
Before you dive headfirst into the exciting world of AI, ensure you’re well-equipped with the following:
- An Ubuntu machine with version 22.04 or higher – This tutorial uses Ubuntu 23.04.
💡 Consider upgrading your Ubuntu version before proceeding since older versions may not offer full compatibility with GPT4All.
- A non-root user with sudo privileges.
- At least 10 GB of free disk space to store the GPT4All models and data.
- Python version 3.6 or higher installed on your Ubuntu.
Crafting a GPT4All Sanctuary: A Seamless Virtual Environment
For a smooth sailing experience with your Python packages, you must craft a special no-conflict zone just for GPT4All — a virtual environment. This approach ensures that all necessary building blocks are neatly tucked away in this secluded spot, leaving your main system untouched.
💡 This tutorial uses the root account to dodge any clashes when running commands, which is risky. There’s a real chance of stumbling into unintended system changes and stepping on potential security landmines. Instead, using a non-root user with sudo privileges is strongly recommended.
To create a virtual environment, follow these steps:
1. Open your terminal and execute the below apt command to update all system packages.
apt update -y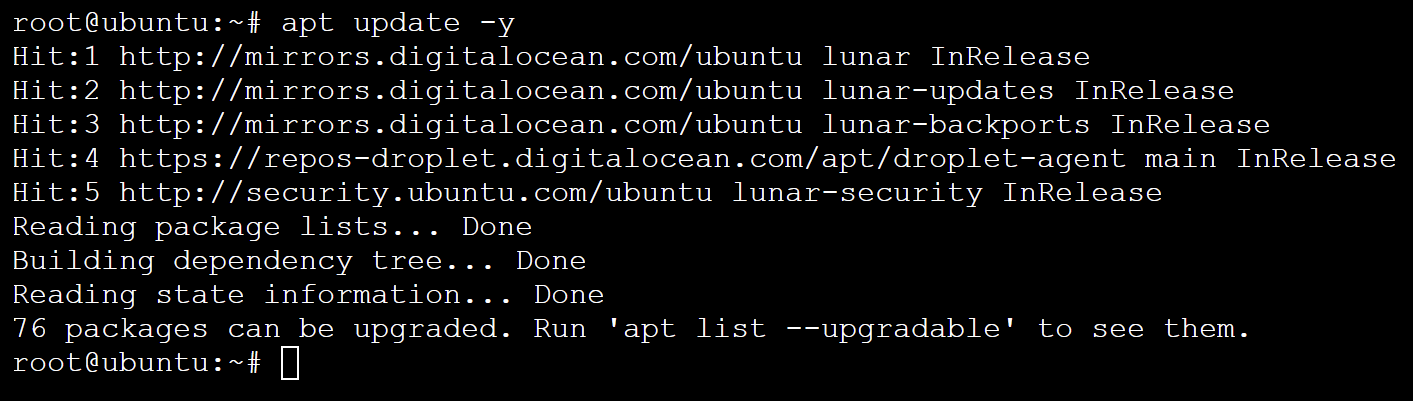
2. Next, run the command to install the following Python 3 packages:
python3-venv– This package provides thevenvmodule for creating isolated Python environments.python3-pip– This package installspip, the package manager for Python. This package manager lets you easily install, upgrade, and manage Python packages within your virtual environments.
apt install -y python3-venv python3-pip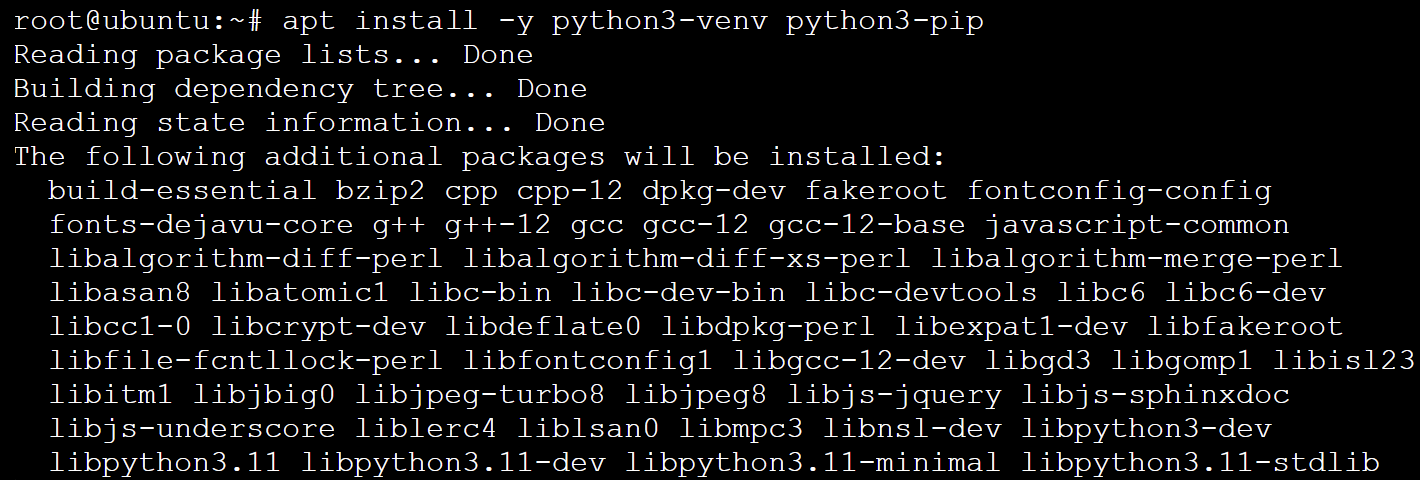
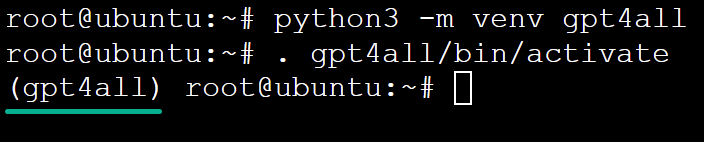
3. With the packages installed, run the below commands to create (venv) and activate a Python 3 virtual environment (venv) named gpt4all (arbitrary).
python3 -m venv gpt4all
. gpt4all/bin/activate
Once activated, you’ll see the virtual environment’s name in your terminal prompt, indicating that you are now working within the virtual environment.
4. Finally, run the command below to install the following package and dependency:
gpt4all– This Python package provides bindings for the GPT4All library and service.typer– This library simplifies creating user-friendly command-line applications (CLIs) for your Python scripts or programs.
python3 -m pip install gpt4all typer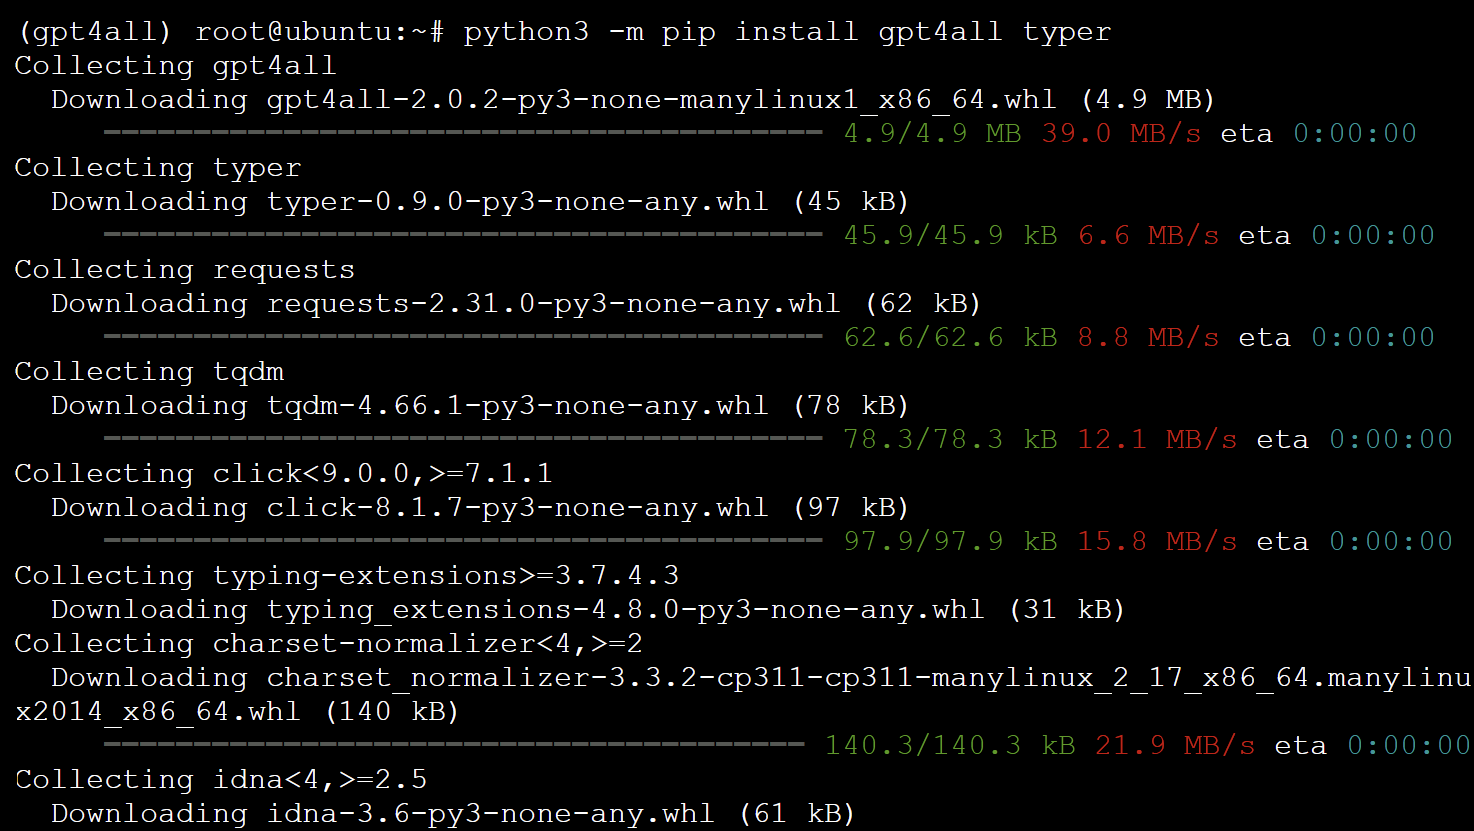
Preparing a Python Script (app.py) that Defines a CLI
With the virtual environment ready, you’ll create a Python script called app.py, a self-contained Python script. This script contains all the necessary code and dependencies to run independently without relying on external modules or resources.
An app.py script is handy in cases where you want to share your code with others or deploy it on another machine.
To prepare a Python script that defines a CLI, proceed with the following:
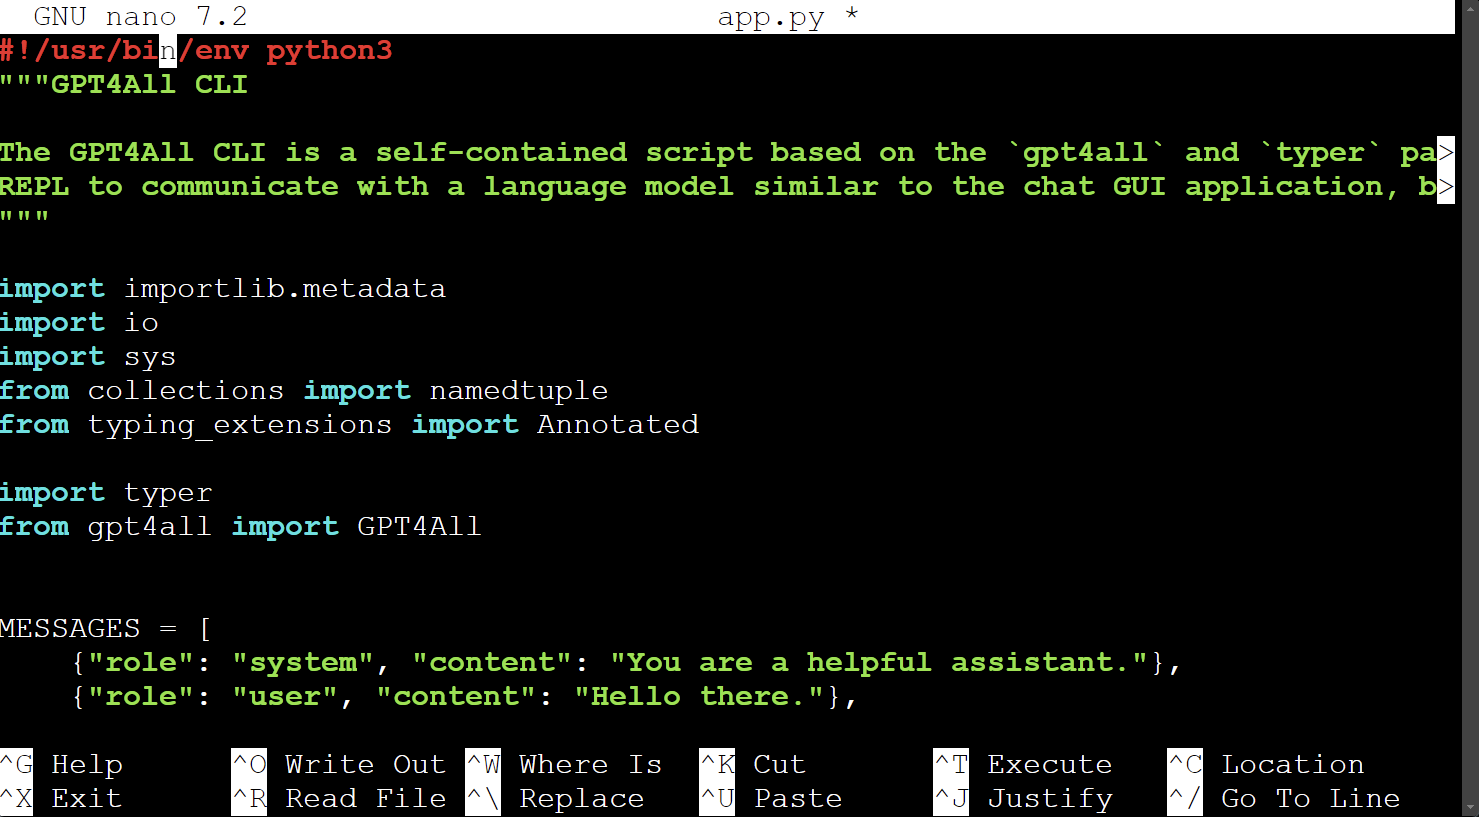
Create a new file named app.py using your preferred text editor, but this example uses nano.
nano app.pyNow, populate the app.py file with this sample code, and save and close the file.
This sample code provides a CLI where you can interact with a language model using the gpt4all library. Furthermore, this code supports special commands, version checking, and so on.
Testing if GPT4All Works
After creating your Python script, what’s left is to test if GPT4All works as intended. GPT4All is an offline, locally running application that ensures your data remains on your computer.
The application’s creators don’t have access to or inspect the content of your chats or any other data you use within the app. This feature is a crucial aspect of ensuring privacy and security.
But before you can start generating text using GPT4All, you must first prepare and load the models and data into GPT4All.
To test GPT4All on your Ubuntu machine, carry out the following:
1. Execute the following python3 command to initialize the GPT4All CLI.
In this command, Read-Evaluate-Print-Loop (repl) is a command-line tool for evaluating expressions, looping through them, and executing code dynamically.
This repl tool allows you to enter and execute code snippets one at a time, providing real-time experimentation with GPT4All’s capabilities and prompt fine-tuning.
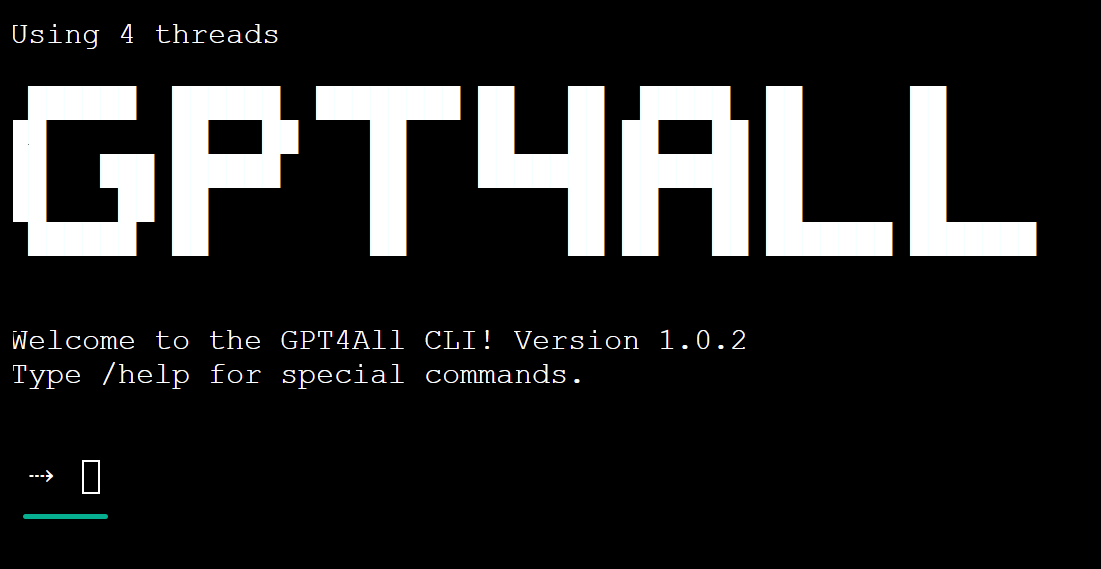
python3 app.py replGPT4ALL downloads the required models and data from the official repository the first time you run this command. Depending on your system’s speed, the process may take a few minutes.
These files are essential for GPT4All to generate text, so internet access is required during this step.

Once the required models are downloaded and set up, you’ll see a REPL prompt similar to the one below.
2. Next, type in a question (i.e., What is the capital city of France?) and press Enter to test GPT4All’s text generation capabilities.
Assuming everything works, GPT4All generates a unique response based on the prompt you provided, as shown below — how awesome is that!
3. Lastly, run the following commands to exit the REPL and deactivate the virtual environment.
/exit
deactivate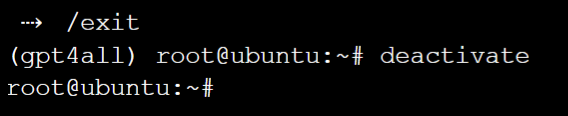
Conclusion
In your journey to harness the power of GPT4All on Ubuntu, you’ve successfully crafted a sanctuary for your language model within a seamless virtual environment. By creating a dedicated Python script (app.py), you’ve delved into testing and interacting with GPT4All in a controlled environment.
Now, experiment with different configurations and explore the depths of the GPT4All capabilities. Why not consider using GPT4All bindings to create your own custom AI chatbot? Seamlessly integrate this AI chatbot into your website, social media channels, or messaging apps for a world of interactive and dynamic conversations.
The possibilities are endless! But always remember the importance of upholding ethical principles and safeguarding user privacy while navigating AI models and data.


