


Are you looking to supercharge your Raspberry Pi 4? Say hello to Docker! Throughout the development lifecycle for quick and portable application development, Docker sure comes in handy. Not sure how to install Docker on Raspberry Pi? Well, you have come to the right place!
This tutorial will walk you through the Docker installation process on your Raspberry Pi 4, allowing you to tap into the full potential of this small yet powerful computing companion!
Read on and unlock the capabilities of your Raspberry Pi!
Prerequisites
This tutorial comprises hands-on demonstrations, and below are a few things you will need in place to follow along:
- A Raspberry Pi 4 (4GB or 8GB model) with Raspbian installed.
- You have desktop access or SSH access to your Raspberry Pi 4.
- A stable internet connection.
Installing Docker on Raspberry Pi 4
Docker is an open-source platform that automates the deployment and management of applications within lightweight, isolated software containers. Taking advantage of Docker in a Raspberry Pi 4 offers numerous advantages, especially considering Pi’s low power consumption and minimal resource requirements.
Docker containers are lightweight, making them well-suited for running on low-power devices like the Raspberry Pi 4, which possesses limited computing power and memory.
To begin using Docker on your Raspberry Pi 4, you must first install it as follows:
1. Open a terminal, and run the below apt update command to ensure your Pi is up to date with the most recent improvements, bug fixes, and security updates.
sudo apt update -y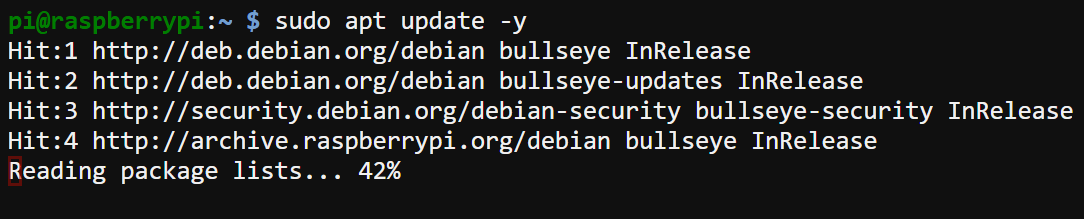
2. Once updated, run the following curl command to install Docker on your Raspberry Pi 4.
This command downloads and runs (sh) the official Docker installation script available at https://get.docker.com.
Docker simplifies the installation process with a convenient Bash script that automates everything. This script simplifies the installation of Docker on various Linux distributions, including Debian-based systems like Raspbian (used on Raspberry Pi).
sudo curl -sSL https://get.docker.com | shRelated: CURL Linux Command : Learning By Example
The Docker installation script performs the following actions:
- Detects the Linux distribution and version of your system.
- Adds the Docker GPG key to ensure the authenticity of the Docker packages.
- Adds the Docker repository to your system’s package manager configuration.
- Updates the package lists to include the Docker repository.
- Installs the necessary packages to install Docker, such as docker-ce and docker-ce-cli.
- Starts the Docker service.
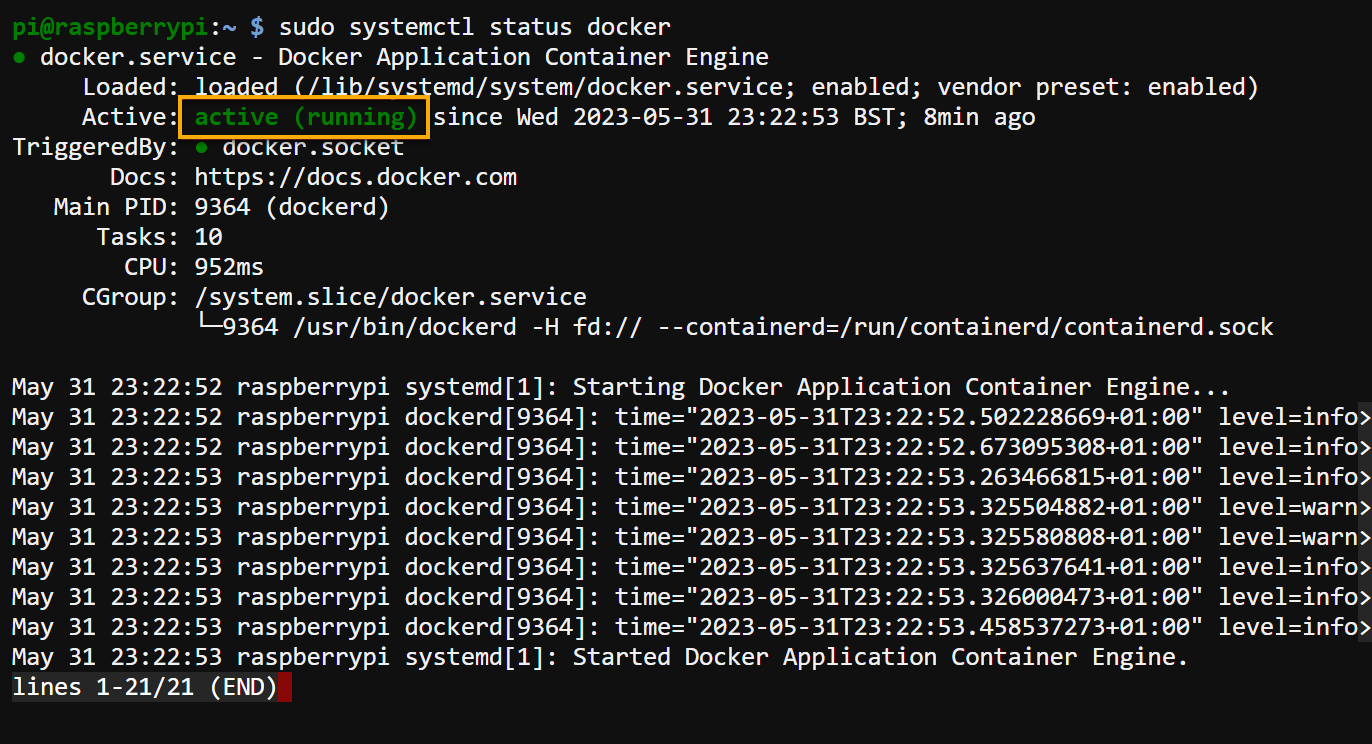
At this point, the Docker daemon is started and running on your Raspberry Pi 4

3. Lastly, run the systemctl command below to verify the docker daemon’s status.
sudo systemctl status dockerThe output will display a message resembling the following, which confirms the Docker daemon status is active (running).
Adding a Pi User Account to the docker Group
With Docker added to your arsenal, can you start using it already? Not yet! You still need to add your Pi user account to the docker group. Doing so lets you run the docker command as a fully privileged user.
To add your Pi user account to the Docker group:
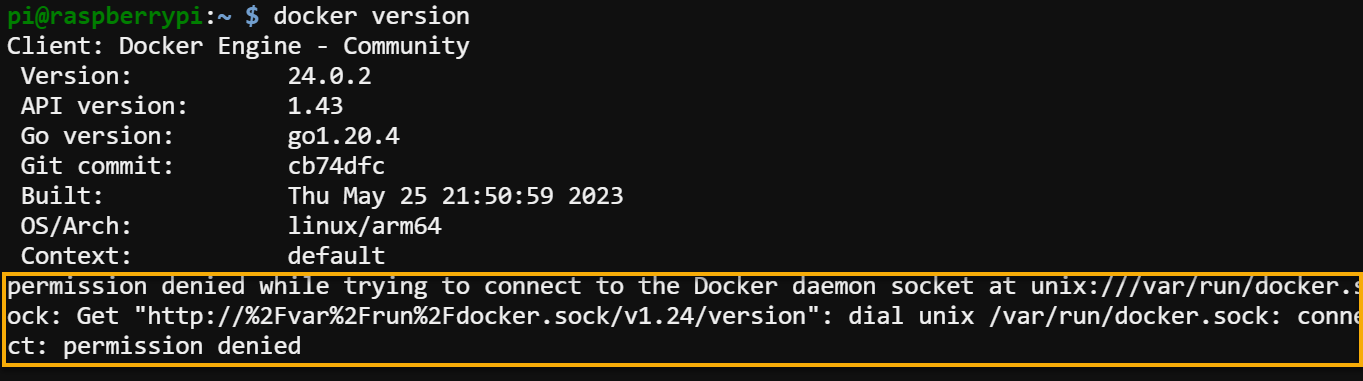
1. Run the below docker version command (as the regular pi user account) to check the Docker version installed on your system. This command lets you test your user account’s Docker permissions.
docker versionThe output displays version information, including any relevant details. But you may also notice a permission denied error at the end. This error is expected since you lack permission to access the Docker socket.
2. Next, run the following groups pi command to check the user groups where your Pi user account belongs.
groups piNotice that the output below does not include “docker” in the list, which signifies your user account is not yet a member of the docker group.

3. Now, run the usermod command below, which does not provide output, but adds your pi user account to the docker group (-aG).
sudo usermod -aG docker pi4. Once added, log out of your Raspberry Pi 4, and log back in for the changes to take effect.
5. Execute the below command to confirm everything is configured correctly.
groups piThis time, the docker group is present in the output, as shown below, which confirms your pi user account is now a member of the docker group.

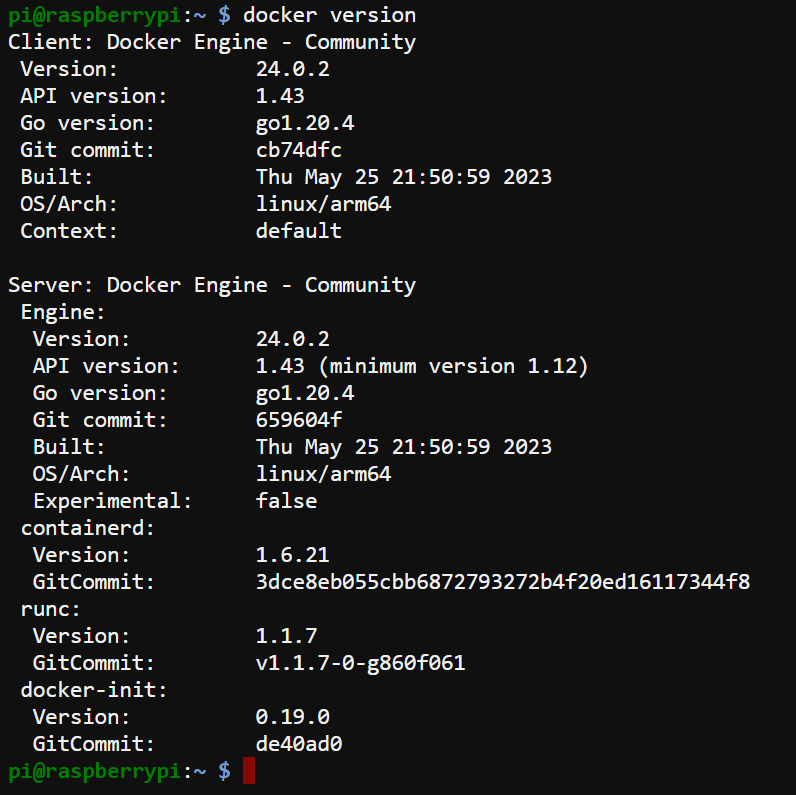
6. Finally, run the same docker version command below to test your Docker permissions.
docker versionAs shown below, the command executes successfully, as you are now a fully privileged user.
Running a Web Server in a Docker Container
You have successfully installed and configured Docker in your Raspberry Pi, but how do you know it actually works? In this example, you will run a web server like NGINX in a Docker container to test that everything works properly.
To run a web server in a Docker container, follow these steps:
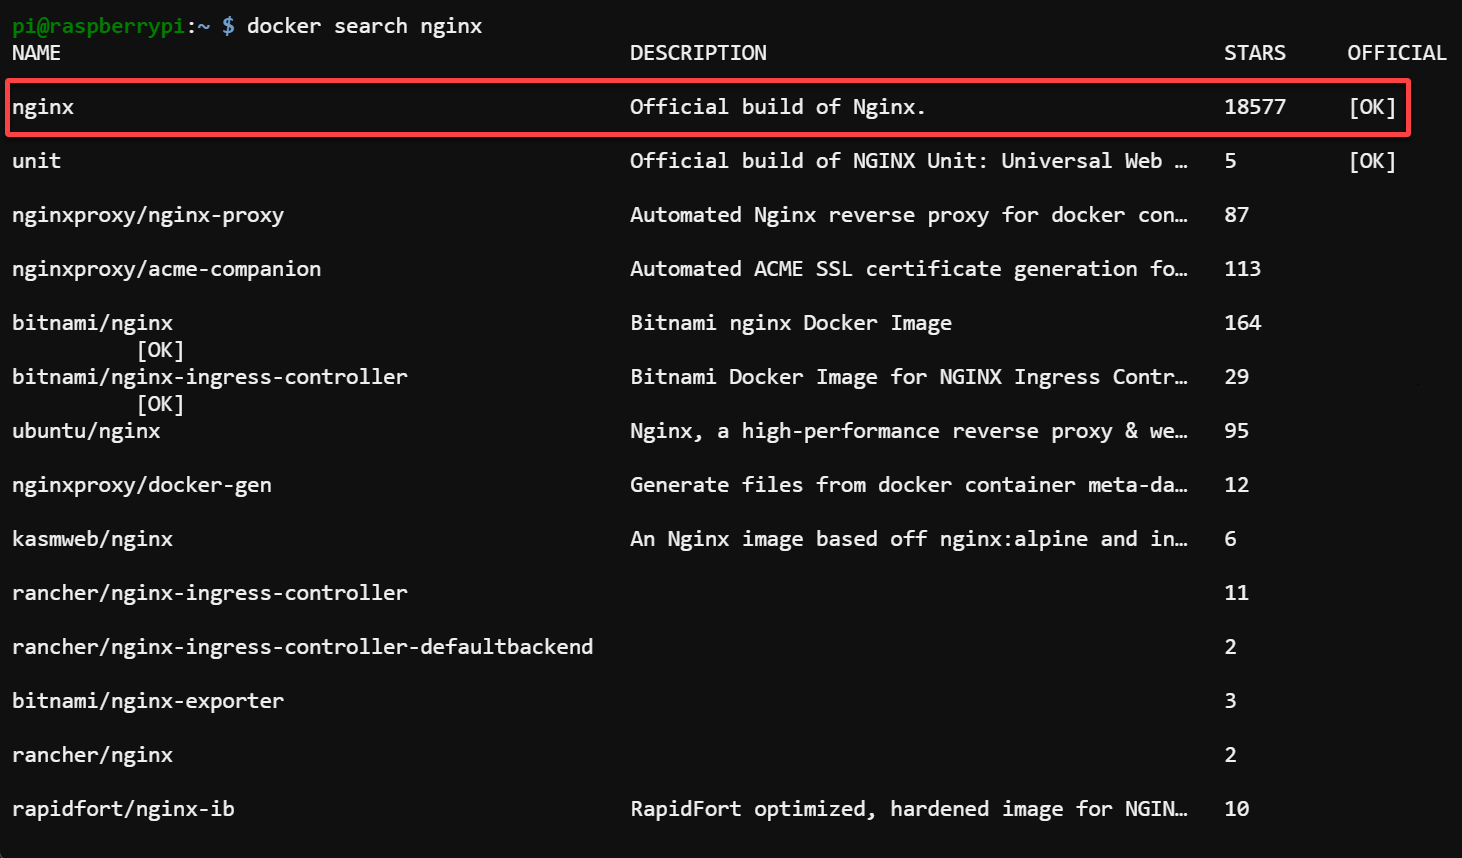
1. Run the below docker search command to search for the nginx Docker image in the official Docker Hub registry.
A Docker image is a self-contained package holding all necessary components to run an application. A registry, on the other hand, is a centralized repository where Docker images and associated files are stored and shared.
Combining images and registries forms the foundation for Docker’s portability, scalability, and ease of deployment.
docker search nginxChoose your desired NGINX image from the search results, as shown below, and note down its exact name. Typically, the official build is a good choice.
2. Next, execute the following docker pull command to pull (download) the nginx image you picked in step one from the Docker Hub to your local Raspberry Pi.
docker pull nginx
3. After pulling, execute the below docker images command to list all Docker images on your local system to verify your downloaded image.
docker imagesYour downloaded NGINX image is listed in the output, as shown below.

4. Now, run the docker run command below to perform the following:
- Create a container from your NGINX image in the background (
-dflag). - Maps port
80of the container to port80on the host (-p 80:80flag). The web server will be accessible on port80of your Raspberry Pi.
Wait for a few moments to allow the container to start.
docker run -d -p 80:80 nginx
5. Run the docker ps command to verify if the container is successfully running and inspect its details.
docker psYou will see a similar output as the one below, which contains several columns of information as follows:
| Column | Information |
|---|---|
| CONTAINER ID | A unique identifier assigned to the container. |
| IMAGE | The Docker image used to create the container, in this case, nginx. |
| COMMAND | The command executed within the container. |
| CREATED | The time when the container was created. |
| STATUS | The current status of the container indicates that it is running. |
| PORTS | The mapping of container ports to host ports, allows access to the container’s services. In this example, port 80 of the container is mapped to port 80 of the host machine. |
| NAMES | A randomly generated name is assigned to the container. |

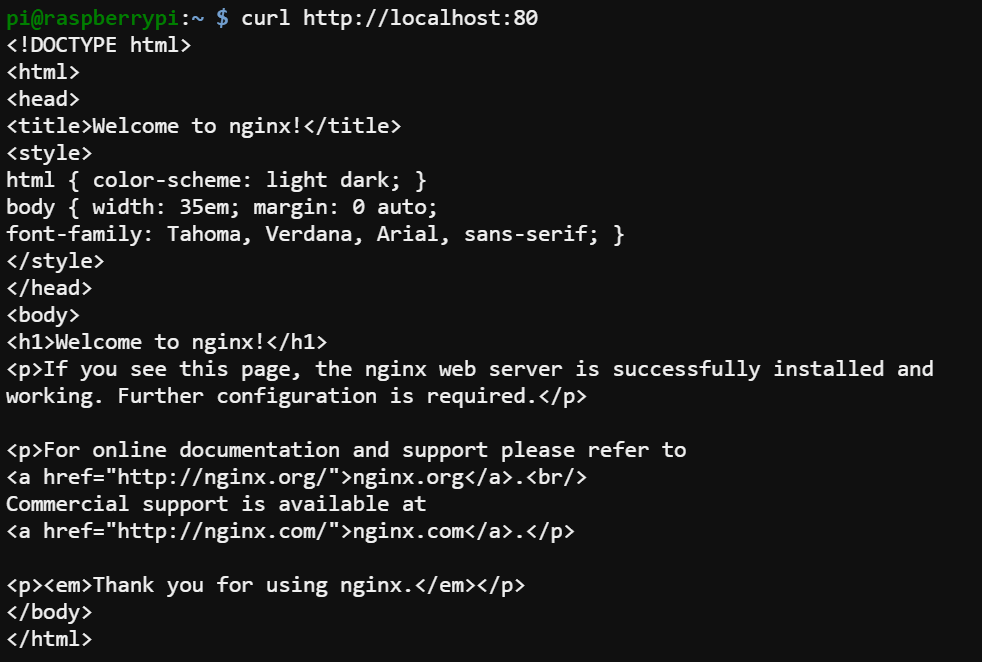
6. Lastly, run the below curl command to make an HTTP GET request to your web server to confirm that the webserver is running inside the Docker container.
curl http://localhost:80If the webserver functions correctly, you will receive a response, which is the default Welcome to nginx! page, as shown below.
Conclusion
Congratulations! You have successfully installed Docker on Raspberry Pi 4 and are now ready to harness its power. With Docker and Raspberry Pi’s powerful combination, you can now leverage the benefits of containerization by running applications in Docker containers.
But the journey does not stop here. Why not take a step further and containerize your own applications? Unleash the power of Docker on Raspberry Pi 4, and let your productivity soar!


