

Tired of spending too much time managing your AWS resources? Why not consider AWS CLI Mac? This client is designed to help you automate your workflow and save time by streamlining the process of managing your AWS resources.
In this tutorial, you will learn to install and configure AWS CLI for Mac to help simplify your AWS management and optimize your workflow.
Ready? Dive in and streamline your AWS resource management!
Prerequisites
This tutorial comprises hands-on demonstrations. To follow along, be sure you have the following in place:
- A computer running macOS version 10.12 or later – This tutorial uses macOS 11.7 (Big Sur).
- An AWS account with active billing.
Installing AWS CLI on Mac via Homebrew
Managing your AWS services in one tool, like AWS CLI, boosts your workflow and productivity. But even though AWS CLI is cross-platform, you still have to install this tool in your system.
Perhaps you prefer to install packages in a command-line environment. If so, Homebrew, the package manager for macOS, is your friend. Homebrew simplifies software installation on Mac by automating software’s downloading and building process from its source code.
To install AWS CLI Mac via Homebrew:
1. Open your terminal, and run the brew command below to update Homebrew. Doing so ensures you have the latest version of the software and its packages. brew update
brew update
2. Next, run the below brew command to install the latest version of awscli.
If you already have an older version of the AWS CLI Mac installed, this command updates your existing installation to the latest version instead.
brew install awscli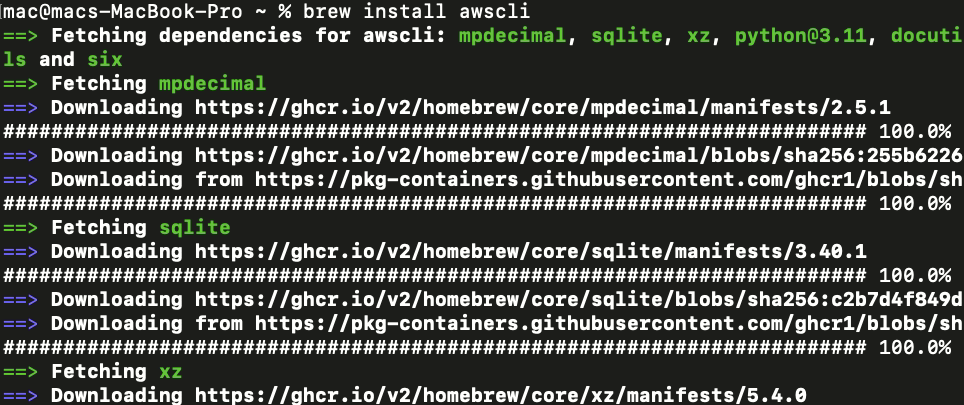
Run the brew doctor command if you encounter issues during the installation process. This command provides information about system issues (along with suggested solutions) that prevent package installation.
brew doctorSince there are no issues with the installation, the command returns the following output.

3. Now, run the following aws command to check the installed AWS CLI --version.
aws --versionThe output below verifies your AWS CLI Mac installation. At this time of writing, the latest version is 2.9.13, as shown below.

Installing AWS CLI Mac via the Official Package
If you fancy installing packages via GUI over a command-line environment, AWS CLI can also be installed via the official package, a standalone installer. This package comes in handy if you do not have Homebrew installed on your system.
Amazon distributes this package as a macOS PKG file, which can be downloaded from the AWS website and installed on your system.
To install the AWS CLI Mac using the official package, follow these steps:
1. Open your favorite web browser, and download the AWS CLI PKG file from the official AWS website.
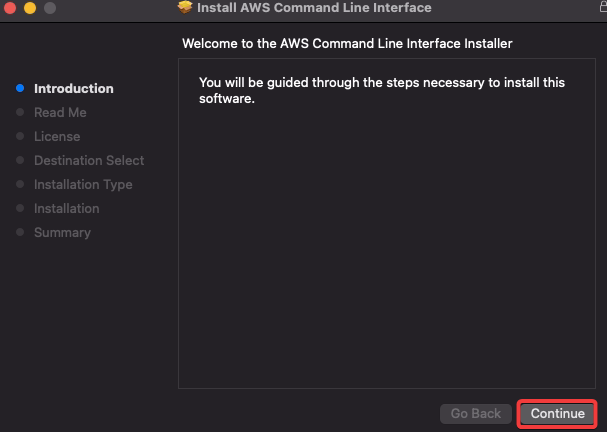
2. Once downloaded, double-click on the PKG file, which opens the AWS CLI installer window.

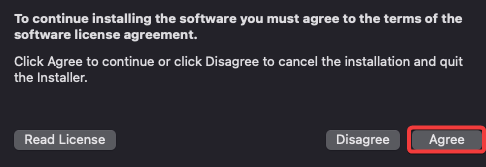
3. On the Introduction to the License screen, keep clicking Continue to proceed with the installation process, and accept the license agreement.
4. Now, click Agree when prompted, as shown below, to accept the software license agreement.
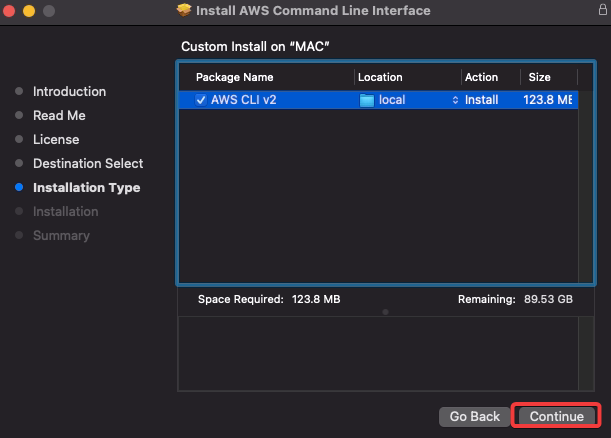
5. Keep the default settings for the Installation Type, and click Continue.
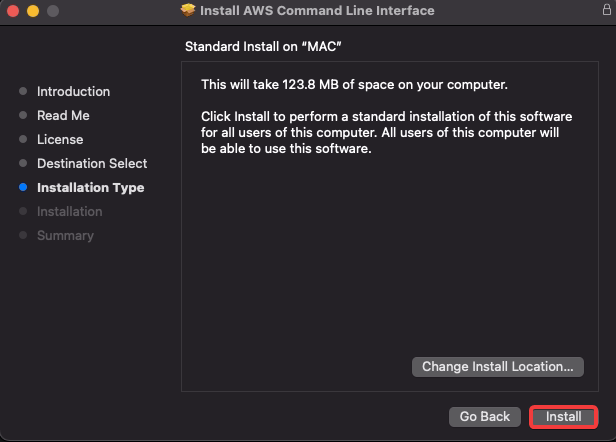
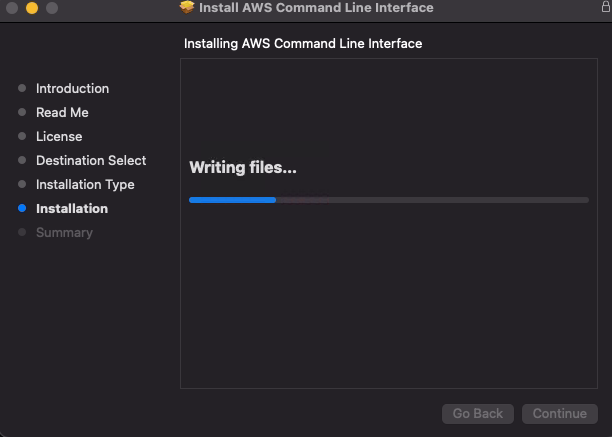
6. Next, click Install to start installing AWS CLI.
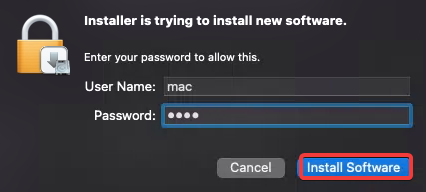
7. Provide your Mac password, and click Install Software.
The installation starts and the progress is displayed in the screenshot below.
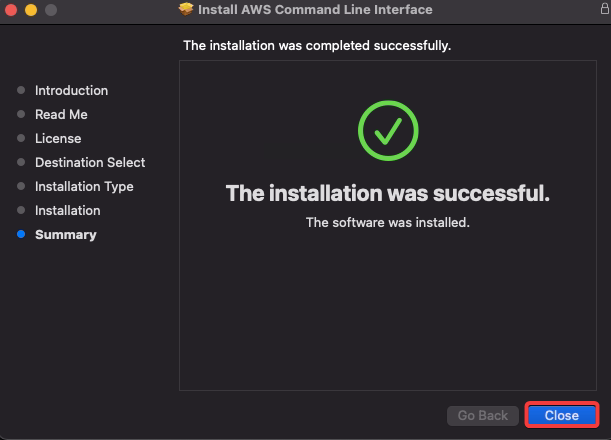
8. Once the installation completes, click Close to close the installation window.
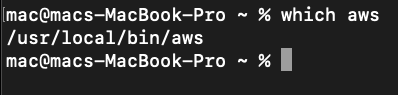
9. Lastly, switch to your terminal, and run the below which command to verify the installation was successful. This command searches your system for the aws executable file and displays the path to the file if it is found.
which awsBelow, the aws executable is found at /usr/local/bin/aws.
Configuring AWS CLI for Managing AWS Resources
Regardless of the method you used, with the AWS CLI installed, managing various AWS resources is just one step closer. What step? Configuring your AWS CLI installation.
You will need to configure it with your AWS credentials, which involves providing the AWS CLI with access and secret access keys. These keys are for an AWS Identity Access Management (IAM) user or role with the necessary permissions to perform certain tasks.
To configure your AWS CLI Mac, follow the steps below:
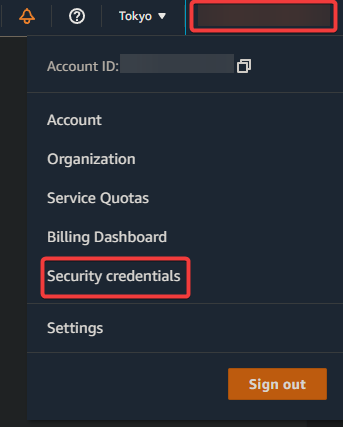
1. Sign in to the AWS Console, click your user name (top-right), and click Security credentials to access your AWS IAM page.
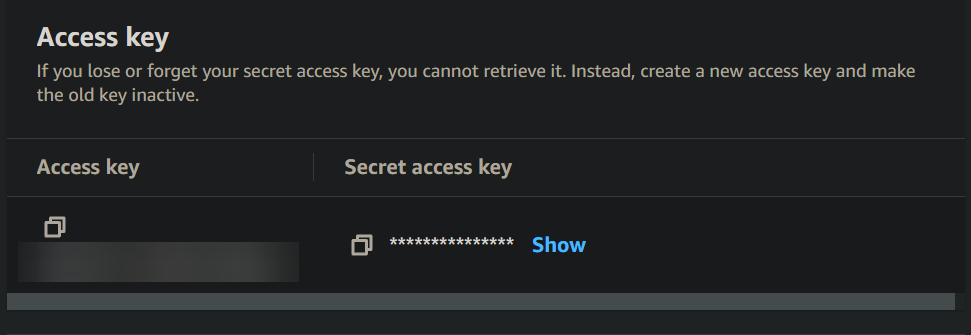
2. Next, scroll down to the Access key section, and click Create access key to initiate creating an access key.

3. Take note of the access and secret access keys, as you will need those keys later.
4. Now, return to your terminal, and run the below aws configure command to open a configuration wizard to help you set up your AWS CLI.
aws configureProvide the AWS access and secret access keys you noted in step three, your region, and output format.

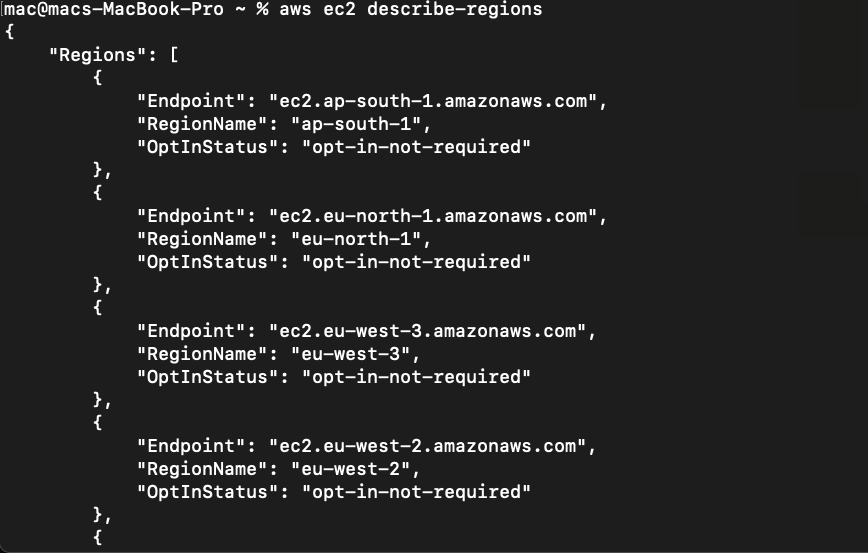
5. Once configured, run the following aws ec2 command to verify that the AWS CLI is configured correctly. This command lists the regions available to your AWS account. aws ec2 describe-regions
The output below confirms you have successfully configured your AWS CLI installation. With the AWS CLI configured, you can perform tasks such as but are not limited to the following :
- Creating Amazon Elastic Compute Cloud (EC2) instances.
- Creating Amazon Virtual Private Clouds (VPCs).
But this tutorial can only cover creating an EC2 instance via AWS CLI.
Creating an EC2 Instance
Now that you have configured your AWS CLI, you can use it to manage resources, like creating an EC2 instance. But first, you will need to specify an Amazon Machine Image (AMI) and an instance type at the minimum:
- AMI – A pre-configured virtual machine (VM) image used to create EC2 instances. AMIs include an operating system, applications, and other configuration settings.
- Instance type – Determines the hardware configuration of an EC2 instance, including the number and type of CPUs, the amount of memory, and the amount of storage.
To create an EC2 instance, below are the steps to follow:
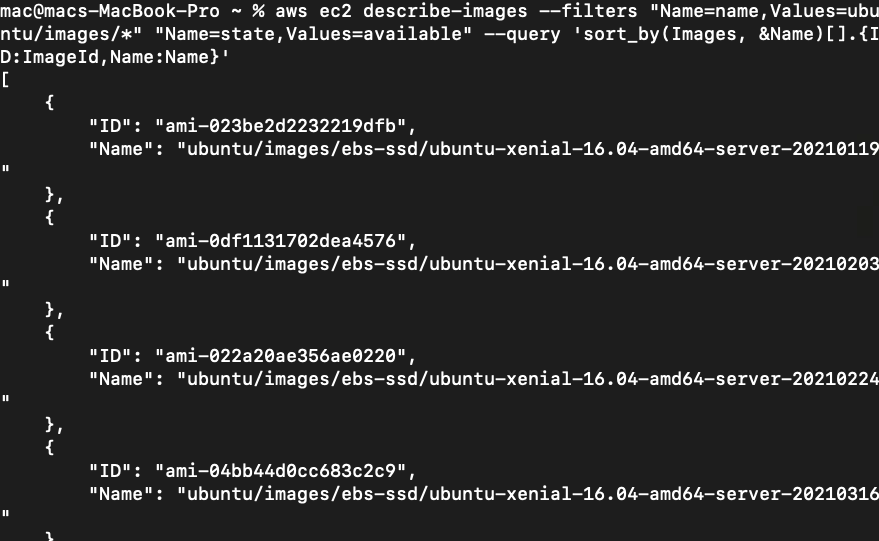
1. Run the aws ec2 command below to find the ID of an AMI you wish to create an EC2 instance. In this case, an AMI whose name contains ubuntu/images.
The --filter parameter --filters the results since the output can be long and may take some time to finish.
aws ec2 describe-images --filters "Name=name,Values=ubuntu/images/*" "Name=state,Values=available" --query 'sort_by(Images, &Name)[].{ID:ImageId,Name:Name}'Take note of your target AMI ID. This tutorial’s choice is ami-053acb403ce491481.
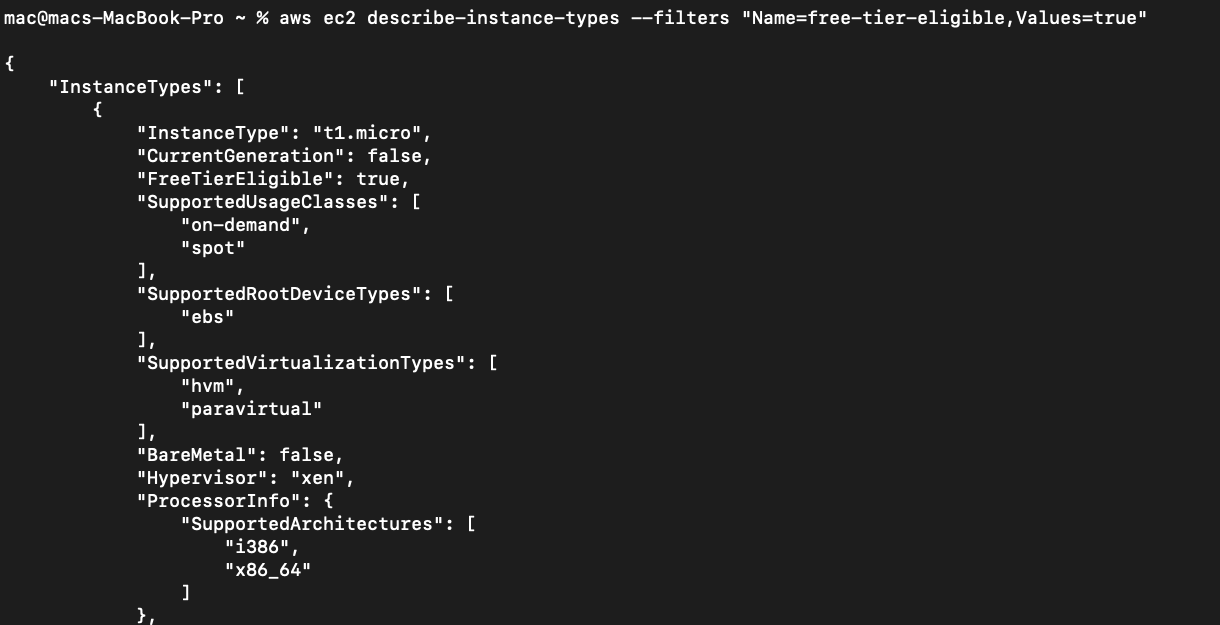
2. Next, run the below command to find the instance type you want to use.
This command lists all available EC2 instance types eligible for the free tier.
aws ec2 describe-instance-types --filters "Name=free-tier-eligible,Values=true”Below is information about each instance type, including its hardware configuration, name, and so on.
Take note of the instance type you wish to use.
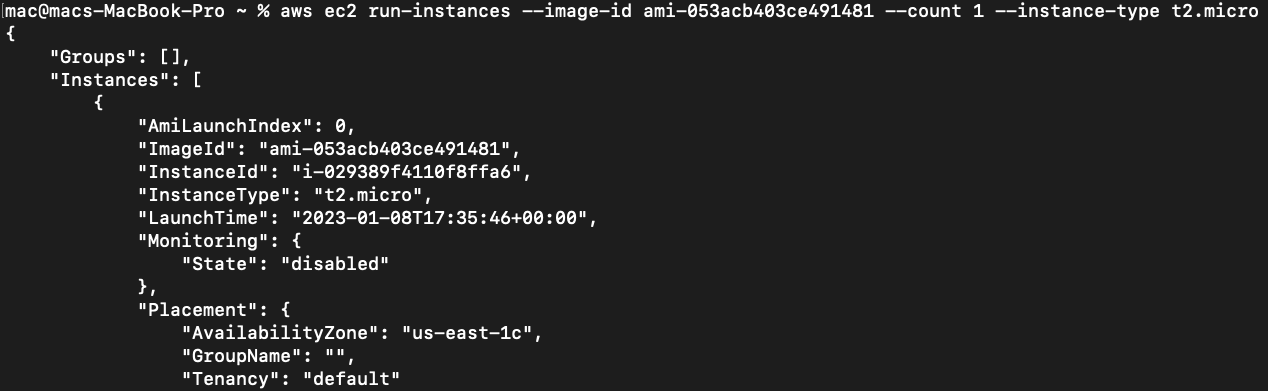
3. Now, run the below ec2 run-instances command to create an EC2 instance with the parameters:
--image-id– Specifies the AMI ID you noted in step one (ami-053acb403ce491481) to create the EC2 instance. This AMI will be used as the base image for the instance.
--count 1– Specifies that only one (1) EC2 instance should be created.
--instance-type– Specifies the instance type you noted in step two (t2.micro) to use for the EC2 instance.
aws ec2 run-instances --image-id ami-053acb403ce491481 --count 1 --instance-type t2.microThe below output indicates that the EC2 instance was created successfully.
As you can see, there is no need to manually log into the AWS console and click through many pages to create an EC2 instance. With the AWS CLI, you can set up an EC2 instance in just a few commands.
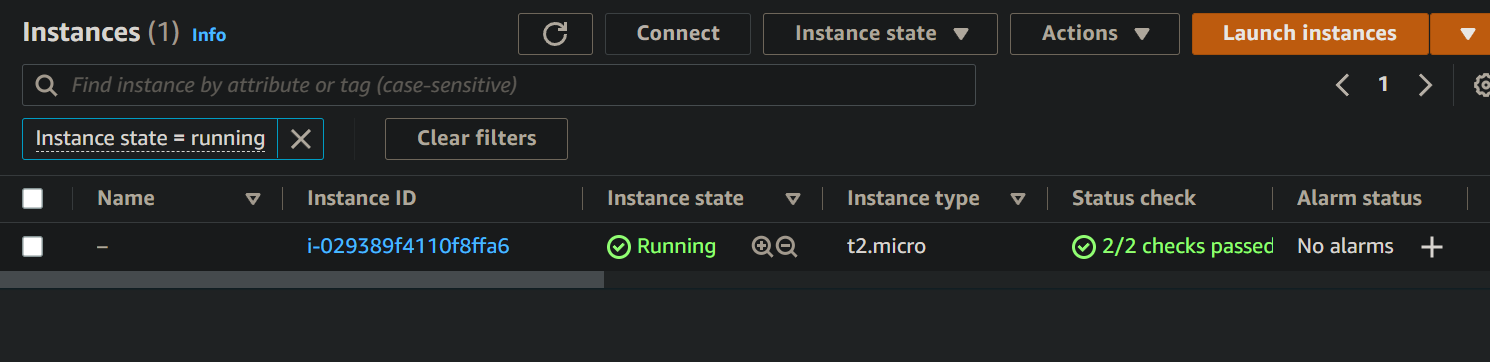
4. Navigate to the EC2 console, and you will see your instance listed, as shown below.
Finally, run the following ec2 terminate-instances command to terminate the instance (<instance-id>).
aws ec2 terminate-instances --instance-ids <instance-id>
Conclusion
AWS CLI for Mac is a time-saver and the perfect solution for streamlining your AWS management. And in this tutorial, you have learned how to install and configure the AWS CLI for Mac.
This client lets you better manage your AWS resources, like creating an EC2 instance, as you did in this tutorial. At this point, automating your workflow is within your reach so you can focus on more important tasks!
Why not start managing more of your AWS resources? Perhaps launch EBS volumes, and configure security groups for added layers of security?


