


There are many ways to install software in your Ubuntu system. But if you opt for a GUI method, the Ubuntu Software Center is a great way to get started!
In this tutorial, you will learn to find virtually any program or package and install them on your system via the Ubuntu Software Center.
Keep reading and streamline your workflow by quickly installing software on Ubuntu!
Prerequisites
Since this tutorial houses hands-on demonstrations, to follow along, ensure you have an Ubuntu system. This tutorial uses Ubuntu 20.04 LTS, but other versions of Ubuntu will work, while the steps may vary slightly.
Installing the Ubuntu Software Center
An intuitive GUI that simplifies finding, installing, and managing software is like a dream. But how does the Ubuntu Software Center work?
Below are some features that Ubuntu Software Center has in store for you:
- Provides a centralized location where you can search for applications, games, utilities, and other packages.
- Handles dependencies and updates automatically. This feature provides convenience for users new to Linux or who prefer a user-friendly interface.
But just like other tools, you must install the Ubuntu Software Center on your system as follows:
1. Open the terminal, and run the following apt command to update the package lists. Doing so ensures you have the latest information about available software packages.
sudo apt update -y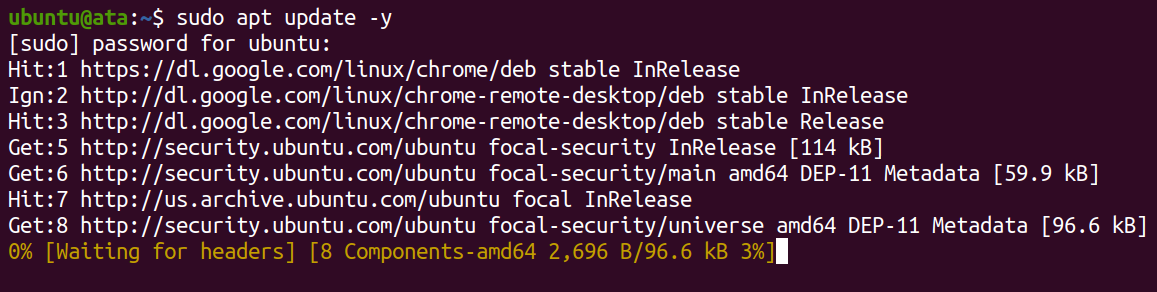
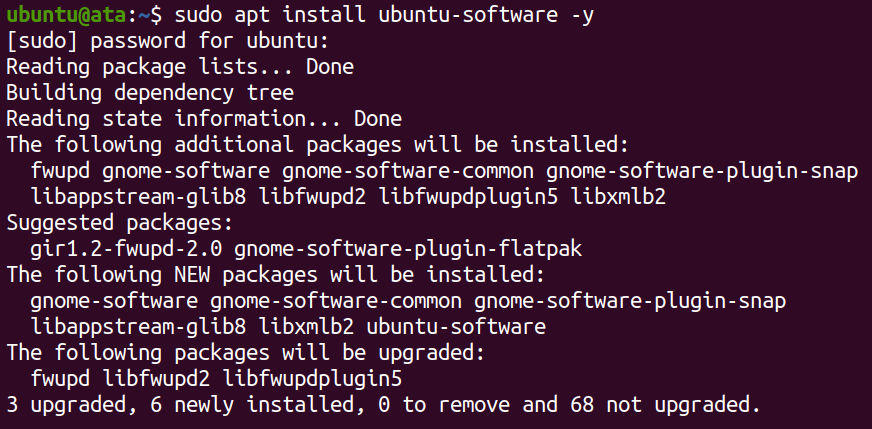
2. Next, run the below command to install the Ubuntu software center (ubuntu-software).
sudo apt install ubuntu-software -yOnce installed, the Ubuntu Software Center becomes available from your applications menu (step three).
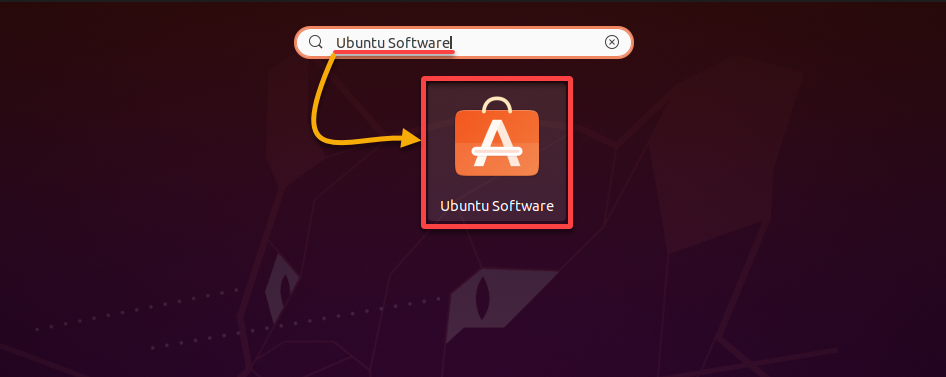
3. Search for and open the Ubuntu Software Center.
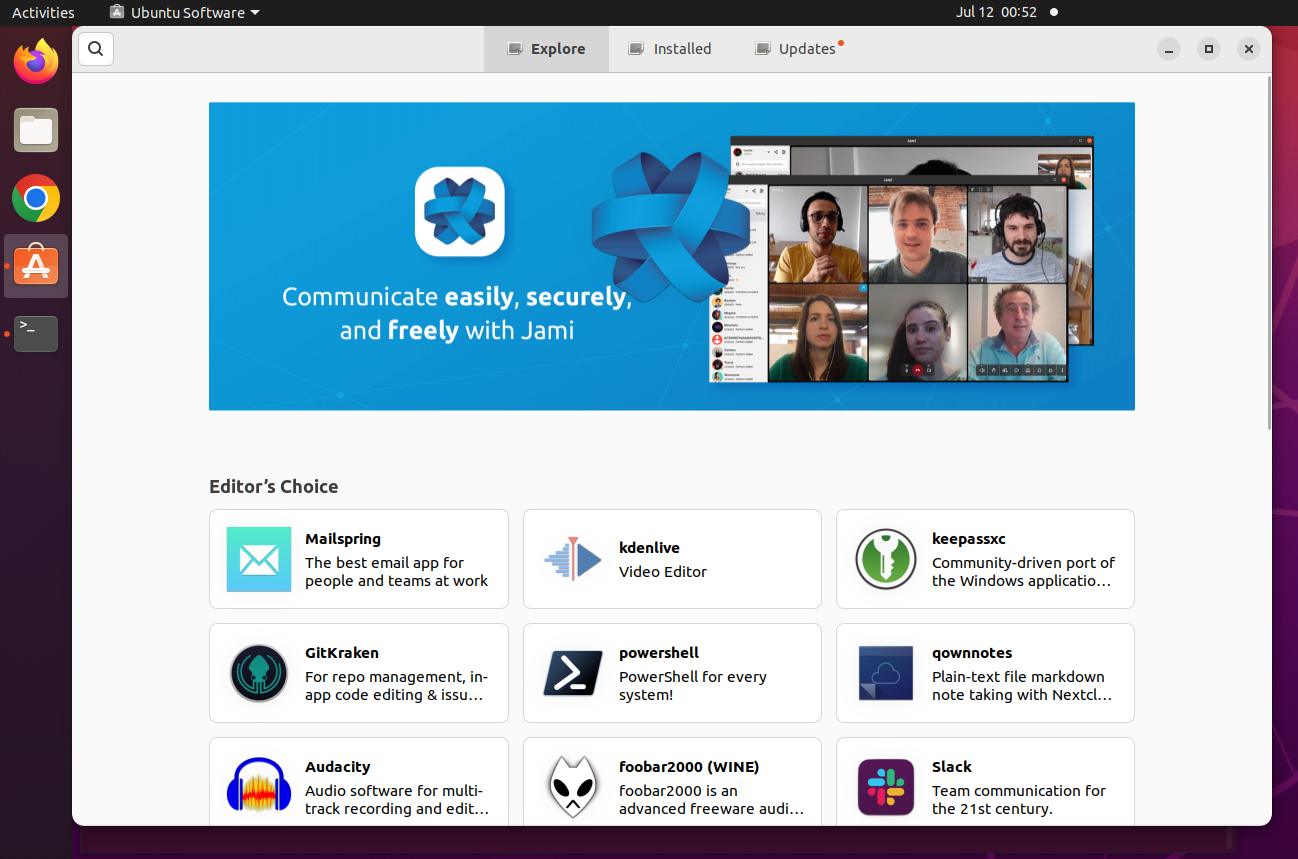
If successfully installed, you will see the Ubuntu Software Center interface, as shown below, where you can search for and install software packages.
💡 If you encounter any issues with the Ubuntu Software Center, restart your system or reinstall the Ubuntu Software Center using the same installation steps.
Installing Software Packages via the Ubuntu Software Center
With the Ubuntu Software Center installed, you will experience finding and installing software packages. Instead of scouring the internet via a web browser, you can directly find dedicated or compatible software packages with your Ubuntu system.
To find and install software packages:
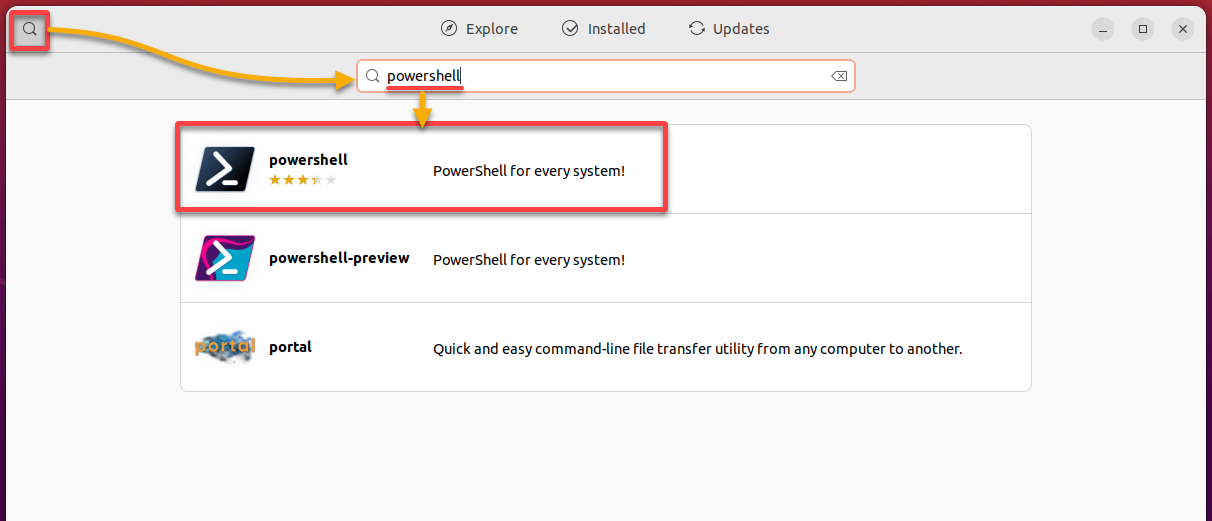
1. Click the search icon (top-left), search for the software you wish to install (i.e., powershell), and select it to see its overview page.
💡 The search bar in the Ubuntu Software Center is not case-sensitive but flexible and can accommodate different input formats.
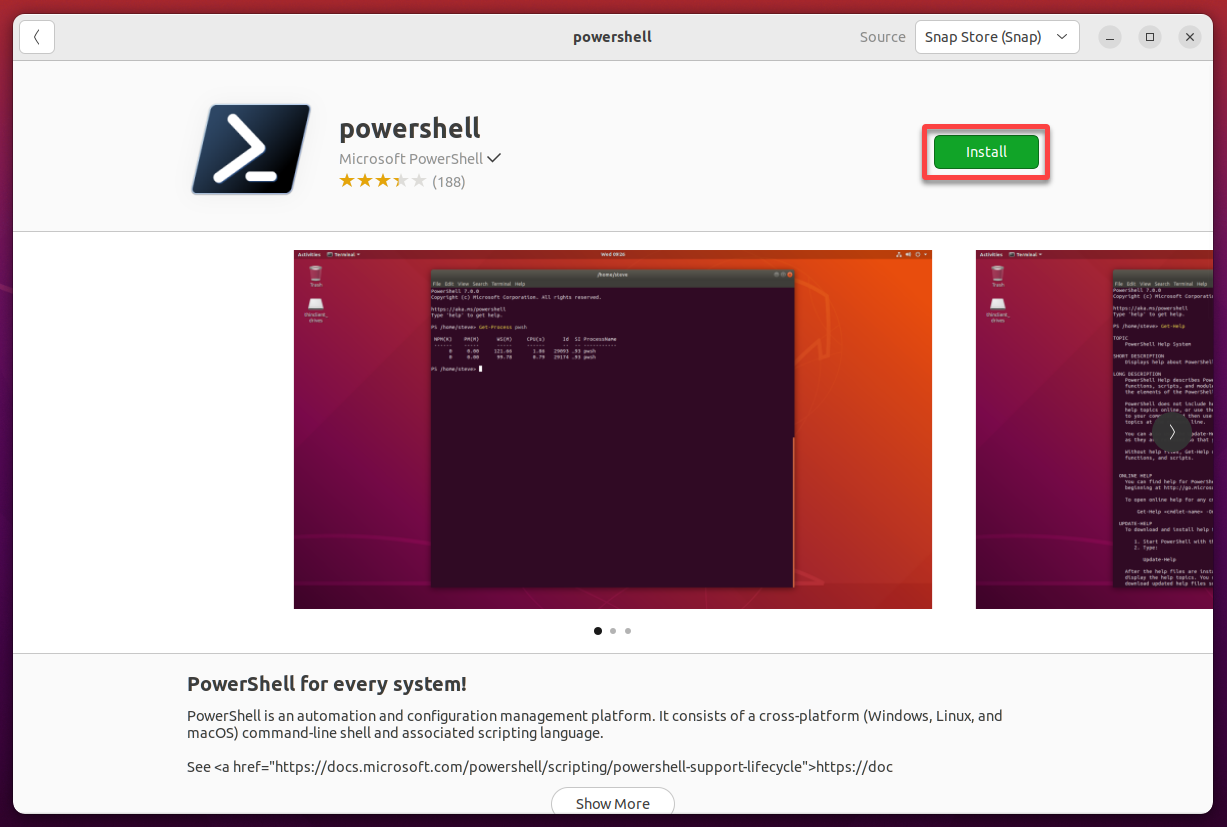
2. Next, review the detailed information to ensure the software meets your requirements, and click Install. The package will be downloaded and installed automatically.
💡 Note: Pay attention to the release date and user reviews to understand its stability and popularity.
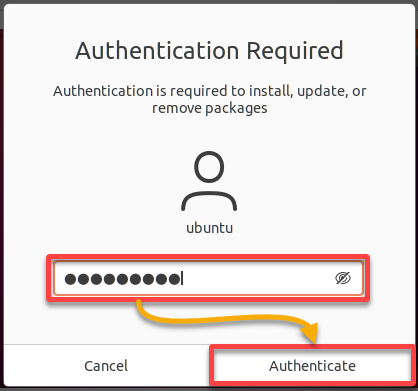
3. When prompted, provide your password, and click Authenticate to authenticate the installation.
Once authenticated, the installation begins, as shown below.
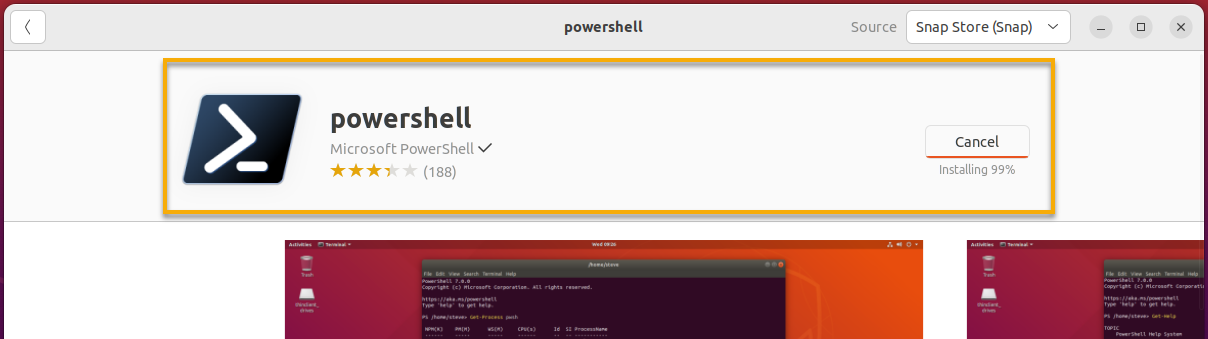
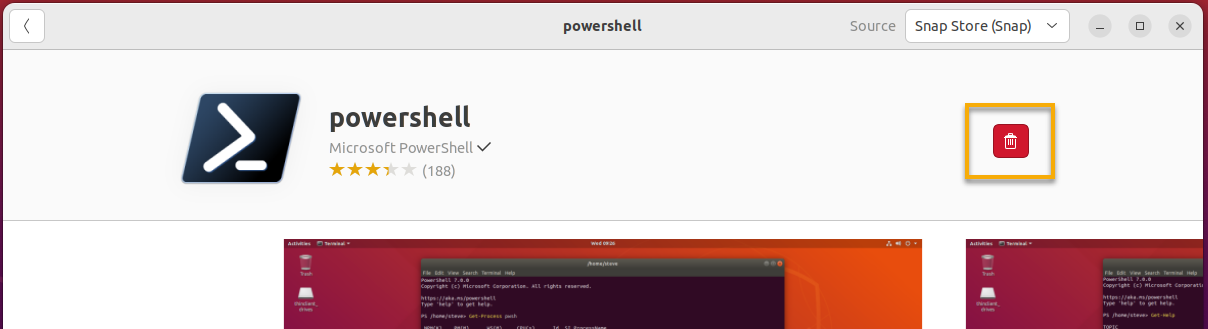
Below, the progress bar turns to a delete icon once the installation is complete.
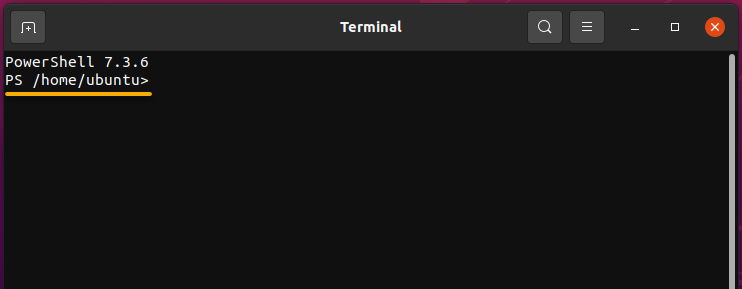
4. Now, find and launch the newly-installed software to verify it has been successfully installed on your system.

Since you installed PowerShell, your terminal opens and is already at the PowerShell prompt.
Updating Installed Software Packages
Installing software is one thing, but how do you keep them updated? Regularly updating your software helps keep your system healthy. And with the Ubuntu Software Center, you can get your installed software’s latest features and bug fixes.
To update installed software packages in your system:
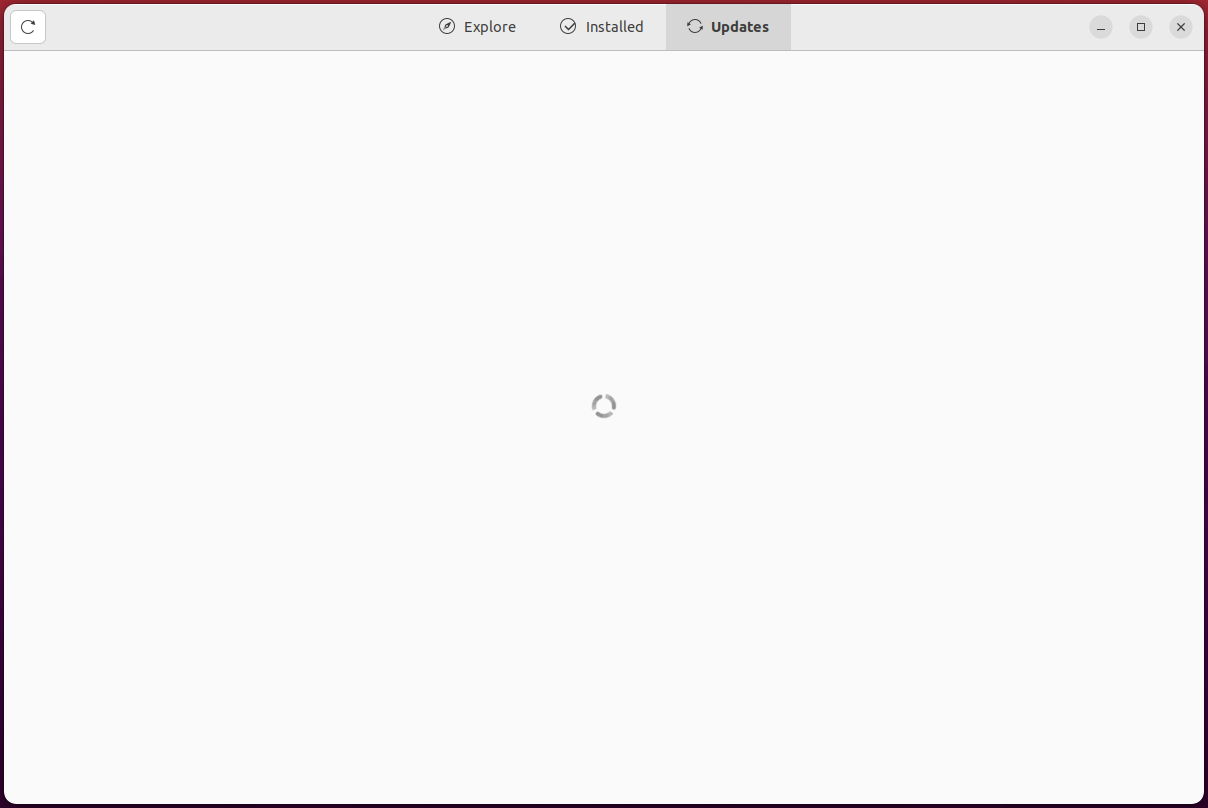
Navigate to the Updates tab in the Ubuntu Software Center, which is specifically dedicated to managing software updates.
The Updates tab may take a while to load as it retrieves the latest update information from the Ubuntu server.
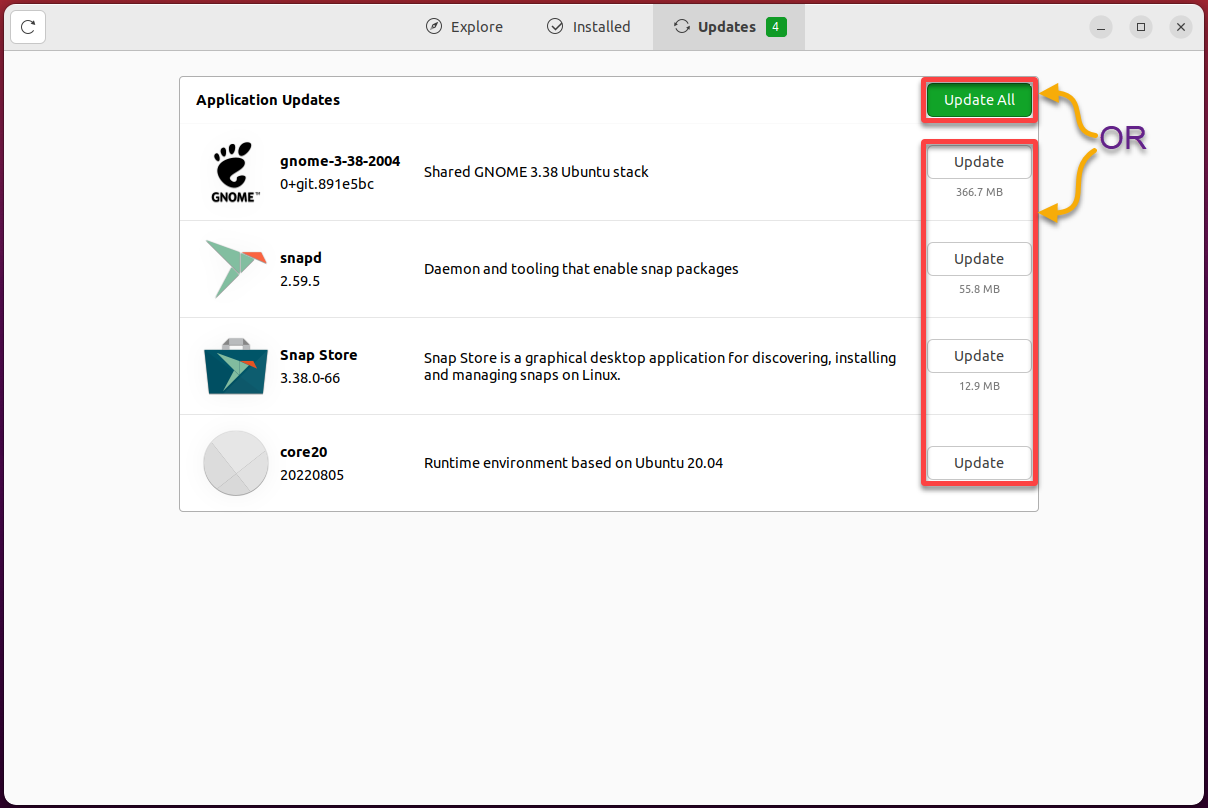
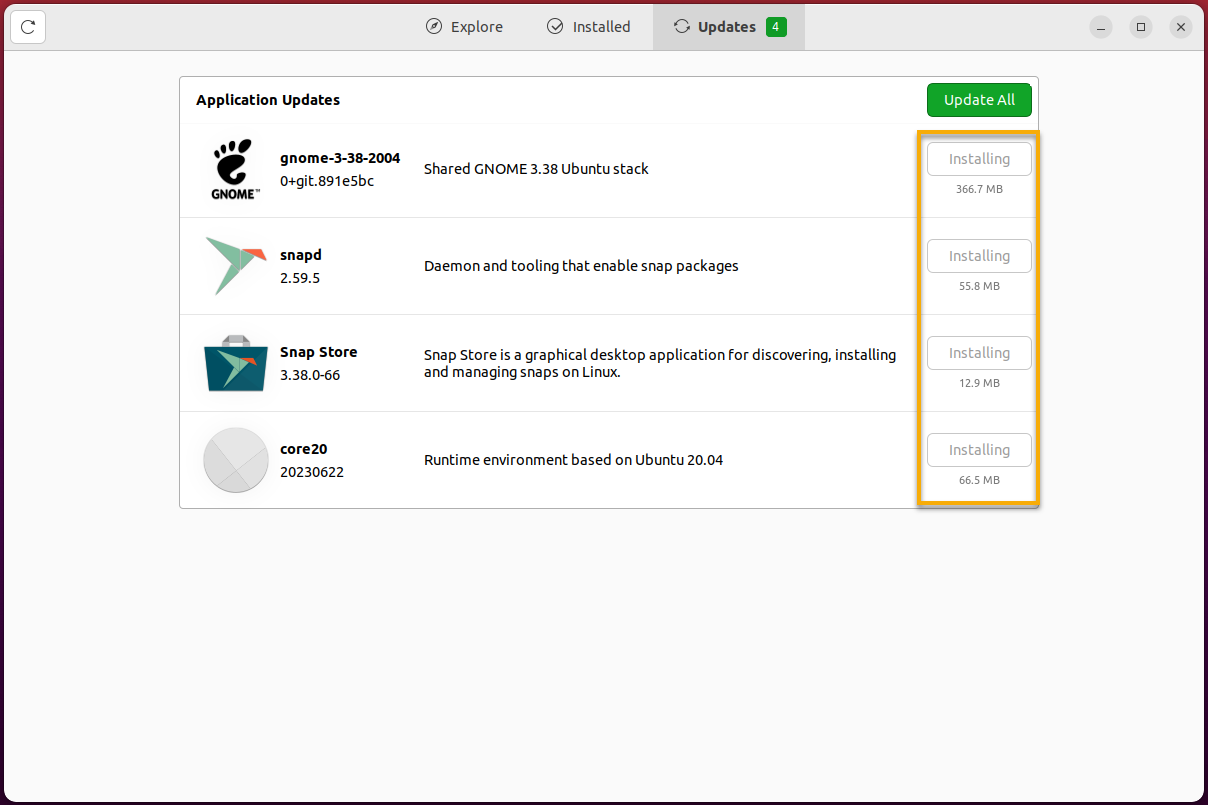
Once the Updates tab has loaded, click on Update All to update all software packages simultaneously or Update specific ones only.
As the update process begins, do not close the Software Center or shut down your system to avoid your application becoming corrupted.
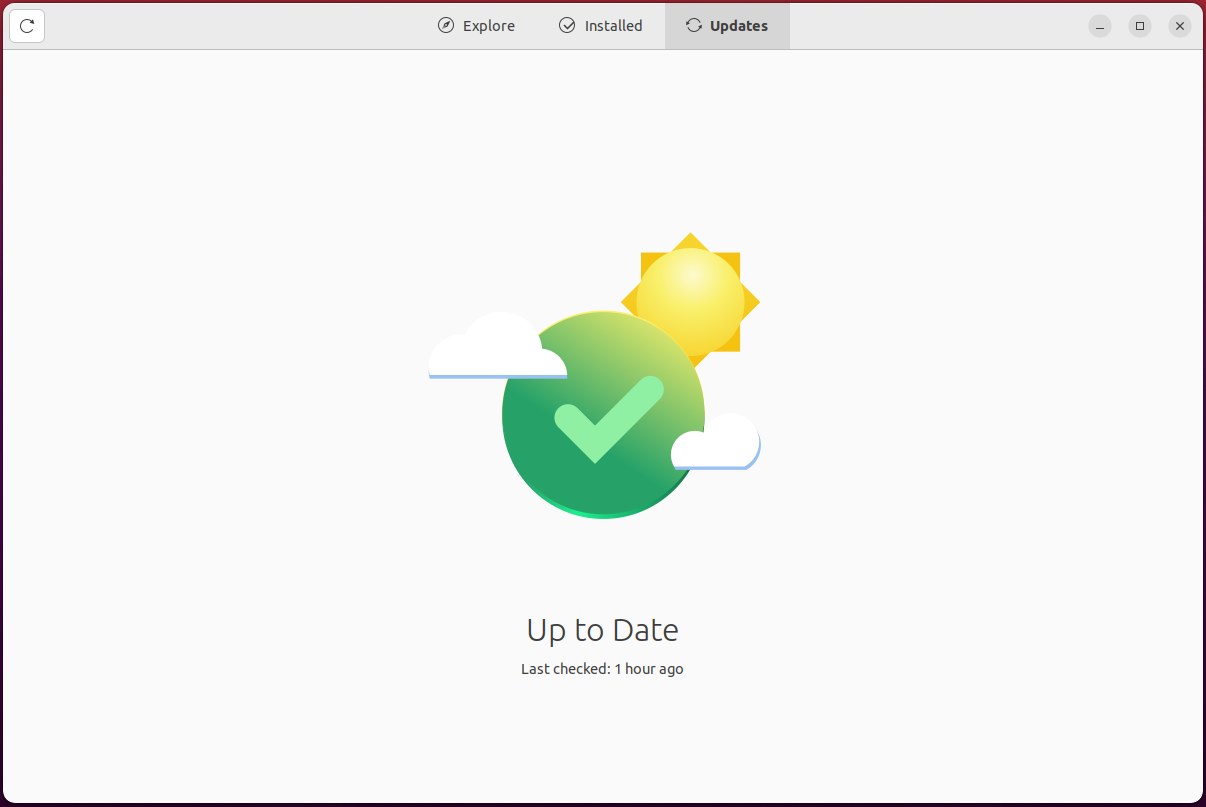
After the update finishes, you will see a message indicating that your software is up to date.
💡 Restart your system if prompted, as some updates may require a reboot to take effect.
Removing Unwanted Software Packages
Multiple software packages are installed by default during your system’s initial setup. But as time goes on, some of these applications can become unnecessary and take up valuable space on your computer. In such cases, you can opt to remove them from your system.
To remove software via the Ubuntu Software Center:
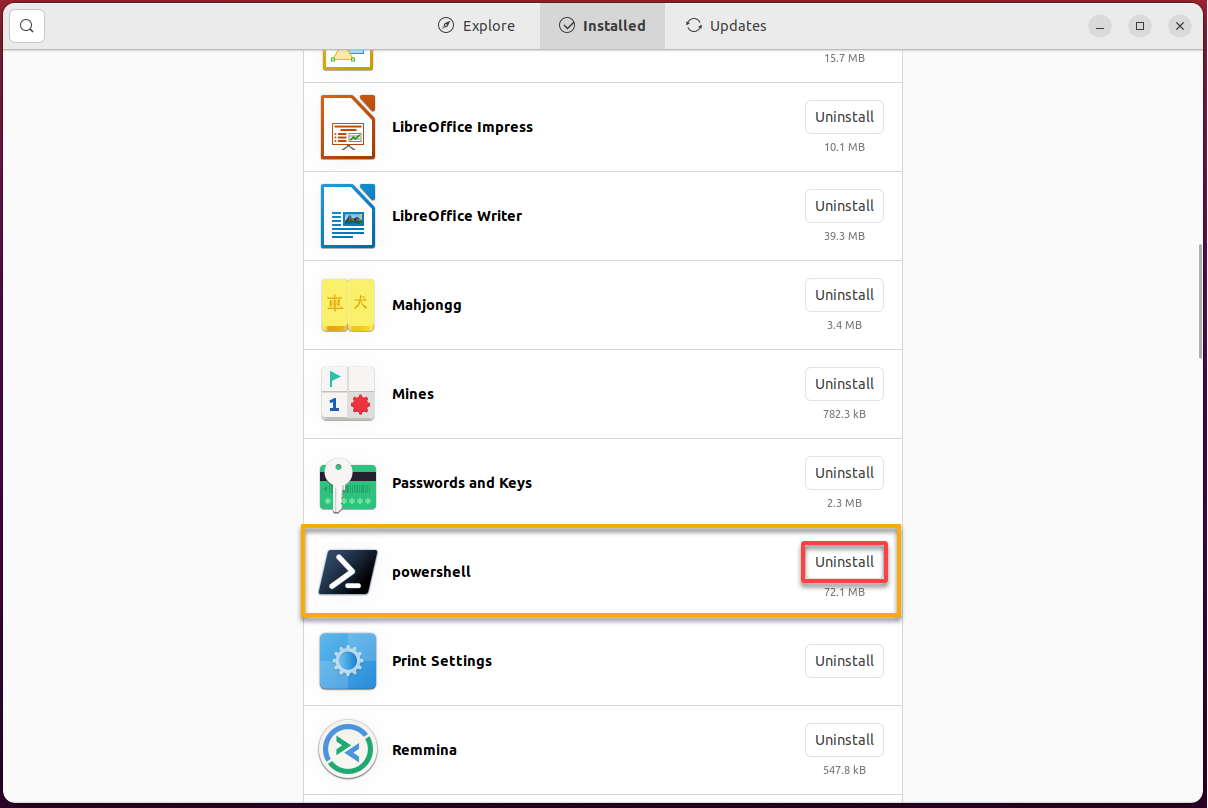
1. Navigate to the Installed tab, which displays a comprehensive list of installed packages on your system.

2. Locate the software package (i.e., powershell) you want to remove, and click the adjacent Uninstall button to initiate removing the software package.
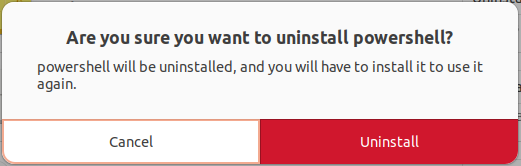
3. Lastly, click Uninstall to confirm the removal when prompted.
Conclusion
Software management becomes quick when you have the Ubuntu Software Center on your system. And in this tutorial, you have learned how this valuable tool lets you install new, update existing ones, and remove unwanted software packages on your Ubuntu system.
With the Ubuntu Software Center’s intuitive GUI, you can now easily search for and install a wide range of software packages. Be it a developer’s tool or a client for video games, the Ubuntu Software Center is up for the task.
Relating to video games, why not install a digital distribution platform like the popular Steam client? Quickly find, install, and manage games to your heart’s content!


