


Securing the code you’re writing or pushing into your repository is crucial. But how do you keep your code safe and have no vulnerabilities? Luckily, SonarQube can help with code quality and code security.
SonarQube is an open-source tool that allows you to scan your source code to look for potential bugs, vulnerabilities, and maintainability issues. And in this tutorial, you’ll learn how to install the SonarQube on Ubuntu and verify code quality by testing a sample code.
Empower yourself with SonarQube for code quality analysis and reporting today!
Prerequisites
This tutorial will be a step-by-step demonstration. To follow along, be sure you have an Ubuntu 14.04.4 LTS Linux machine or greater. This tutorial uses an Ubuntu 20.04.4 LTS machine.
Installing Java Version 11 on Ubuntu
Before you dive into the installation of SonarQube, you need Java to be present on the system, as SonarQube is based on the Java language. You can use multiple Java implementations to work with Jenkins, but OpenJDK is the most popular, which you will install and use in this tutorial. Let’s install Java!
1. Log in to your Ubuntu machine using your favorite SSH client.
2. Next, run the apt update command below to update your system packages.
sudo apt update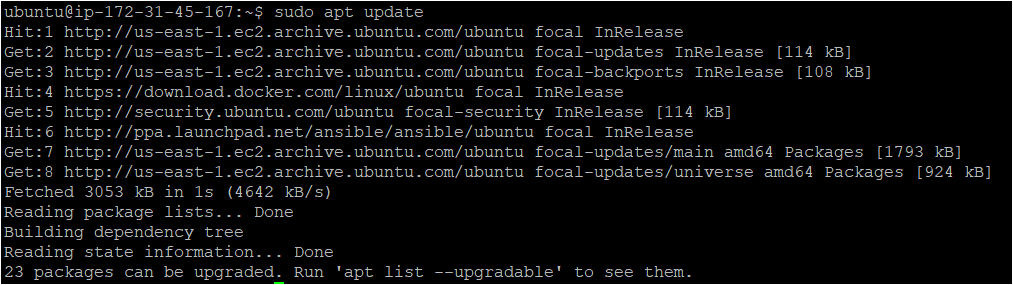
3. Once updated, run the following commands to create a directory named ~/install_sonarqube_demo and switch to that directory.
mkdir ~/install_sonarqube_demo
cd ~/install_sonarqube_demo
4. Now, run the apt install command below to install Java on your machine. The below command installs the Open JDK 11 version.
# Installing Java Version: Java SE 11 (LTS)
sudo apt install default-jdk 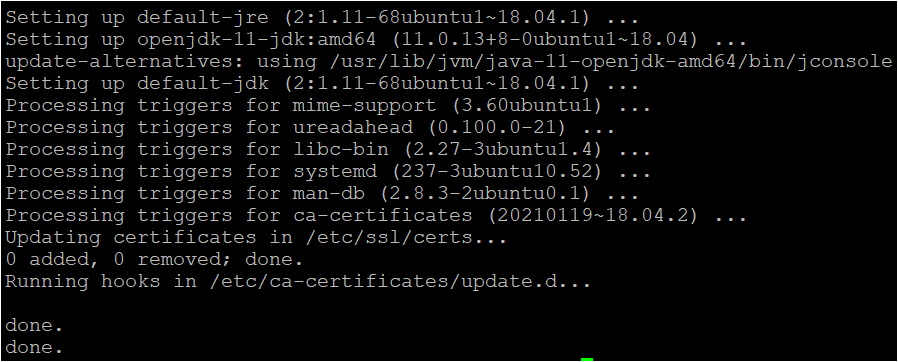
5. Finally, run the below command to check the version of installed Java on your machine. Doing so ensures that you’ve successfully installed Java.
java -version
Installing SonarQube on Ubuntu
Now that you have Java installed on your Ubuntu machine, you’re ready to install SonarQube on the same machine. Installing SonarQube is similar to installing other packages.
SonarQube works on different operating systems, such as Windows and Linux. But for this demo, you’ll run SonarQube on an Ubuntu server.
1. Run the following commands to create a dedicated user with a password you’ll use to install SonarQube. You can define your own user, but this tutorial’s choice is sonaruser.
sudo useradd sonaruser
sudo passwd sonaruser
2. Next, run the wget command below to download the SonarQube software to your system. Your version of SonarQube may be different than the one demonstrated here.
wget https://binaries.sonarsource.com/Distribution/sonarqube/sonarqube-9.4.0.54424.zip
3. Run each command below to install the unzip package and unzip the SonarQube zip file on your machine (sonarqube-9.4.0.54424.zip).
# Install the unzip package
sudo apt -y install unzip
# Unzip the SonarQube zip file
sudo unzip sonarqube-9.4.0.54424.zip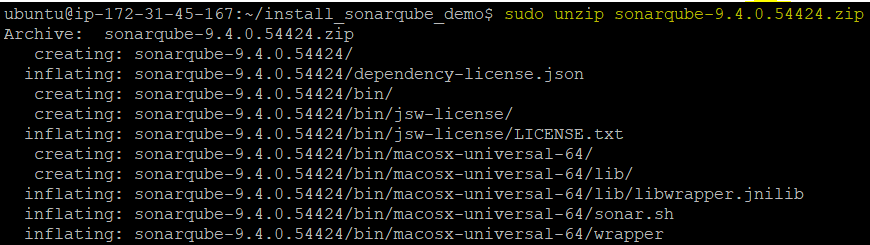
4. Lastly, run the chown command below to make sure the user and the group of the SonarQube directory is the user (sonaruser) you created in step one.
Be sure to change the home directory (/home/ubuntu/) with your own.
sudo chown -R sonaruser:sonaruser /home/ubuntu/install_sonarqube_demo/sonarqube-9.4.0.54424Setting up a Database for SonarQube
You’ve successfully installed SonarQube on your machine, but to configure the SonarQube, you’ll need a database to store the data. How? For this tutorial, you’ll install the Postgres database and create a database for SonarQube.
1. Run the wget command below to add the Postgres public key (apt-key) to your system.
Adding the public key allows the Postgres site to download the Postgres official repository or any required packages.
wget -q https://www.postgresql.org/media/keys/ACCC4CF8.asc -O- | sudo apt-key add -
2. Next, run the following commands to add the Postgres official repository to your system and update your system.
echo "deb [arch=amd64] http://apt.postgresql.org/pub/repos/apt/ focal-pgdg main" | sudo tee /etc/apt/sources.list.d/postgresql.list
sudo apt update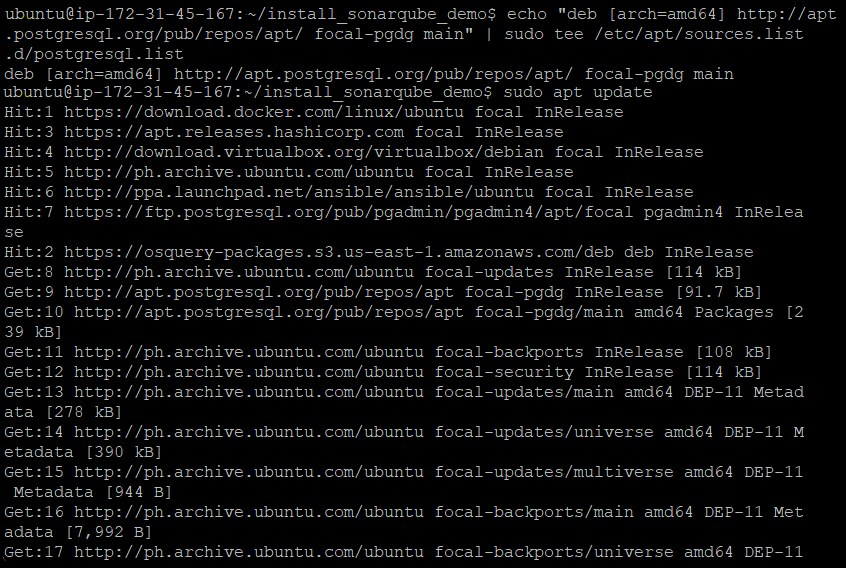
3. After the update, run each command below to install the Postgres package and verify the installation.
# Install Postgres
sudo apt install postgresql-13
# Verify Postgres installation
sudo systemctl status postgresql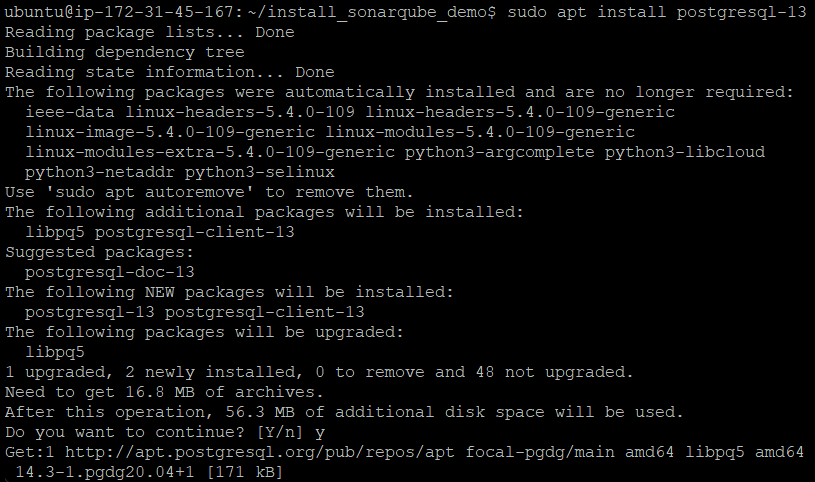

4. Now, run each command and query to create a database (sonardb) and a user (sonaruser) in the database.
# Set the Postgres user password (passwd postgres).
# By default, Postgres runs using the postgres user.
sudo passwd postgres
# Switch to postgres user
su - postgres
# Create a user in the database, which will be used in SonarQube.
createuser sonaruser
# Switch to postgres command-line
psql
# Sets password for the sonaruser
ALTER USER sonaruser WITH ENCRYPTED password 'password';
# Create the database (sonardb)
CREATE DATABASE sonardb OWNER sonaruser;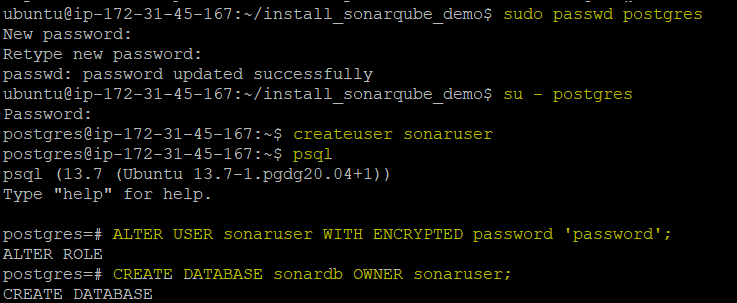
5. Run the below command or press Ctrl+D to exit from the Postgres command line.
\q
6. Finally, run the command below or press Ctrl+D to logout from the postgres user.
logout
Configuring SonarQube
At this point, you’ve created a database to store data. Now, it’s time to create a configuration file with correct database details and run SonarQube as a service.
Note that editing configuration files throughout this section requires sudo access.
1. Create a SonarQube’s configuration file (/home/ubuntu/install_sonarqube_demo/sonarqube-9.4.0.54424/conf/sonar.properties) in your preferred text editor.
Be sure to change /home/ubuntu with your home directory.
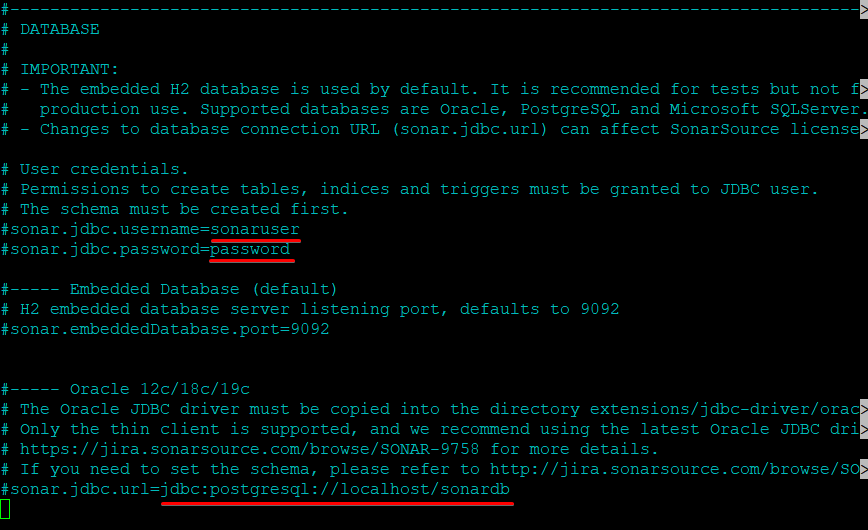
2. Update the SonarQube with the following, save the changes and close the file:
- sonar.jdbc.username – Set the sonar username (sonaruser).
- sonar.jdbc.password – Sets the sonaruser’s password (password).
- sonar.jdbc.url – Sets the database (sonardb) where SonarQube will store data.
3. Next, open the /etc/systemd/system/sonar.service file in your text editor and add the code below. But be sure to change /home/ubuntu with your own home directory, save the changes and close the editor.
This code creates the SonarQube service, which always runs in the background even when your system restart.
[Unit]
Description=SonarQube
After=syslog.target network.target
[Service]
Type=forking
ExecStart=/home/ubuntu/install_sonarqube_demo/sonarqube-9.4.0.54424/bin/linux-x86-64/sonar.sh start
ExecStop=/home/ubuntu/install_sonarqube_demo/sonarqube-9.4.0.54424/bin/linux-x86-64/sonar.sh stop
LimitNOFILE=131072
LimitNPROC=8192
User=sonaruser
Group=sonaruser
Restart=on-failure
[Install]
WantedBy=multi-user.target
4. Now, run the below systemctl command to reload the daemon (daemon-reload). This command doesn’t provide output but sets the service you created load in the system and runs in the next system reboot.
sudo systemctl daemon-reload5. Run each command below to enable and start the sonar service, and verify the service is running.
# Enabling the sonar service
sudo systemctl enable sonar.service
# Starting the sonar service
sudo systemctl start sonar
# Verifying the sonar service
sudo systemctl status sonar
The default operating system limits on mmap counts are too low. This behavior may result in out-of-memory exceptions. If your service stops, run the below command to solve it: sudo sysctl -w vm.max_map_count=262144

Accessing SonarQube and Scanning Code
SonarQube is now installed, and the service is running. But how do you know that SonarQube is actually running? With the service started, verify the server is correctly running by accessing SonarQube’s default web page on your browser.
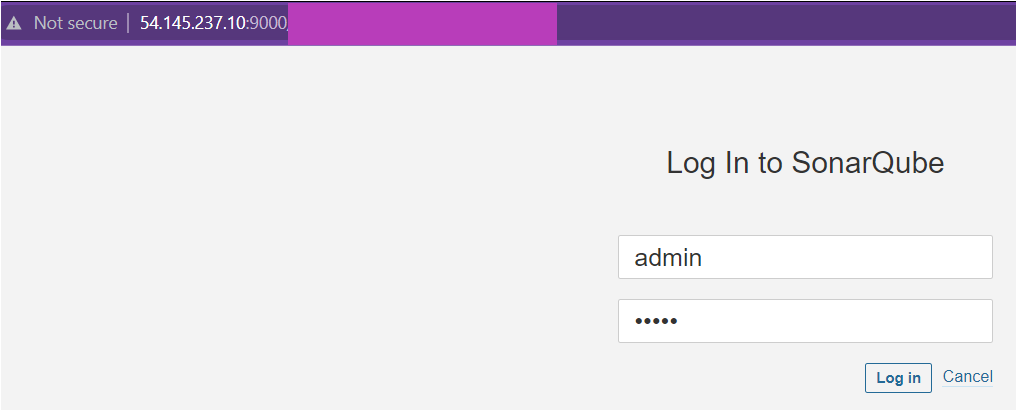
1. Open your favorite web browser and navigate to your IP address followed by port 9000 (i.e., 52.15.72.168:9000). If all goes well, you’ll see SonarQube’s login page below.
Log in to SonarQube using admin for both the username and password.
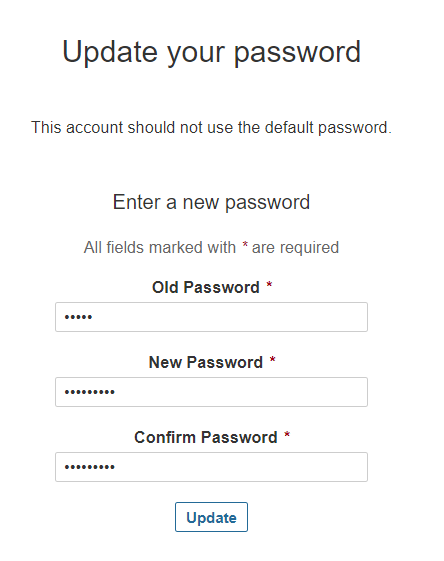
2. Once you log in successfully, enter the old (admin) and new password (anything you like) when prompted, and click Update to change the current password.
After updating the password, you’ll see the SonarQube home page (step three).
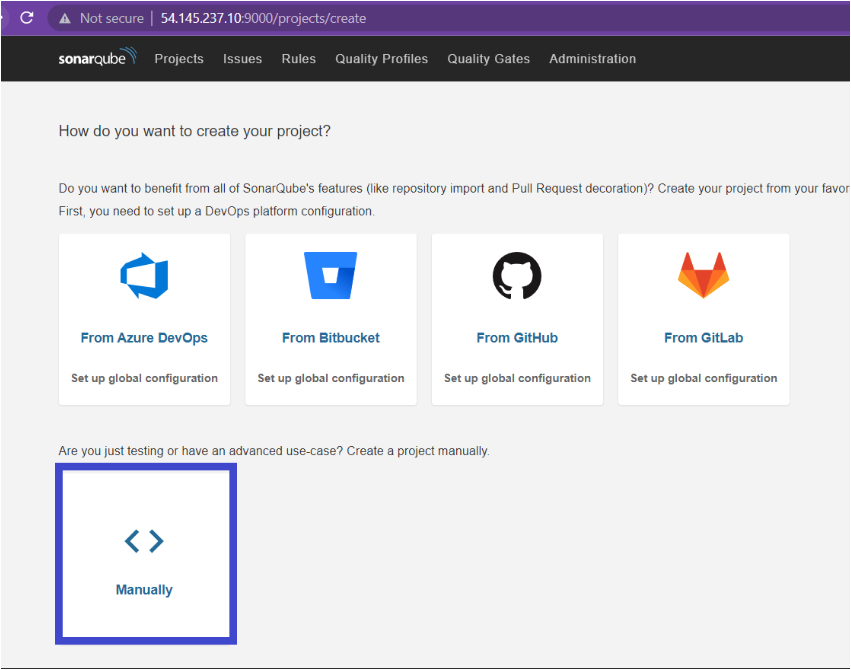
3. Next, click Manually as you’ll create the project on your Ubuntu machine rather than taking it from any repository.
4. Now, define the project details, as shown below, and click on Set Up. This tutorial uses ATA-Learning for the Project display name and the Project key.
Take note of the project key, as you’ll need it when you run the scan later.

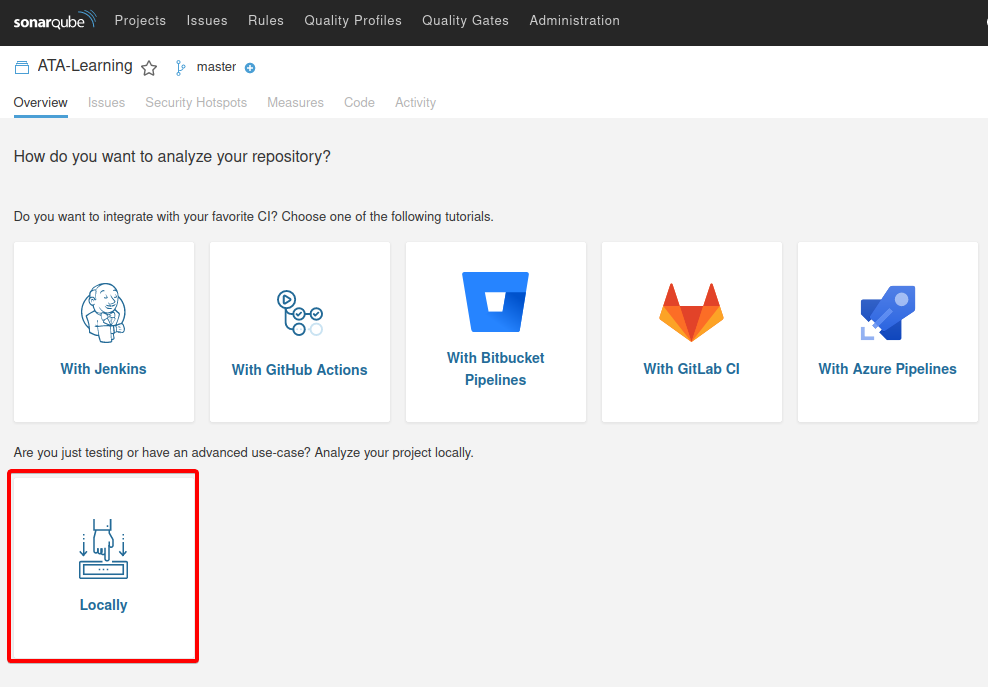
5. Select the Locally option since you’re creating your project on your local machine.
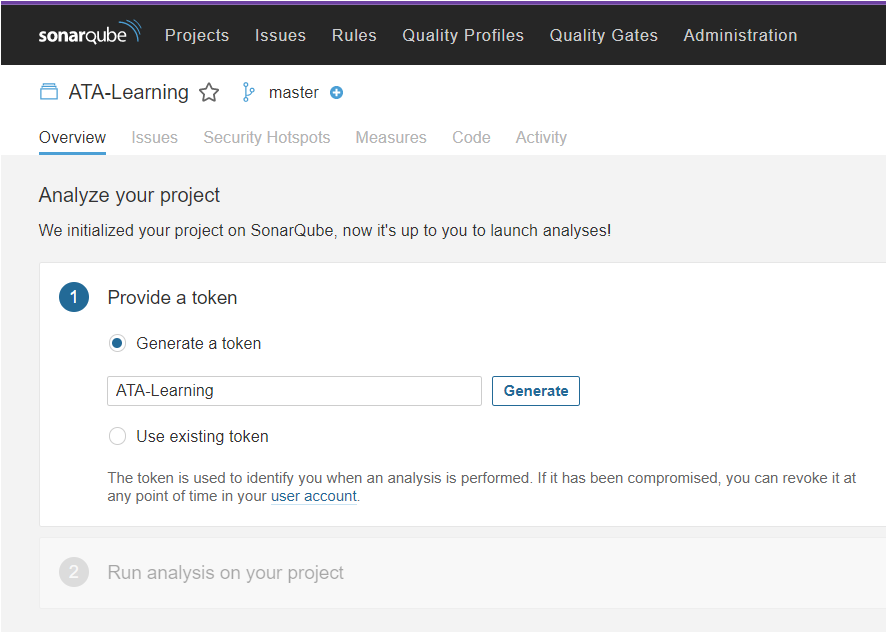
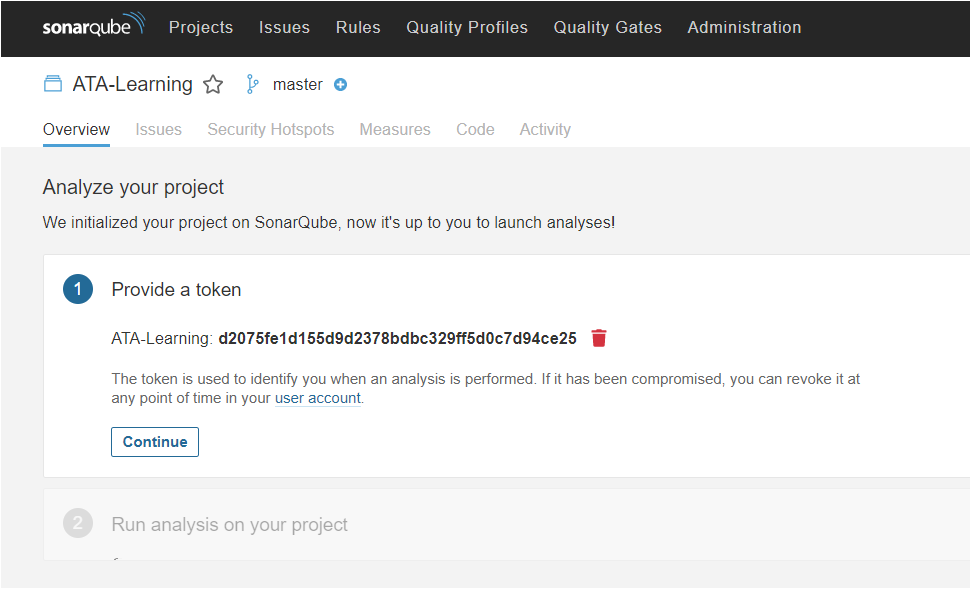
6. Next, generate a token with the following:
- Select the Generate a token option.
- Enter a name for the token. In this case, name the token the same as your project’s name (ATA-Learning) you set in step four.
- Click on Generate to generate a token associated with your project.
7. Note down the generated token, and click on Continue. You’ll need this token for scanning your code or local files later.
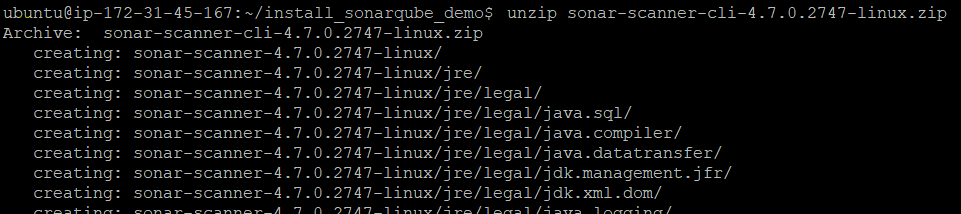
8. Now, run the following commands to download the SonarQube Scanner client zip file on your machine and unzip the file.
# Download the SonarQube Scanner client zip
wget https://binaries.sonarsource.com/Distribution/sonar-scanner-cli/sonar-scanner-cli-4.7.0.2747-linux.zip
# Unzip the SonarQube Scanner client zip file
unzip sonar-scanner-cli-4.7.0.2747-linux.zip
9. Run the following command while in the /home/ubuntu/install_sonarqube_demo/sonar-scanner-4.7.0.2747-linux/bin directory to run the scanner.
Replace the following accordingly:
ATA-Learning– Your actual project key.
http://54.145.237.10:9000– The URL you use to access SonarQube.
token - The token you noted down in step seven.
./sonar-scanner  \
>   -Dsonar.projectKey=ATA-Learning \
>   -Dsonar.sources=. \
>   -Dsonar.host.url=http://54.145.237.10:9000 \
>   -Dsonar.login=token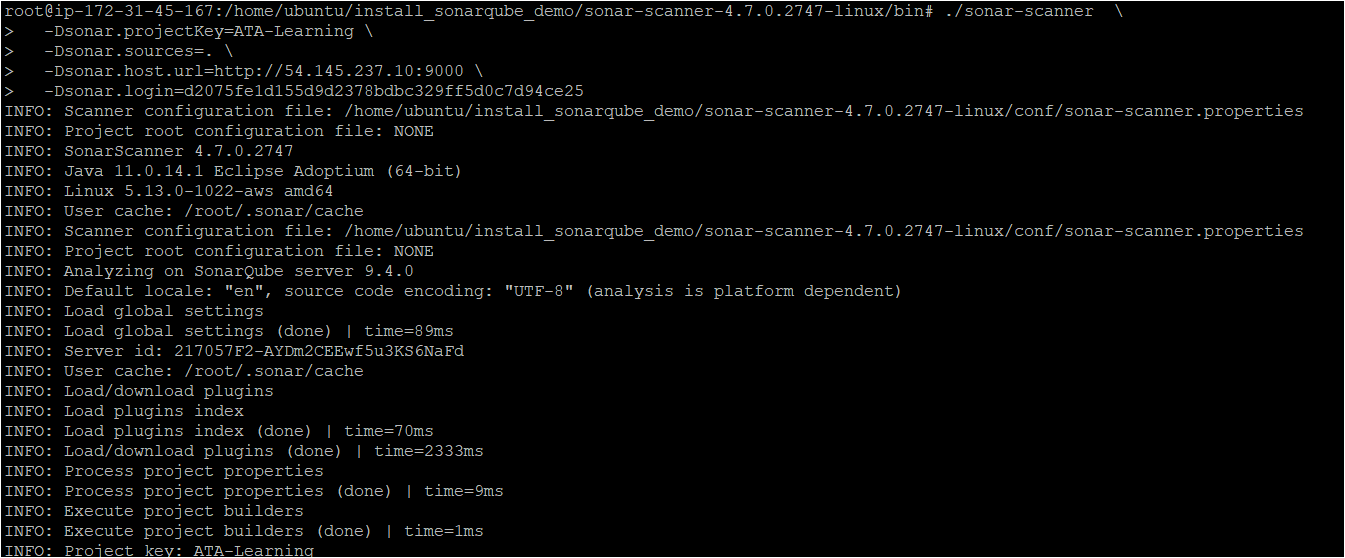
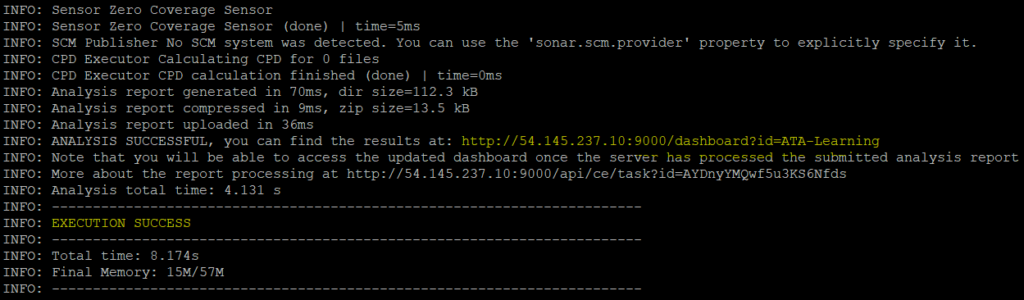
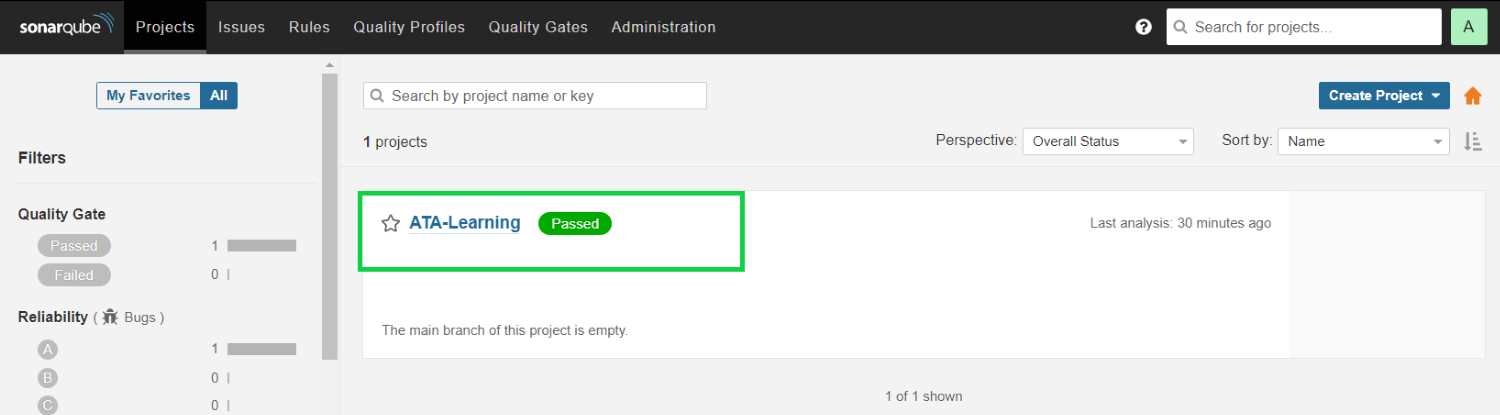
10. Finally, hop over to your SonarQube dashboard, click on the Projects tab, and see the first execution (scan) for your project (ATA-Learning) Passed.
Conclusion
In this tutorial, you’ve learned how to set up a SonarQube and scan the data stored in your project. Scanning lets you catch tricky bugs to prevent a heavy impact on end-users.
SonarQube realizes vulnerabilities that compromise your app and offers cleaner and safer code writing. And since you now have a fully functional SonarQube installed in your machine, what do you plan to scan in your next project?


