

Like there are different strokes for different folks, the world of Linux offers myriad distributions to suit every user’s preferences. Some users prioritize stability, while others seek bleeding-edge features. But for those who crave an environment finely tuned to elevate their developer experience, Regolith Linux is designed with developers in mind.
Regolith Linux is not just another operating system—it is a finely crafted platform to optimize your workflow. In this tutorial, you will learn to set up Regolith for seamless integration into your developer environment.
Take your productivity and creativity to new heights with Regolith!
Prerequisites
Ensure you have a Linux system running before setting up Regolith Linux. This tutorial uses an Ubuntu 22.04 LTS for demonstrations.
Installing Regolith Linux on Ubuntu
Regolith is designed to supercharge your workflow with a sleek design and customizable features. But before expressing your excitement about boosting the developer experience, you must install Regolith on your system first.
To install Regolith, the progress involves registering a public key and adding a repository URL with the following steps:
1. Open your terminal, and execute the following wget command to register the Regolith public key (regolith.key) to your local apt.
wget -qO - https://regolith-desktop.org/regolith.key | sudo apt-key add -
apt 2. Next, run these commands below to add the repository URL to your local apt.
echo deb "[arch=amd64] https://regolith-desktop.org/release-3_1-ubuntu-focal-amd64 focal main" | \
sudo tee /etc/apt/sources.list.d/regolith.list
💡 Replace
amd64witharm64in the two places in the above line to install on ARM-based systems.

apt 3. Afterward, run the apt update command below to update the package lists on your system without asking for user confirmation (-y).
This update ensures you have the latest information about available packages and versions from the configured repositories.
sudo apt update -y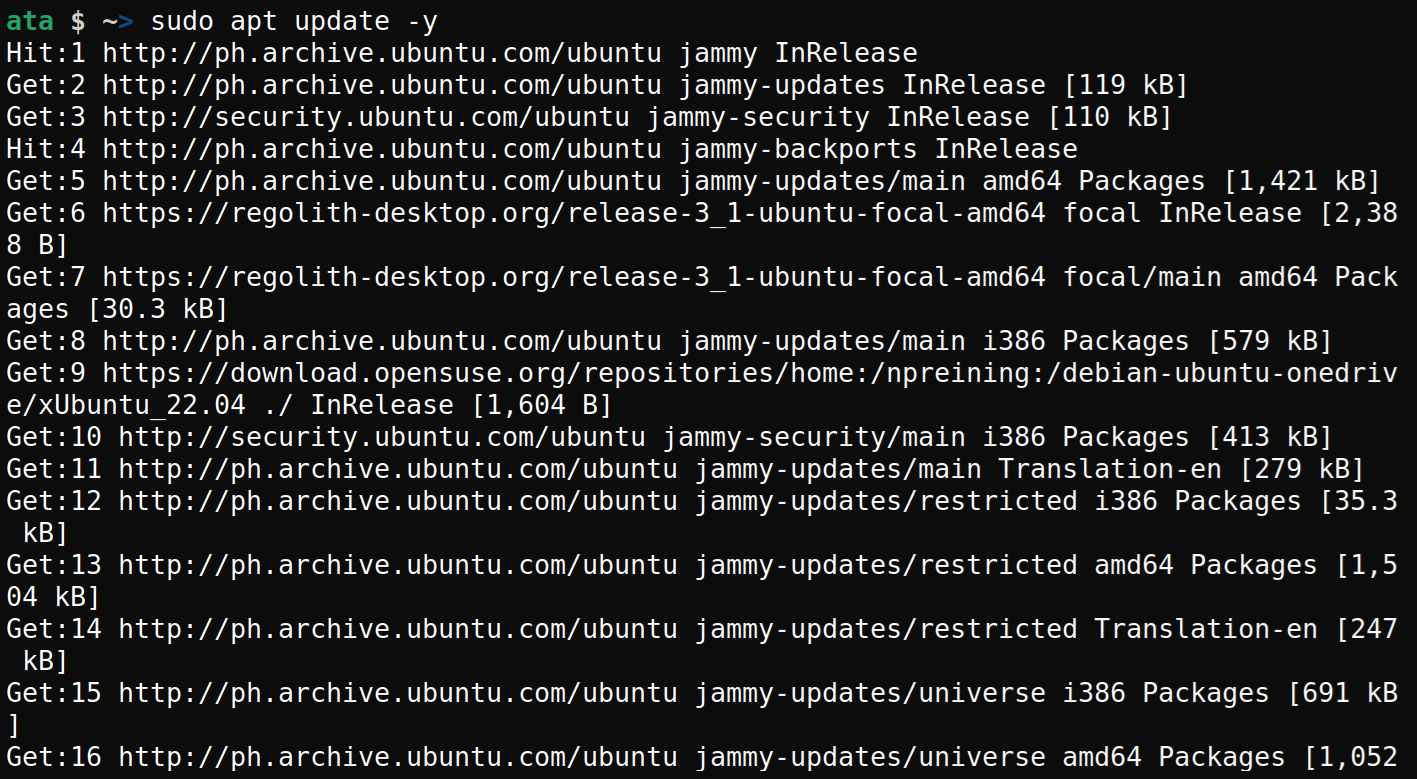
4. Once updated, execute the following command to install the Regolith Linux desktop environment and session management components. Additionally, install a specific visual theme named lascaille onto your system.
sudo apt install regolith-desktop regolith-session-flashback regolith-look-lascaille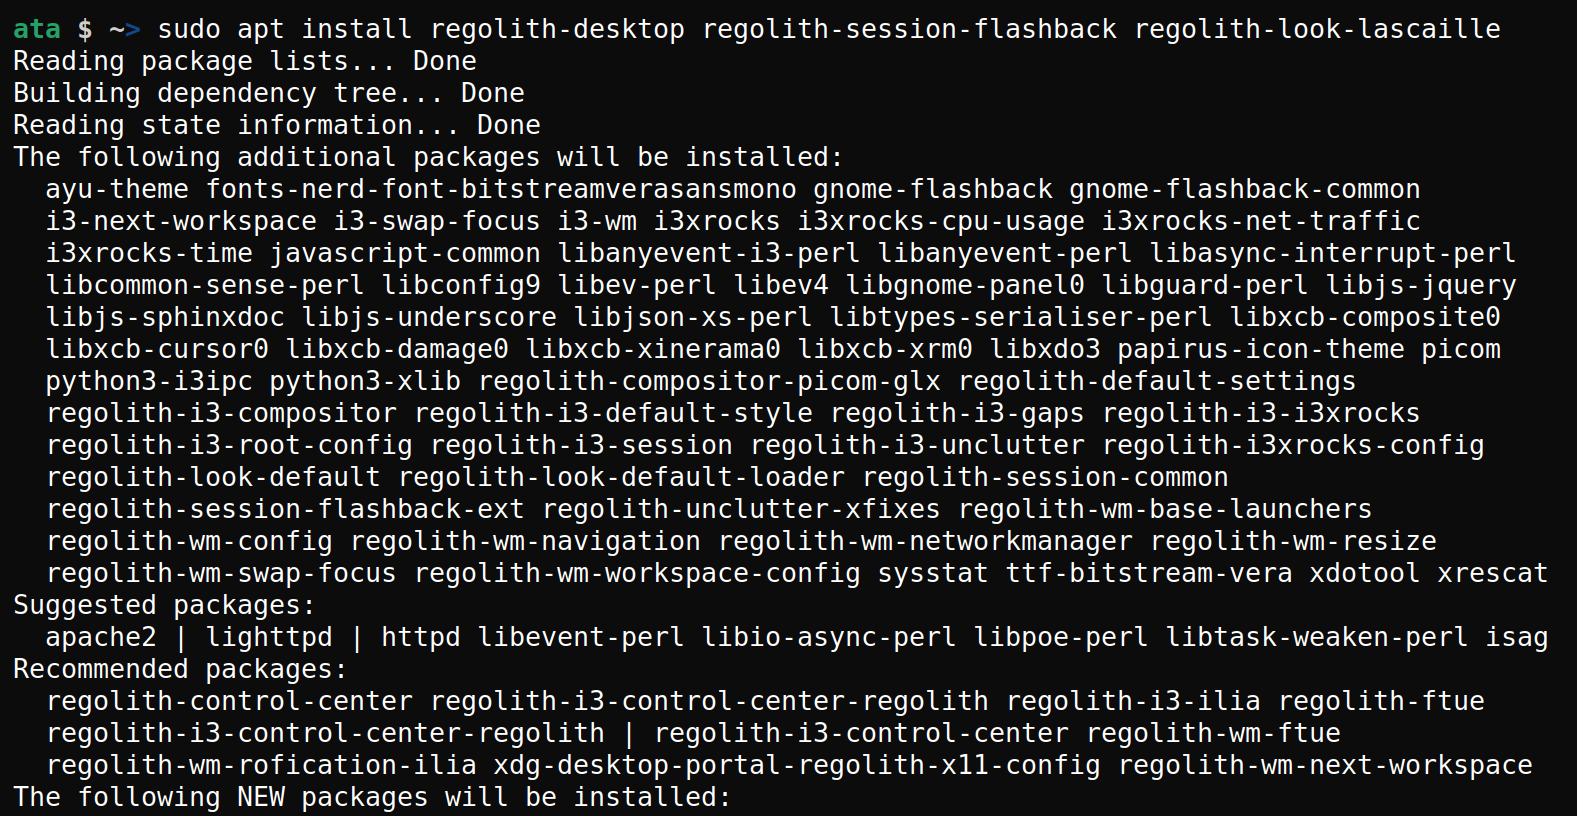
5. Now, reboot your system for the changes to take effect. The login manager must be restarted to recognize the new desktop session.
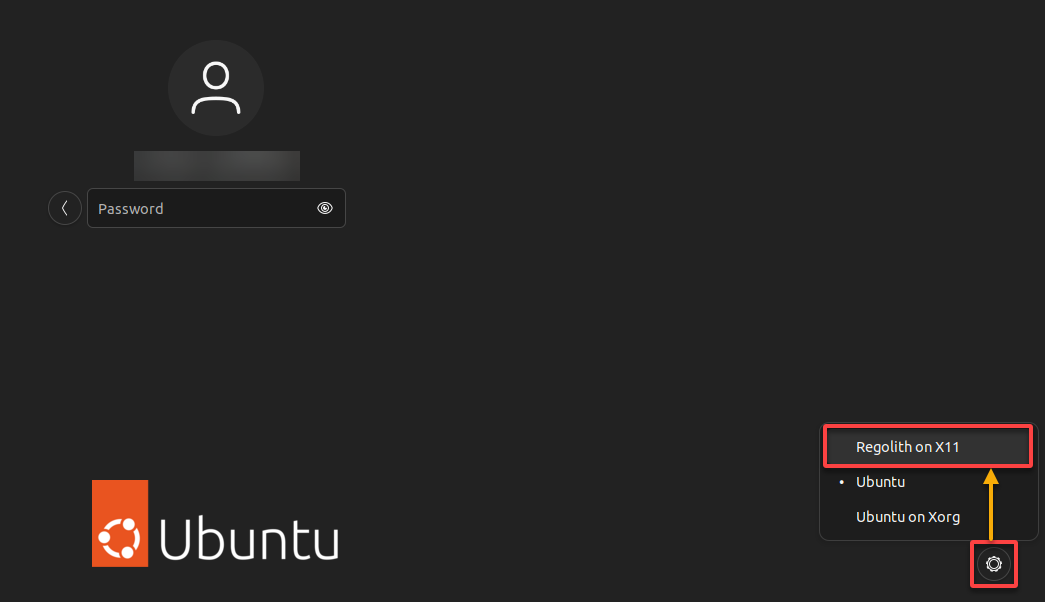
6. After rebooting, click the settings icon (bottom-right) on the login screen, and choose Regolith on X11 before logging into your account.
This option lets you select the Regolith desktop environment for your session.
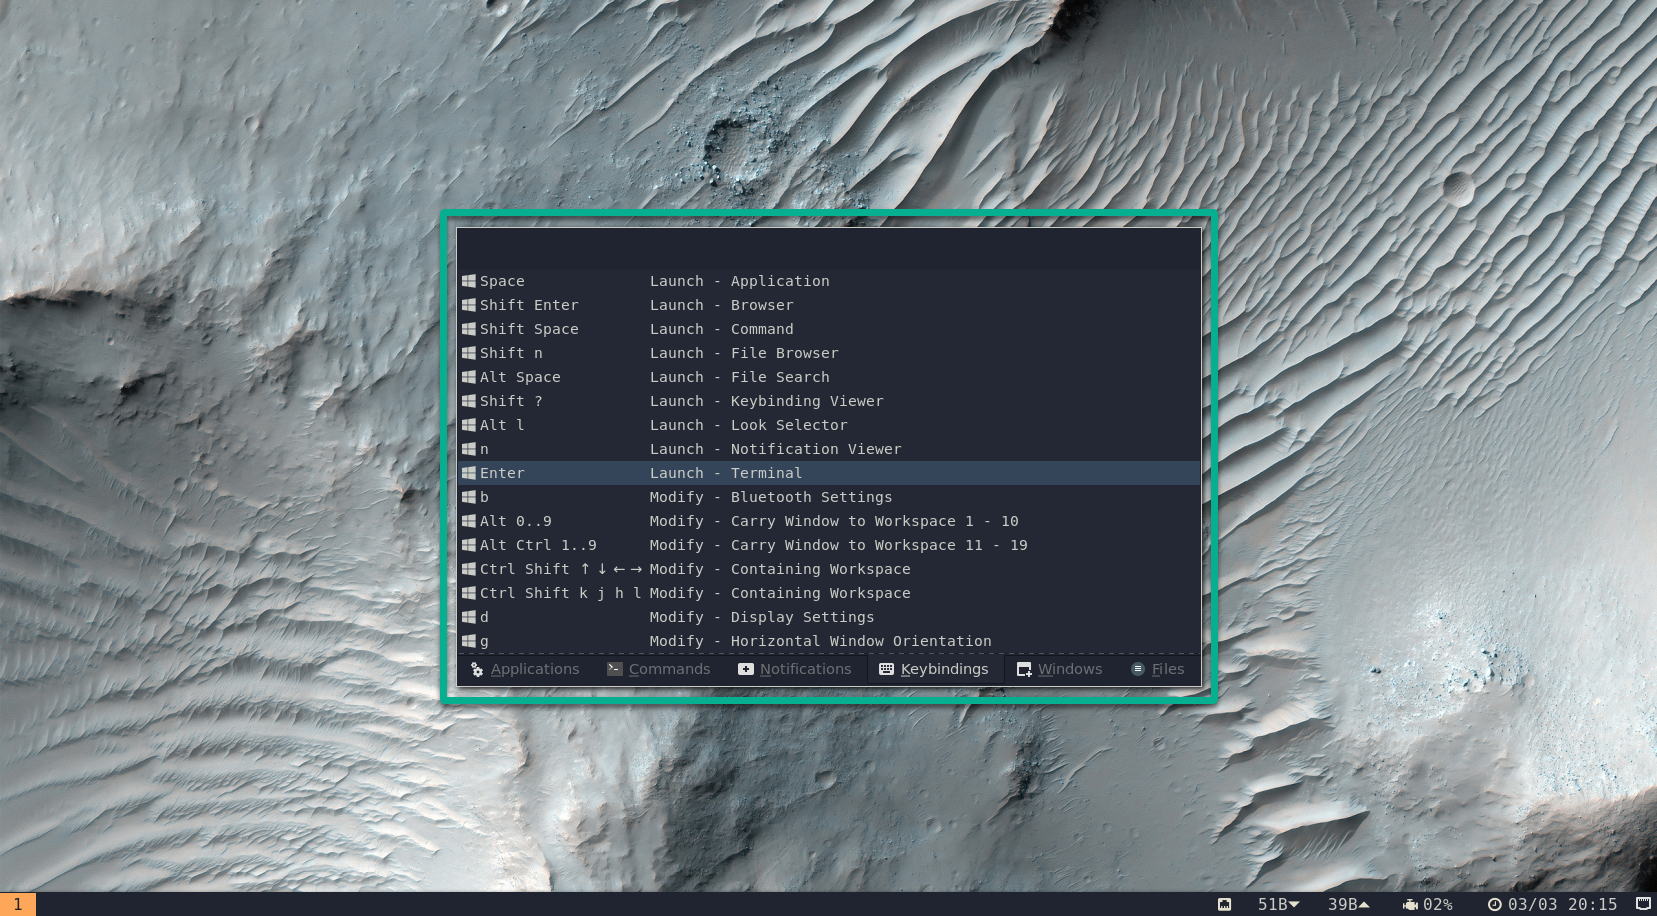
Once logged in, the Keybinding Viewer window appears, as shown below.
The Keybinding Viewer lets you see the predefined keyboard shortcuts and their corresponding actions within the Regolith desktop environment.
Exploring the Keybinding Viewer and App Launcher
When you log in, you typically get a handy Keybinding Viewer on the screen. But what if you accidentally close it? Poof! The viewer is gone, and suddenly, you are left without those helpful visual cues for launching apps and other common tasks.
Not to worry! If you can commit two keybindings in mind, you will have a better experience with Regolith.
💡 Note: Throughout this tutorial, remember that Super refers to either the Windows key (for Microsoft) or the Command key (for macOS), regardless of the OS you are using.
To start your way in navigating Regolith, carry out the following:
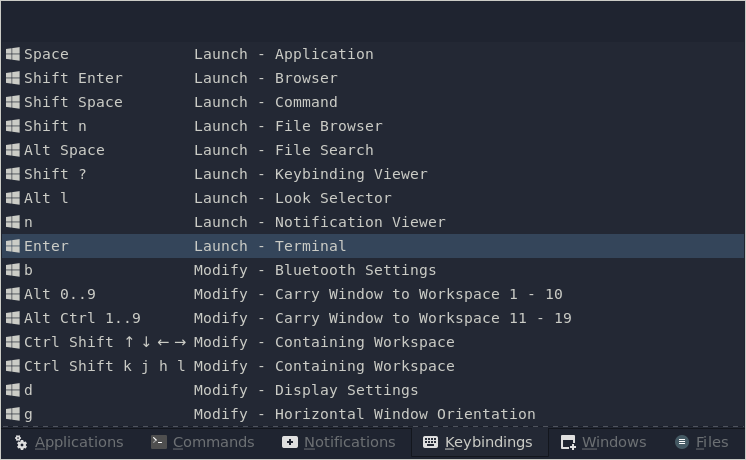
Press (Super + Shift + ?) to launch the Keybinding Viewer, and try one from the list.
💡 In navigating your Regolith desktop, you must start most keybindings with the Super key, as illustrated below.
Now, press (Alt + A) while the Keybinding Viewer is present, and select applications to launch, such as the Terminal, Files, and To Do.
💡 Note: The terminal has a dedicated keybinder for quick launching (Super + Enter).

💡 Tip: Like searching for apps, you can look for files in your system by pressing (Super + Alt + Space).
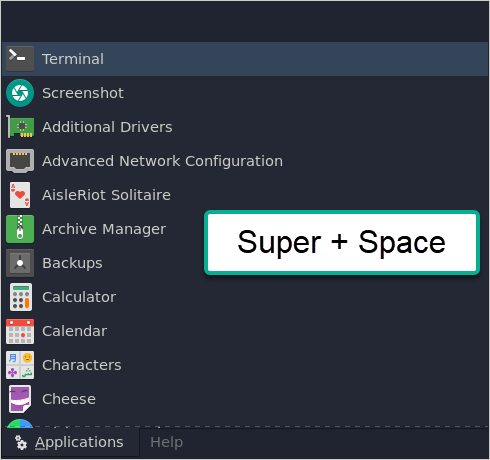
Or press (Super + Space) to view the App Launcher anytime.
💡 Note: You can also launch an application by running the following command, replacing
<app_name>with the application name (i.e.,gnome-terminal).
<app_name> --class=floating_window
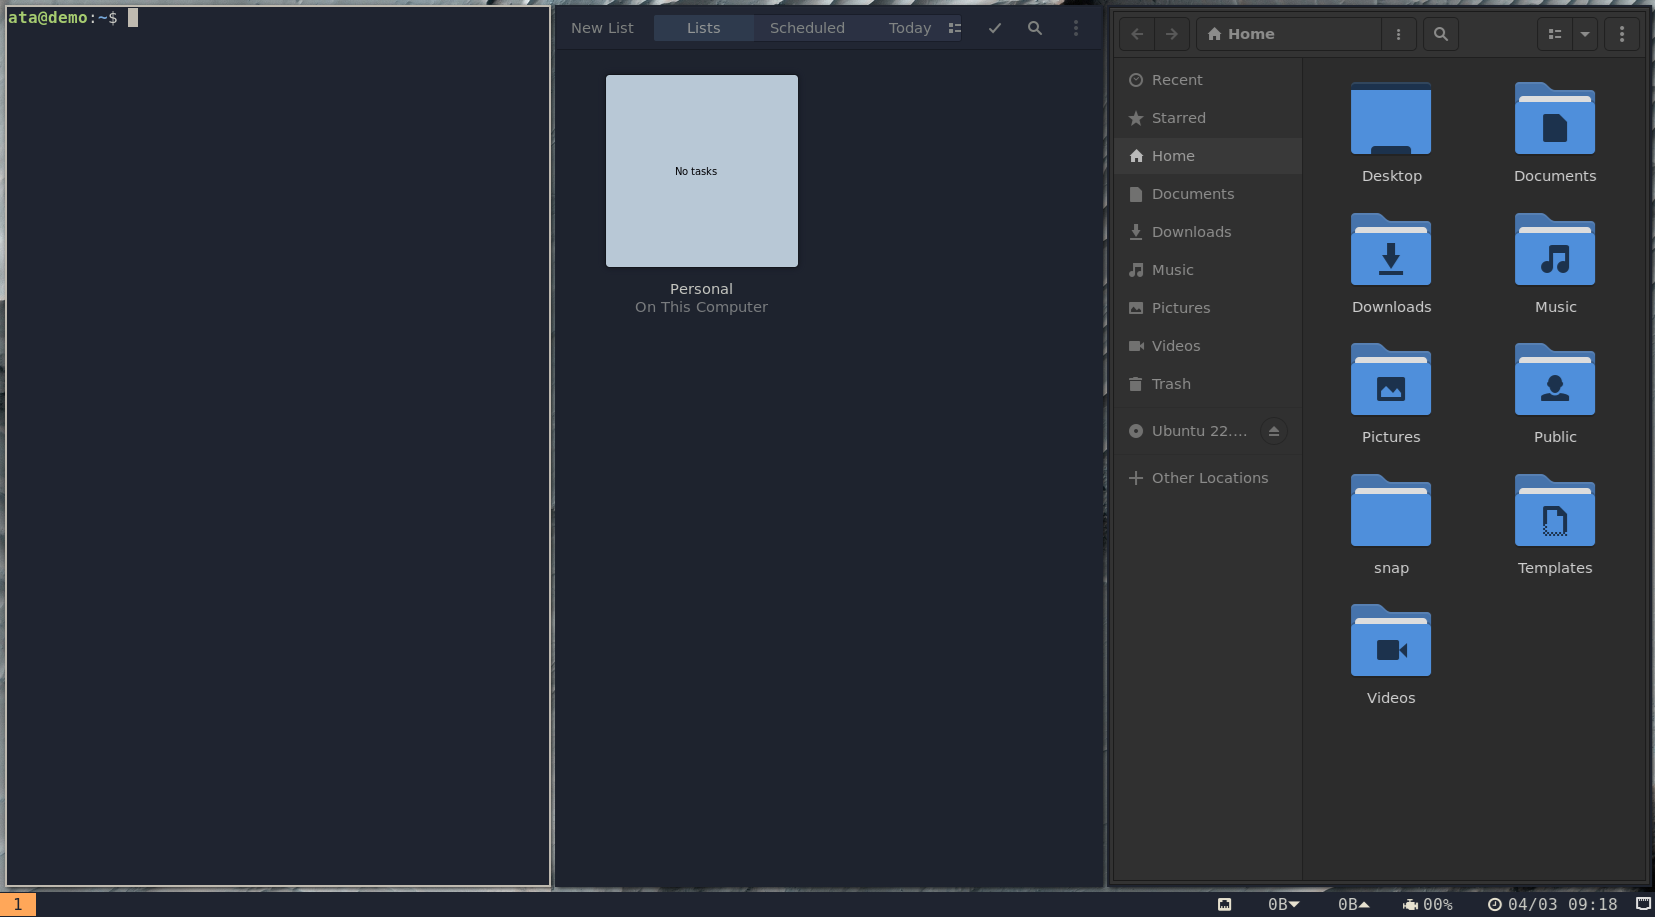
By default, opened applications are tiled on the screen like in the following screenshot.
Tiled windows enable efficient multitasking by allowing you to view and manage multiple applications simultaneously without overlapping windows. And yes, you can also open multiple Terminal sessions side-by-side (literally).
This layout promotes a clutter-free workspace and helps enhance productivity by keeping relevant windows organized and easily accessible.
💡 Opened too many apps? Hit (Super + Shift + Q) to close the focused one. And if an app’s acting up, try (Super + Alt + Q) to force quit it. But remember, force quitting could mean losing any unsaved stuff.
Switching Between Different Regolith Looks
You have seen the default Regolith look installed on your system (lascaille), which is cool. But your desktop is more than just a workspace—it reflects your style and productivity preferences. So, why not switch to a different look?
Whether you prefer a minimalist design for maximum focus or a vibrant aesthetic, Regolith Linux lets you tailor your desktop appearance to suit your unique tastes and workflow.
To switch between different Regolith looks, proceed with the following:
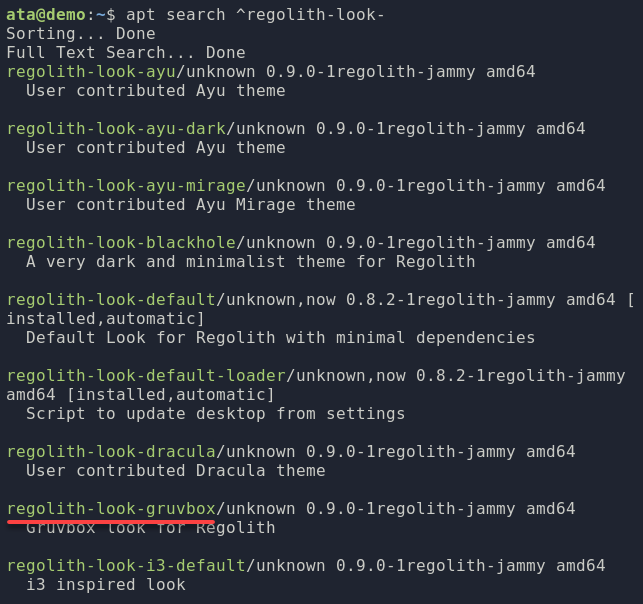
1. Execute the following command to list all available Regolith looks.
apt search ^regolith-look-Pick one from the list and note its name (i.e., regolith-look-gruvbox).
💡 If you wish to go ballistic, run the following command to install all Regolith looks.
sudo apt install regolith-look-* -y
2. After picking, run the command below to install the gruvbox look.
sudo apt install regolith-look-gruvbox -y
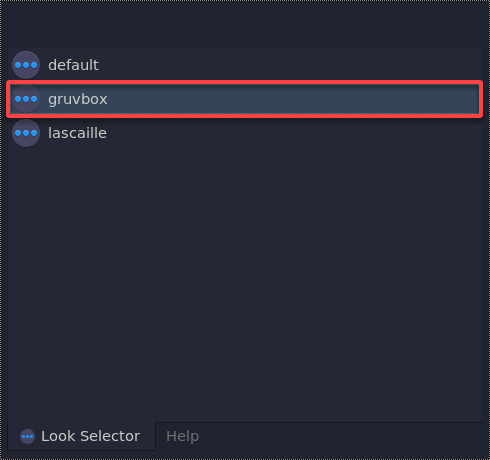
3. With a new look installed, press (Super + Alt + L) to view all installed Regolith looks and switch to a different one (i.e., gruvbox).
This tutorial sticks to the lascaille look for simplicity’s sake.
Managing Tiled Windows
Since opened application windows are randomly tiled on the screen, you may not like the default layout or arrangement they end up in. Luckily, Regolith Linux offers extensive customization options to tailor your workspace to your liking.
With Regolith, you can easily adjust the layout, resize windows, and create custom keybindings to streamline your workflow and maximize productivity.
To manage tiled windows on your desktop, proceed with these steps:
1. Press (Super + Shift + Arrow Keys) to move around the focused window, adjusting the layout of tiled windows on your screen, as shown below.
This example demonstrates the Terminal changing its position within the tiled layout.
2. Next, execute the following commands on your Terminal to configure the default gap of tiled windows to 20 pixels (arbitrary).
The ~/.config/regolith3/Xresources (staged) configuration file is where you customize the appearance and behavior of your Regolith Linux desktop environment. This file loads user-specific configurations that override some from the system-wide settings (/etc/regolith/i3/config).
echo "wm.gaps.inner.size: 20" >> ~/.config/regolith3/Xresources
regolith-look refresh
When you tweak the window gap, you gain more control over how your windows are organized. As a result, everything becomes clearer, easier to read, and more pleasant to look at.
Also, this feature lets you see a bit of your desktop wallpaper to feel more connected to your digital workspace. A subtle touch that makes your desktop feel less sterile and more inviting.
💡 When changing your desktop wallpaper, execute the following command. Be sure to substitute
<img_path>with the image file’s path.
echo "regolith.wallpaper.file: <img_path>" >> ~/.config/regolith3/Xresources regolith-look refresh</aside>
💡 Tip: If you wish to change the window gap quickly, press (Super + +/- key). But remember, unlike modifying the configuration file, this approach only changes the window gap temporarily.
3. Moving on, open the ~/.config/regolith3/Xresources file in your preferred editor (i.e., nano or vim instead of running echo commands, then add the following lines.
This configuration lets you change the default border size of tiled windows and the border color of the focused window.
💡 While other configuration files use the pound character (
#) for comments, the ~/.config/regolith3/Xresources file accepts exclamation points (!) instead.
! Change the window border size to 3 pixels
m.window.border.size: 3
! Change the border color of the focused window to light green
wm.client.focused.color.child_border: #A8EDB8
4. Now, execute the command below (or press Super + Shift + R) for the configuration changes to reflect on your desktop.
regolith-look refreshNotice below that any window’s border color changes when focused.
💡 Tip: Press (Super + Arrow Keys) to switch between tiled windows
5. Lastly, press (Super + R) to enter the window resize mode, press any arrow keys to resize the focused window, then press (Esc) to exit the resize mode.
This neat feature comes in handy when you have one window hogging all the space or when you struggle to see what is going on in certain windows.
Creating and Switching Between Workspaces
Instead of having a cluttered mishmash of windows all in the same space, workspaces let you sift your tasks and focus on one project at a time. With workspaces, you can group related applications for increased productivity and reduced distractions.
To create and switch between workspaces, you will work on a few configurations as follows:
1. Press (Super + 2) to create a new workspace, then open some applications. In Regolith, you can create and switch to existing workspaces by pressing (Super + 0-9).
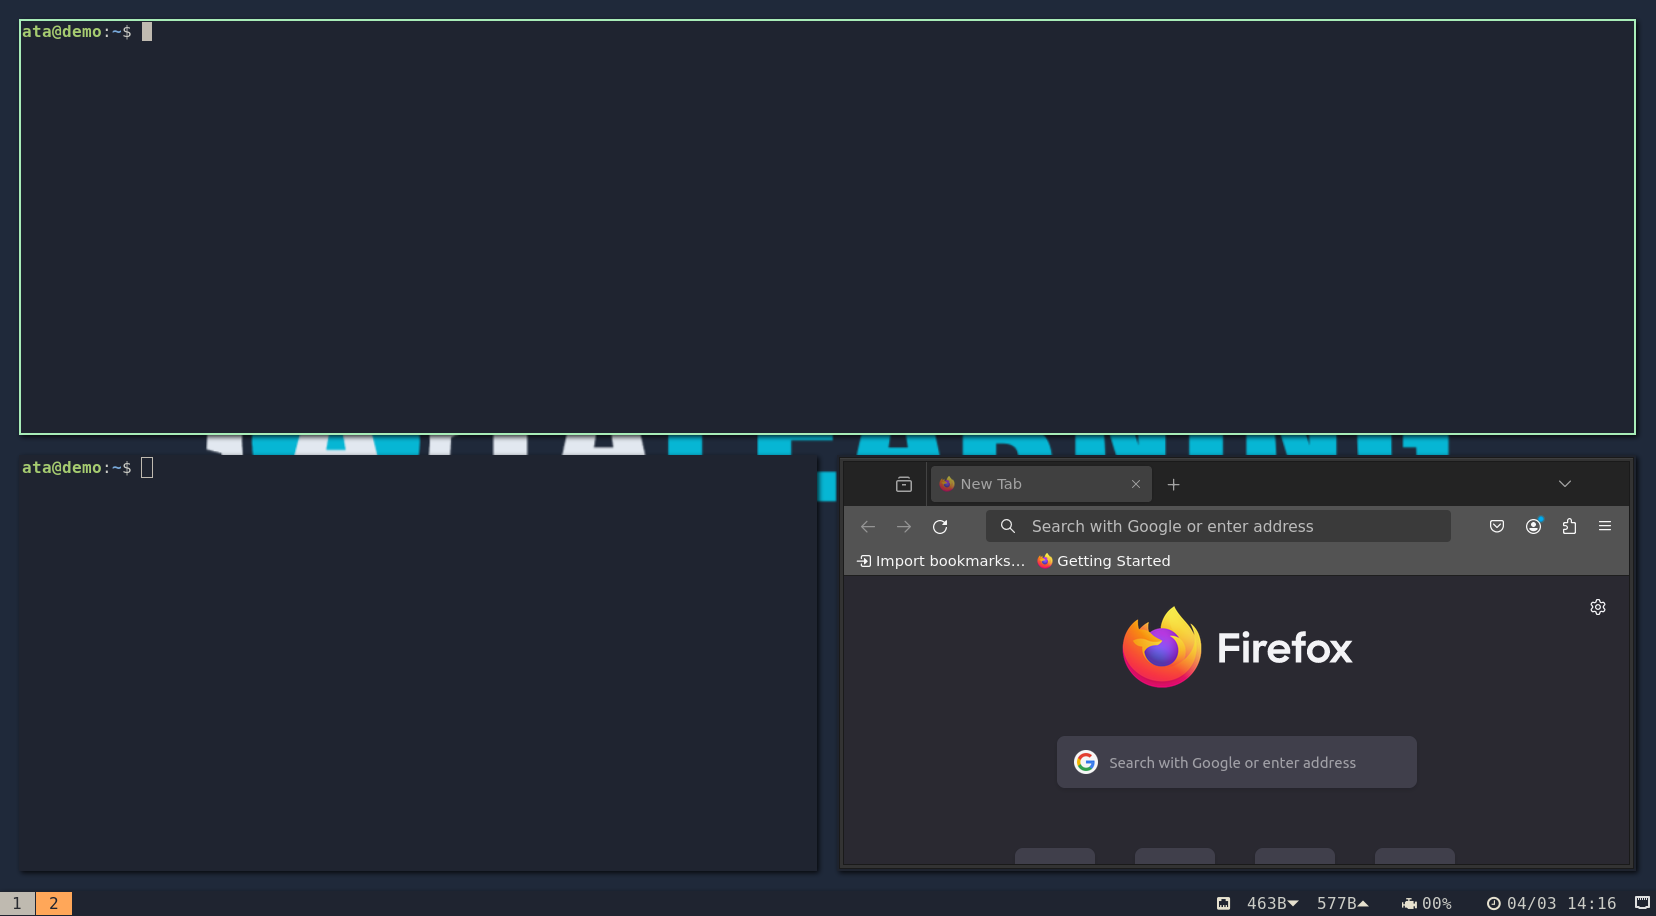
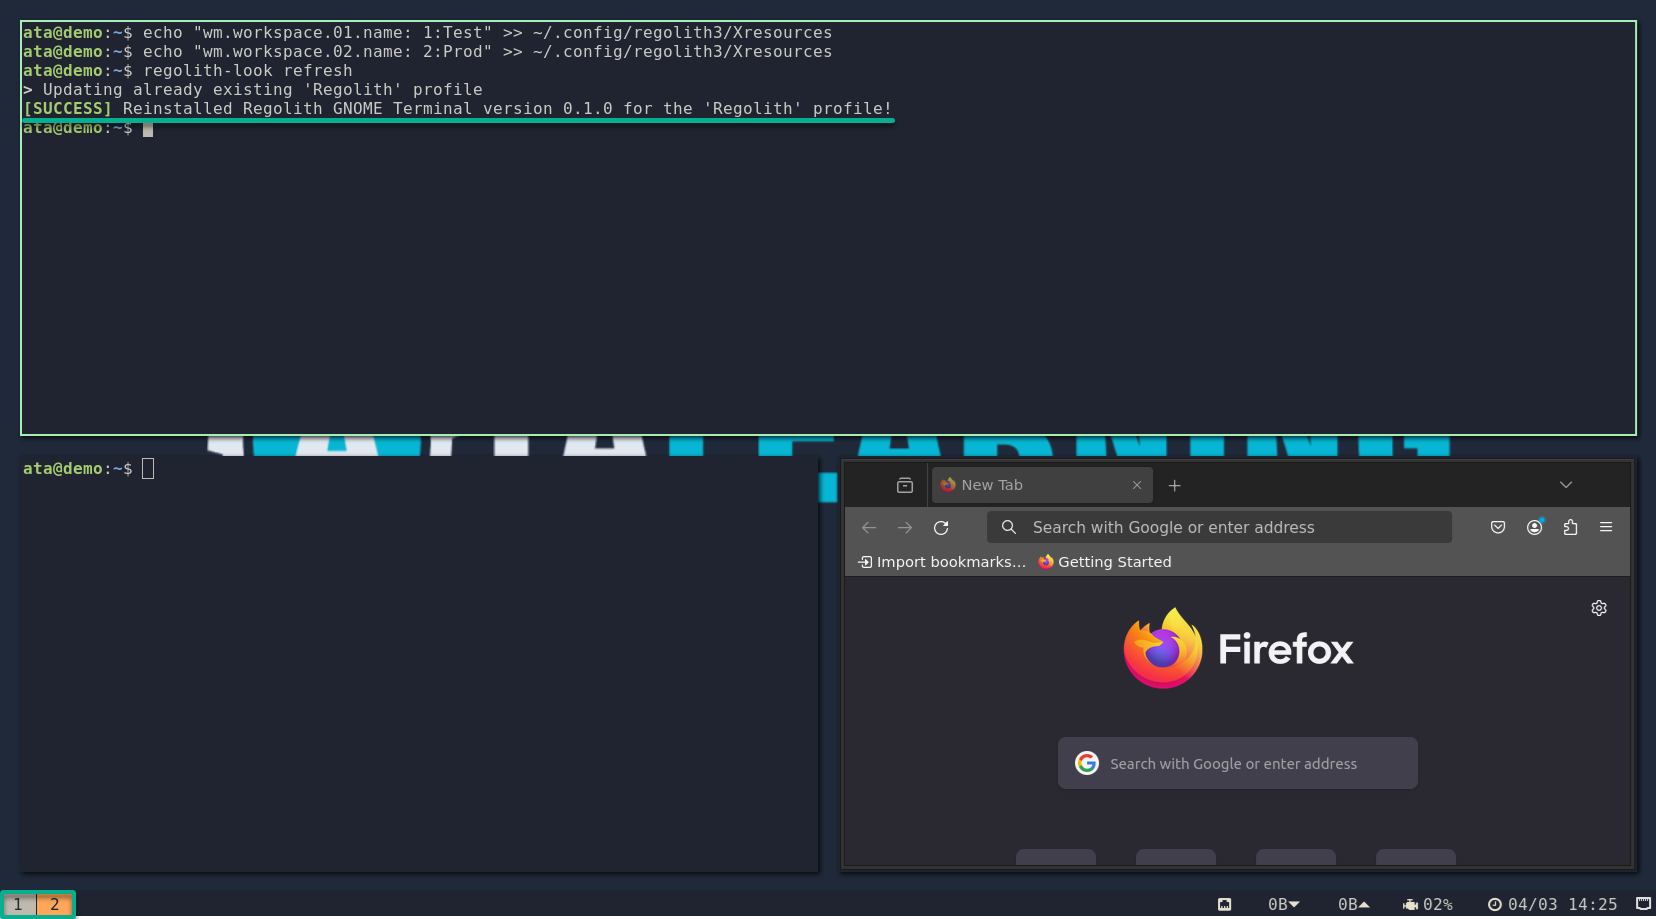
2. Next, execute the following commands in the Terminal to modify the labels of your existing workspaces, and press (Super + Shift + R) to refresh your desktop session.
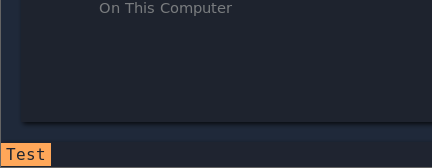
echo "wm.workspace.01.name: 1:Test" >> ~/.config/regolith3/Xresources
echo "wm.workspace.02.name: 2:Prod" >> ~/.config/regolith3/Xresources
You have successfully made the changes, but as you notice, they have not been reflected yet (bottom-left).
3. Reboot your system so the changes take effect. Notice the workspace label changed to Test, as shown below.
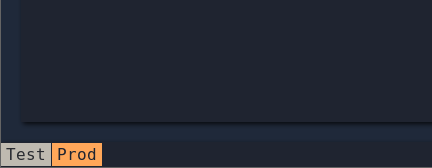
4. Now, press (Super + 2) to create a new workspace. Based on your configurations, the workspace label shows as Prod.
5. Ultimately, press (Super + 0-9) to switch between existing workspaces.
Now, you can smoothly shift between various projects, tasks, or contexts, making your work more efficient and productive.
Setting Up Dynamic Status Indicators
Imagine not knowing the vital signs of your computer—its resource usage, connectivity status, or battery levels—until too late. In such cases, dynamic status indicators come into play, offering real-time insights into your system’s performance and condition.
To set up dynamic status indicators, execute the following actions:
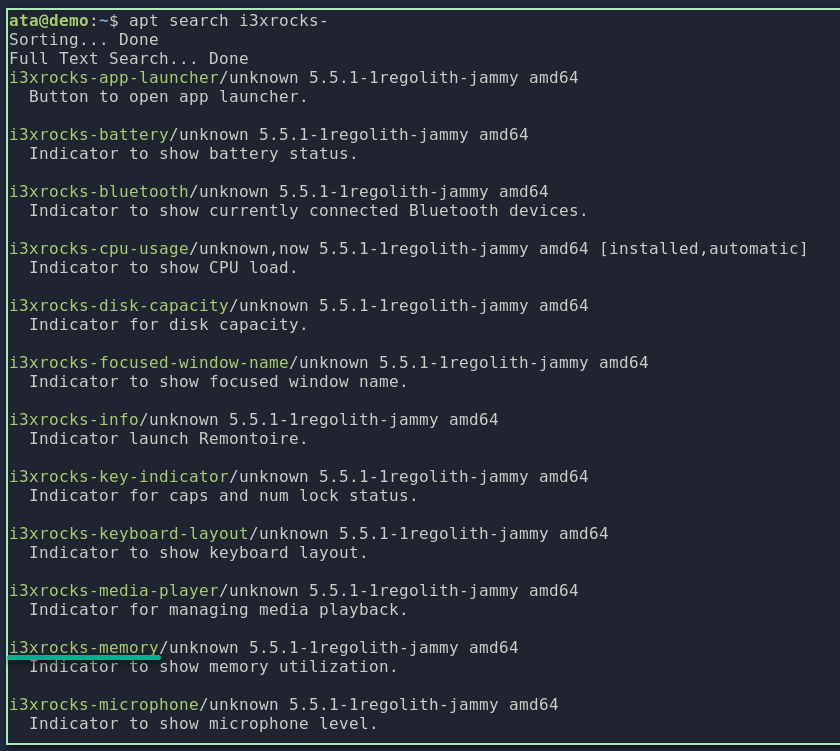
1. Execute the following command to list all i3xrocks scripts or programs (status indicators) designed to work with the i3 window manager. These scripts typically provide additional functionality or information displayed on the i3 status bar.
apt search i3xrocks-Pick one status indicator you wish to install from the list (i.e., i3xrocks-memory).
2. Next, run these commands below to install your target status indicator (i3xrocks-memory) and refresh your desktop (Super + Shift + R) to apply the changes.
sudo apt install i3xrocks-memory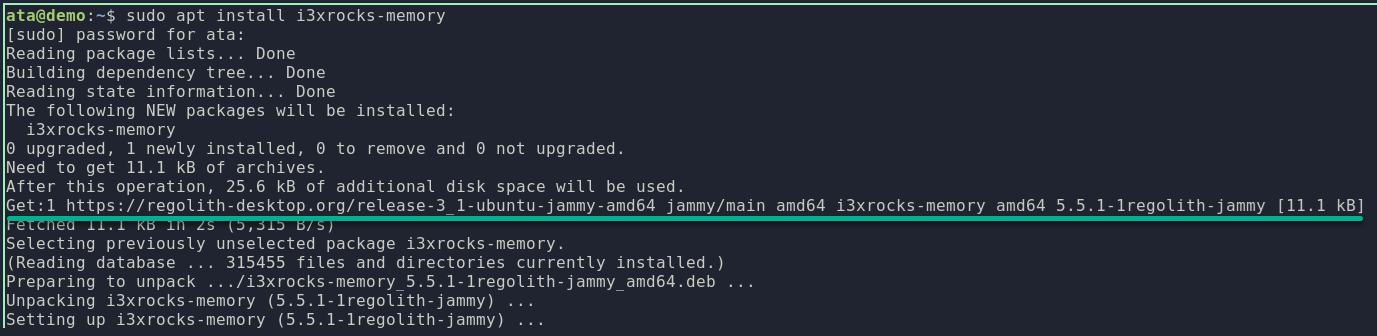
💡 Tip: You can install multiple status indicators simultaneously by specifying the status indicators (separated by spaces), like in the following example:
sudo apt install <indicator1> <indicator2> <indicator3> …
Once refreshed, you will see the memory status indicator in the status bar (bottom-right), as shown below, showing the total memory being used.
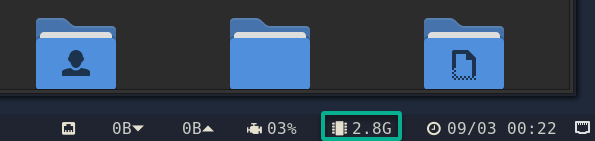
3. Double-click the memory status indicator, which opens the System Monitor window. This way, you delve deeper into memory usage statistics, monitor resource-intensive processes, and manage system memory more effectively.

💡 By default, the System monitor launches in a floating window. If you wish to tile the window, press (Super + Shift + F) to toggle the window floating.
Configuring Custom Keybindings
Regolith already offers a handful of keybindings for navigating your workspace, but why stop there? With some customization, you can tailor your keybindings to suit your workflow perfectly.
Whether you’re hopping between workspaces, organizing windows, or firing up your favorite apps, Regolith’s keybindings have you covered.
To configure custom keybindings, complete the steps below:
1. Open the session keybindings configuration file (/usr/share/regolith/i3/config.d/55_session_keybindings) in your preferred editor (requires sudo).
This configuration file defines keybindings related to the session management aspect of the i3 window manager used in Regolith.
2. Next, add this line at the bottom of the file with the following syntax, save the changes, and close the editor.
bindsym <key_combination> <command> <app_or_script>This example sets the keybinding (Super + P) to launch (exec) Shutter, a feature-rich screenshot program for Linux-based OSes like Ubuntu.
💡 In setting keybindings,
$mod(orMod4) is the equivalent to the Super key, whileMod1is the Alt key. The other keys, likeControlandShift, remain as is.
bindsym $mode+p exec shutter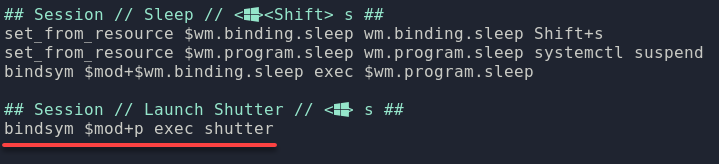
3. Now, press (Super + Shift + C) to reload the configuration.
4. Lastly, press the keybindings you set (i.e., Super + p) to launch your chosen application.
Conclusion
And there you have it—your journey through Regolith Linux has been exhilarating! You have dived into the intricacies of keybinding viewers, app launchers, tiled windows, workspaces, and dynamic status indicators. Each step has brought you closer to mastering this developer’s paradise.
As you continue exploring, consider delving deeper into advanced customization options in the official documentation. Experiment with new keybindings, tweak your workspace layouts, and explore the vibrant Regolith community for inspiration and collaboration.
Keep tinkering, learning, and pushing the boundaries of what is possible. Your journey is far from over!


