


Tired of users meddling with your system, system crashes, and malware infections? Reboot Restore Rx is the answer! With each restart, this tool is like your guardian angel reverting your PC to its pristine state.
In this tutorial, you will install Reboot Restore Rx and ensure your Windows system stays how you like it, regardless of who has been tinkering with it.
Stay tuned and save yourself the headaches over unwanted modifications!
Prerequisites
Before you embark on transforming your system’s defense with Reboot Restore Rx, ensure you have the following:
- A Windows 7 system or later – This tutorial uses Windows 10 for demonstrations.
- Partition Style – Both MBR and GPT partitions will work.
- Ensure BitLocker encryption is disabled on the C: drive, where Reboot Restore Rx will be installed.
Downloading Reboot Restore Rx on Windows
Now that everything is set up, you can take charge of your system’s security and stability by downloading Reboot Restore Rx. When things go haywire or changes happen without permission, Reboot Restore Rx has your back.
To download the latest Reboot Restore Rx, follow these steps:
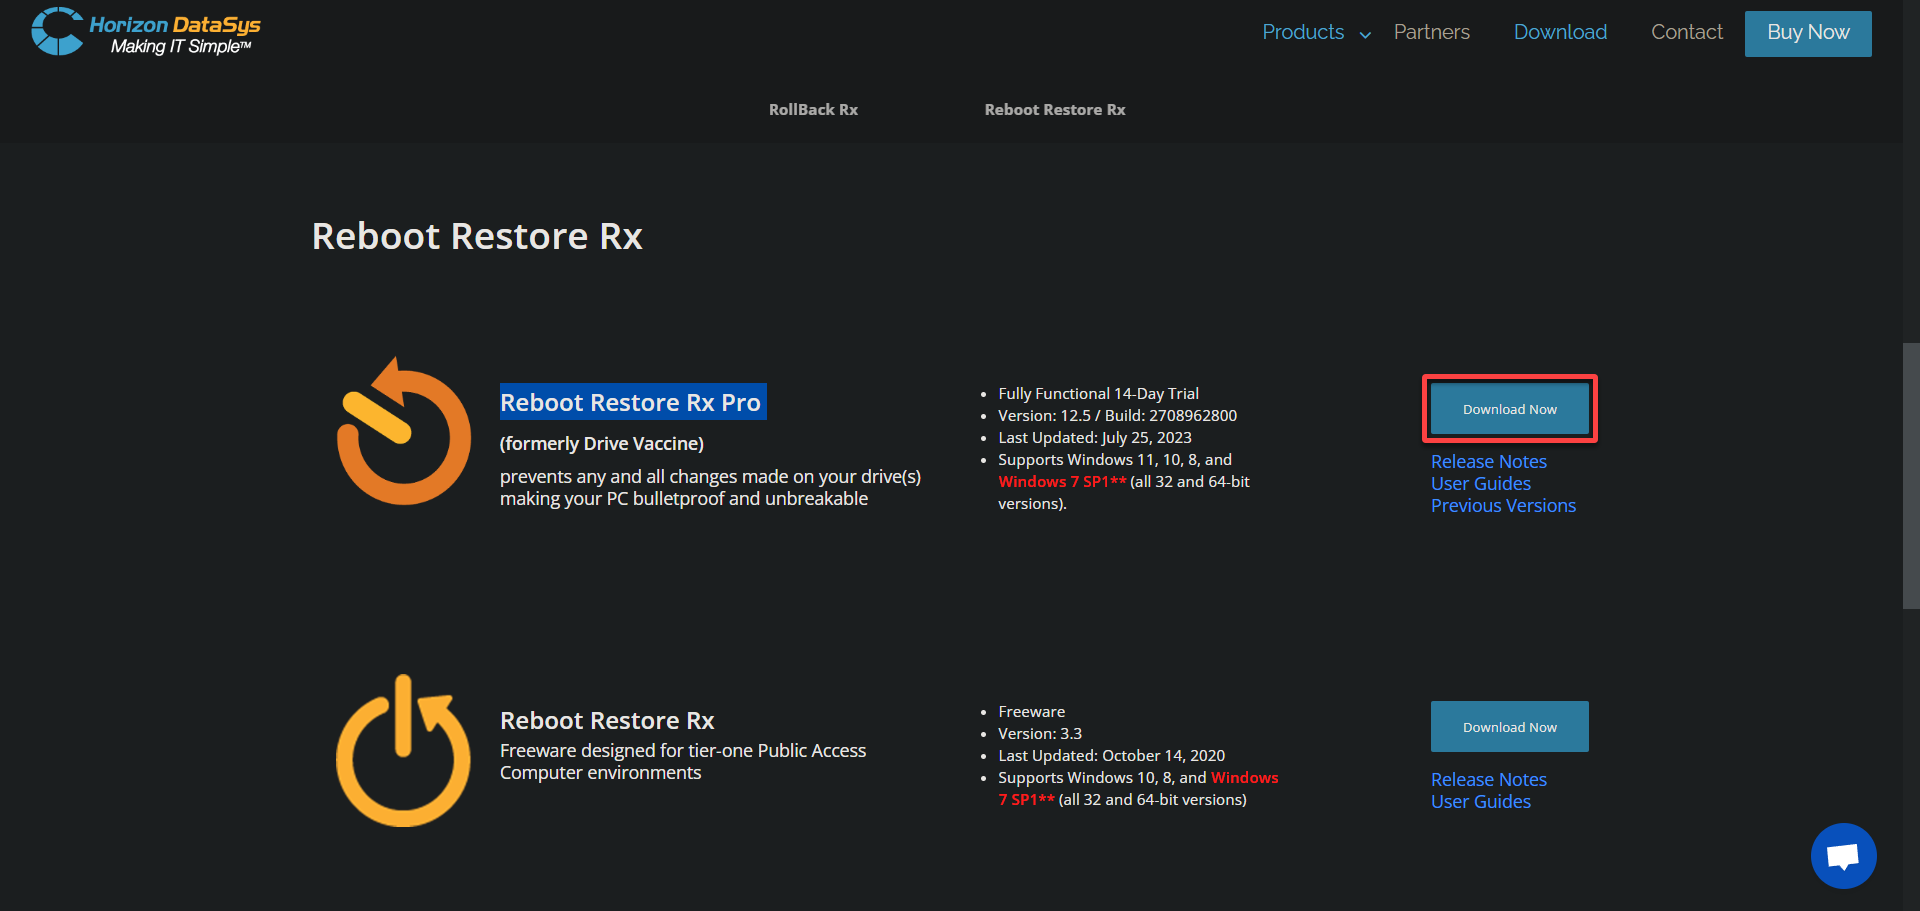
1. Open your preferred web browser and visit the official Reboot Restore Rx download page.
2. Choose between Reboot Restore Rx Pro or the Free version, and click the Download button corresponding to your choice.
💡 The Pro version offers a 14-day trial with full features, allowing you to evaluate its capabilities.
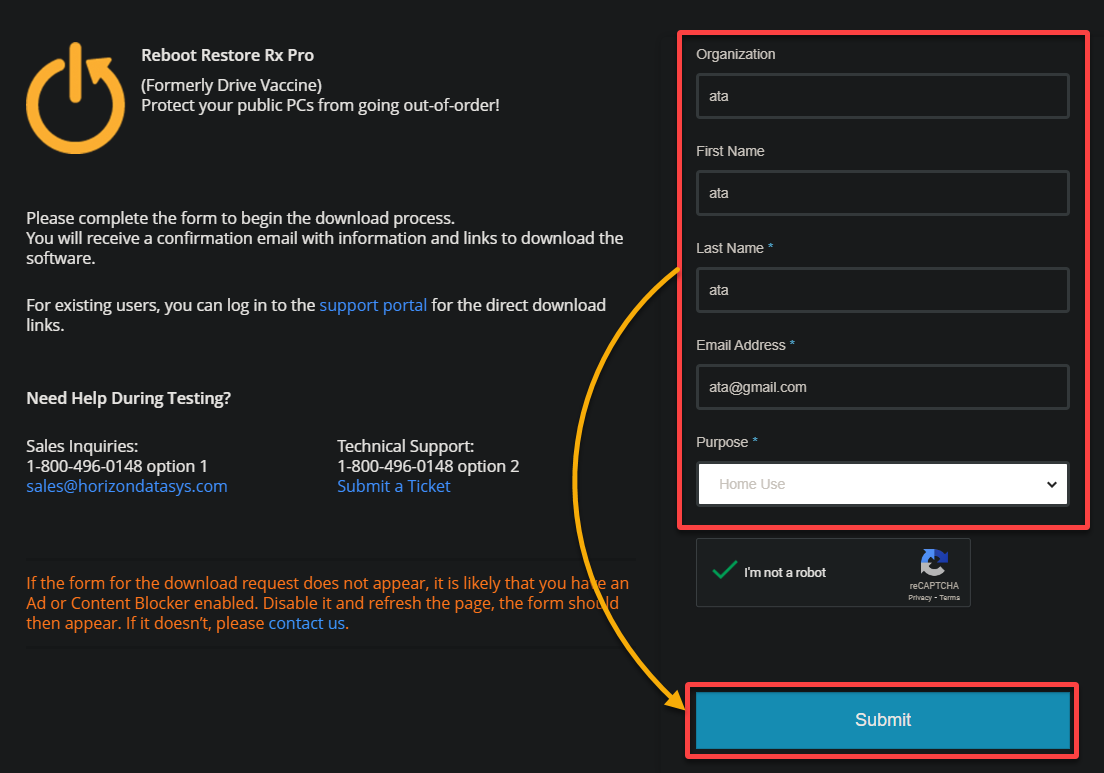
3. Complete the form on the next page with all the necessary details, and click Submit to move on to the next step.
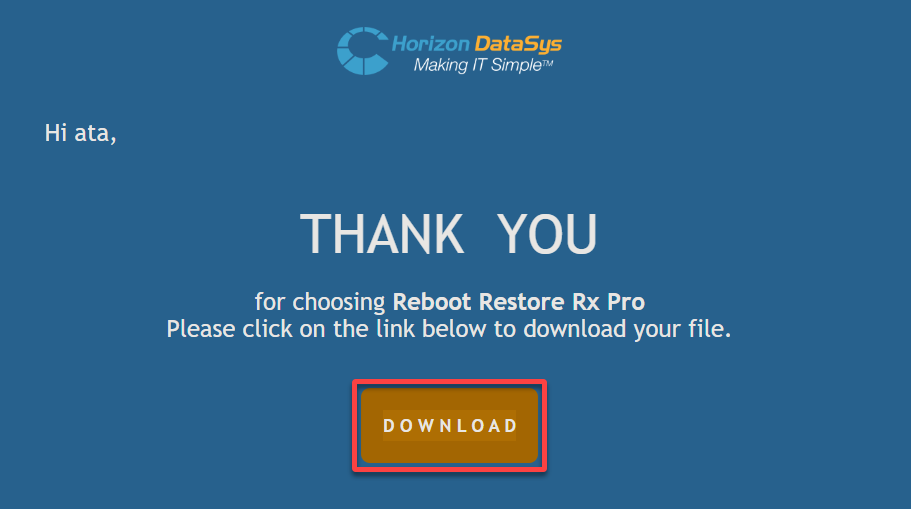
4. After submission, check for an email from the Reboot Restore Rx team, and click the DOWNLOAD link to download the Reboot Restore Rx installer.
Installing Reboot Restore Rx to Ensure System Integrity
After downloading Reboot Restore Rx, you can now focus on setting it up, turning your system into a durable fortress. With Reboot Restore Rx, attempts to download harmful files or the installation of intrusive toolbars—which could potentially carry spyware or viruses—are thwarted.
To install Reboot Restore Rx on your Windows system, execute the following:
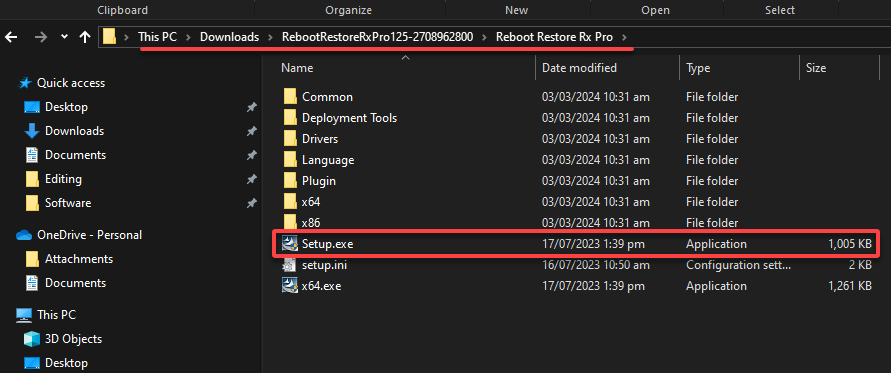
1. Navigate to the location of the downloaded zip file and extract its contents to a chosen directory.
2. Next, double-click on the Setup file to launch the installation wizard.
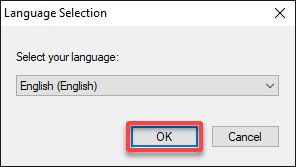
3. Select your preferred language and click OK to confirm.
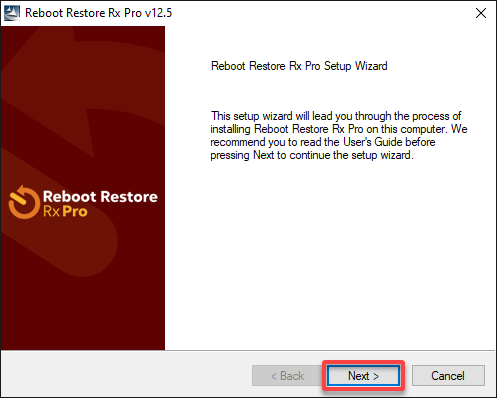
4. On the initial page, click Next to proceed.
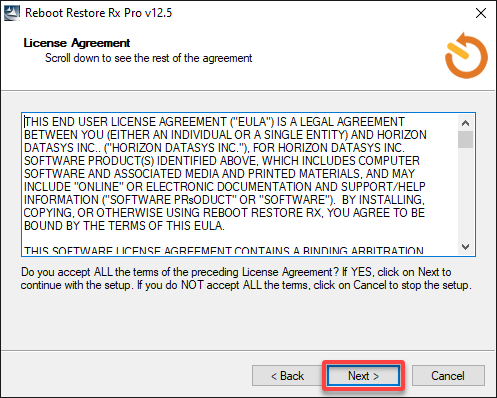
5. Carefully read and accept the license agreement, then click Next.
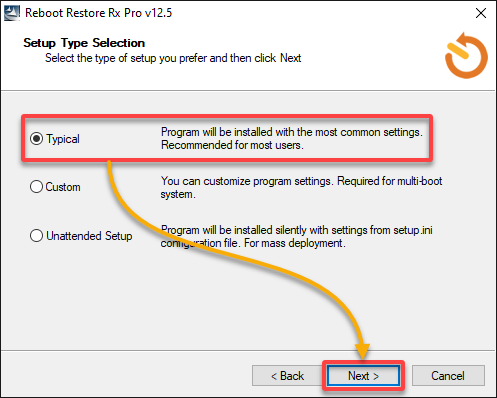
6. For the installation type, choose Typical, which is sufficient for most users, and click Next to confirm.
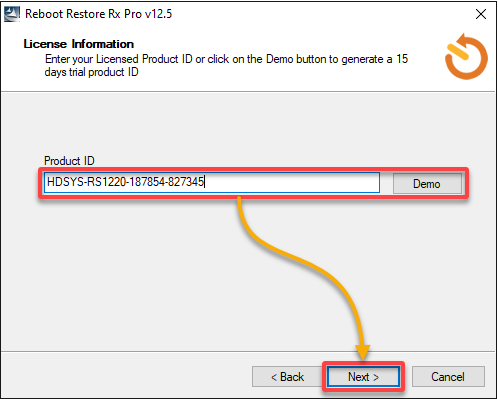
7. Now, click Demo to get a trial key auto-populated (or input a product ID if you have one), and click Next to proceed.
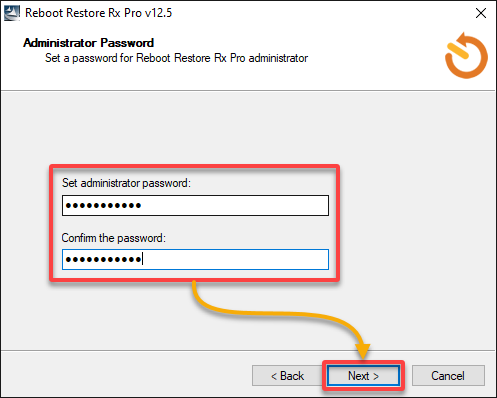
8. Set a strong admin password to prevent unauthorized access, and click Next.
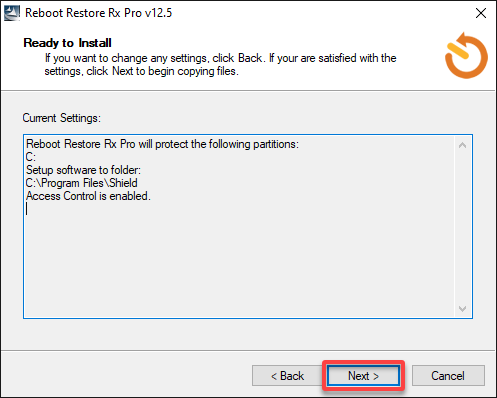
9. Verify your settings and click Next to initiate the installation process.
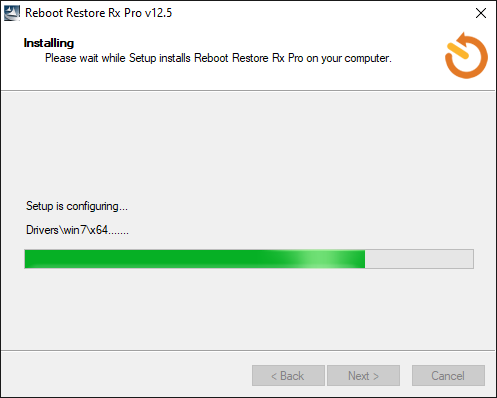
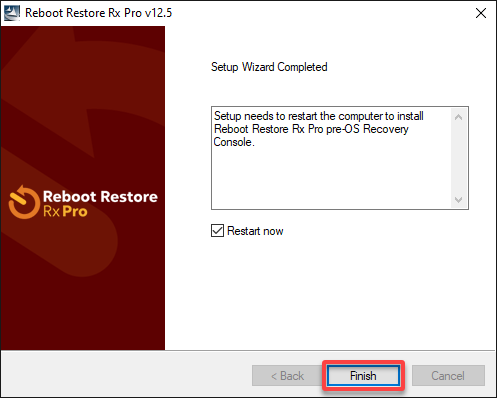
10. Upon completion, click Finish to restart your computer to finalize the installation.
Verifying the Reboot Restore Rx’s Functionality
Reboot Restore Rx is completely set, but how do you know it works? Maintaining your computer’s stability and security is paramount. Thus, verifying the operational status of Reboot Restore Rx post-installation is a critical step.
To ensure Reboot Restore Rx is effectively safeguarding your system’s integrity, proceed with the following:
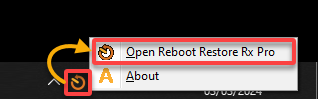
1. Right click the Reboot Restore Rx icon in the system tray, and select the option to Open Reboot Restore Rx Pro, as shown below.
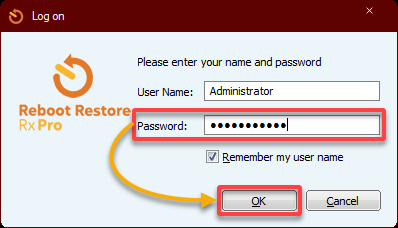
2. When prompted, keep the User Name, provide the Password you set during the installation, and click OK to access the Reboot Restore Rx Pro dashboard (step three).
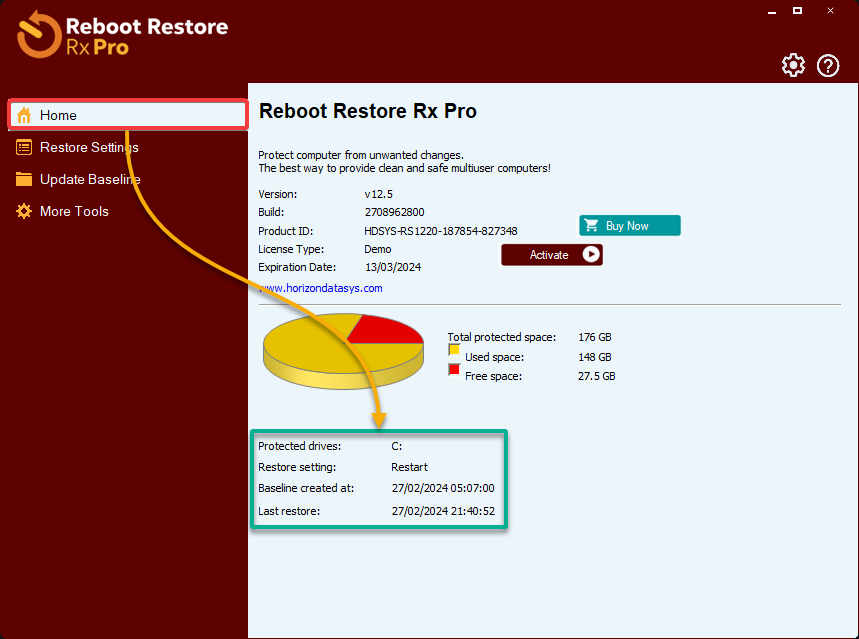
3. In the dashboard, navigate to Home (left pane) and confirm the following:
- Look for a line that states, Baseline created at…, which confirms a successful baseline snapshot of your system. This baseline is created automatically during installation.
- Your root C: drive is listed as protected, ensuring it is safeguarded.
- The restore setting is set to Restart, which signifies the C: drive will reset to the baseline state with every system reboot.
4. Now, open PowerShell and execute the following New-Item command to change the protected C: drive deliberately by creating a new directory (test_dir).
New-Item -ItemType Directory -Path c:\test_dir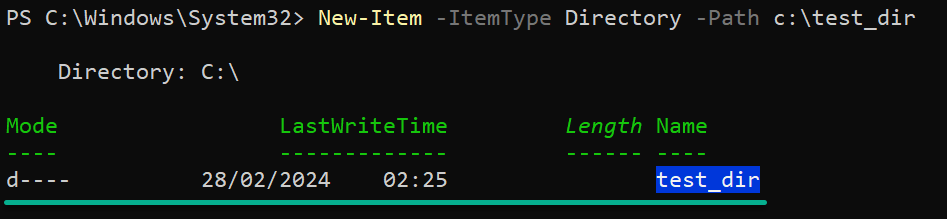
5. Restart your computer, and you will notice the newly created test_dir directory is no longer present. This outcome indicates that Reboot Restore Rx has reset the system’s baseline state.
6. Lastly, execute the following Test-Path command to verify the c:\test_dir directory has been removed.
Test-Path c:\test_dirThe expected output is False, as shown below, which confirms the test_dir directory has been removed by Reboot Restore Rx.
You can rest assured that Reboot Restore Rx functions as intended, keeping your system’s configuration intact and secure against unwanted changes.

Restricting Resource Usage: Command Prompt and Control Panel
Your Reboot Restore Rx installation has been operating effectively thus far. But in scenarios where the system is communal, there is always a risk. Malicious users may attempt to compromise your protective measures by disabling or uninstalling Reboot Restore Rx to introduce malware.
Fortunately, Reboot Restore Rx includes a feature that allows you to limit access to vital system resources, such as the Command Prompt (CMD) and the Control Panel. This safeguard ensures that only users with the administrative password can use these sensitive areas of your system.
To restrict resource usage on your system, carry out the following:
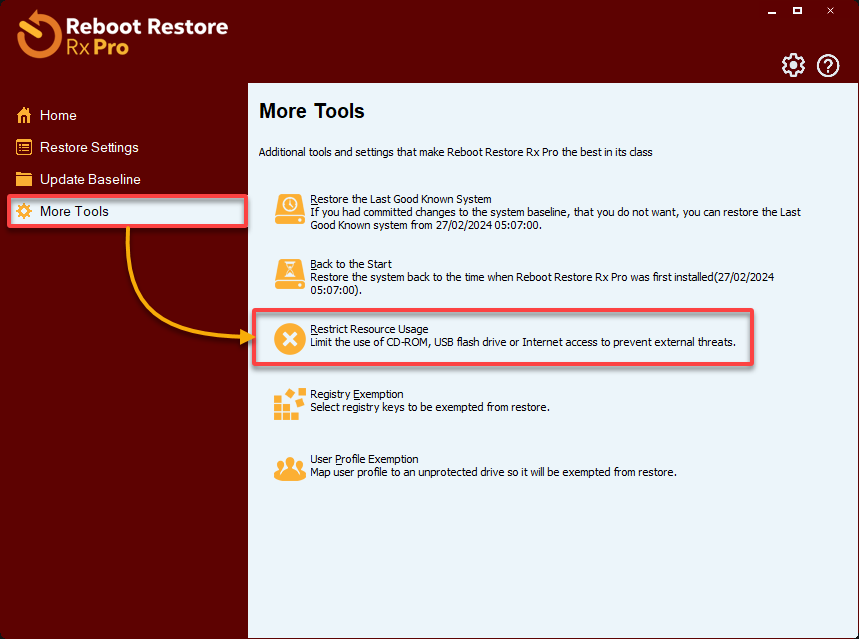
1. Navigate to More Tools (left pane) on the dashboard to access more tools Reboot Restore Rx offers, and click Restricting Resources Usage to bring up the related settings.
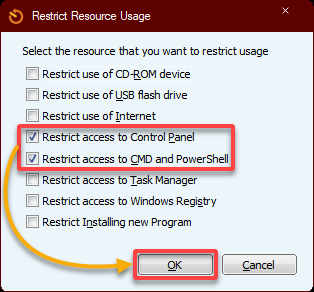
2. In the Restricting Resources Usage dialog, tick the checkboxes for Control Panel, and CMD and PowerShell as below, then click OK to enforce the new restrictions.
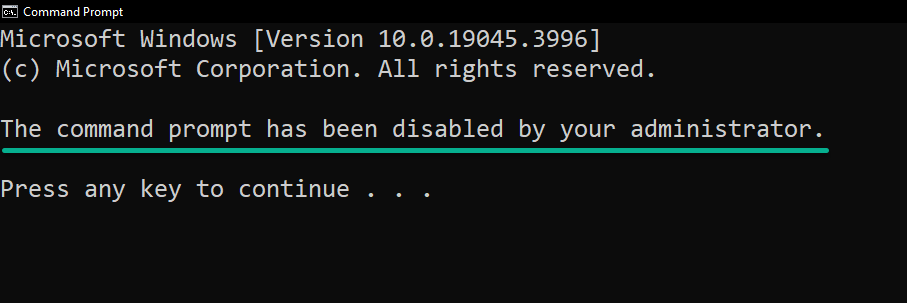
3. Finally, attempt to access the Command Prompt and Control Panel to verify the effectiveness of your usage restrictions.
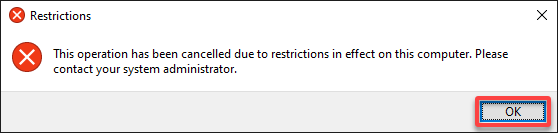
If the restrictions are correctly applied, you will encounter an ‘Access Denied’ error message as below, confirming that unauthorized access has been successfully blocked.
Only users with the administrator password can override these restrictions, ensuring a secure computing environment.
Conclusion
Following the steps outlined in this tutorial, you successfully installed Reboot Restore Rx on your Windows system, safeguarding it from unauthorized changes and ensuring its integrity. Your system is now a bastion of security, fortified against unauthorized changes and primed to maintain its pristine state.
Now, why not learn how to install Reboot Restore Rx on a dual-boot system to ensure protection across multiple operating environments? Or discover the art of allowing Windows Updates while keeping Reboot Restore Rx active? That way, you can enjoy the latest features without compromising system integrity.
Enjoy the peace of mind that comes with a well-protected system!


